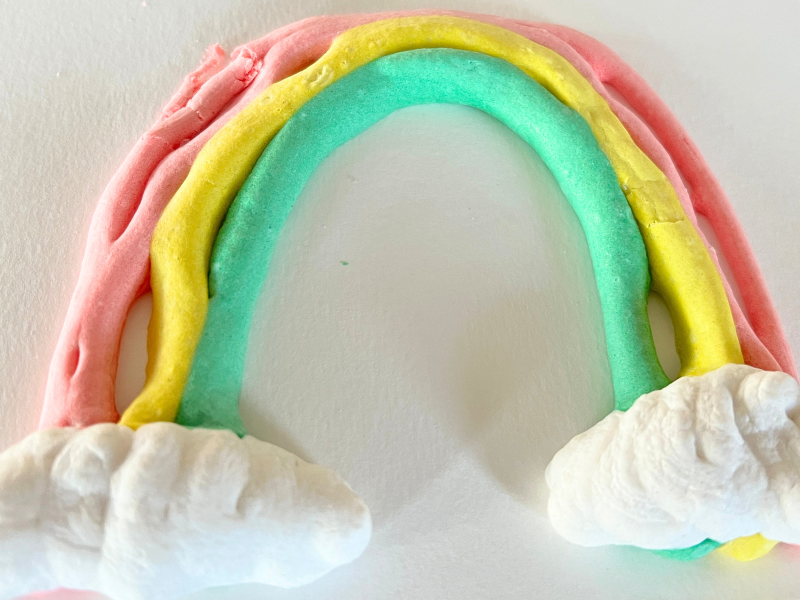
Learn how to make puffy paint for kids that is actually puffy! This recipe is super easy to make and so much fun to create with.
Updated November 2024
We’ve made so many kinds of puffy paints over the years. We have five recipes that we like to make but this recipe is our favorite.
We love it because it is very easy to make. It only needs a few ingredients (which you probably already have on hand) and it doesn’t require a microwave, like our microwave puffy paint (another favorite recipe, but not always convenient to make).
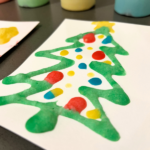
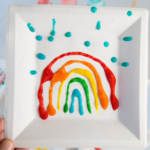
Best of all, this puffy paint puffs up before your eyes and stays puffy to the touch.
Here’s a video showing it in action! And don’t forget to scroll down for the recipe!
How to Make Puffy Paint

MATERIALS
- 3+ cups of shaving cream (foam not gel)
- 1 cup flour
- 1 cup white glue
- Food coloring or paint
- Ziploc-style sandwich bags
- Sturdy paper or board (poster board, tag board, cardboard, watercolor paper, or paper plates)
Instructions
- Measure out your ingredients
Add all the ingredients, except for any coloring, into a large mixing bowl.
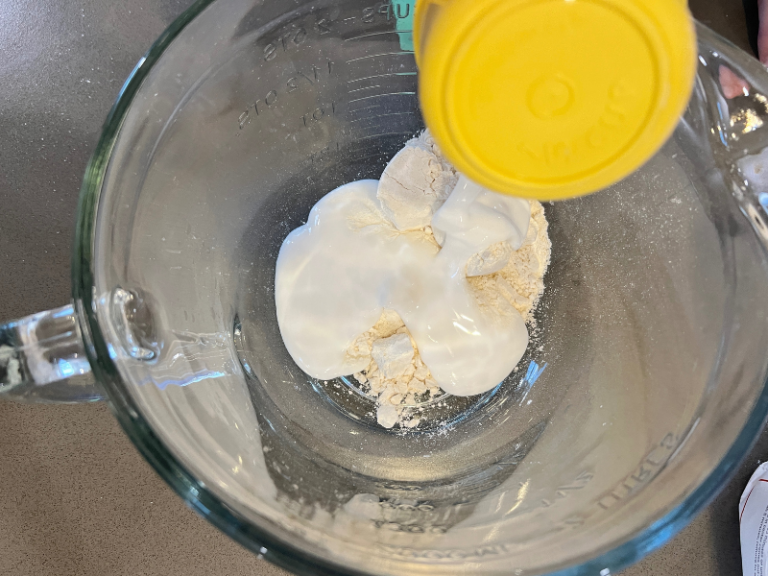
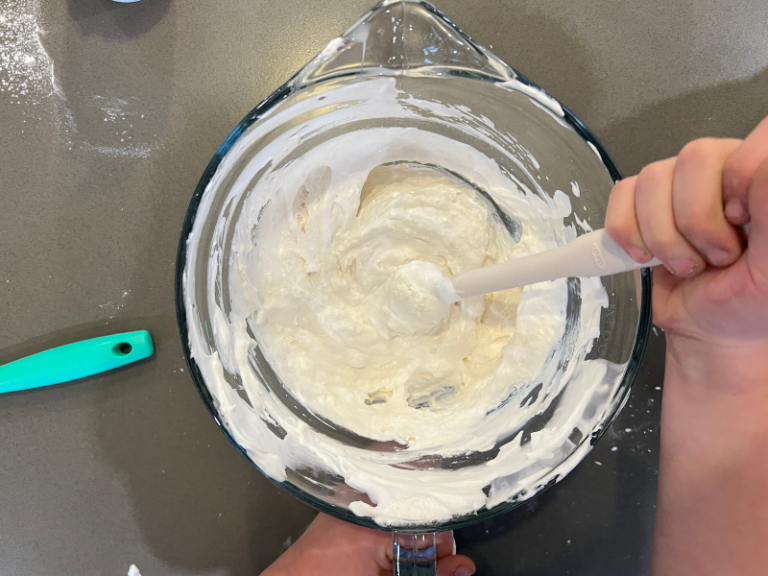
- Mix your ingredients
Combine the shaving cream, flour and glue together without over mixing. (You want to keep the air bubbles in the shaving cream.)
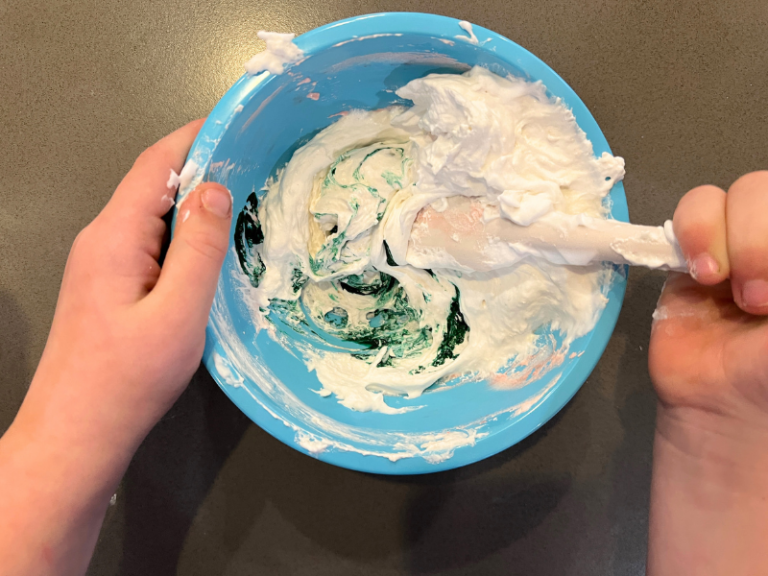
- Divide your mixture and add color
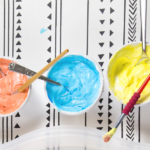
Pour the white paint mixture between 3 to 4 small bowls and add a few squirts of food coloring or paint to each bowl, stirring in, but again being careful not to over mix.
Note: If you want to keep all or some of the puffy paint white (for making clouds, snowmen, or for working on black poster board, for example), then you can skip this step.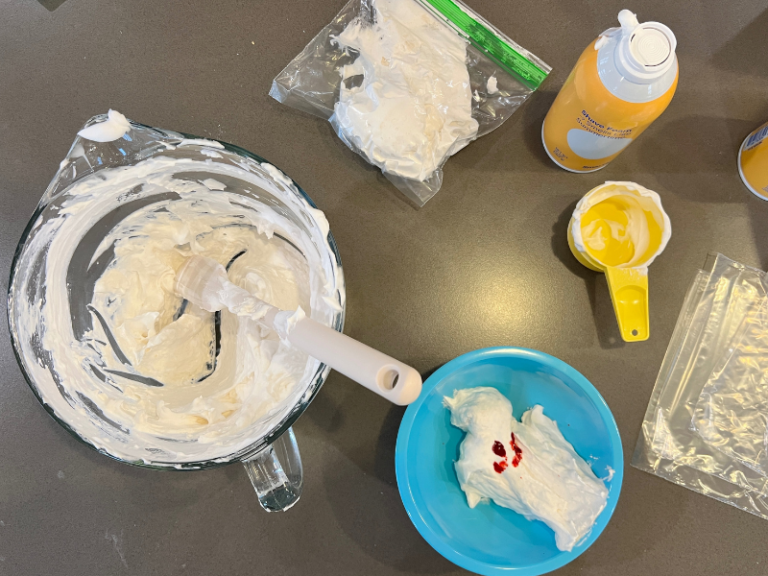
- Spoon the paint into sandwich bags
Seal each bag (add duct tape as well to help keep it closed if your kids are extra vigorous squeezers), then cut a small corner off.
- Start painting!
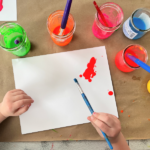
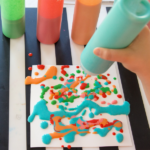
Squeeze the foam paint through the small hole onto your paper or board, making lines, dots, and designs as desired.
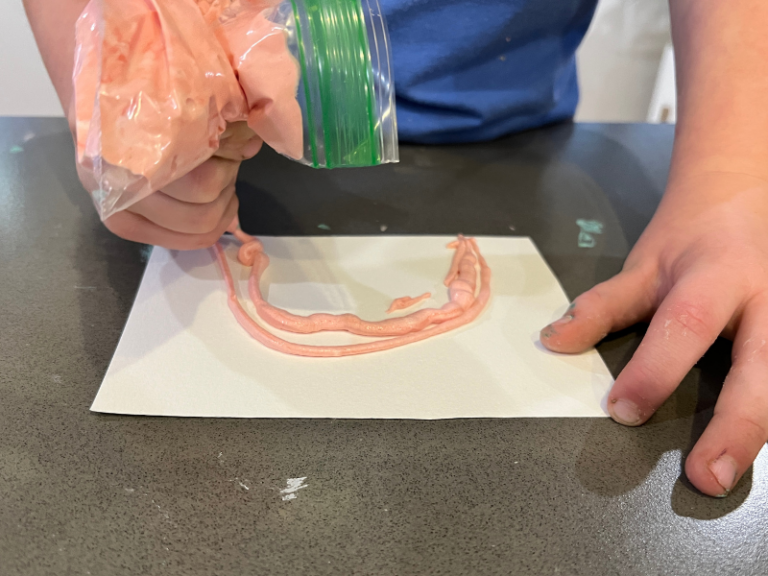
Note: A squeeze bottle works, too, but it is easier to squeeze out and use all of the puffy paint when it is in a bag and there is no clean-up of squeeze bottles necessary. - Let your painting dry overnight
You’ll notice the foam paint gets even puffier as it dries and sets.
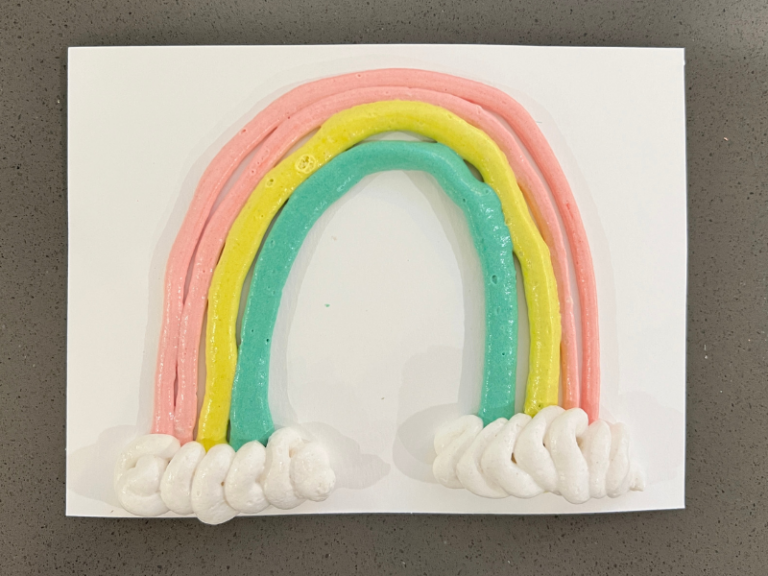
And it is still puffy to the touch even after it dries!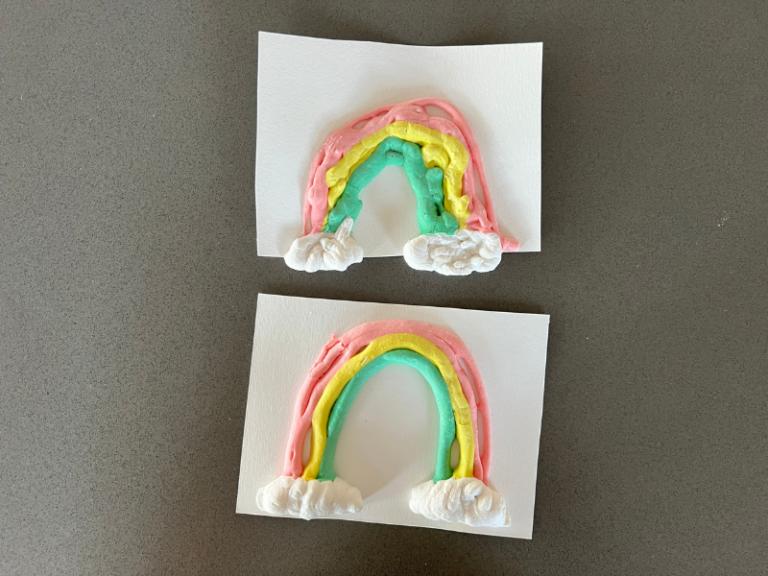
We’ve tried this project on both black and white paper and can’t decide which we like better!
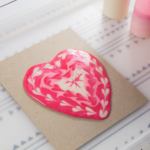
This project was fun and relatively easy for preschoolers. And it’s a great project to do during the holidays: think pumpkins at Halloween, trees at Christmas, and hearts on Valentine’s Day! We definitely think you should give it a try!

More Fun Paint Ideas for Kids
- 5 Puffy Paint Ideas for Kids
- How to Make Microwave Puffy Paint
- Easy Foam Painting for Kids
- Shaving Cream Sensory Play Ideas for Kids
- What to Do with Foam Paint for Kids?
- How to Make Salt Paint for Kids
Pin It for Later


Related Posts
-
How to Make a Homemade Bathtub Paint
Whip up this simple bathtub paint recipe and combine kid art with playtime in the…
-
7 Fun Painting Ideas for Kids
If you're looking for new painting ideas for kids, here are seven that you may not have tried…
-
How to Make Salt Puffy Paint
Here's how to make and use DIY salt puffy paint with kids. This is a…
-
How to Make DIY Puffy Paint for the Holidays
This DIY puffy paint recipe is simple to make in holiday colors and so much…
-
Microwave Puffy Paint Recipe for Kids
This microwave puffy paint recipe combines art and science for kids. Made of 3 simple…
-
5 Puffy Paint Ideas for Kids
Puffy paint for kids is fun to make and play with. Here are five ways…

