Tips for kids on drawing faces, plus a free printable, that can help as kids get older and want to draw more realistically.
Updated September 2024
The human face is one subject that many children draw repeatedly over the years, beginning with the most basic circle and eyes around age 3. And as your children continue to grow, chances are they’ll continue to draw all kinds of faces: themselves, their family and friends, and characters from their imaginations. Faces are an appealing subject, but they can also cause quite a bit of frustration!
One way to reduce frustration is to learn some basic tips and tricks for successful drawings. Luckily, we’ve developed a fantastic self-paced course that does just that! Check out our Drawing Skills Master Class for kids: with engaging self-paced lessons and follow-along booklets, your child will learn how to master lines and shapes, create realistic shading and value, and understand the magic of perspective.
Whether you’re sketching a self-portrait, doodling with friends, or creating a new character, understanding the basic structure of the human face will give your kids the tools they need to create a piece of art they’ll love.
Read on to discover the few easy-to-follow steps that anyone can use to draw with confidence!
Drawing Faces for Kids

MATERIALS
INSTRUCTIONS
- Start with an oval
The easiest way to start drawing a face is with an oval. This will be the main part of the head. Don’t worry if it’s not perfect – faces come in all shapes and sizes, so your oval doesn’t have to be perfect either.
Tip: Try drawing very lightly with your pencil so you can erase any extra lines later. - Use guidelines
Next, draw a vertical line straight down the middle of the oval. Then, draw a horizontal line across the middle.
These guidelines will help you place the features of the face evenly. When it comes to portrait drawing, many people place the eyes too high up on the forehead. By following your guidelines, you’ll be able to avoid this common mistake. - Place the eyes
Eyes are placed on the horizontal line, about halfway down the face. To make them look balanced, draw two ovals or circles—one on each side of the vertical line. Leave some space between them, about the width of another eye.
Tip: The eyes are the most expressive part of the face, so feel free to play around with their size and shape to give your character personality.
And don’t forget about the eyebrows! Try observing your own expressions in a mirror to see how your eyebrows change when act out different emotions. - Add the nose
The nose is usually placed right below the horizontal line, in the center of the face. Start by drawing a small curved line or a soft triangle for the nose tip, keeping it simple. You can add two tiny curves on either side for the nostrils.
Tip: Don’t worry too much about details here! A simple line or shape is enough for a basic nose. - Draw the mouth
The mouth goes between the nose and the bottom of the circle. Draw a small, curved line or smile under the nose. You can adjust the curve depending on the expression you want—upward for a happy face, flat for a neutral face, or even downward for a frown.
- Add the ears
Ears are placed on each side of the head, lining up with the eyes. Draw two small, curved lines (almost like tiny C’s) on either side of the circle.
- Have fun with hair
Now it’s time to get creative with hair! You can add any hairstyle you like, whether it’s long, short, curly, or straight. Draw the hairline above the eyes and let the hair flow outside the edges of the circle. Feel free to have fun with this step!
- Finish up with final details
You’re almost done! Go back over your drawing to add any extra details like eyelashes, freckles, or a fun background. Erase the guidelines you no longer need and add color as desired.
- Practice!
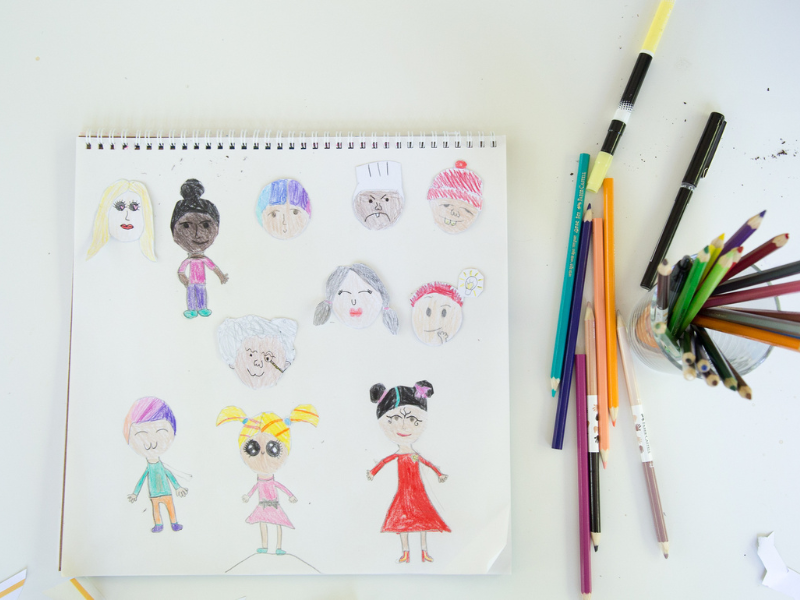
Drawing faces is a skill that gets better the more you practice, so keep experimenting! Try drawing different expressions by changing the mouth and eyebrows. You can also play around with face shapes, eye sizes, and hairstyles to create unique characters.
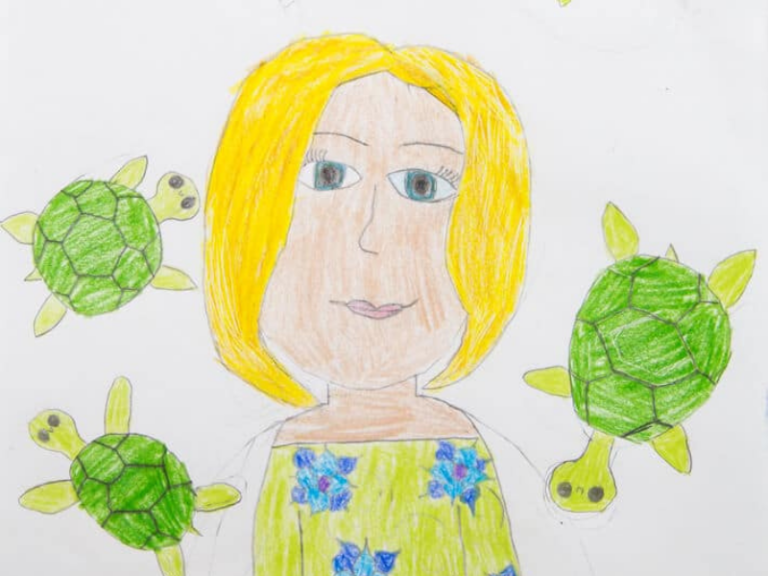
Remember: Faces are fun to draw because no two are the same. The more you experiment and practice, the more your style will grow! Still feeling frustrated? Try loosening up your creative muscles with a drawing game or an abstract self-portrait and come back to your face drawing later.
Feel free to share your amazing portraits with friends or hang them up on your wall—happy drawing!
More Fun Drawing Ideas for Kids
- Observational Drawing Using a Wood Mannequin
- How to Make Frida Kahlo Portraits
- How to Draw Donuts for Kids
- Encouraging the Reluctant Artist
- 12 Kids’ Drawing Games
- Drawing Vegetables: Above & Below in the Garden
Pin it for Later


Related Posts
-
How to Make Magazine Picture Drawings
Magazine pictures can be interesting creative drawing prompts for kids, giving them a fun starting…
-
Chalkboard Drawing Prompts for Kids
Use these creative drawing ideas and prompts to encourage kids to think and draw more…
-
The Scribble Drawing Game for Kids
The scribble drawing game turns drawing prompts into a fun, interactive drawing game that can…


