Learn how to make DIY wrapping paper for kids with a rolling pin and foam stickers! A fun holiday craft project.
Updated November 2024
Have you tried making handmade wrapping paper with your kids?
This project was originally inspired by a rolling pin stamp idea from Color Made Happy. Our founder Jean did it many times with her girls using different techniques.
We recently tried this classic Artful Parent holiday craft for the first time and think it’s going to become a new tradition! It was super easy to make prints on a large sheet of paper and now we have our wrapping paper all set for Christmas.
And it is extra special when you get to be creative with the gift wrap, regardless of what the gift inside the package is.
Here’s how to make your own wrapping paper with your kids!
DIY Wrapping Paper for Kids

MATERIALS
- Foam stickers
- Tape
- Kraft paper, easel paper, or other large paper
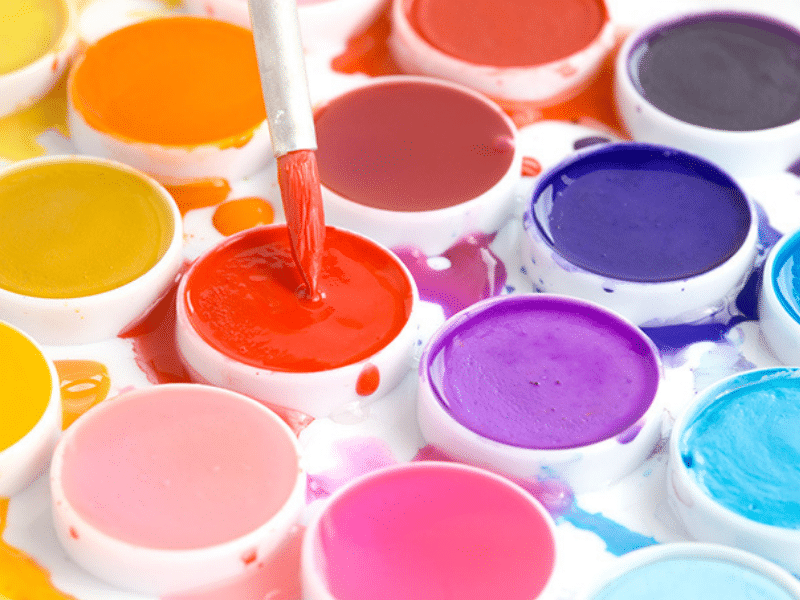
- Water soluble block printing ink or acrylic paint
- Acrylic box frame or an old baking dish or tray
- Mini paint roller or brayer
- Pens or markers
- Rolling pin
- Wax paper
INSTRUCTIONS
- Create a design on the roller
If you’d like to protect your rolling pin from paint, wrap wax paper around it first and secure with tape. Adhere foam stickers to the pin in any desired pattern.
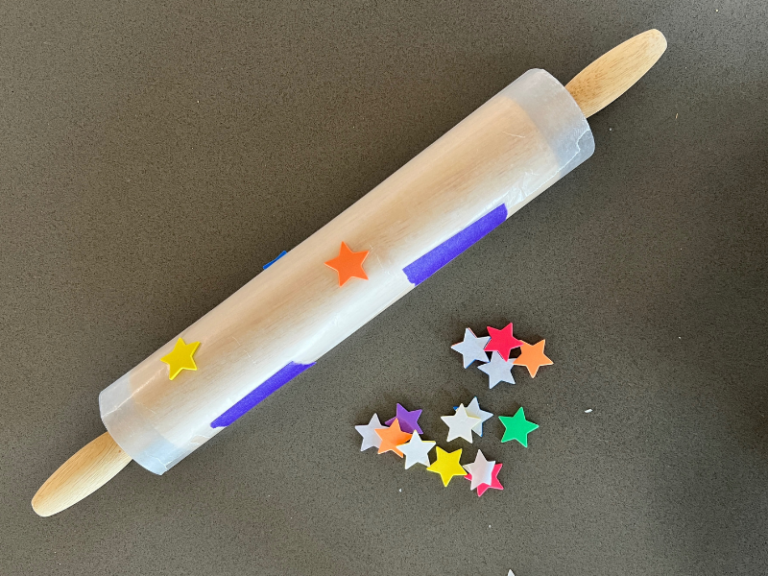
If you don’t have a rolling pin, or you’d like to do more than one, you can always press foam stickers on a cardboard paper towel tube. - Lay down paper
Tape down a piece of butcher paper or other large sheet of paper to your table or floor.
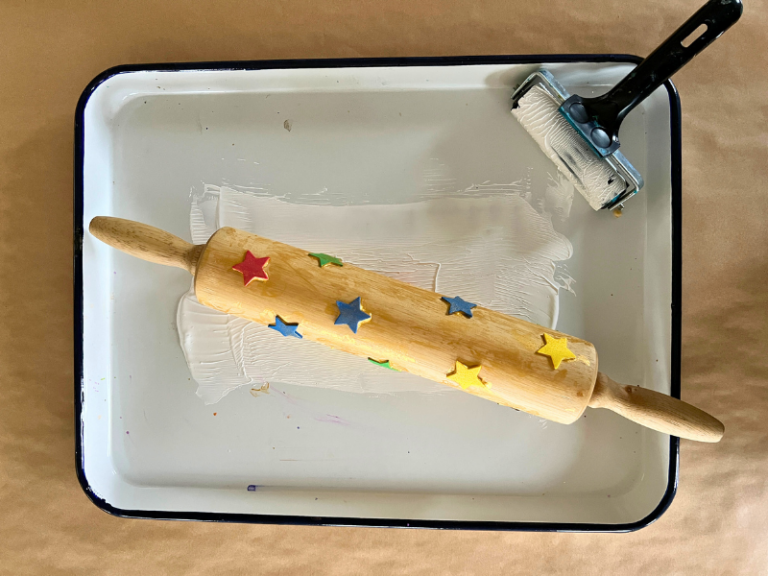
- Prepare your paint
Next, squeeze a dollop of printing ink or acrylic paint onto the acrylic box frame or tray. Then use the paint roller or brayer to roll the ink around, creating an even and smooth layer of ink.
Note: We tried it with black printing ink and white acrylic paint and found them to work about the same. But the gold tempera paint didn’t work quite as well. - Coat the rolling pin with ink
Roll the sticker-covered rolling pin over the inked surface a few times to coat the stickers with ink.
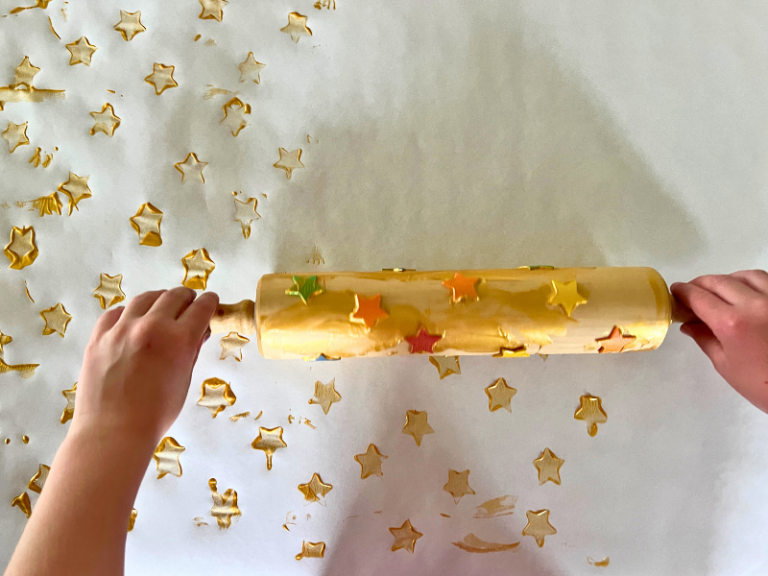
- Roll and print your design
Finally, roll the inked rolling pin over the butcher paper to print your designs and patterns. Re-ink as necessary and continue printing with the roller until you’re happy with the way your wrapping paper looks.
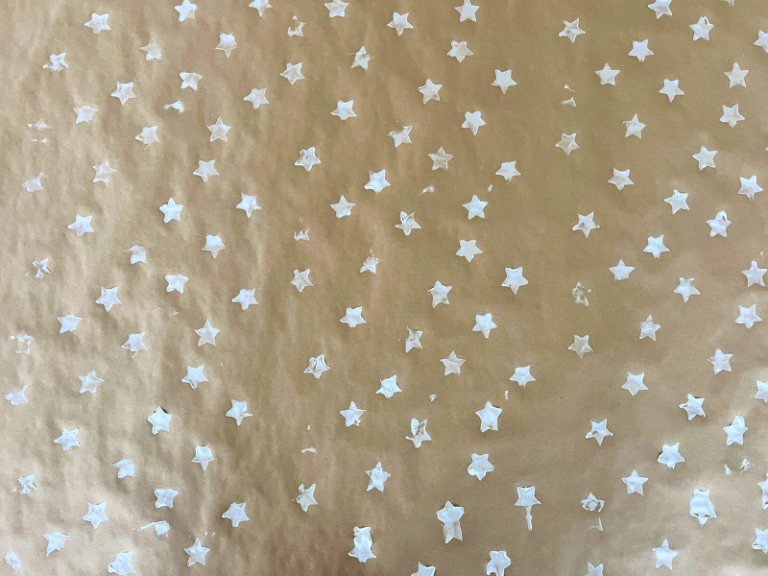
Let paper dry.
Tip: Wash your box frame and trim roller ASAP to get the ink off. - Wrap your gifts!
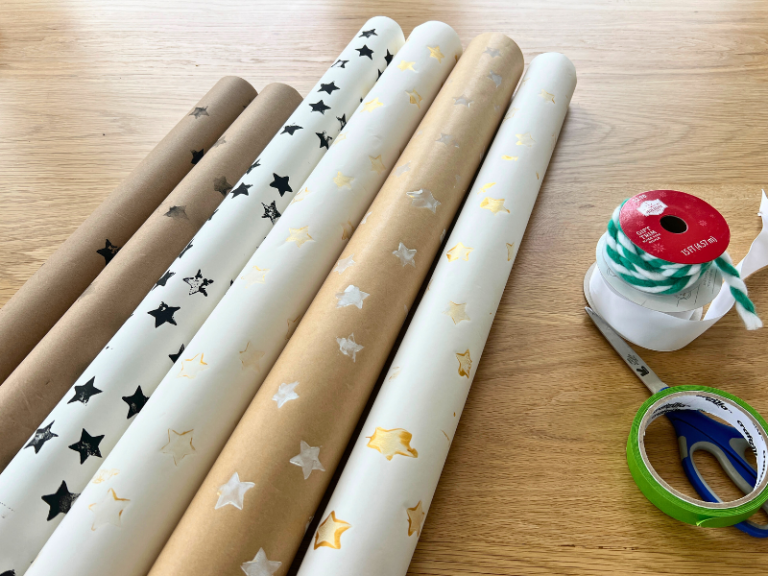
Now use your amazing new gift wrap to wrap your gifts!
As an optional step before you use your wrapping paper, you can use markers to doodle on it. Use the printed designs as drawing prompts, as the beginnings of something else, or just doodle and draw to your heart’s content!

Don’t these gifts look so lovely? And this is only one way to make your own wrapping paper. We also love to use big sheets of paper when doing process art activities like splatter painting or printmaking and then repurpose the artwork into gift wrap!
More Ways to DIY Wrapping Paper
- Make Your Own Gift Wrap with Office Supplies
- Potato Printmaking for a Handmade Christmas
- 13 Ways to Reuse Children’s Art
- How to Make DIY Stamps for Holiday Cards
- How to Do Balloon Printing for Kids
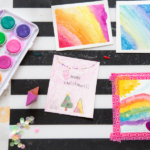
- DIY Thank You Cards for Kids
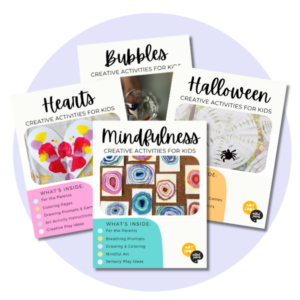
Want even more creative ideas?
Check out our Holiday Creativity pack!
Let’s celebrate the holidays with all things crafty! Here are 53 pages full of our favorite drawing prompts, creative play ideas, art activities, and more!
Pin It for Later