Learn ways to declutter, organize art supplies in simple ways to encourage continued use. Our best tips for tidying up quickly!
Updated February 2025
At The Artful Parent, we believe that every home, big or small, can make space for art.
If you’re wondering where to begin with your own kids art space, check out these craft room ideas for kids. If you have an art space for kids but it’s not getting much use, here are a few tips to consider. Or if you have limited space, try setting up an art cart or art caddy for your kids.
But let’s say you have a dedicated space. You’ve tackled the first challenge (yay!), but now what?
How do you make sure your fabulous creative home art space actually gets used? And if it does get used, how do you keep it from becoming a constant disaster-zone?
Don’t worry, we’re here to help! Here are 3 simple steps that will maintain your kids art room and keep it active and organized.
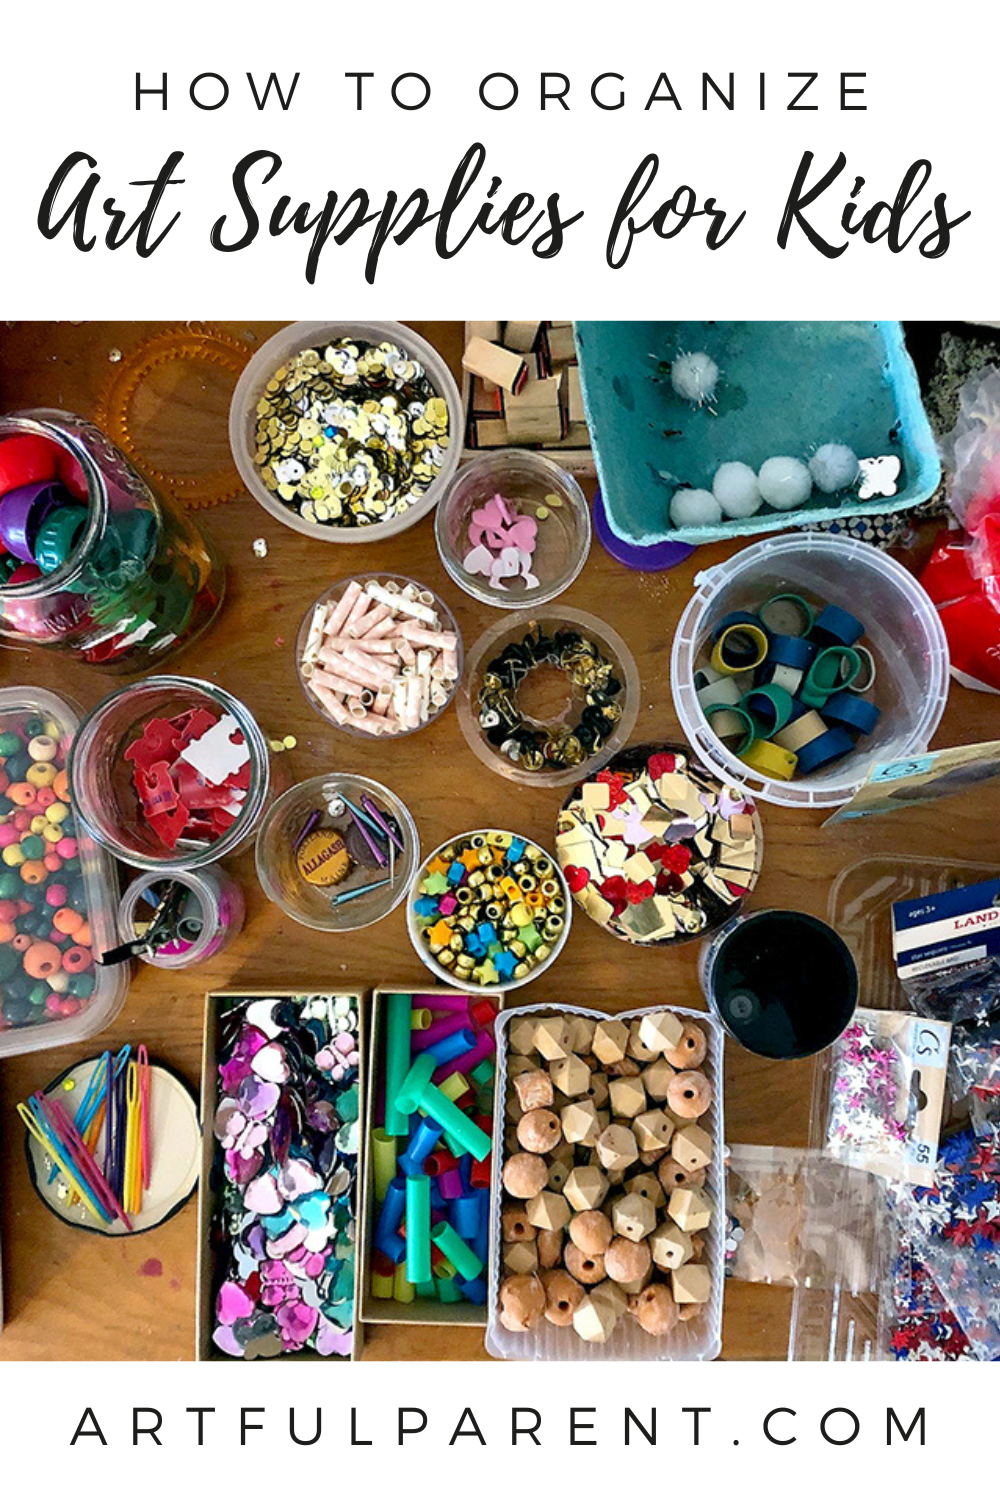
How to Organize Art Supplies for Kids
1. Start Simple with Art Supplies
When starting any new system with your kids, simpler is always better. Think about a few basic supplies you’re comfortable with your children accessing independently, and start there. For example:
- Washable markers (no need to put out the whole collection!)
- Colored pencils
- Paper
- Scissors
- Stickers
- Tape
Just because you have a dedicated space, doesn’t mean you have to fill it up right away. Start small and familiarize your children with the new system of organization (see step #2!). Then gradually expand the options as your kids become more proficient.
Notice how the suggested list above is fairly mess-free? If your kids are new to independent art time, stay away from the permanent markers and paint for a while. For your own sanity.
Of course, we LOVE a good mess at The Artful Parent, but we also want to be prepared for it! New to creative messes? Check out this helpful article on how to embrace the mess!
2. Develop a System to Organize
In order to maintain a kids art space that’s useful and stays organized, it’s important to develop a system that works for your family. The way you organize supplies and work flow is, of course, very dependent on the type of space you have. An art caddy will be organized very differently than an entire art room, but the basics are the same:
Keep your most popular supplies visible, organized, and within reach. Kids won’t use what they can’t see!
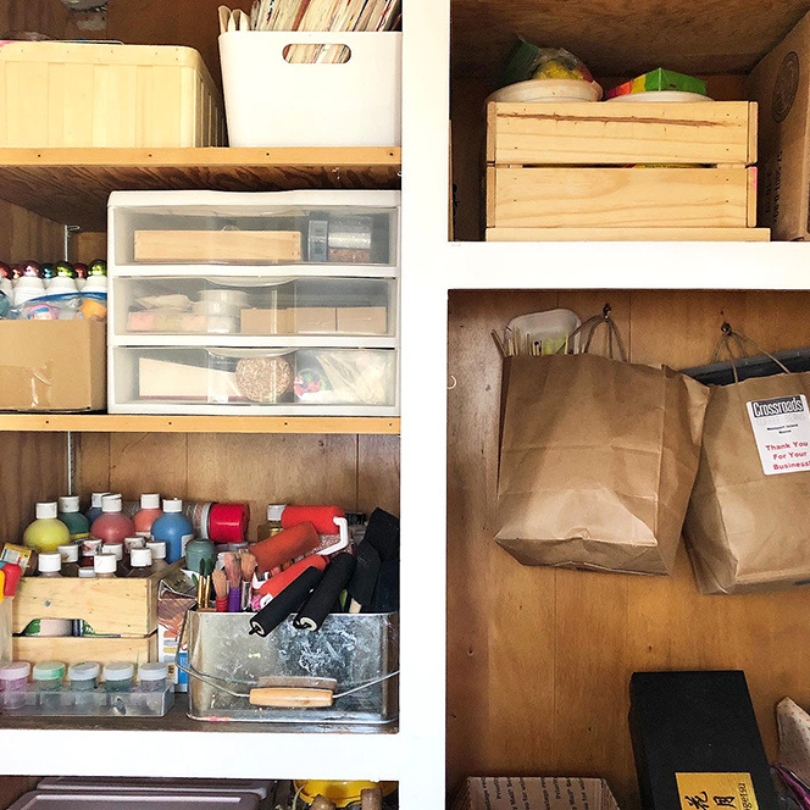
The options here are virtually endless, but these are some organizing items we recommend:
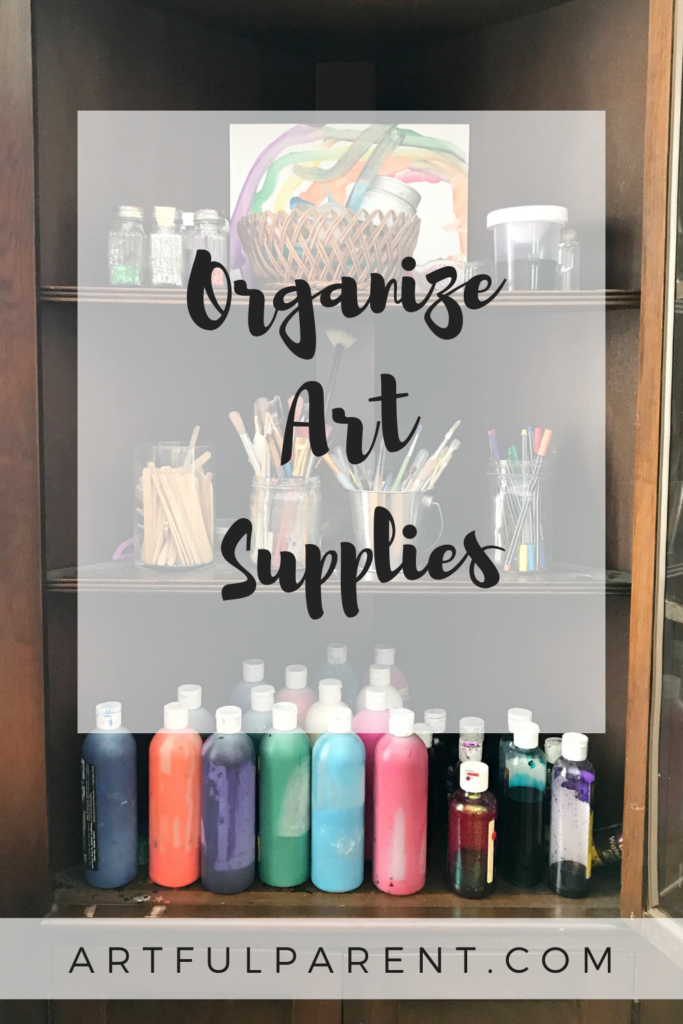
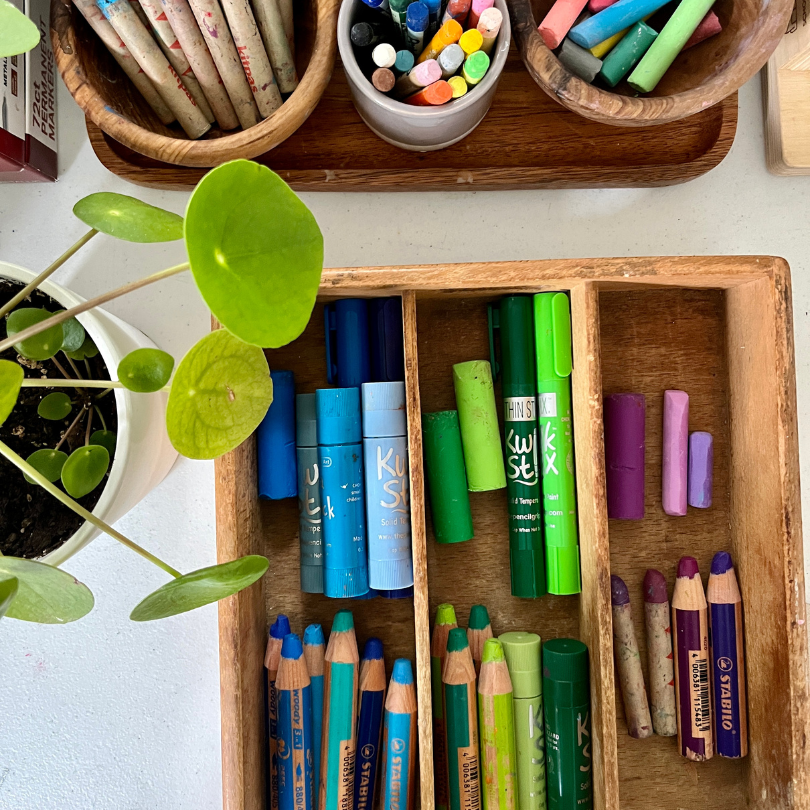
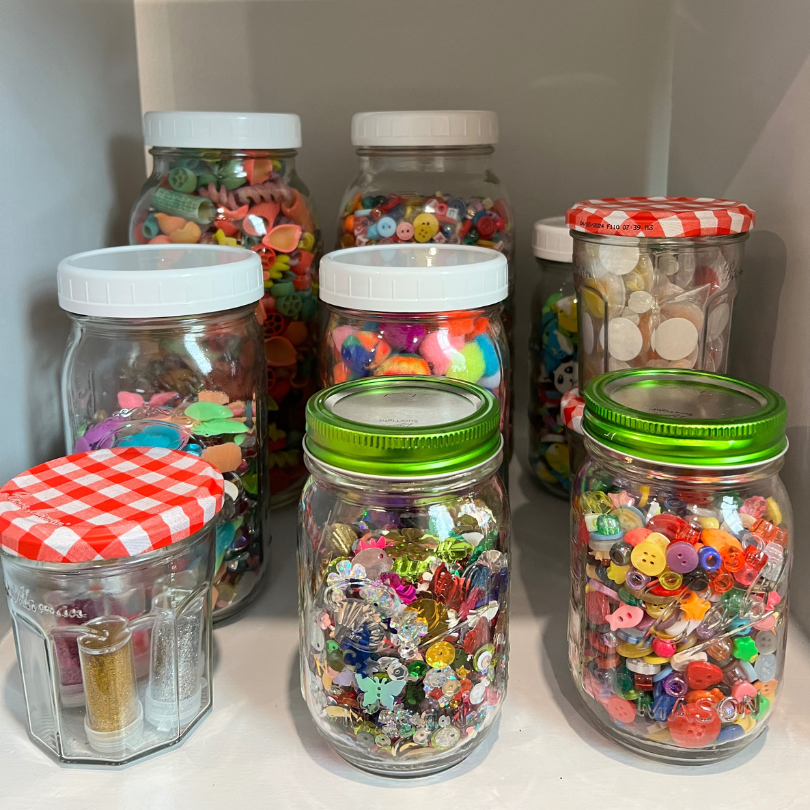
- Mason jars: Check your local thrift store for a wide variety of interesting clear glass jars. These work great for storing supplies like colored pencils, paintbrushes, and pom poms. Plus, they look beautiful sitting on a shelf!
- Paper trays: You can find these in the office supply section of just about any store. Several stacked together are great for organizing different kinds of paper. We love this magnetic modular system for organizing paper and, well, anything!
- Bins: Remember, you want your kids to be able to see their supplies. So avoid canvas bins or opaque plastic and look for transparent non-lidded options or lidded options instead.
- Labels: If keeping your supplies visible isn’t an option, try labeling drawers or containers instead! For pre-readers, use simple picture guides to help them remember what’s inside. Try washi tape for labeling that will easily peel off when you need it to.
3. Keep it Fresh
When anything sticks around for too long (even in an incredible art space!) it can start to feel tired and overly-familiar. Here’s how we like to keep things fresh in our art spaces:
Out-of-Sight Art Supplies Storage: If you can, keep some of your art supplies stored away out of sight. I know, I know… we JUST finished telling you to keep art supplies visible. And you should!
But holding some items back gives you the opportunity to rotate your collection and keep your art space from feeling stale. Utilize your basement, under-the-bed storage boxes, or your front hall closet.
Themed Rotations: Rotating art supplies with seasons or holidays is a fun way to keep your kids interested. When the winter books come home from the library, take a few minutes to pull out extra white and blue paper, cotton balls, and coffee filters for snowflakes.
You can also try rotating art supplies in tandem with your child’s interests. Is your daughter going through a dinosaur phase? Bring out the browns and greens, pile on the dino stickers, and maybe leave out some q-tip “bones” with a bottle of glue. She will immediately be drawn back to your art space!
What to Do with Kids Artwork
Once your art supplies are visible and organized, they’ll definitely be getting used to create SO MANY THINGS. But what do you do with all those works of art?
1. Drying Space: If paint, clay, or glue is in your art space, you’ll also need a place to dry finished pieces. Drying racks made specifically for art are wonderful, but they can be a bit pricey. Try a shoe rack or cooling rack instead. In the absence of these, a tray on the ground or a piece of butcher paper spread out works as well.
2. Holding Zone: Have a dedicated space for finished artwork that won’t be immediately displayed. A paper organizing tray with deeper sides works great for something like this or you can even use a cardboard box. When the box is full, sort through its contents. (How to store kids artwork is worthy of a whole other article!)
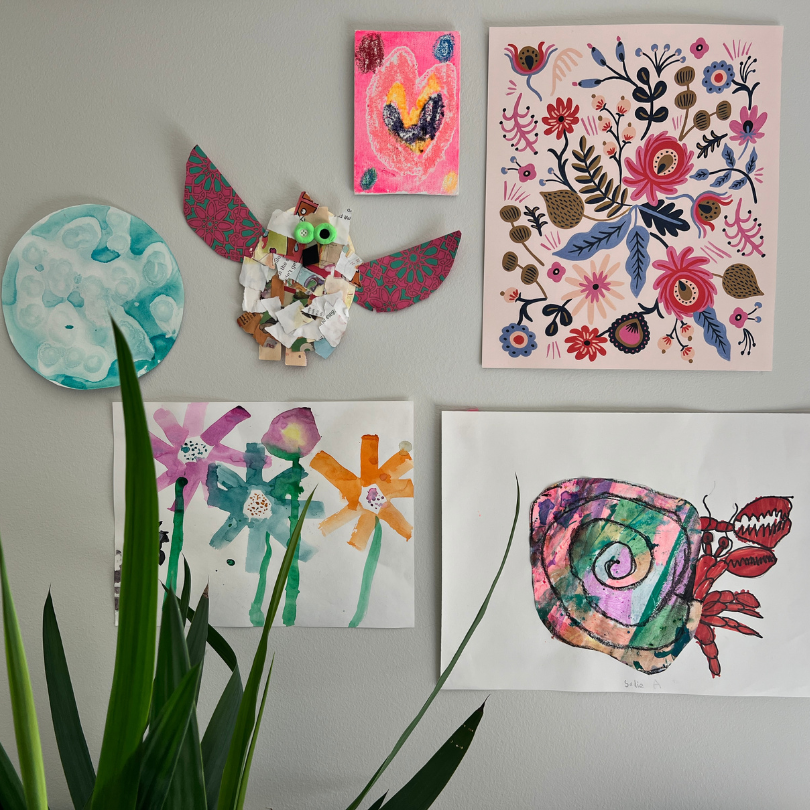
3. Kids Art Display Ideas: When kids are proud of their work, they want to display it! Try finding a space in your home where your kids can easily hang up or display their finished pieces. This might be as simple as a set of magnets on the fridge or pins on a bulletin board. Or how about a piece of twine with small clothespins hung at kid-height?
4. The Leftovers: An active art space is going to leave you with lots of scraps and bits and bobs. As you develop a system, don’t forget to teach your kids what to do with all those leftovers! Our favorite thing to do with art leftovers? Reuse them! Paper scraps, yarn pieces, cardboard, and unwanted artwork all make excellent collage materials. There are so many fun projects you can do with these things!

And if your art space is feeling neglected, set out a simple invitation. You will be AMAZED at how kids are drawn to a simple set-up of limited supplies.
The invitation acts as a creative prompt, enticing your children back to the art space and creating in a whole new way!
More Tips on How to Organize Art Supplies for Kids
- 25 BEST Art Supplies for Kids
- 6 Art Room Ideas for Kids
- How to Set up an Art Cart for Kids
- Why a Kids Art Room Isn’t Just About Art
- 6 Ideas for an Art Room
- How to Set Up an Art Caddy