Make easy and beautiful melted bead art and free-form suncatchers and mobiles using translucent pony beads, thread or wire, a metal pan, and a grill.
Updated March 2024
We’ve been experimenting with melted pony bead suncatchers!
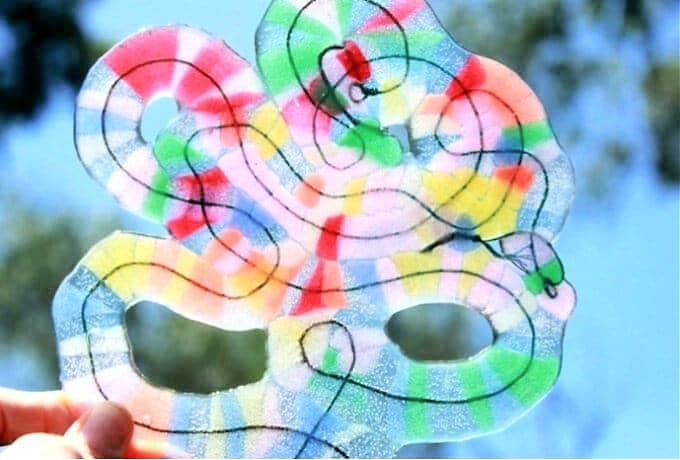
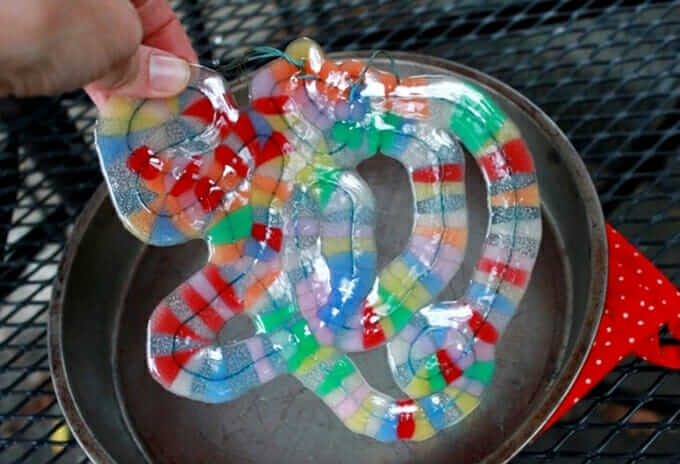
We first started using round cake pans and muffin tins to make basic melted bead suncatchers, but now we’re into more free-form melted bead art.
We love the freedom of form that string and wire allow. And we’ve even tried adding glass stones among the plastic pony beads. Read on to discover how easy and beautiful creating melted bead art can be!
Important note: melting plastic is toxic, so be sure to follow the directions closely and do this project outside!
How to Make Free-Form Melted Bead Art
MATERIALS
- Translucent or glitter pony beads

- Embroidery thread or a malleable wire, such as floral wire
- Metal bakeware: pans, cake tins, muffin tins
- Aluminum foil to line bakeware (for easy clean-up and no risk of plastic residue)
- Grill or toaster oven
- String or ribbon for hanging
*After doing this several times, we’ve decided that it’s best to use older or thrift store baking dishes that you’ll dedicate to crafts. If you can’t do that, aluminum foil in your bakeware works just fine.
Instructions
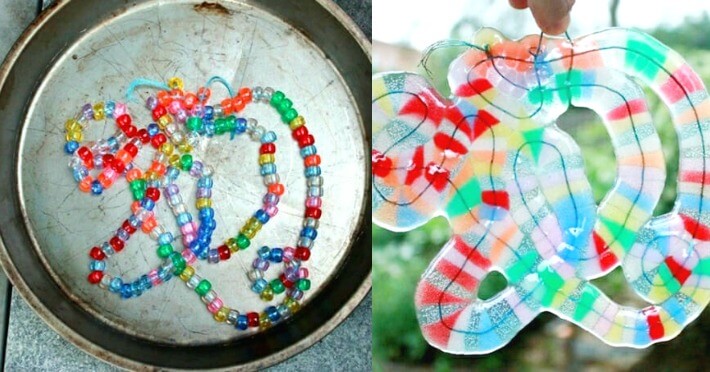
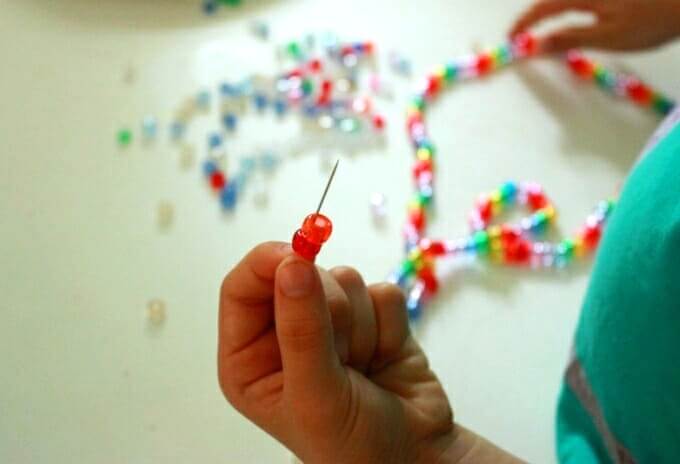
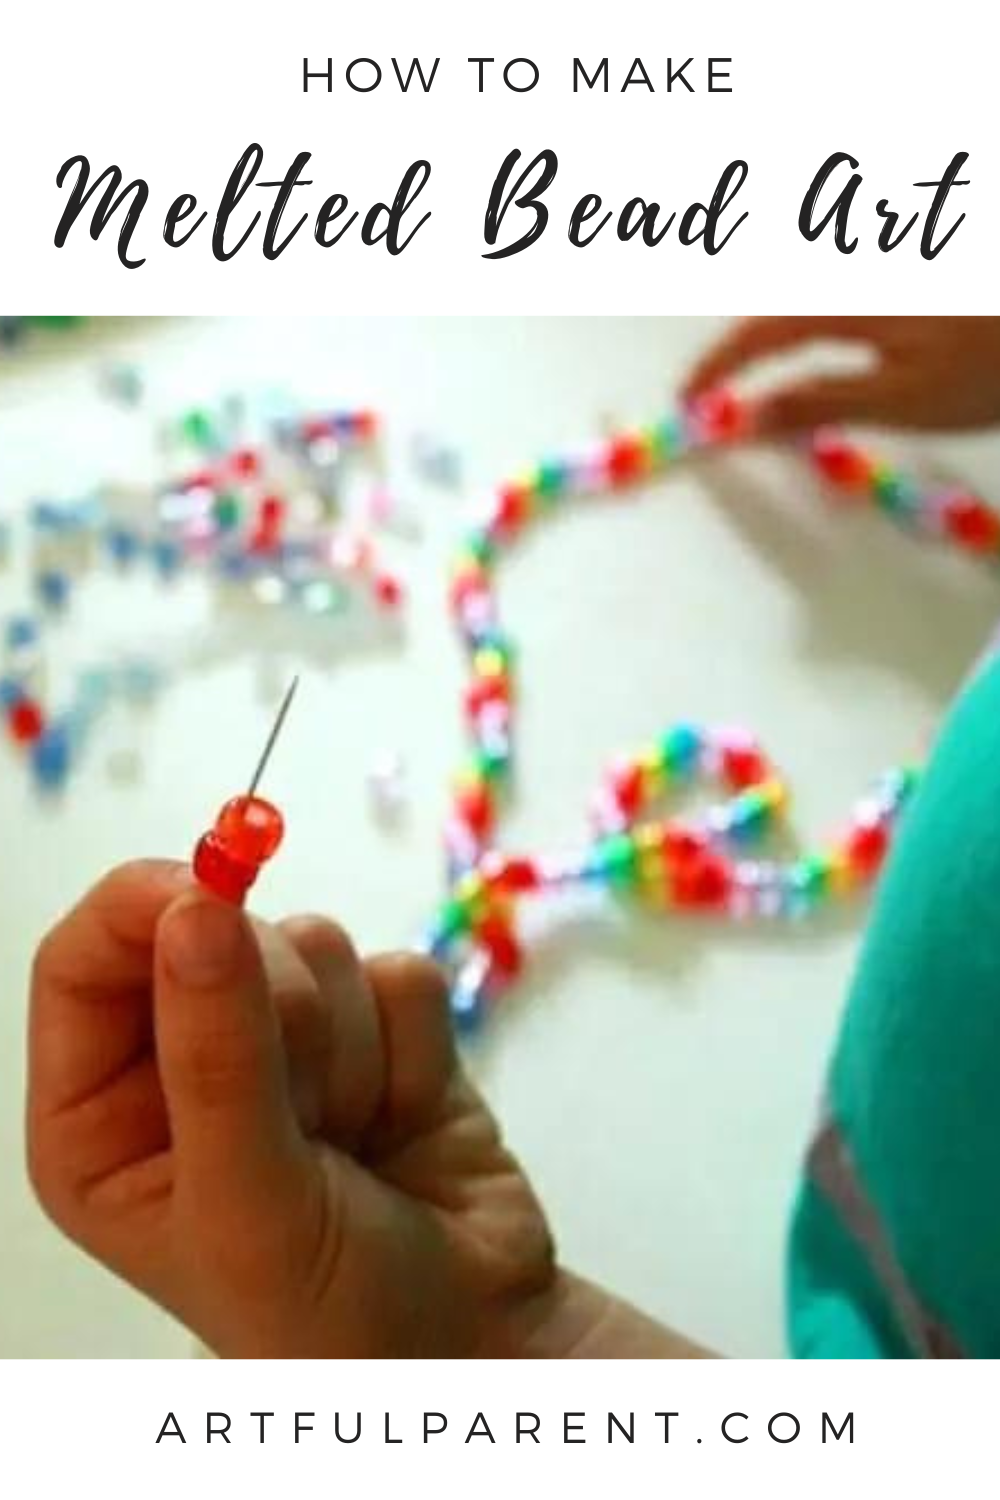
- String beads onto thread or wire
String your beads and then tie off the last pony bead so the beads don’t slip off for the next step.
- Create your melted bead art
Prepare your metal pan or bakeware with a layer of aluminum foil. Arrange your string of beads into the desired shape or design in the pan.
Note: These photos were taken before discovering how helpful using foil was! You should especially be sure to use foil if you plan to use the same pans you bake with.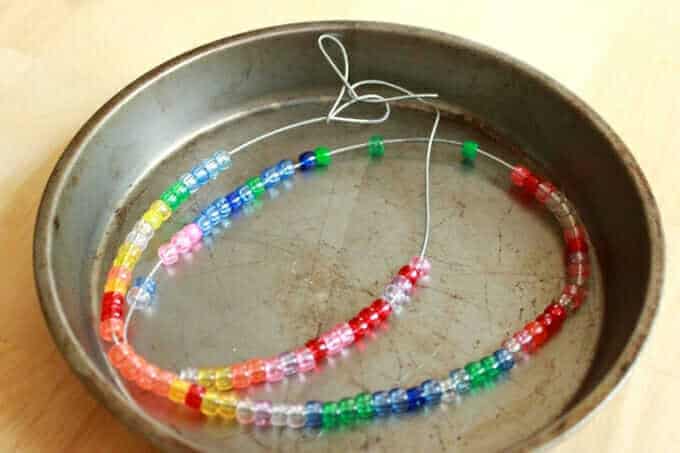
You can do structured shapes like spirals, but the malleability of the thread or wire allows for more abstract shapes.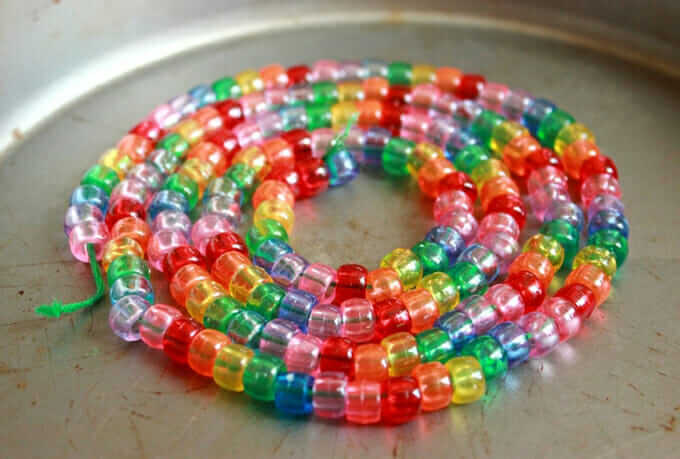
To get a free-form abstract shape, drop the string of beads loosely in the pan and allow it to overlap at points.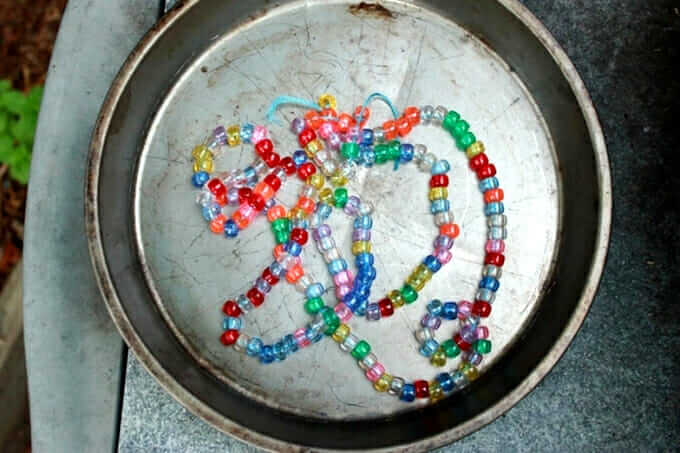
Optional Idea: Add in glass beads. Surround each glass bead with plastic beads to make sure they stay in place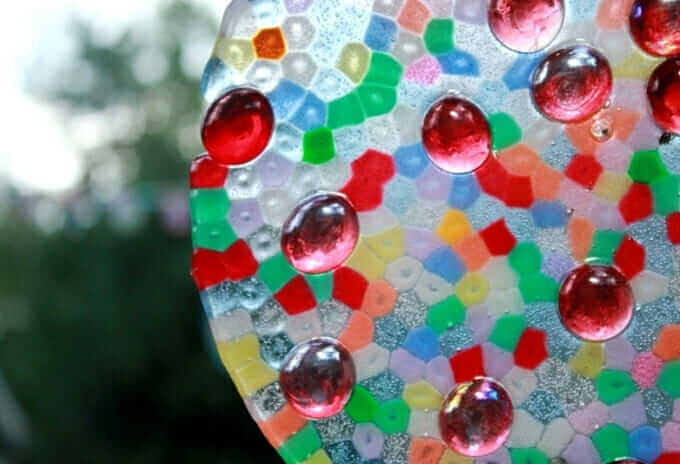
- Melt the beads
Important Note! The melting plastic is not good to breathe, so this step is best done outside.
We make all of our melted bead suncatchers on the gas grill outside so we don’t get any toxic chemicals inside. The grill works great or you could even use a toaster oven outside. Whichever way you melt the beads, be sure to do so outside!
We’ve had the best success using our grill set on “high” (400-450º Fahrenheit). Place the pan in the center and put the top down. When we tried doing multiple pans at once, we found that the ones on the edges did not heat up as well and we had to rotate them for even melting. Heat for 5 minutes and then check the progress every few minutes. Melting the pony beads completely should take no more than 10 minutes.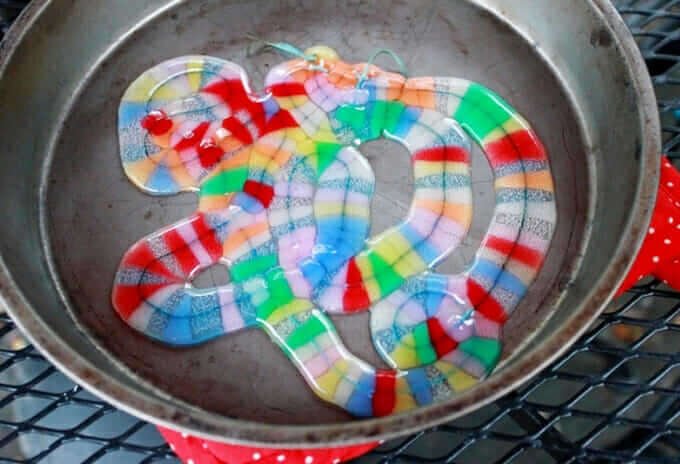
- Let the suncatcher cool
Once the melted bead art has cooled completely (this only takes a few minutes) it will peel easily out of the pan.
- Hang your melted bead art
If needed drill a small hole through the top. String with ribbon and hang your new suncatcher art!
More Melted Bead Art Ideas
- How to Make a Suncatcher with Beads
- How to Make Bead Suncatchers in a Frame
- 7 Ways to Make Melted Plastic Bead Suncatchers
- How to Make a Melted Bead Suncatcher Mobile
Pin It for Later
