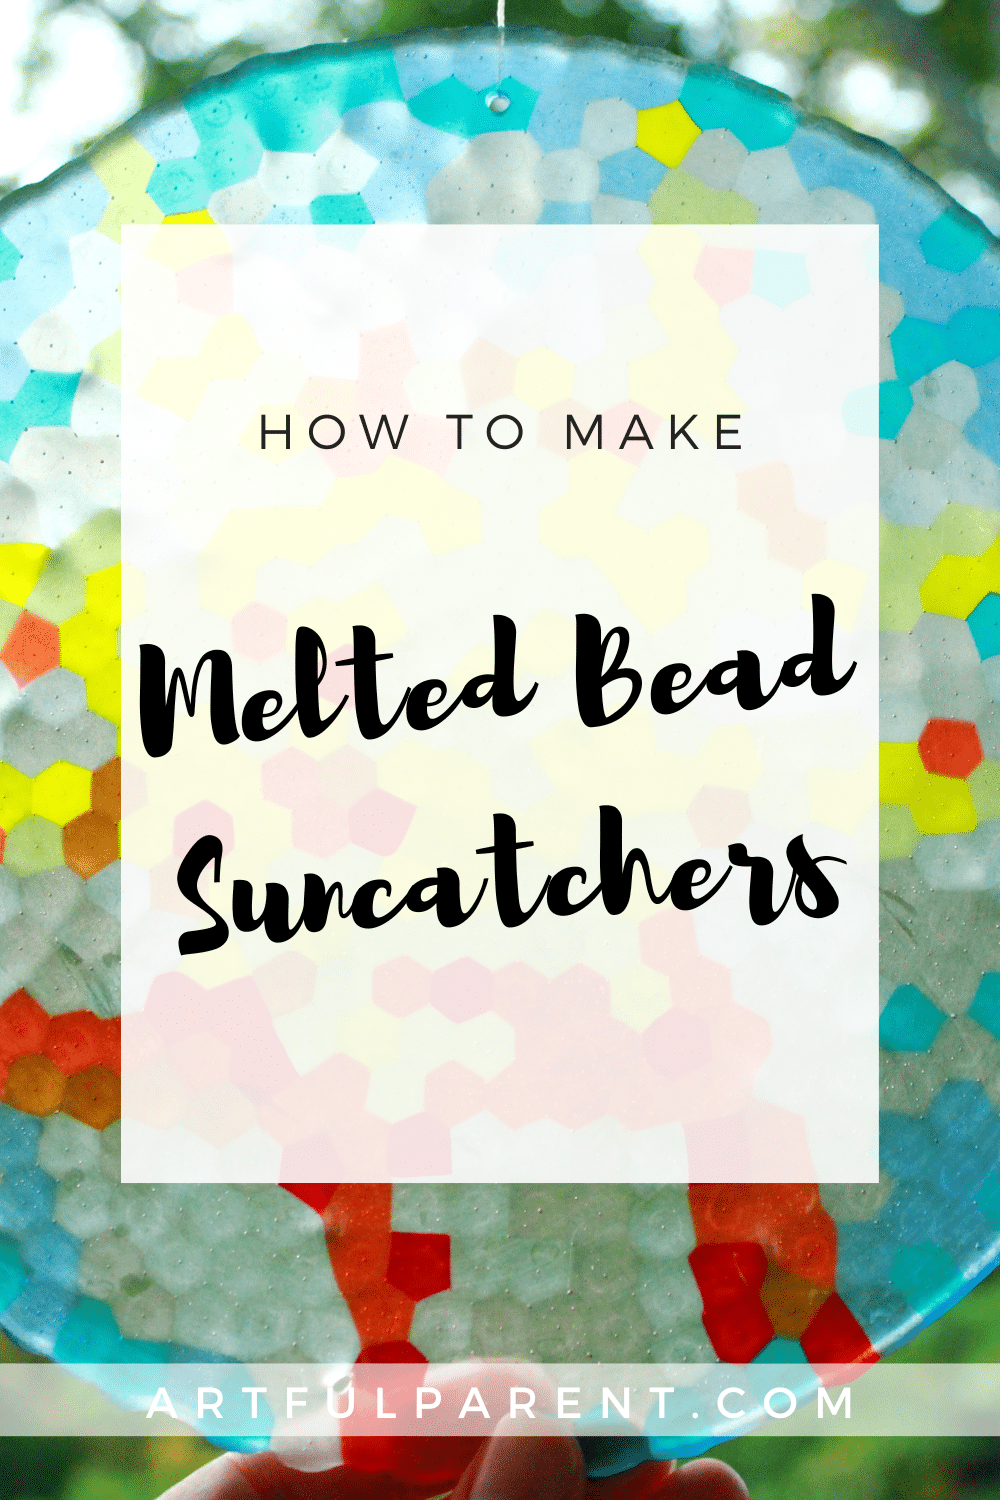
Making a suncatcher with beads is easy and fun to make from kids’ plastic pony beads. Follow these step-by-step instructions to make a beautiful and durable suncatcher.
Updated May 2024
Suncatchers might be one of our favorite things to make. But unlike most of the suncatchers and stained-glass projects we make out of paper or contact paper, these melted bead suncatchers will last and withstand the elements for outdoor use.
Important note: melting plastic is toxic, so be sure to follow the directions closely and do this project outside!
Here’s a video showing how to make the melted bead suncatchers. And keep scrolling for the step-by-step instructions.
How to Make Melted Bead Suncatchers

MATERIALS
- Translucent pony beads
- Metal baking dishes (such as an old muffin tin or a cake pan)*
- Outdoor grill (best) or toaster oven
*After doing this several times, we’ve decided that it’s best to use older or thrift store baking dishes that you’ll dedicate to crafts.
INSTRUCTIONS
- Arrange beads in metal baking dish.
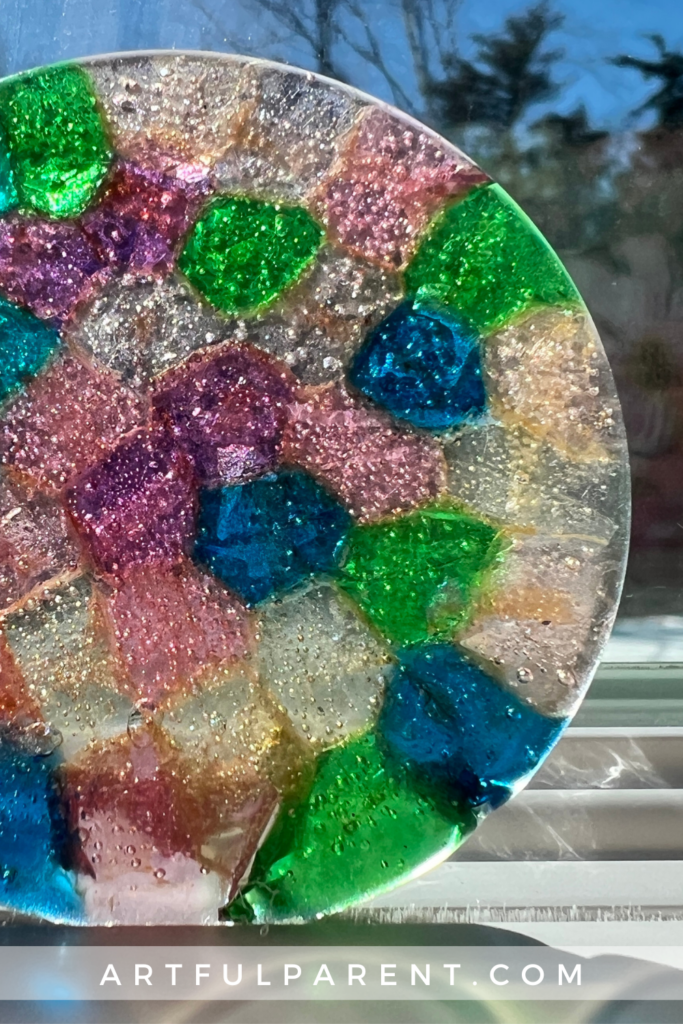
We find that translucent pony beads work the best for this project. Arrange the pony beads into a single layer in your metal baking dishes.
If you want to make a large suncatcher, you can use a cake pan. But we love making lots of little suncatchers by filling smaller muffin tin sections.
And don’t worry about your pans! As soon as a bead suncatcher is cool, it should pop right out and not leave any visible residue at all!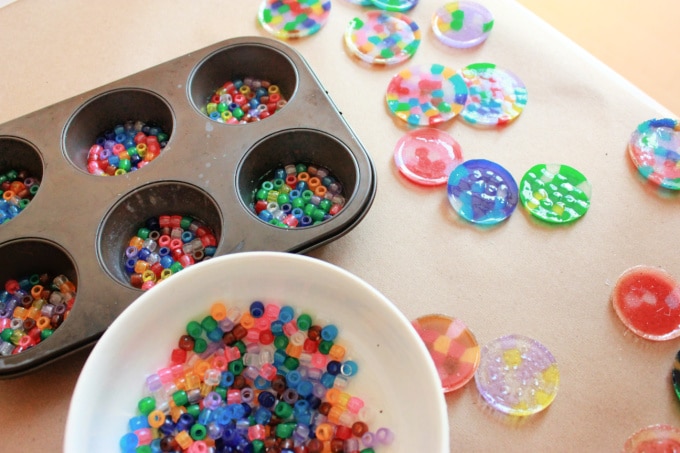
- Melt the beads.
Important Note! The melting plastic is not good to breathe, so this step is best done outside.
We make all of our melted bead suncatchers on the gas grill outside so that we don’t get any toxic chemicals inside. The grill works great and only takes about 10 minutes! You could also use a toaster oven outside. But whichever way you melt the beads, be sure to do so outside!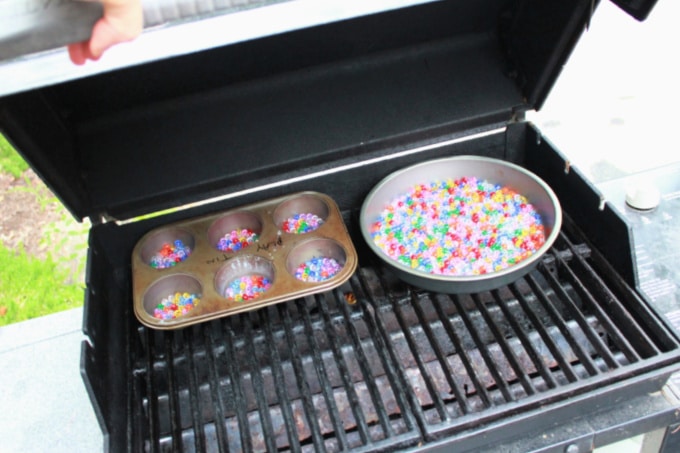
- Let the suncatchers cool.
Once the suncatchers are cool, invert the pans and they’ll pop right out!
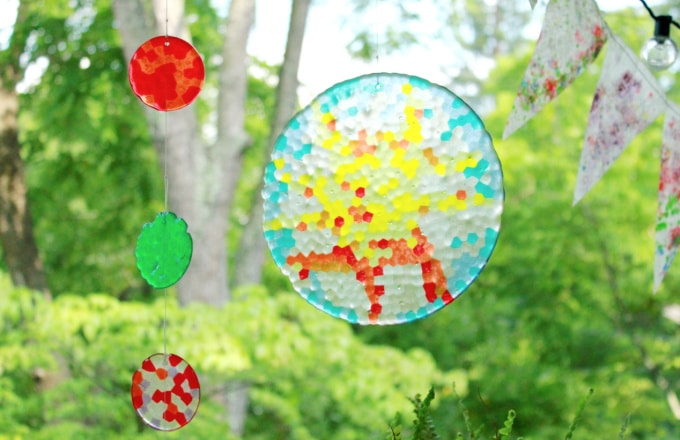
- Hang your melted bead suncatcher.
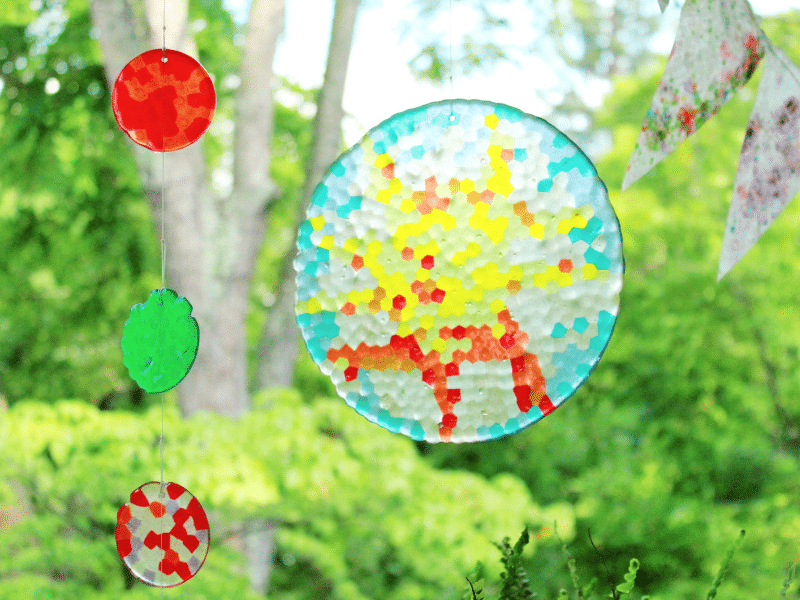
Drill a small hole in each suncatcher with a power drill, then string thread or twine through the holes to hang them up. You can hang them individually or string several together to make a mobile.
We decided to hang the melted bead suncatchers on the front porch to catch the morning sunlight.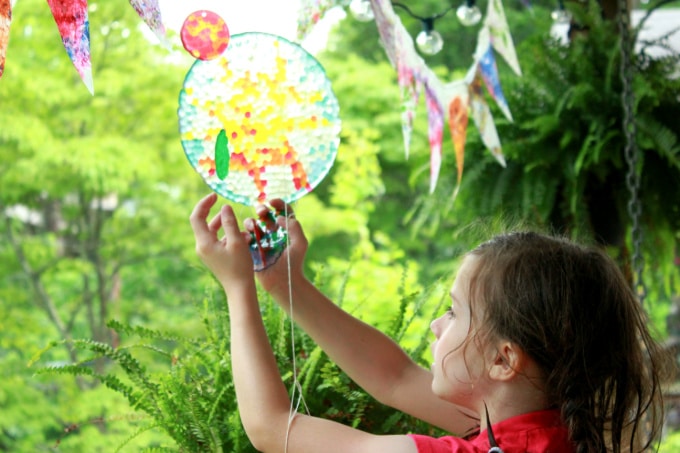
Aren’t they lovely? This is such a fun outside activity!
People Also Ask
- How do you make suncatchers with melted beads? It’s so easy! Arrange your pony beads in a pan however you like. Then place in a grill or toaster oven OUTSIDE and melt. They should take about 10 minutes, or until the beads are completely melted and smooth. Let cool and you have your suncatchers!
- Is melting beads in the oven toxic? YES. That’s why we always recommend doing this activity OUTSIDE.
- What beads are best to use for suncatchers? We like translucent pony beads, which can be found online or at any craft store.
More Ideas for Melted Bead Suncatchers
- A Melted Bead Suncatcher Mobile
- Suncatcher in an Embroidery Hoop Frame
- How to Make RAINBOW Plastic Bead Suncatchers
- Make a DIY Fairy Wand with Pony Beads
- 7 Ways to Make Melted Pony Bead Suncatchers
- How to Melt Beads to Make Suncatcher Hearts
Want even more creative ideas?
Check out our Artful Parent Starter Pack!
Engage your kids through art and creativity with this printable booklet where you’ll find all of our best tips, tricks, and ideas for getting started on your artful parenting journey!

Pin It for Later