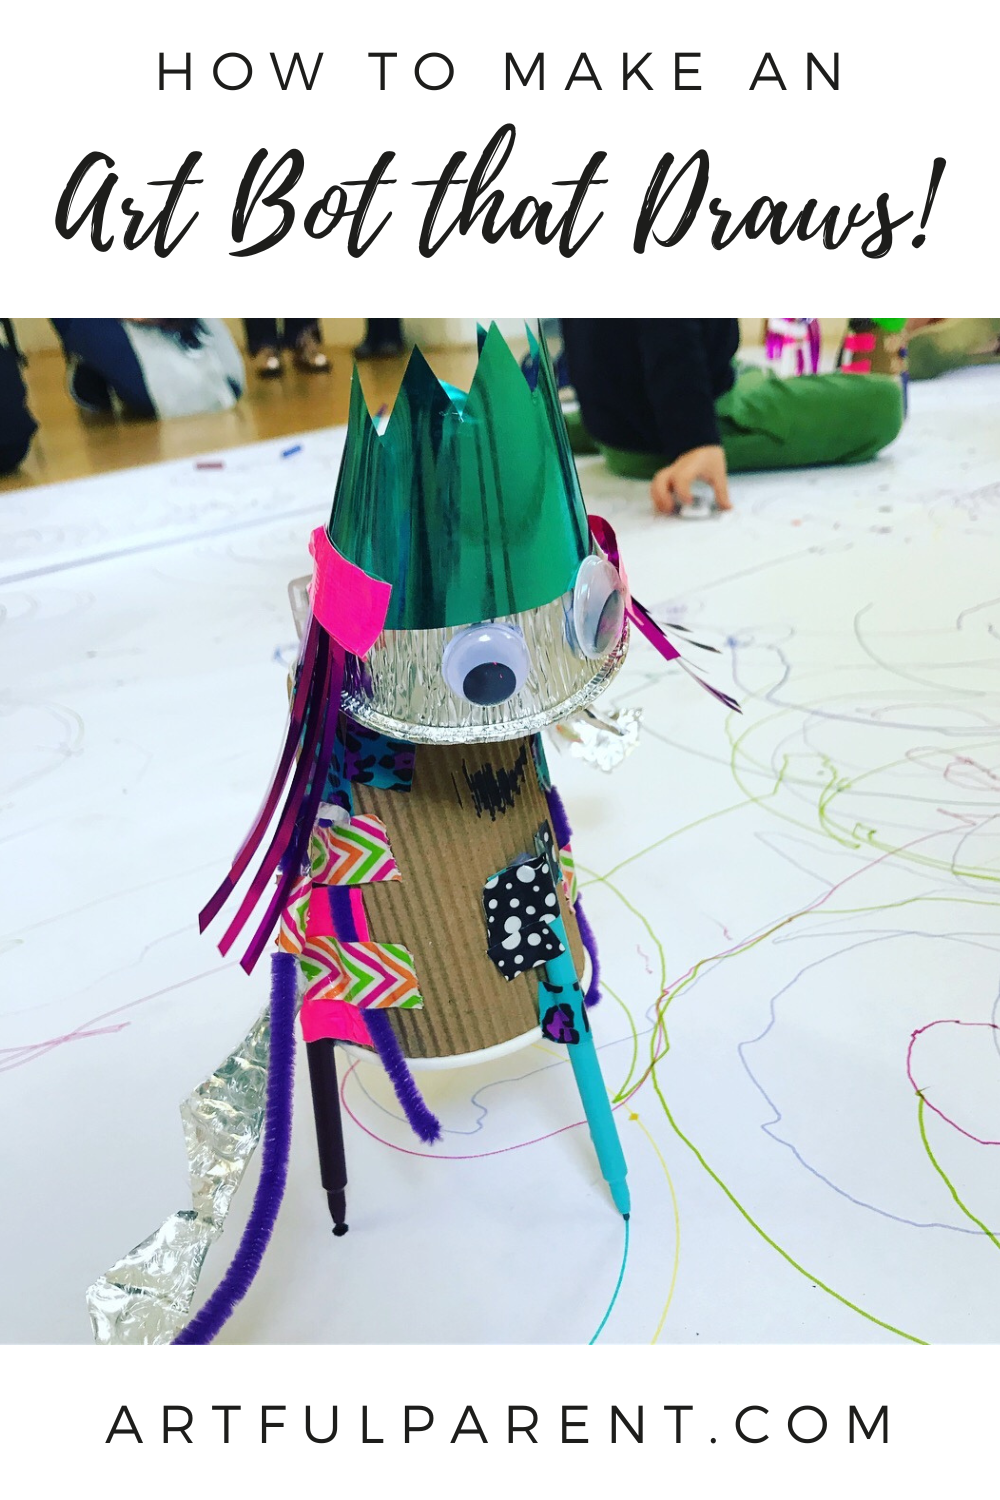
Learn how to create an art bot that really draws! With simple instructions, this project is great for big kids, tweens, and teens! Project and post by Danielle Falk of Little Ginger Studio.
Updated February 2025
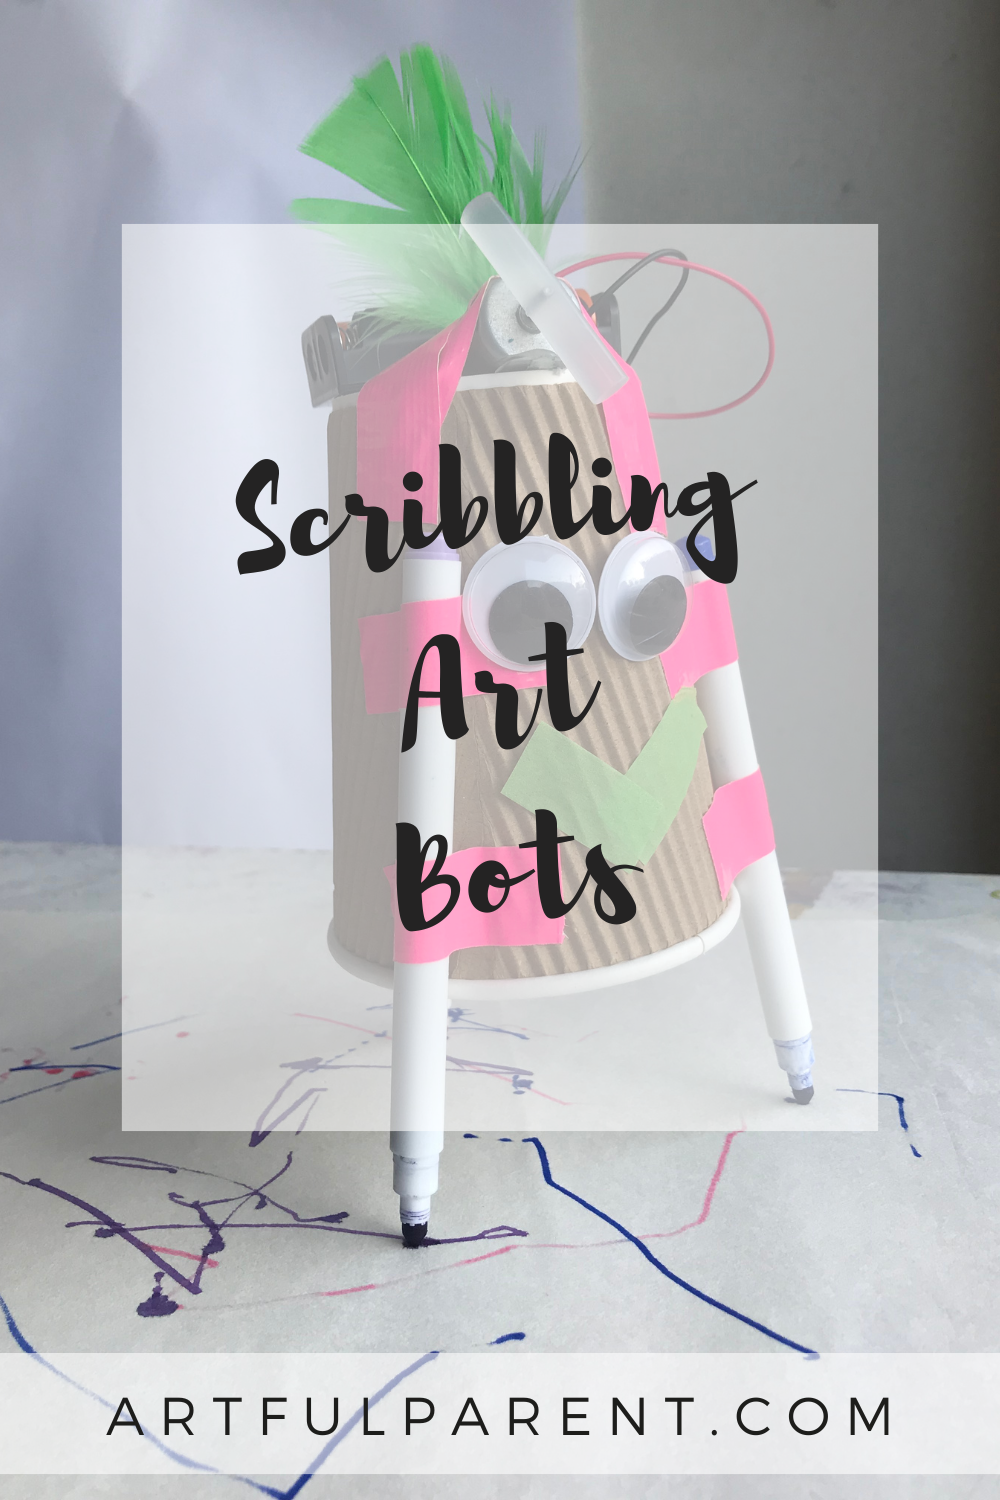
Have you ever wanted to make your own motorized scribbling Art Bot?
I’ve been itching to create art robots with children for YEARS! It looked like so much fun to make a real moving robot from scratch that can actually draw! And I wasn’t disappointed.
This ended up being one of the most successful (if slightly nerve-racking) art workshops I ever facilitated. Be sure to try this at home, but be prepared for a bit of tweaking and adjusting along the way.
Kids and adults will need to use problem-solving skills for this one. And please don’t worry if you’re not technically inclined, anyone can make an art bot!
How to Make Your Own Art Bot
MATERIALS

For the mechanism:
- Large disposable paper cup
- Battery holder (2 x AA battery) with on / off switch and 2 leads
- Hobby motor 130 size 3-6V
- 2 x AA batteries
- Various colored duct tape
- Hot glue gun and glue sticks
- Markers
For the decorations:
- Disposable mini pie pans
- Feathers, dot stickers, pipe cleaners, glittery paper or any craft materials you like!
- Googly eyes
- Sharpies
- Wire
- Silver bubblewrap
- washi tape
- a very large piece of paper (on a smooth, hard surface to reduce drag) for drawing onto (we glued paper roll lengths together to make our paper approximately 10ft x 10ft.
INSTRUCTIONS
- Make the Art Bot body
To begin, measure where to attach the markers (legs) to the paper cup so that they are evenly distributed and your robot can stand up straight. Attach the markers very securely to the outside of the cup using tape.
Next, ensure the batteries are loaded into the holder correctly (this is VERY important – kids tend to have trouble with this step!)
Then, securely attach the battery holder to the top of the paper cup using hot glue and tape. You may need to balance the holder and motor on top of the cup before attaching. - Prepare the Art Bot motor
Securely attach the hobby motor to the top of the paper cup using hot glue and lots of tape. It’s important that there is no wobble as you want vibrations to travel down into the cup to make the legs wobble and draw!
Then press a piece of cut hot glue stick into the end of the hobby motor for a propeller.
Attach the leads to the batteries.
Turn on the motor and make sure it works (if not, check your batteries are inserted correctly).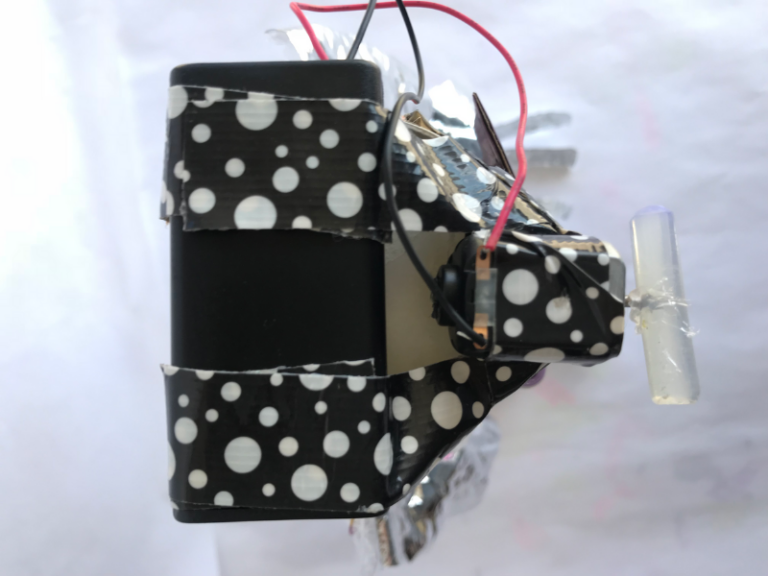
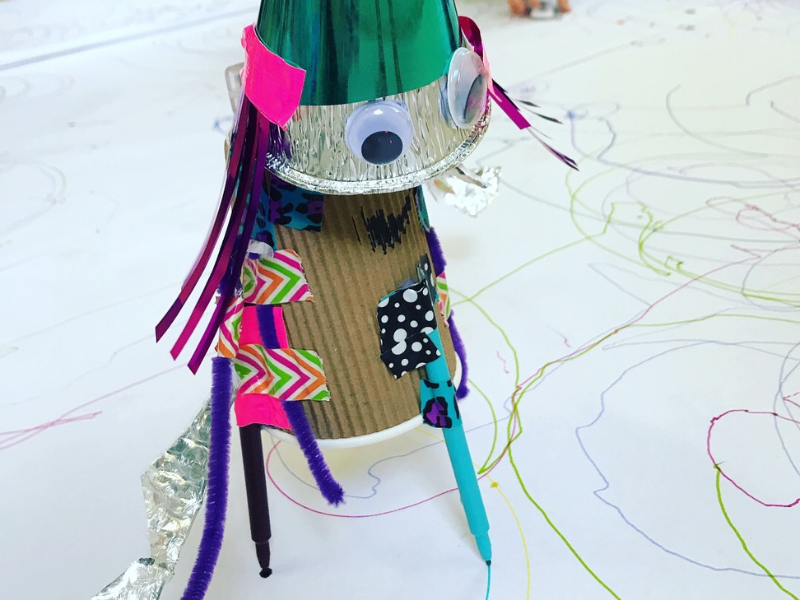
- Decorate the Art Bot
Use mini foil pie pans to create the robot heads (with googly eyes and silver bubble wrap hair attached). Then loosely tape these over the propellers for safety.
Create a breast plate (control panel) using cardboard, then tape it and add it to the front. Arms can be added by poking wire through the paper cup and decorating these.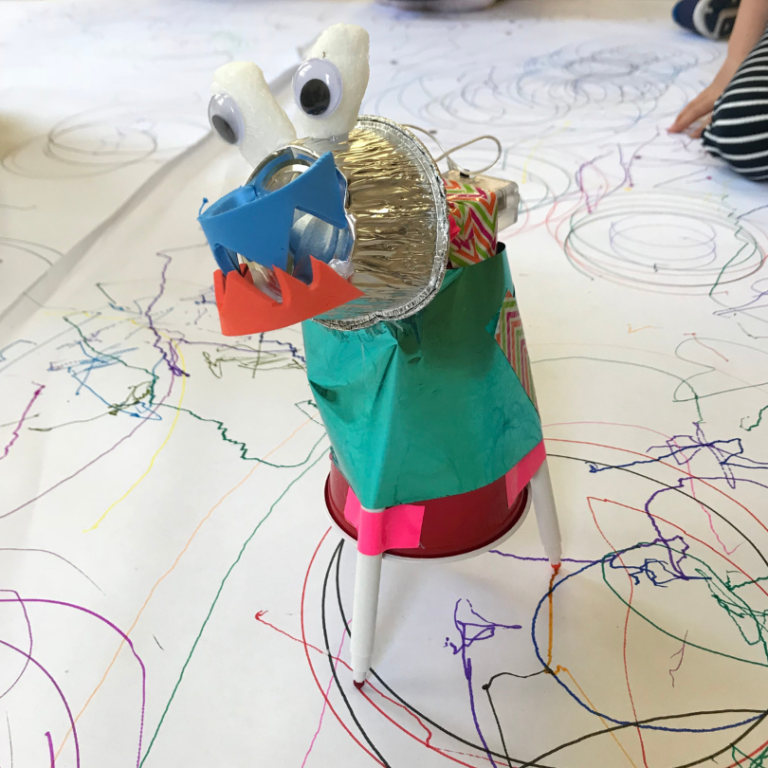
There really is no limit as to how kids can decorate their Art Bots, as long as the decorations don’t interfere with the propeller.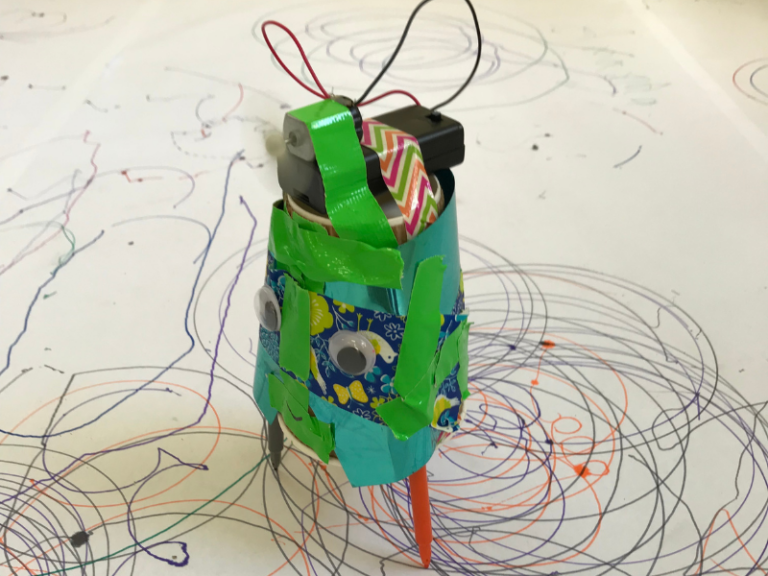
- Let your Art Bot loose on some paper!
Check that your Art Bot is working correctly then let it loose on some paper to create awesome swirly designs! If you’re having trouble, don’t worry, you may just need to do a little tinkering, perhaps:
– Tweak the placement of the motor.
– Make sure your leads are attached correctly.
– The batteries tend to wriggle out of alignment after the motor runs for a while and may need to be pressed back inside the holder.
– Be sure your paper surface is really smooth or the robot won’t move.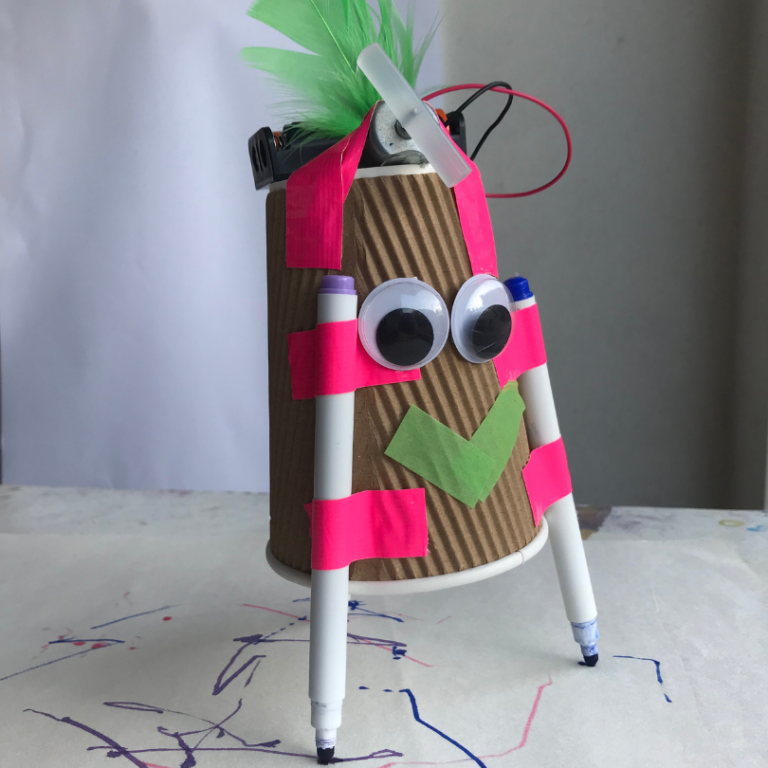
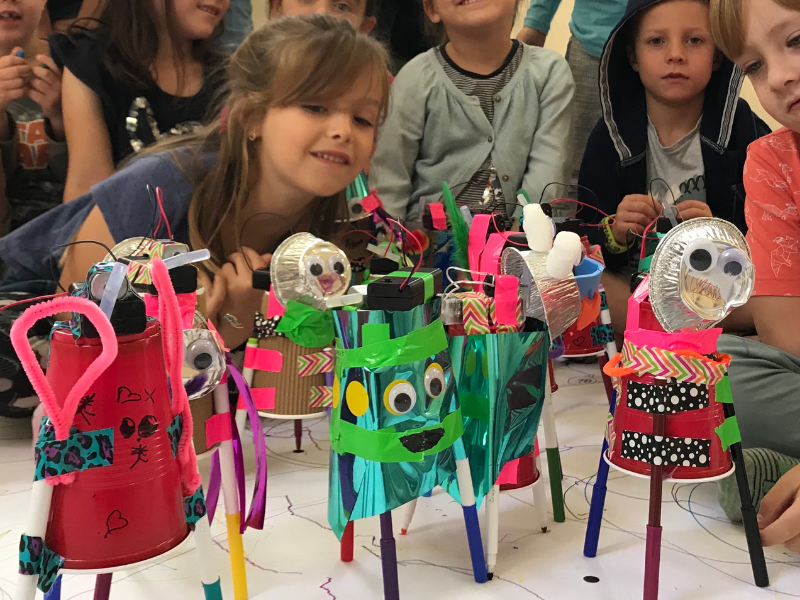
All the hard work pays off when the children set their scribbling art bots loose to create fabulous giant collaborative drawings (the noise may not be so rewarding for adults!)
I hope you try making these super fun Art Bots with your kids!
I’m already thinking about BIGGER and better Art Bot workshops! I’d like children to have the chance to innovate on their designs by offering more components such as levers and gears. I’d also like to explore other propulsion methods – maybe wound elastic bands or even wind up toys!
More Crafts for Kids
- Make Cardboard Robot Puppets that Move!
- 9 Amazing Process Craft Activities for Kids
- Craft Ideas Perfect for Pretend Play
- How to Make Easy Wood Sculptures for Kids
- How to Make Cardboard Masks with Kids
- 25 Creative Indoor Activities for Kids
Pin It For Later