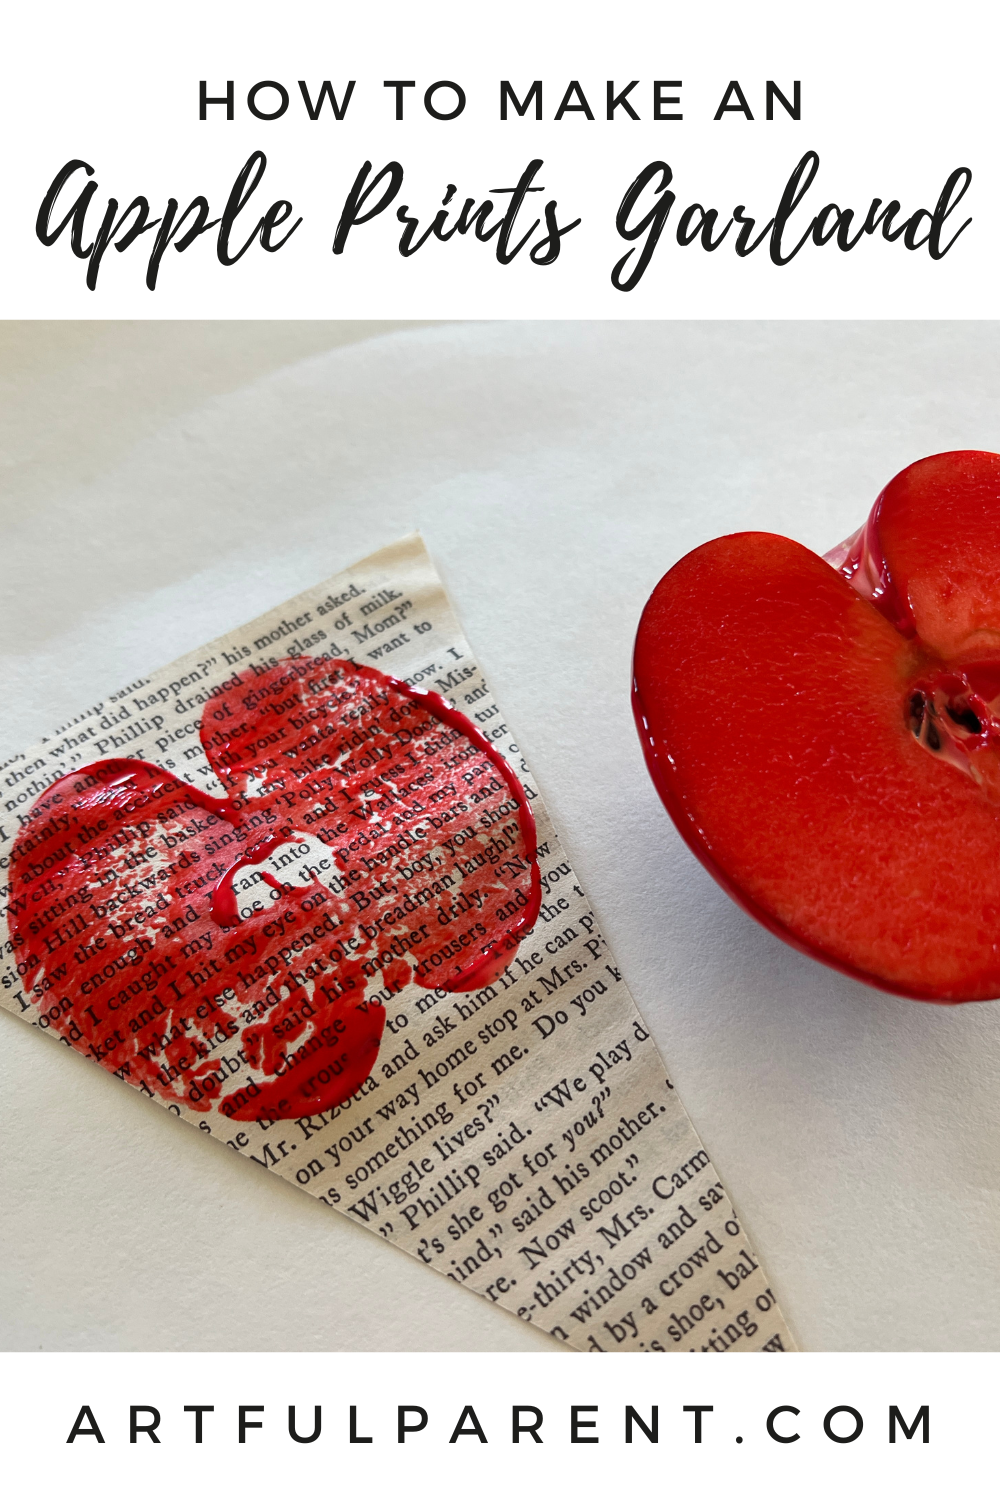
Celebrate Autumn with this simple apple prints garland! Make apple prints on old book pages and turn into a beautiful fall decoration.
Updated August 2023
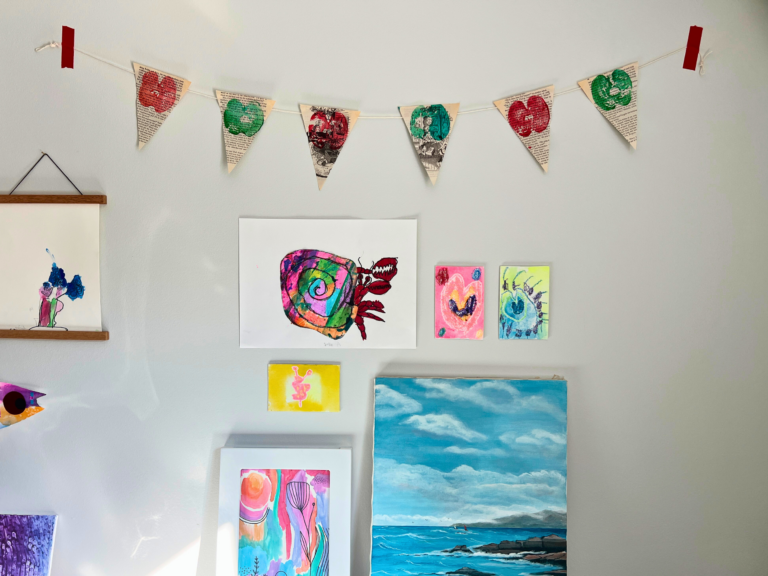
This apple prints garland is the perfect Autumn craft for kids! They will LOVE making apple prints and you will end up with a beautiful fall garland to decorate your home with!
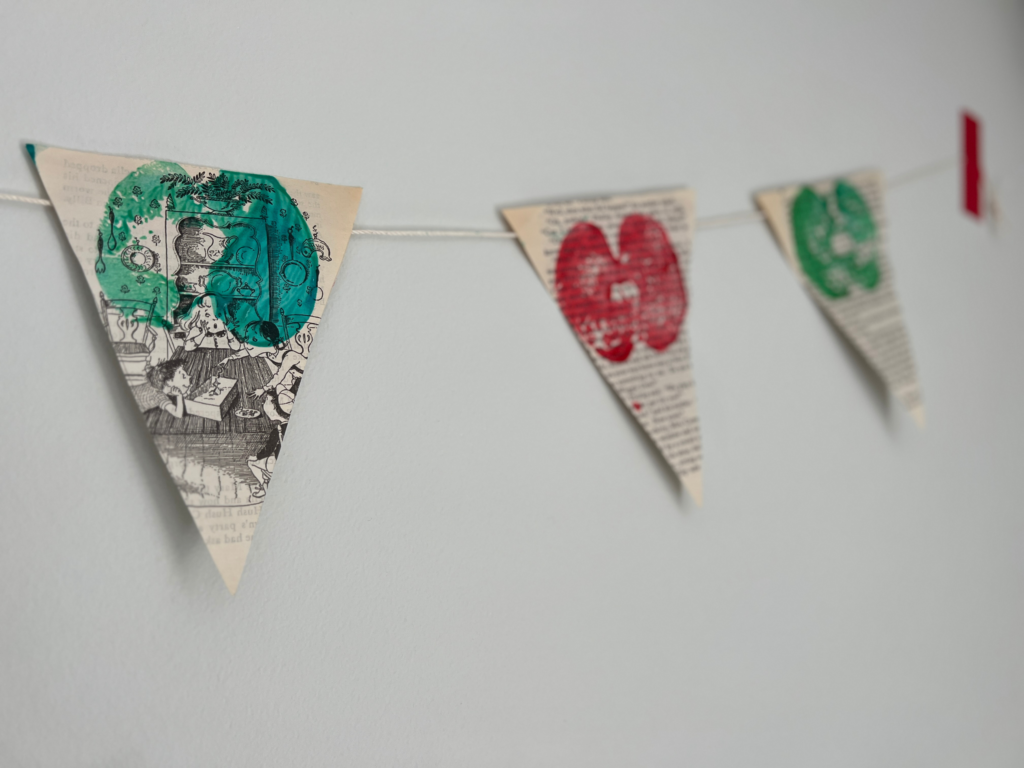
And we just love the interesting contrast between the red apple prints and the black-and-white text from the pages of an old book.
Apple Prints Garland
MATERIALS
- Apple, sliced in half vertically

- Old chapter book (or any paper will do)
- Scissors
- Tempera paint (acrylic paint will work, too)
- Plates for the paint
- Tape or glue
- Twine, ribbon, yarn etc.
INSTRUCTIONS
- Cut triangles
Find an old book that you don’t mind cutting up. Cut the book pages into triangles. We also had some precut white and kraft paper triangles that we used.
You can use a piece of cardboard cut into a triangle as a template, but you can also just eyeball it or use a ruler.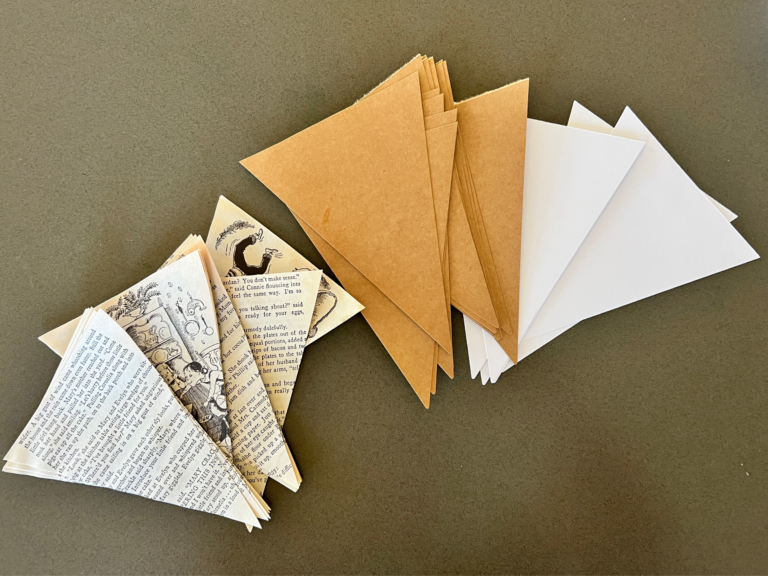
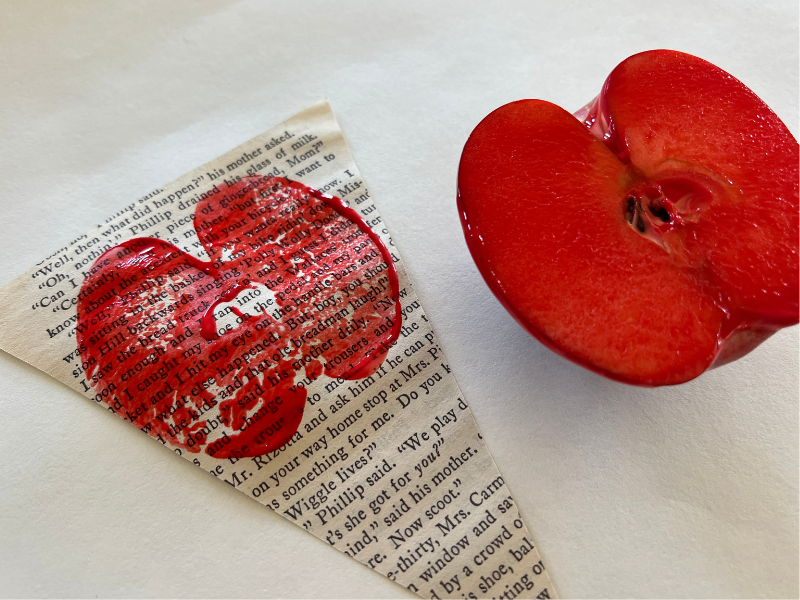
- Add paint to your apple
Squeeze some red paint onto the plate and dip your apple into it. Move the apple around until it is well-coated. You can also use a mini roller and use that to coat the apple.
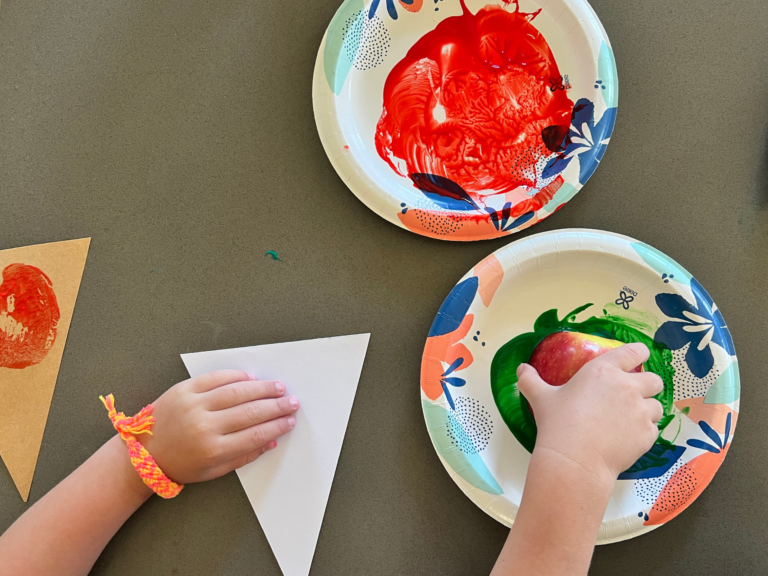
- Stamp the apple
Press the apple, paint side down, onto one of the triangular book pages.
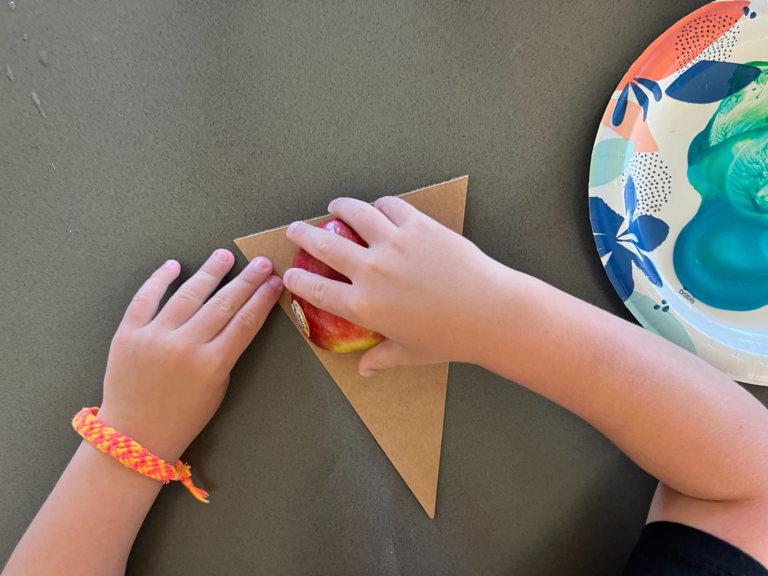
- See your print!
Lift up the apple to reveal your apple print!
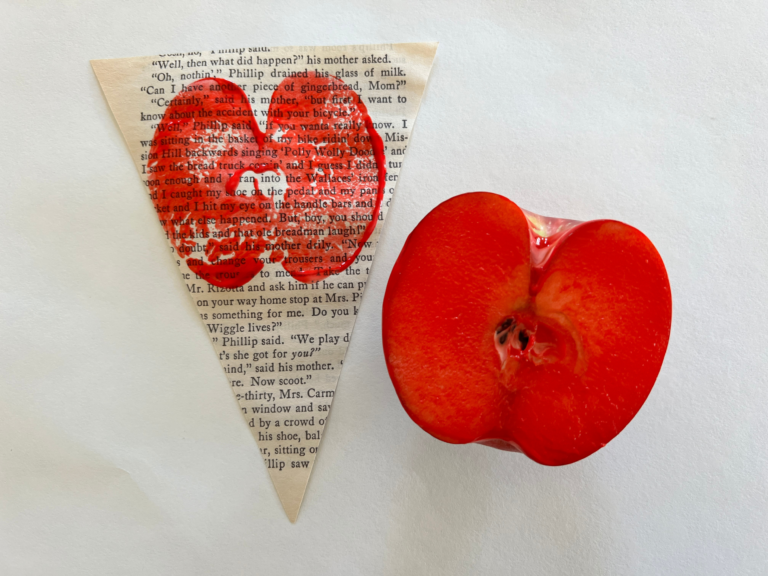
Repeat to make as many apple prints as desired. Let the prints dry completely.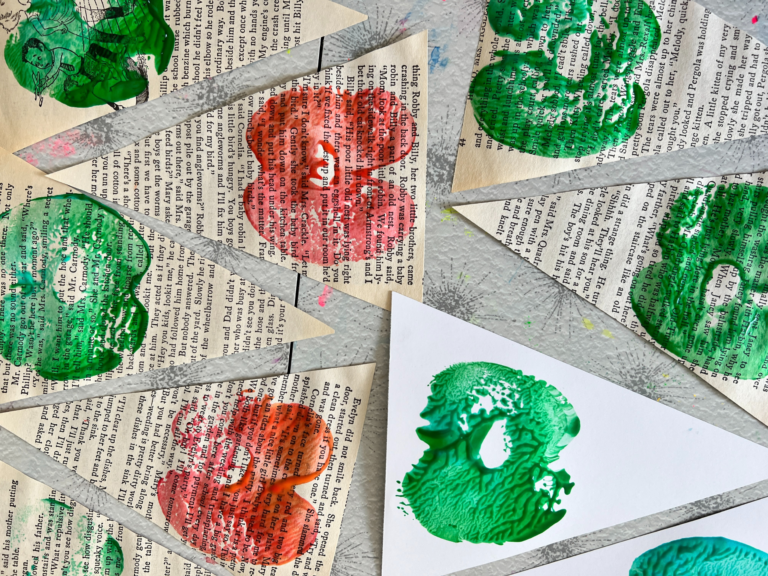
- Create your bunting!
Cut a length of ribbon or yarn.
Then, add a drop of glue to the top corners of the page, and stretch your twine between them and press down to stick. You can also tape the yarn to the back of the triangle.
Continue with the rest of the apple prints you want to add to your bunting. - Hang and admire!
This bunting will look so lovely wherever you decide to hang it!
There you have it! So easy and a great way to decorate your house for Autumn with the apple prints you were probably going to do anyway this fall, right?
More Fall Arts and Crafts for Kids
- 30 Creative Fall Activities for Kids
- How to Make Fall Leaf Painting with Leaf Rubbings
- 11 Creative Fall Craft Ideas for Kids
- 12 Easy Fall Garlands for Kids
- How to Make Suncatcher Crafts with Leaves
- 10 Autumn Crafts with Leaves for Kids
Want even more Fall fun?
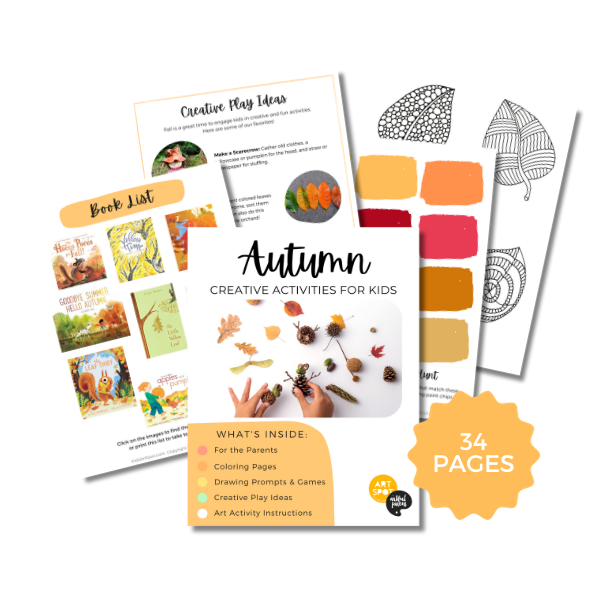
Check out our Autumn Creativity Pack!
This 34-page printable eBook is full of Autumn-themed art activities, drawing prompts, creative play ideas, and more!
Pin It for Later