Make your own stamps with cardboard and other items from your recycling bin. Then make print after print! Art activity and post by Joanna Walker of The Blue Barn.
Updated February 2024
Hello, Joanna here from The Blue Barn. I’m so excited to be back at The Artful Parent to share more simple ways to create with your children!
If you don’t know me, I’m a part-time preschool art teacher and full-time mom to four children, 6 goats, 2 rabbits, a dog and way too many chickens. When I’m not chasing children and animals around, I enjoy sharing our creative life over on Instagram. I’m delighted to have the opportunity to share some recycle bin printing with you!
Today, I’m going to show you how to have fun printing with items upcycled straight from your recycling bin.
The important thing is to let kids be a part of the process and work with you to create their own stamps. They will enjoy discovering how various materials leave different marks on the paper during the printing process.
You can also introduce them to textures within their pictures that relate to the items that they find.
Before we get too far ahead of ourselves, though, what do you need to begin?
Make Your Own Stamps Made with Upcycled Materials

MATERIALS
- Paint
- Glue (we used our low temp hot glue gun, but school glue would work too)
- Scissors
- Corks (for handles on the printing blocks)
- Interesting things from your recycling bin: think cardboard, bubble wrap, fruit mesh bags, elastic bands, yarn, string, bottle caps, corrugated cardboard.
- Sturdy paper
INSTRUCTIONS
- Find items to use for the stamps
Begin by asking kids to sift through the recycling bin with you and see what interesting things they find.
Round bottle caps, bumpy edges, rough feeling sides – have them feel things with their eyes shut and think about what pattern it might make on the paper. With very young children use lots of adjectives such as smooth, soft, fuzzy, bumpy, rough, etc.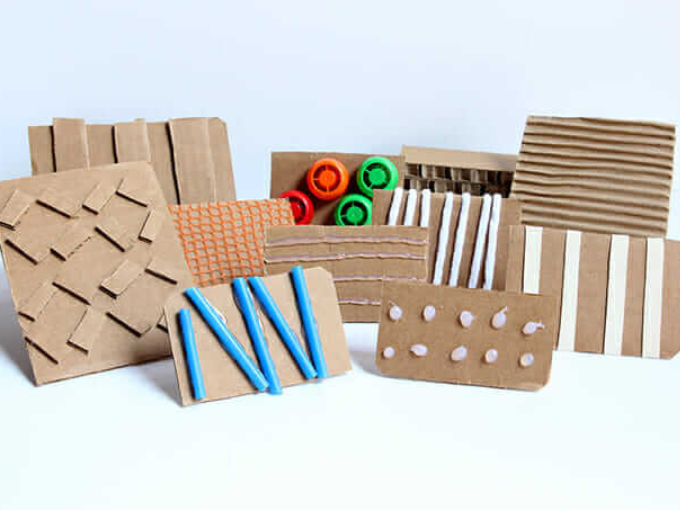
- Assemble your stamps for printing
Once you’ve found some interesting materials, you can begin to attach them onto squares of cardboard.
We used our low temperature hot glue gun to mount the objects. Depending on the age of your child/and your hot glue gun, encourage them to do this themselves. Younger kids can use school glue to assemble their stamps.
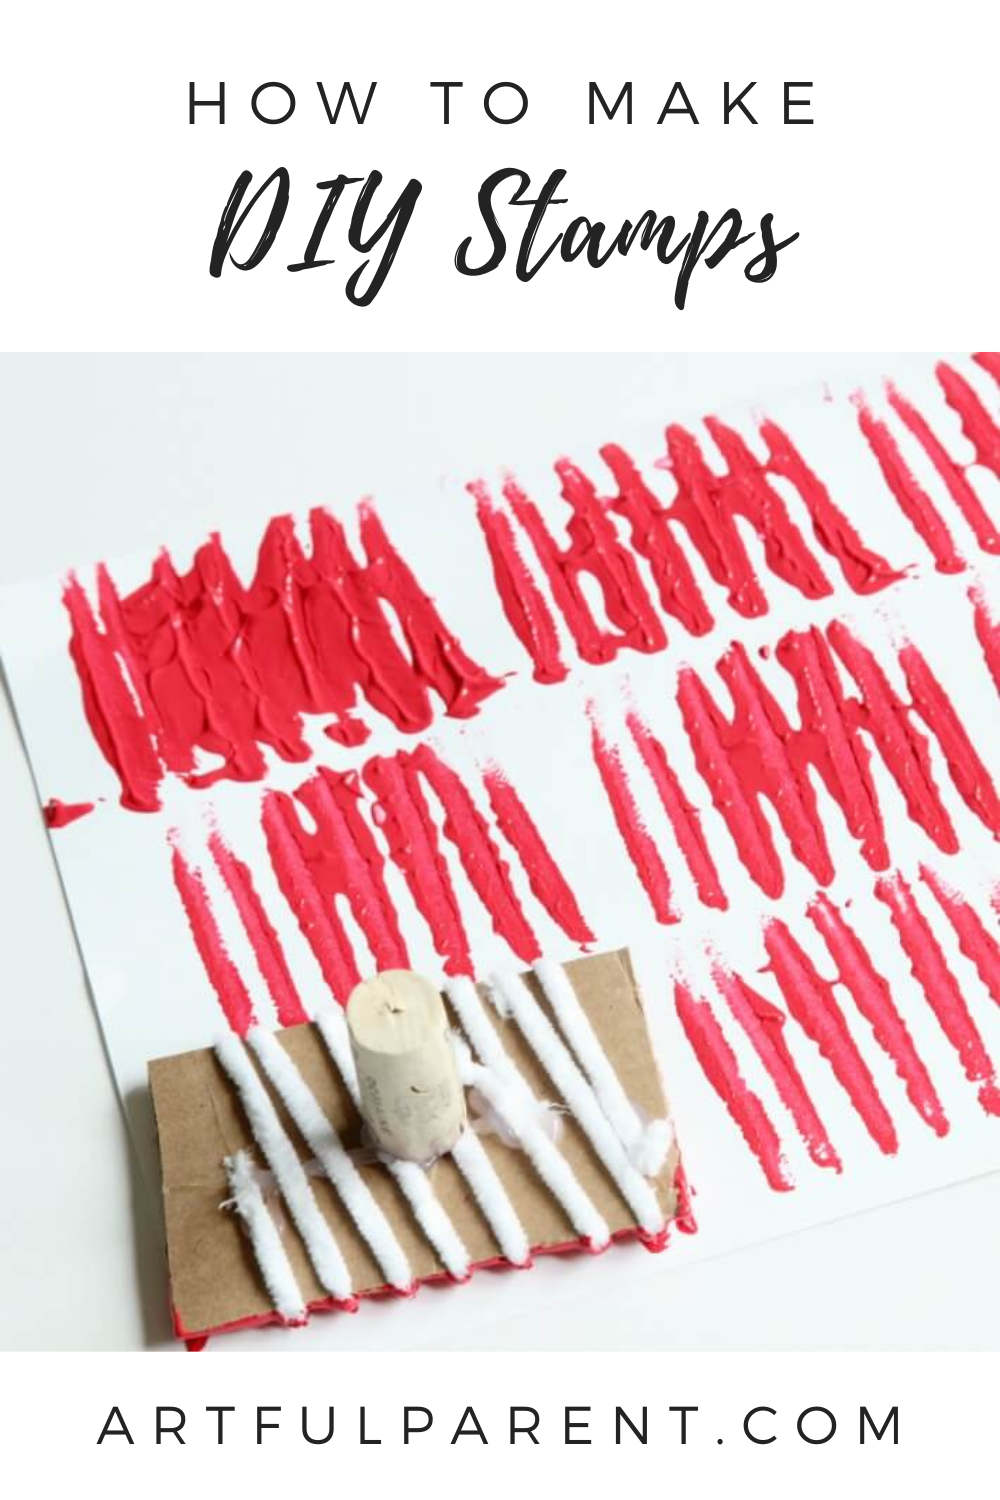
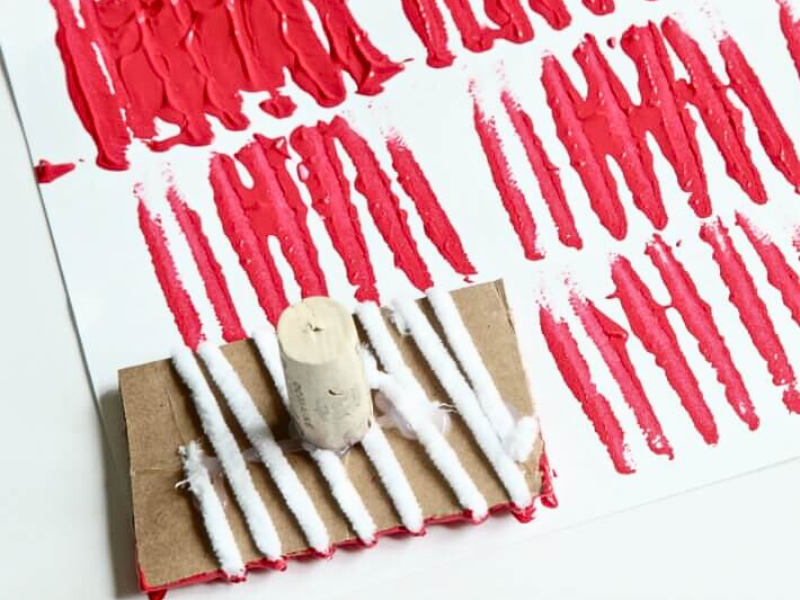
For thinner printing items (such as a fruit mesh bags), stretch them over the cardboard square and secure on the opposite side with glue. Then attach a cork to the back of the print plate to give your child something to grip when they press it into the paint.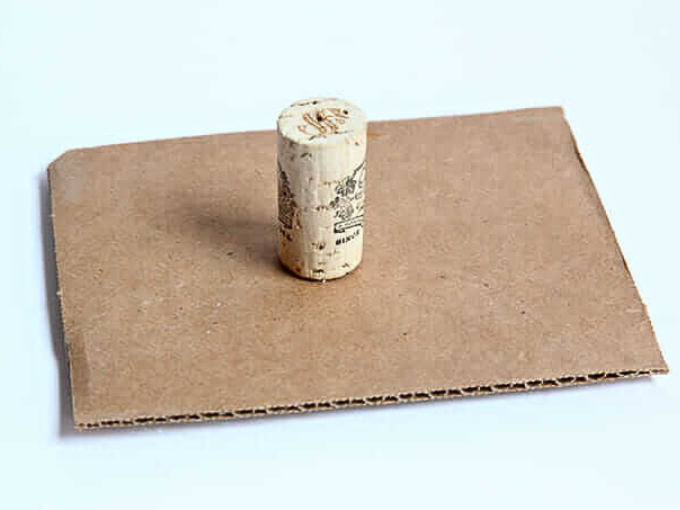
- Prepare paint for printing
Before printing, cover your flat surface with something to protect it.
Next, roll a line of foil down the center of the table to put the paint on; the surface of the foil makes it easy for kids to apply the paint to their stamps.
I lined all of the stamps up and placed a different color of paint by each one.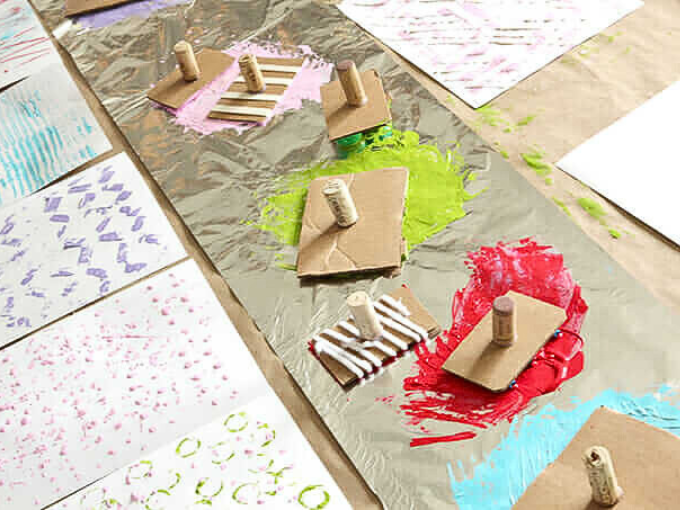
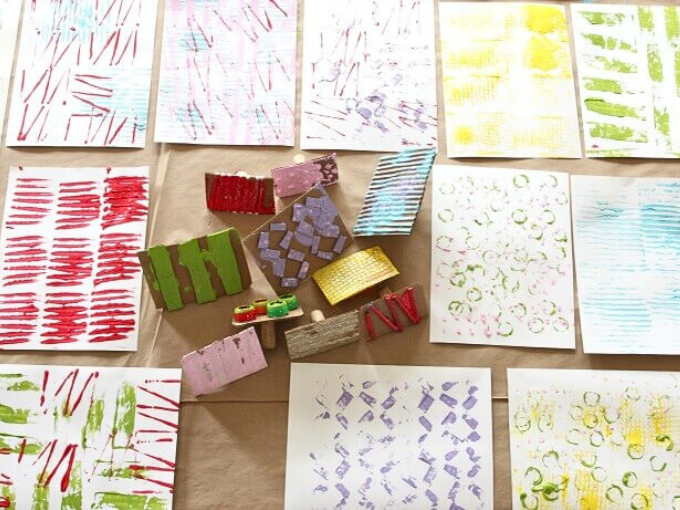
- Make prints with your new stamps!
Stamp away. You will need a LOT of paper for this once they get started. I think my kids would have used an entire ream of paper if I had let them!!
Keep the conversation going with the children. Here are some questions to talk about as they make their prints:
Did the print look like you thought it would?
Does it change if you twist the tile around?
What does it remind you of?
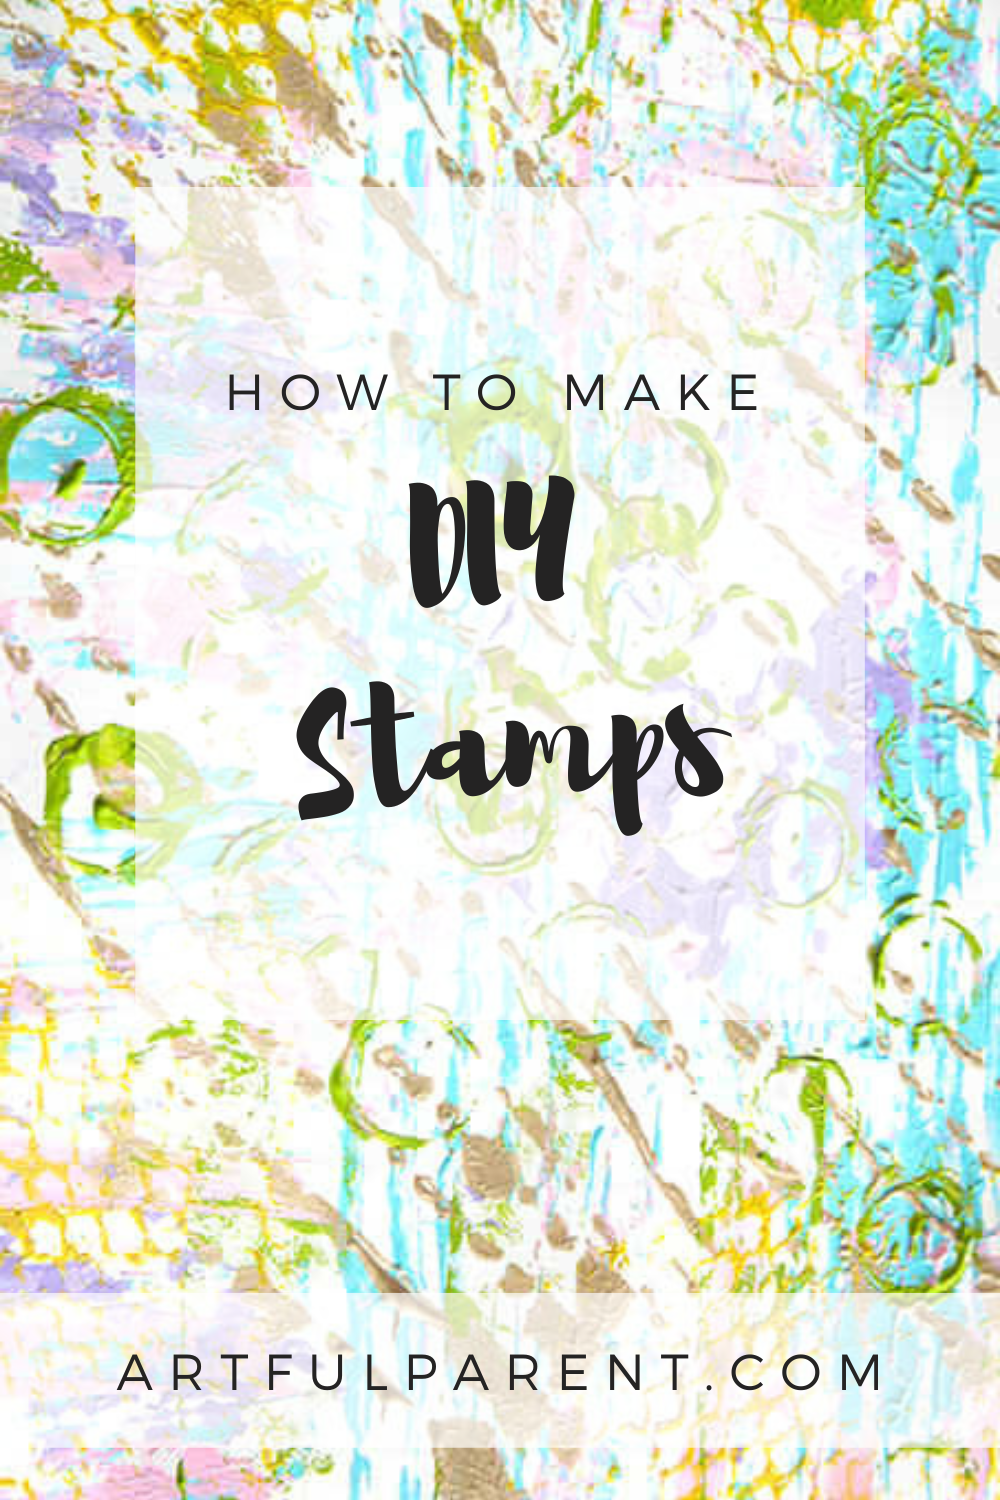
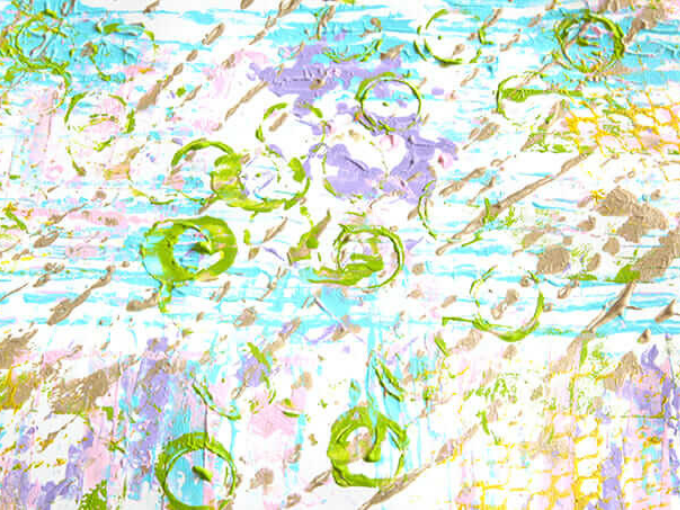
What happens if you overlay one print on top of another?
If you end up with hundreds of sheets of pretty colorful paper, here’s a great way to use up all the paper. Lay all the printed paper out on the table along with scissors and glue. Encourage the kids to cut up the paper to create a colorful flower garden. Plant your flowers in the brown garden soil by gluing cut shapes of the colorful stamped paper to brown kraft paper or paper bags to create a colorful recycled garden!
More DIY Stamps for Kids
Pin It for Later