Stained glass Easter eggs are easily made by cutting out a paper egg, snowflake-style, and adding tissue paper.
Updated March 2025
If you’re looking for an Easter craft to do with your kids, we have a fun one for you.
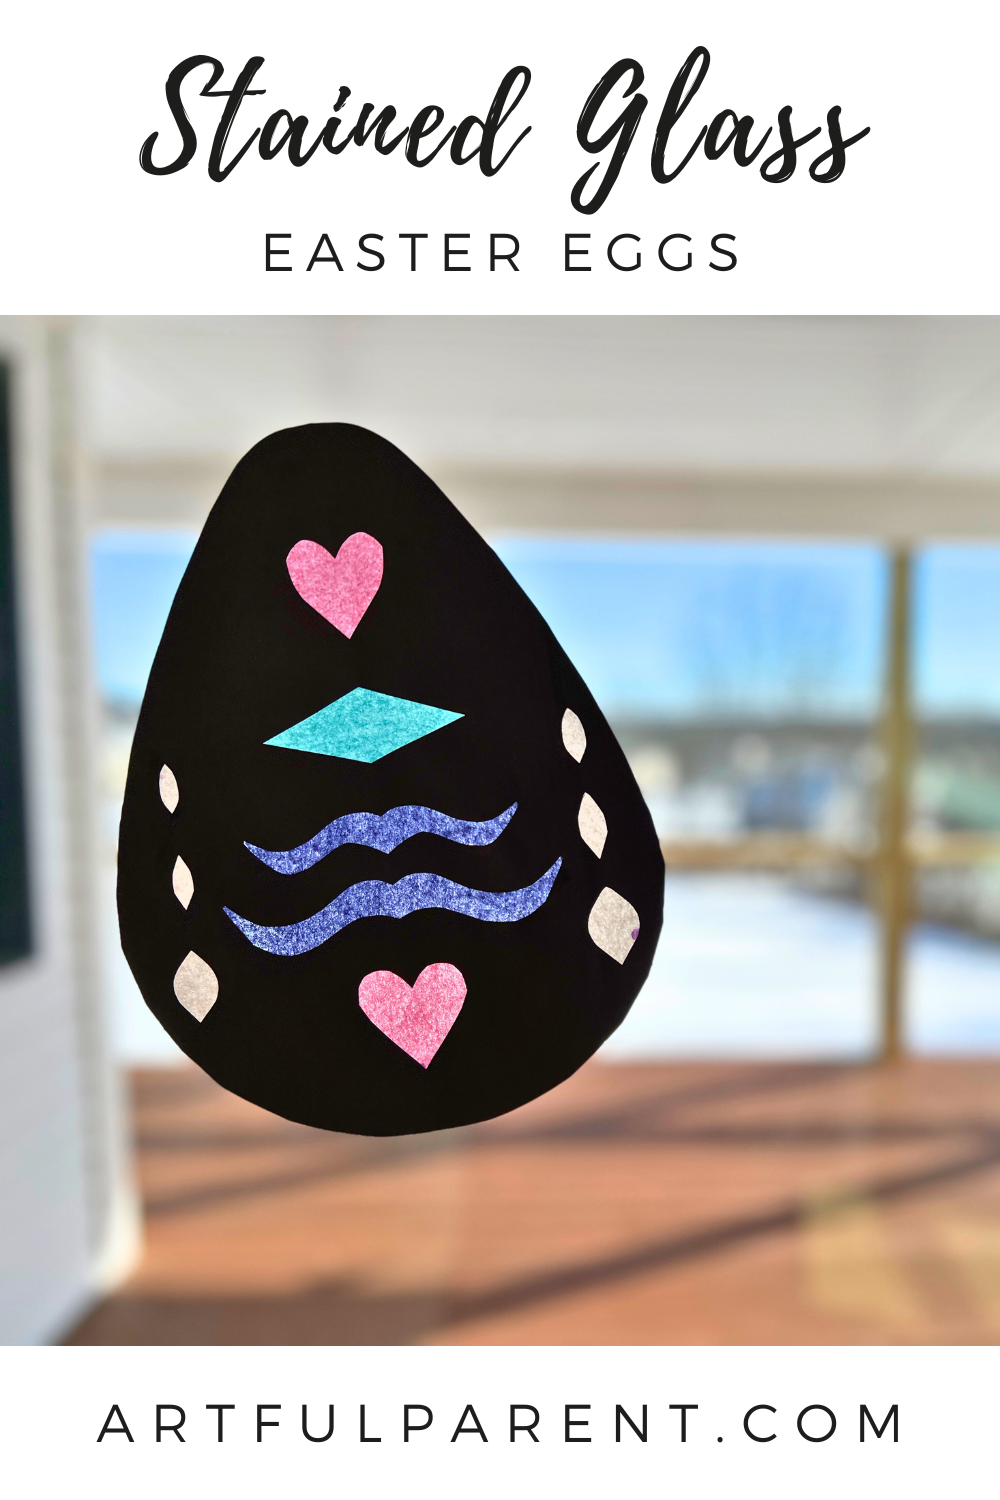
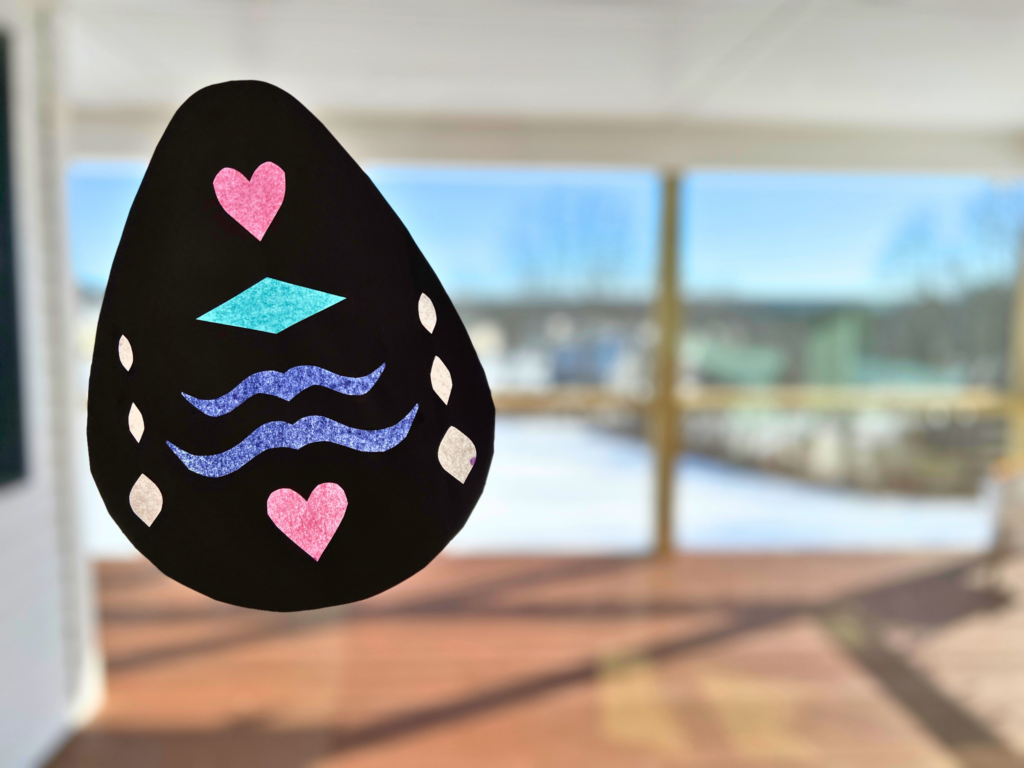
These stained-glass Easter eggs are easy to make and are striking when hung in a sunny window.
We’ve made other Easter suncatchers, using both tissue paper and flower petals, but there’s something about the black paper against the transparent tissue paper that really pops in these stained-glass eggs!
Stained Glass Easter Eggs

MATERIALS
- Construction paper (black or colors!)
- White pencil or crayon
- Scissors
- Colored tissue paper
- Glue stick
INSTRUCTIONS
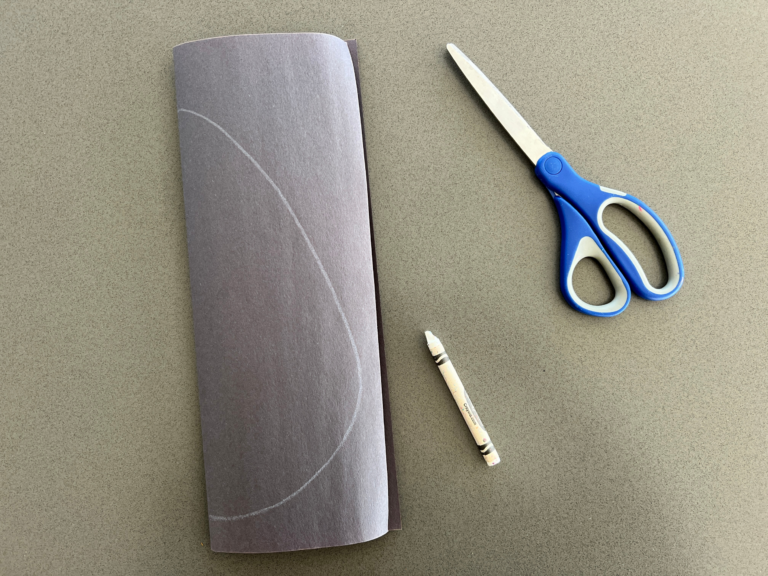
- Fold and cut your egg
First, fold your sheet of construction paper in half vertically and draw a half egg on one side. Cut through both layers of paper to create your symmetrical egg.
- Draw shapes on your egg
Next, draw shapes along the center fold line of your paper egg and cut them out.
Note: You can also cut them out directly, without drawing them first, as when making a paper snowflake.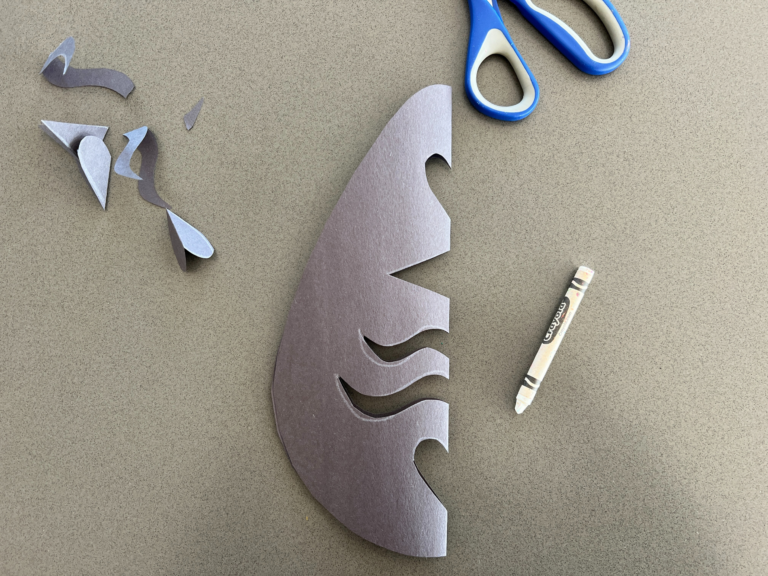
- Add more shapes
Open your paper egg, then fold both sides inward.
Draw, then cut, more shapes along both folded sides of the paper egg.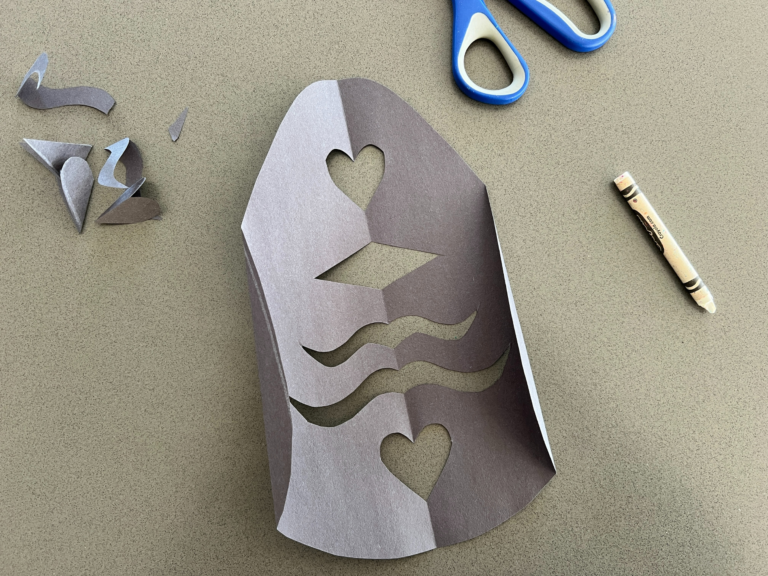
- Add ‘stained glass’
Finally, use a glue stick to glue colored tissue paper to the back of your Easter egg (the side with the white pencil markings).
You can do strips of different colors or use one sheet of tissue paper for the entire egg.
Trim the edges if necessary.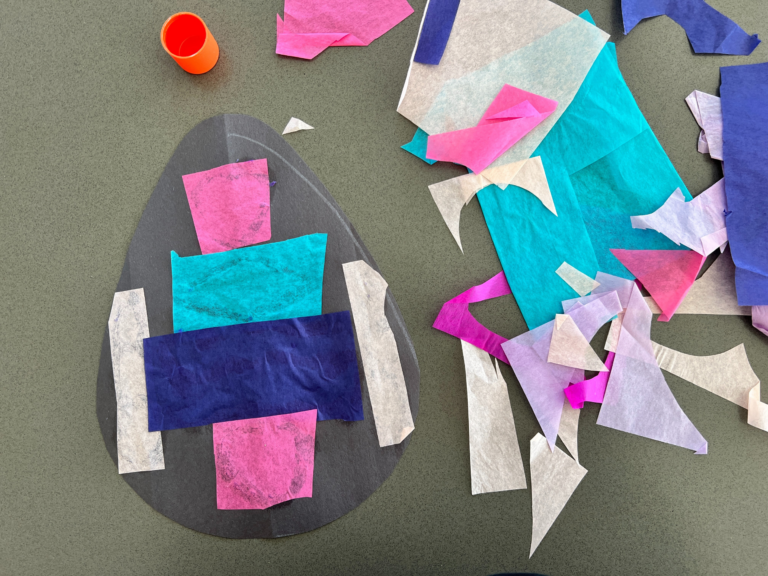
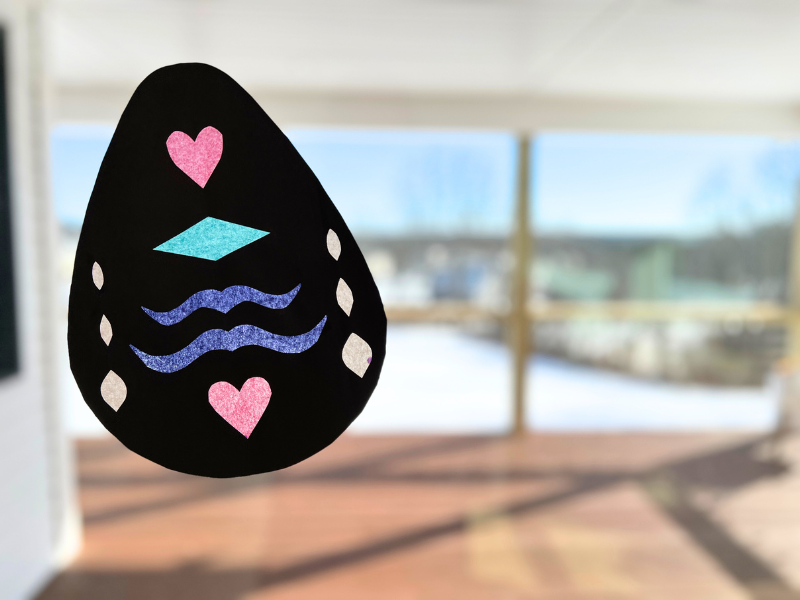
These Easter eggs look great with the sun shining through them!
More Easter Craft Ideas for Kids
- 8 Easter Crafts for Kids this Spring
- 30 Easter Activities for Kids
- 11 Easter Craft Ideas for Kids
- 11 Ideas for Decorating Easter Eggs for Kids
- 5 Easter Arts and Craft Ideas for Kids
- 5 Easter Egg Decorating Ideas Inspired by Nature
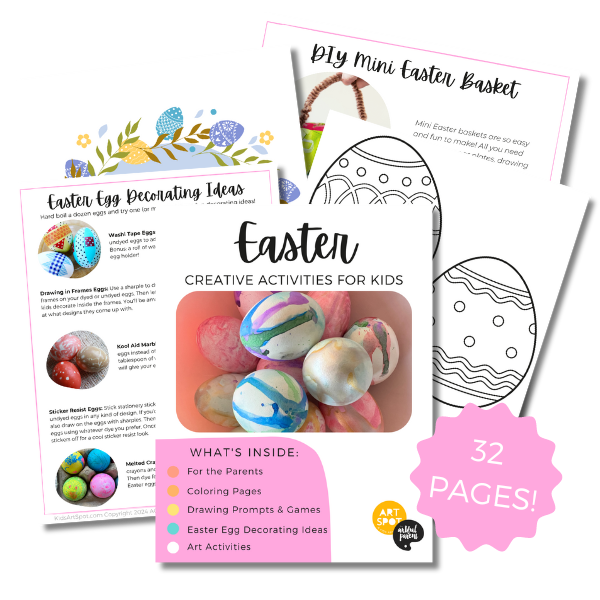
Want even more creative ideas?
Check out our Easter Creativity pack!
Celebrate this fun holiday with all kinds of adorable creative activities! This 32-page printable eBook is full of coloring pages, drawing prompts, games, and more!
Pin It for Later