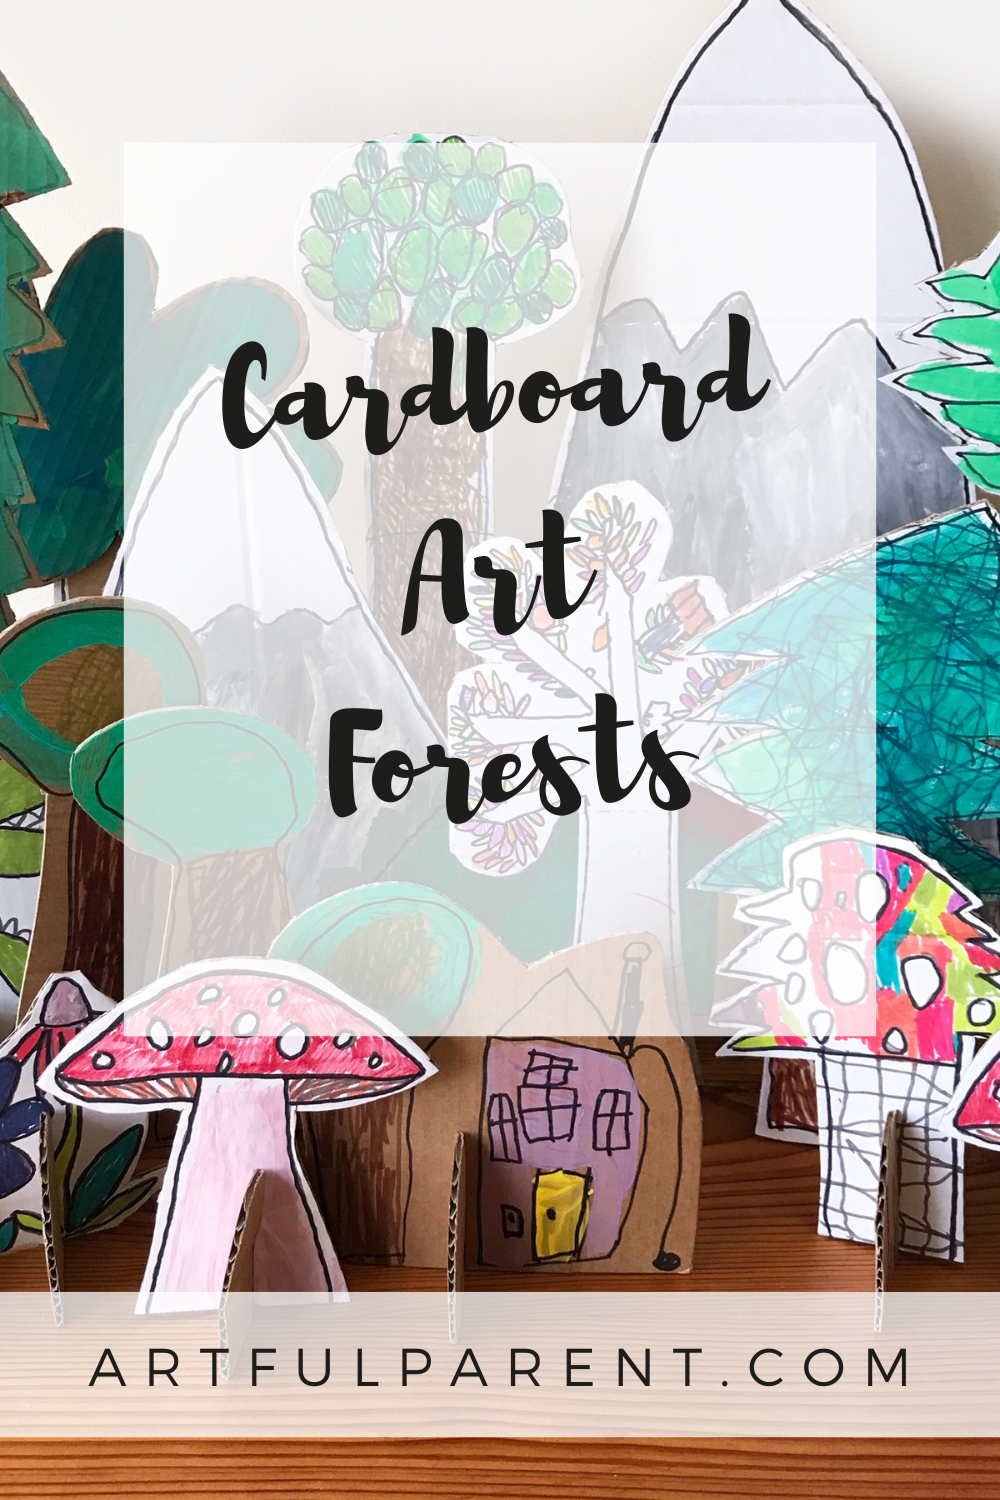
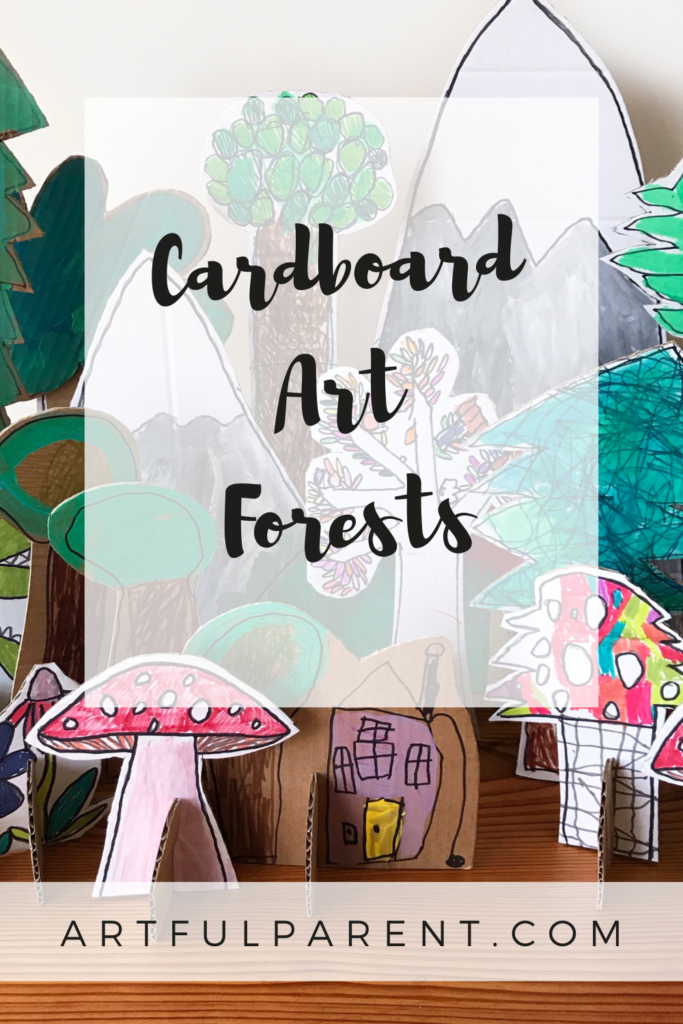
Create an amazing magic forest with this easy cardboard art project for kids. Makes a fun creative play setup for kids.
Updated April 2025
Here at Mini Mad Things we love creating crafty fun with household recycling.
Using recycled materials for crafts teaches kids to be resourceful and also saves money. For a child, starting with an old cardboard box can feel easier and less intimidating than a blank sheet of paper. It takes the pressure off and lets them focus on having fun and being creative, not on doing it perfectly.
This super simple cardboard Magic Forest makes the perfect backdrop to engage little one’s imaginations. And it is a cheap alternative to buying expensive toys for small world play.
Plus you get double the creative play: first kids make the craft, then they can play with it.
Easy Cardboard Art Forest

MATERIALS
- Recycled cardboard
- Markers
- Paints and brushes
- Craft knife
INSTRUCTIONS
- Draw your magic forest
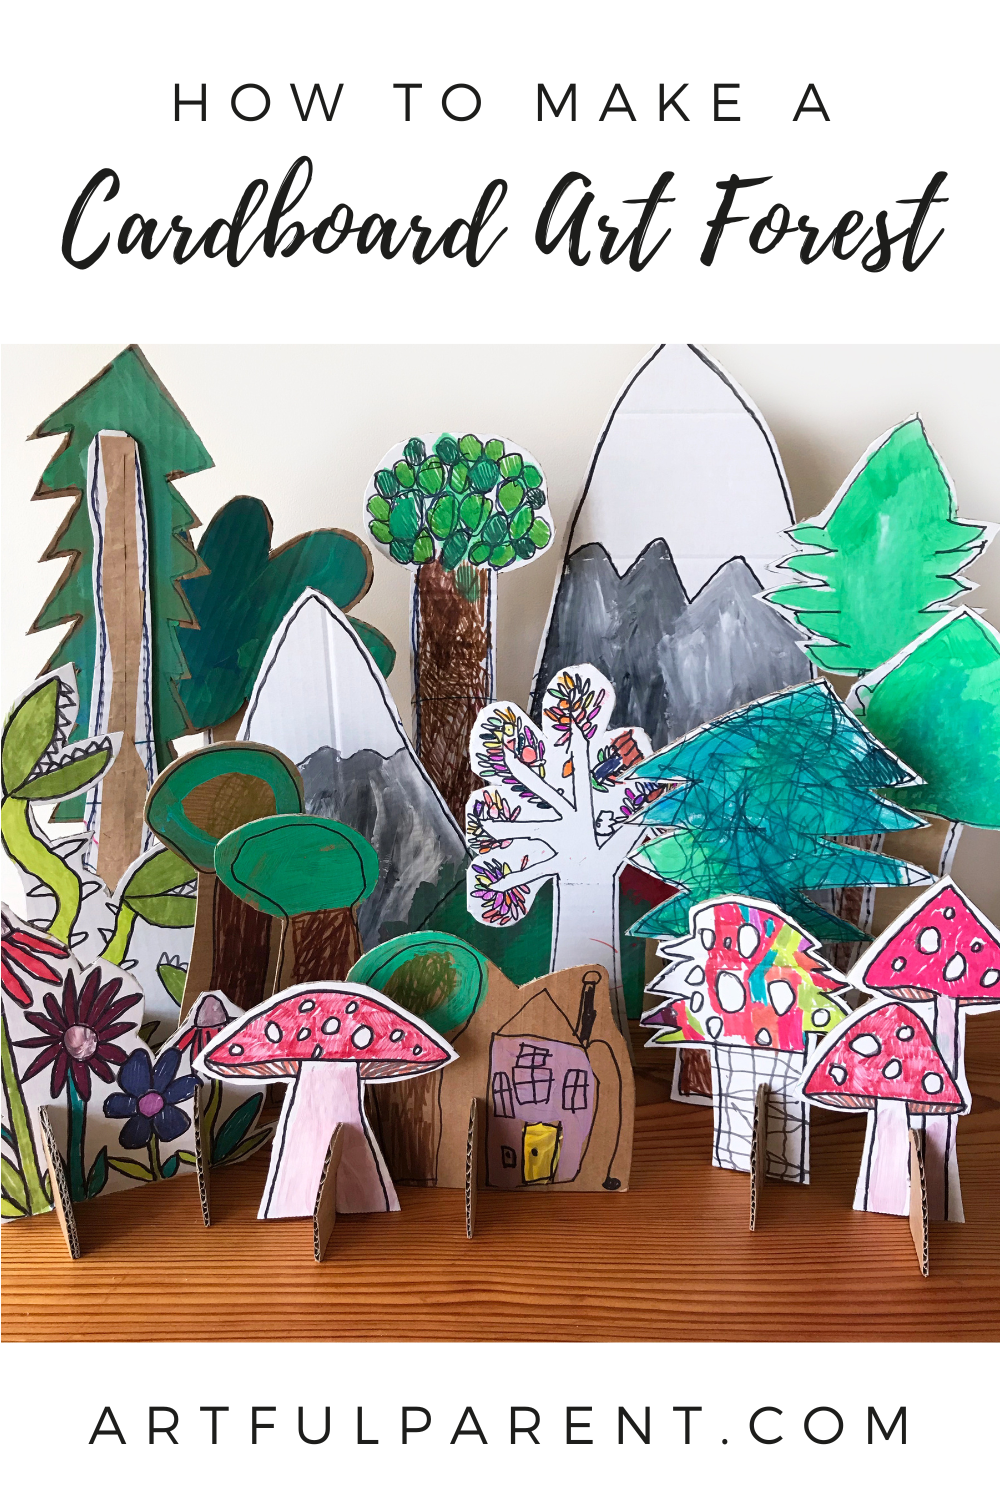
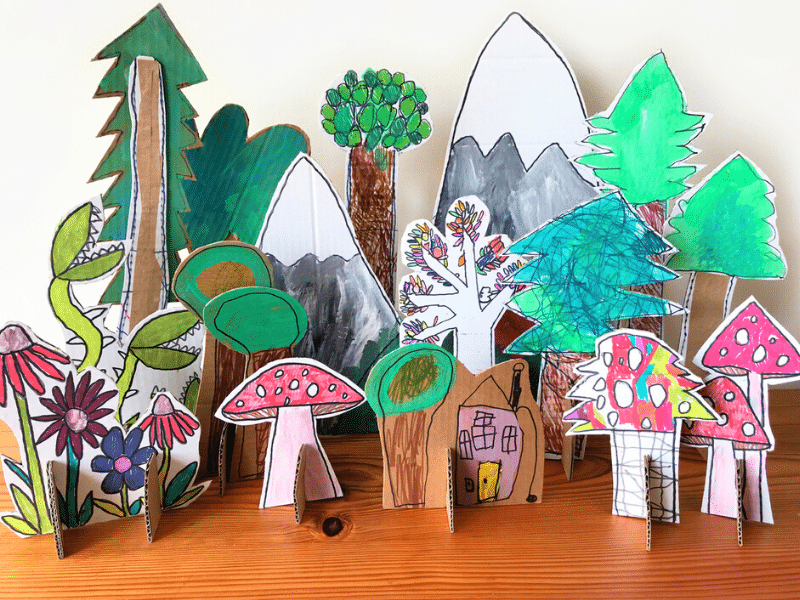
Lay your cardboard out flat and use a marker to draw all the elements for the magic forest.
We drew lots of trees, flowers, mountains, toadstools, a little house and even man-eating plants.
Don’t worry too much about scale. I love that our forest includes trees that are as tall as mountains and toadstools as big a trees.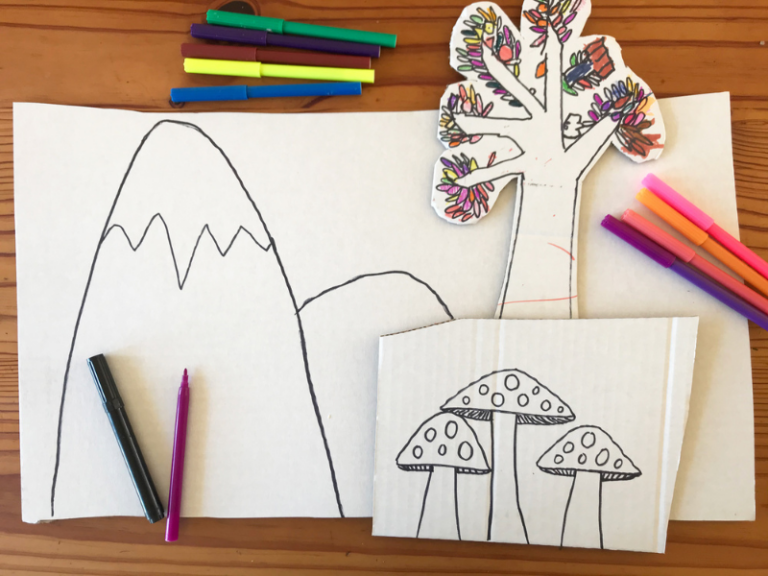
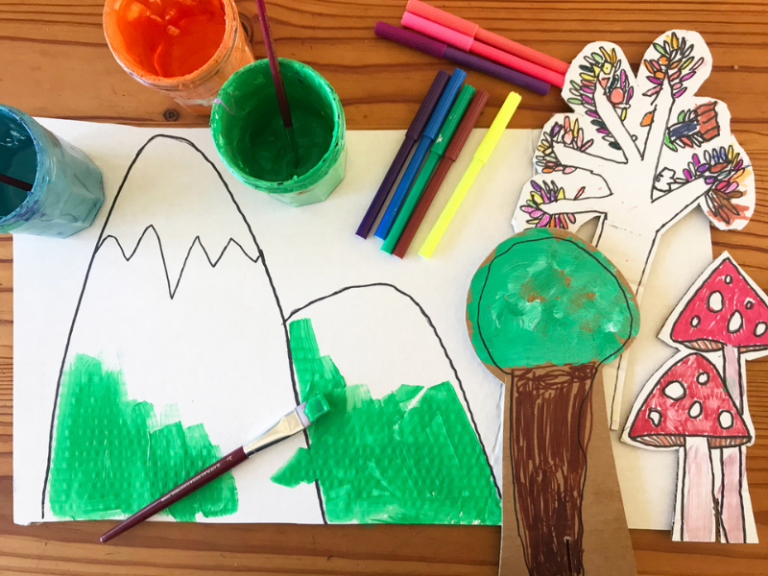
- Add color
Color in all your drawings with markers or paints.
- Cut out your magic forest elements
Once the paint has dried, cut out all the elements of your forest with a craft knife. Adults please help with this.
- Make stands for your pieces
To make all the elements of the forest stand up, cut crescent shapes from the cardboard. Cut a slot into the top of each crescent approximately 2 cm long and the same thickness as your cardboard. Then cut the same sized slot into the base of your forest drawings.
For small items one stand should be enough, for larger items like mountains, add 2 stands to the bottom of your drawings.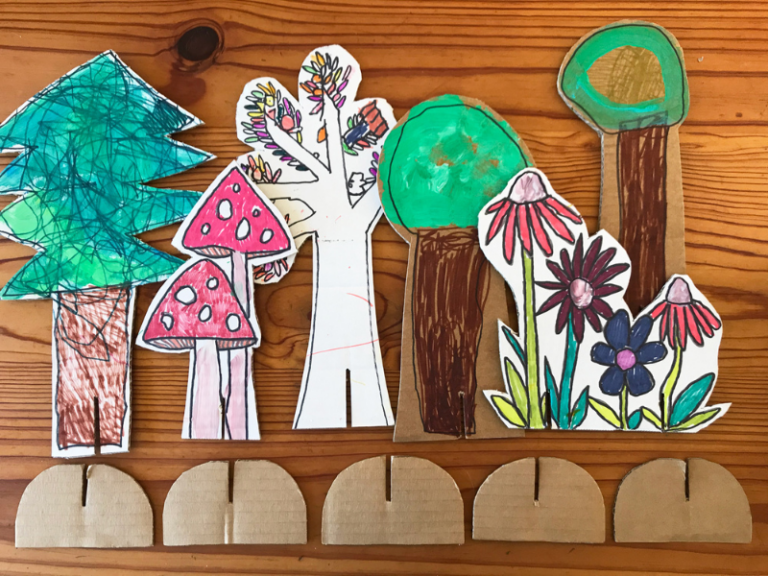
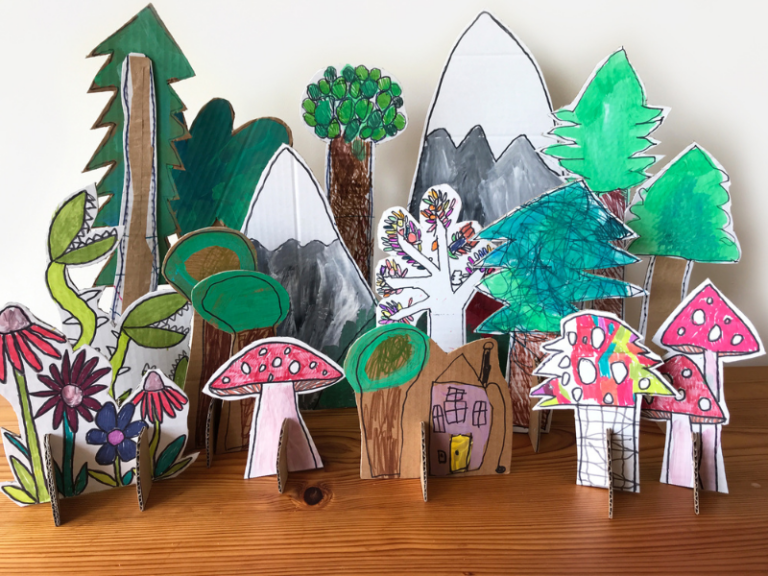
- Play!
Now set up your magic forest and begin to play!
The original idea for this project came from the CARDBOARD CITY that we created for our book UNBOXED: Adventures in Cardboard. So If MAGIC FORESTS aren’t your thing, you could try making a cardboard city, an Arctic ice landscape, a desert with sand dunes or maybe even an alien world from another planet!
More Cardboard Recycled Art Ideas for Kids
- 30 Earth Day Activities for Kids
- 10 Cardboard Art Ideas for Kids
- 5 DIY Cardboard Toys You Can Make With Your Kids
- Cardboard Robot Puppets that Move
- How to Make Cardboard Tube Sculptures
- DIY Cardboard Masks with Kids
Pin It for Later