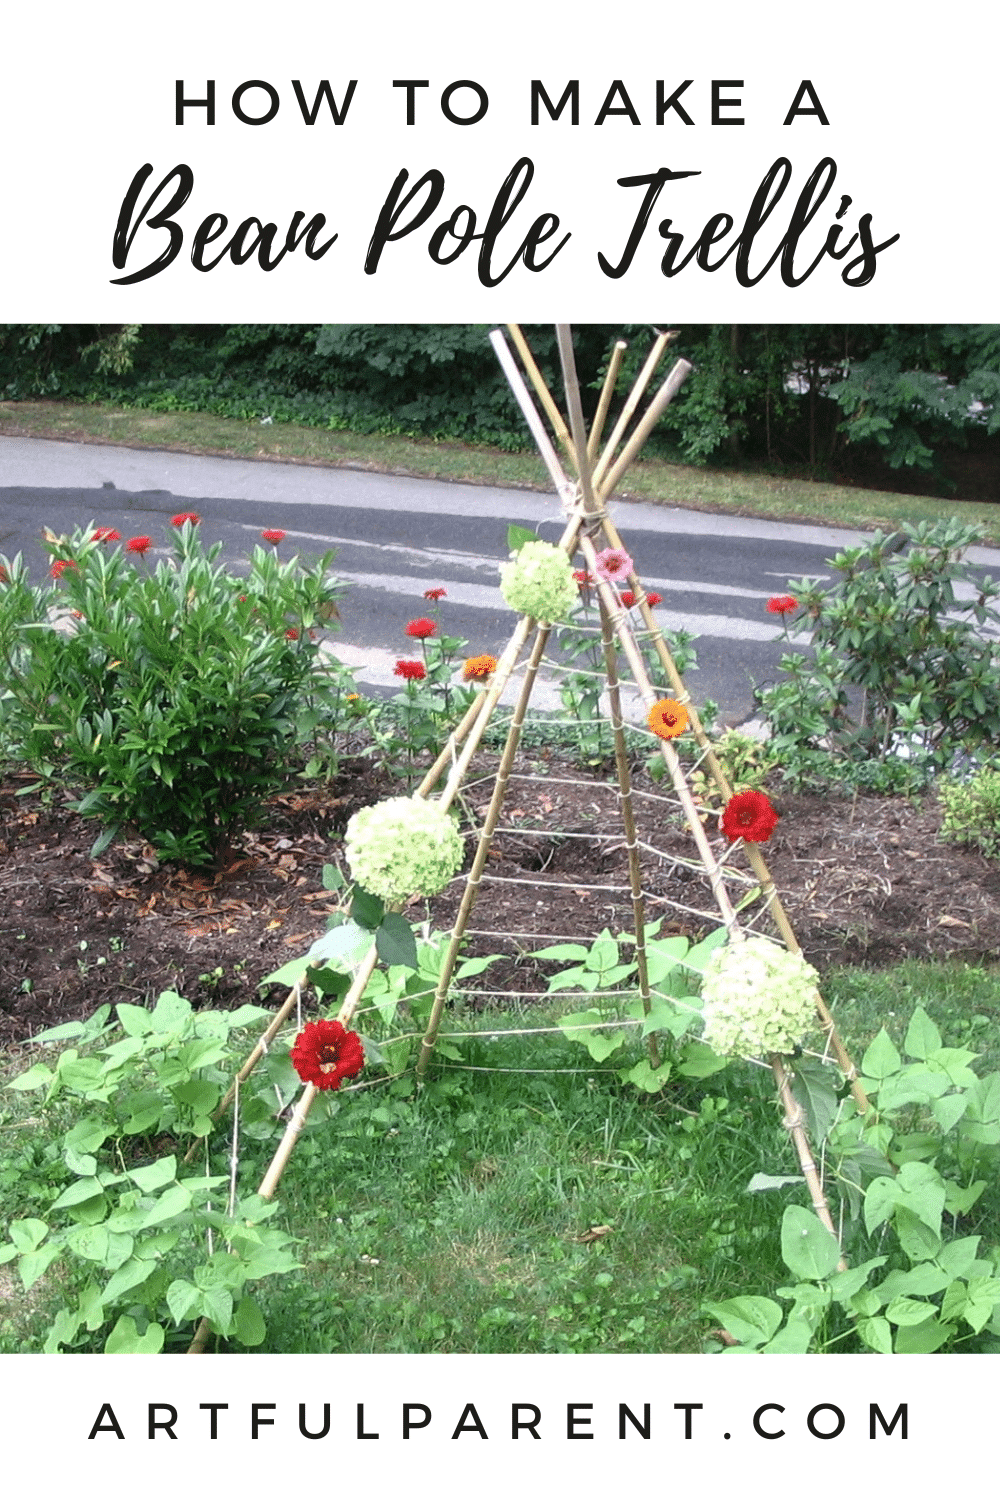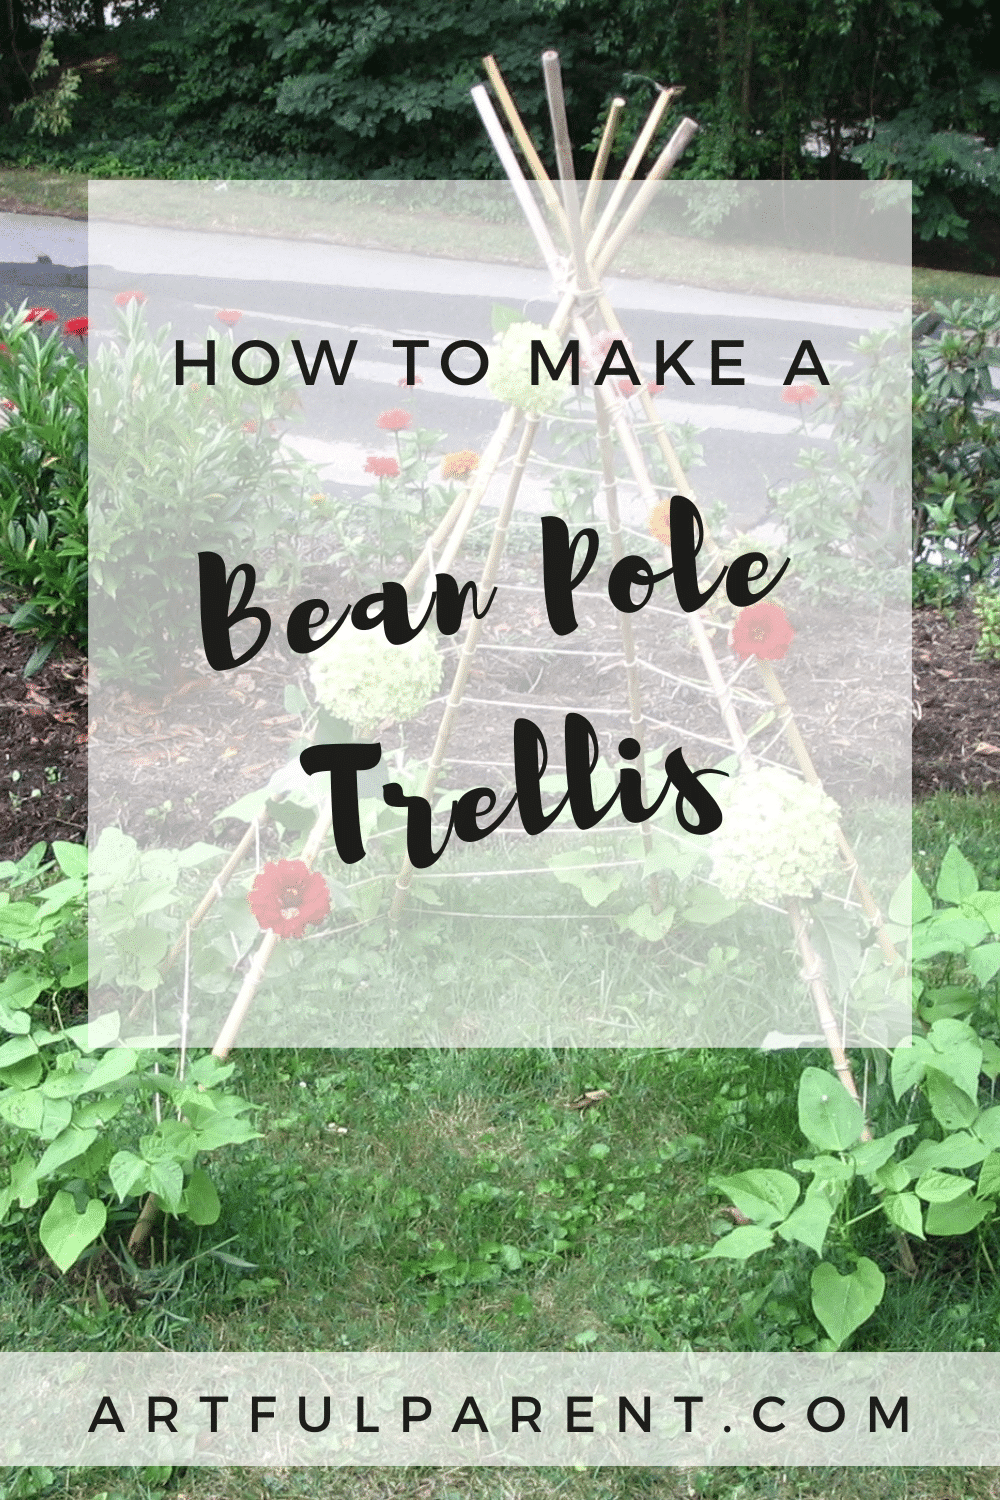
How to make a bean pole trellis that is highly functional and attractive. A wonderful living structure that doubles as a kids’ hideaway.

Updated July 2023
Our founder, Jean, first got the idea for a bean pole trellis or tent from the book Roots, Shoots, Buckets & Boots.
She took inspiration from author Sharon Lovejoy’s Moon Garden and her Garden of Giants but kept things simple. Her first couple tents were covered with just beans and Heavenly Blue morning glories. It’s amazing how quickly the bean plants cover the structure once they get going in the warm weather.
If you build a structure like this, you can leave it as a living hideaway, or have fun weaving ribbons and yarn in and out of the trellis like a loom.
Here’s how to make one!
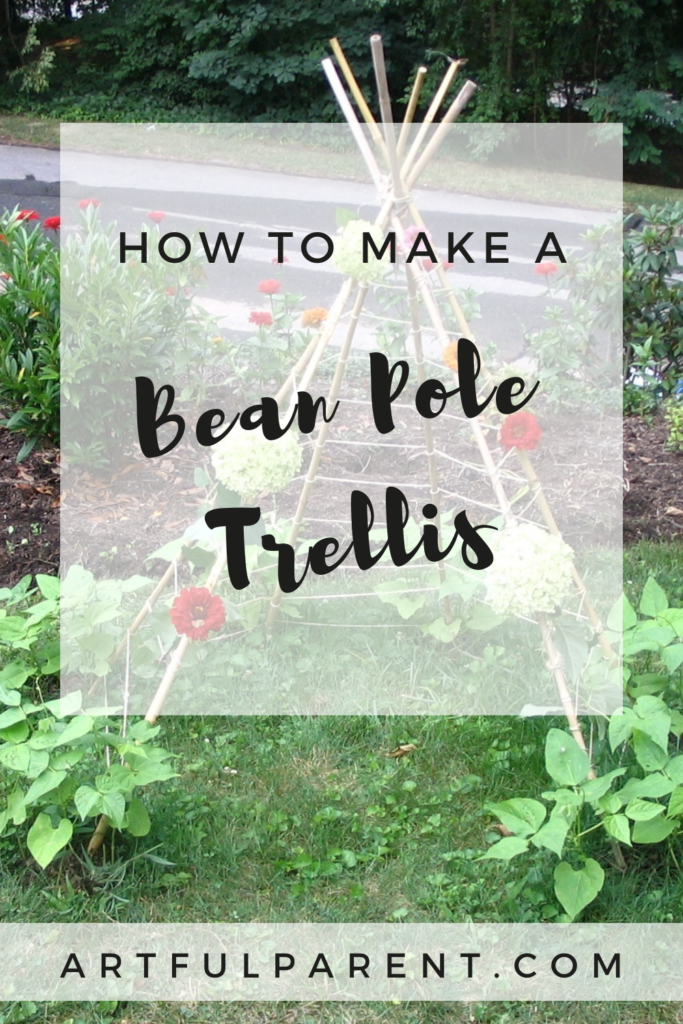
How to Make a Bean Pole Trellis
MATERIALS
- Bamboo poles* or wood poles, 6-10 feet tall (8-10′ is ideal)
- Twine or string
- Soil amendments, if necessary
- Pole bean seeds, such as Kentucky Wonder
- Annual climbing flower seeds, such as Heavenly Blue morning glories (optional)
*Bamboo and wood poles can be purchased at garden supply and hardware stores. If you’re lucky, though, you can find someone with an overly vigorous grove of bamboo (aren’t they all?) who would be more than happy to have you cut and take some longer poles.
INSTRUCTIONS
- Determine your trellis size and location
Loosely assemble the bamboo poles in a tent shape (without tying them yet), both to see if you like how it looks in the location you’ve picked (as sunny as possible!), to decide on a doorway, and to figure out the size of the footprint.
If you’re okay with the size and location, mark the footprint with string. Move the poles out of the way. - Prepare the space
Remove the sod from the horseshoe-shaped tent footprint and amend the soil for planting.
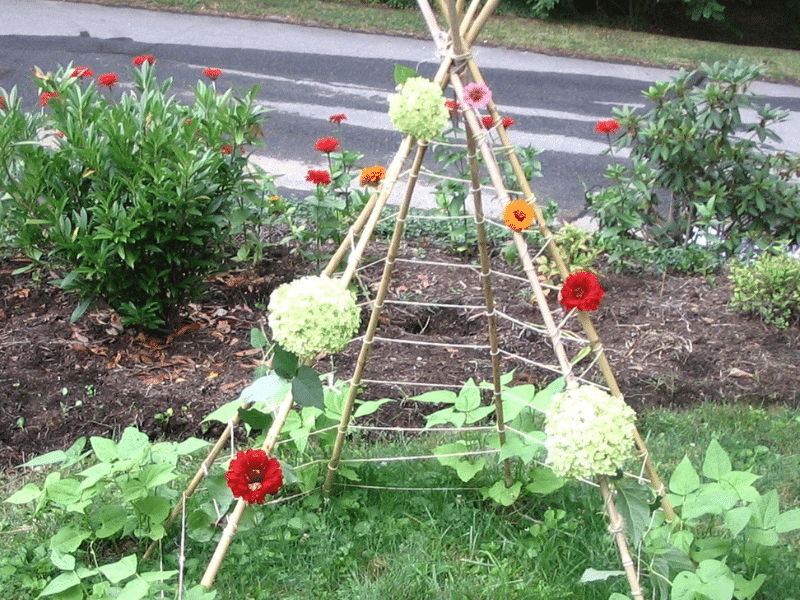
- Make your structure
Assemble your poles, pushing the bottom ends into the amended soil, and tying the top ends together.
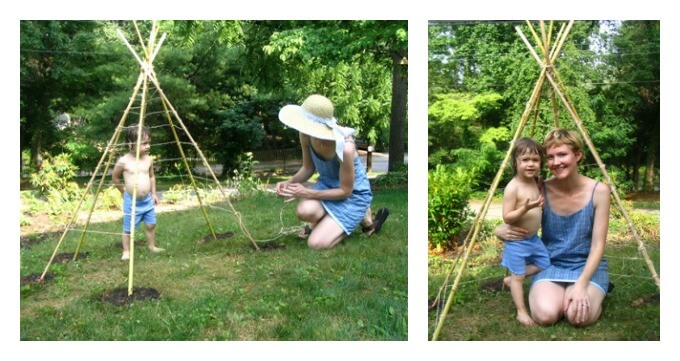
- Add twine
Now, add twine to the bamboo pole framework. Tie off the end of your twine at the top of one of the poles and, working your way around and down the tent, create a trellis system for the pole beans to grow up.
You’ll pull the twine tautly from one pole to the next, wrap it around that pole, then pull it tightly over to the next pole, etc.
When you reach the doorway, reverse direction back around the teepee, until the entire teepee, except for the door, is covered with a network of twine. The final stretch of twine should be close enough to the ground that the baby bean seedlings will be able to reach their climbing support without too much problem. - Plant your seeds
Finally, plant your bean seeds! Follow the directions on your seed packet.
You can also add other seeds or seedlings at this time, either other annual vines, such as morning glories, that will climb up the trellis, or other low-growing annuals such as marigolds or nasturtiums, that will form a visual base to the structure. The beans should sprout after about a week.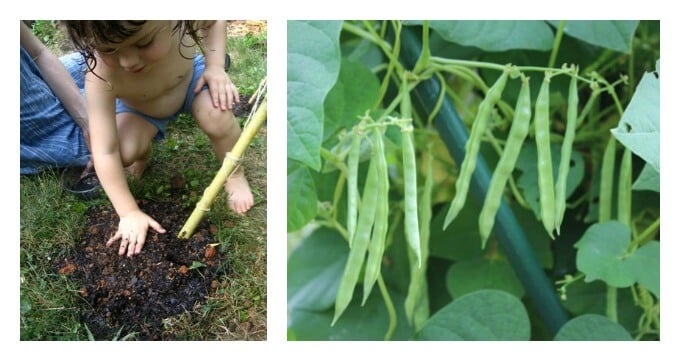
Keep the bean seedlings well-watered and help guide them to the base of the teepee if they seem to need it. Progress may seem slow at first, but once they get going you will be surprised at how quickly the beans cover your teepee structure. Take regular photos of the progress, just for fun!
Use your bean pole trellis as a play area, fort, or reading nook at any stage of bean growth.
And don’t forget to harvest the beans! Once your bean plants start producing beans (after about 60 days), pick them! Keep the beans picked so that the plants continue to produce them.
When your beans are finished for the season and start to turn ugly and tan, you can either pull down the entire structure or clip the twine and bean plants off the teepee framework and toss them in the compost.
It’s really quite easy and very rewarding! Plus, it’s just a good way to grow beans!
Pin It for Later