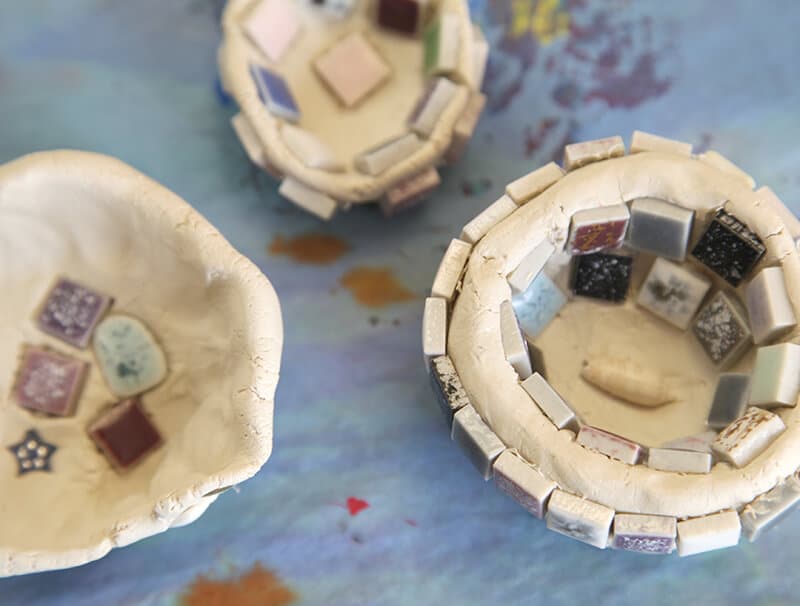
Dig into the recycling bin for materials to upcycle and create some amazing mosaic art for kids. A great tactile activity using air dry clay. Project and post by Benares Angeley of Children’s Art Lab and photographs by Aylin Cetik.
Updated April 2024
If you’re the owner of an art studio like me, or just an artsy mama (like so many of YOU!), I bet you get tons of sometimes awesome and sometimes wild donations of materials.
I’ve been given hundreds of cardboard tubes, piles of lids from baby food pouches, a giant box of seashells, and countless beads, jars, spools of thread, shoeboxes, stickers, stamps, and teeny, tiny odds and ends.
I nearly always say “YES” when asked if I take donations. I love repurposing objects, and kids adore going through my recycling bin of “usable makeables.” Some items eventually make their way into the trash, but I try to put most donations to good use in a project.
One of my favorite ways to use all the odds and ends I save is pressing them into air dry clay. Older children can create pinch pots and use the bits and bobs to embellish their designs. Younger children love the sensation of pushing the objects into small mountains of clay.
I love projects like this that work on so many levels for a variety of ages!

Mosaic Art for Kids with Air Dry Clay

MATERIALS
- Small objects such as sequins, beads, buttons, marker lids, acorn caps, plastic lids, small seashells, tiny ceramic tiles, etc.
- Air dry clay
INSTRUCTIONS
- Take a look!
I always like to start the kids off with some simple observations:
– What do you notice about your materials?
– What colors do you see?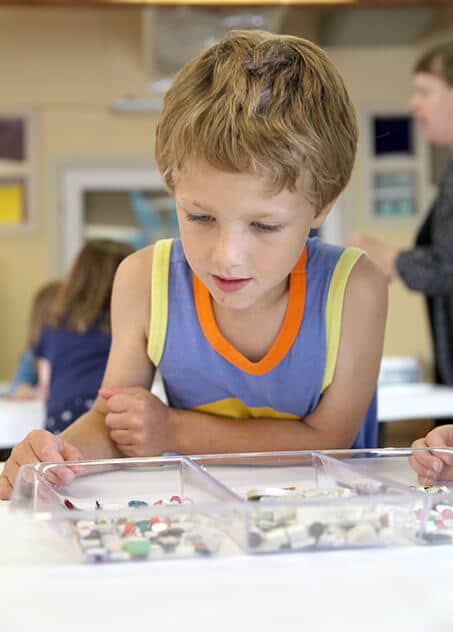
– How about shapes?
– Are the tiles smooth or bumpy?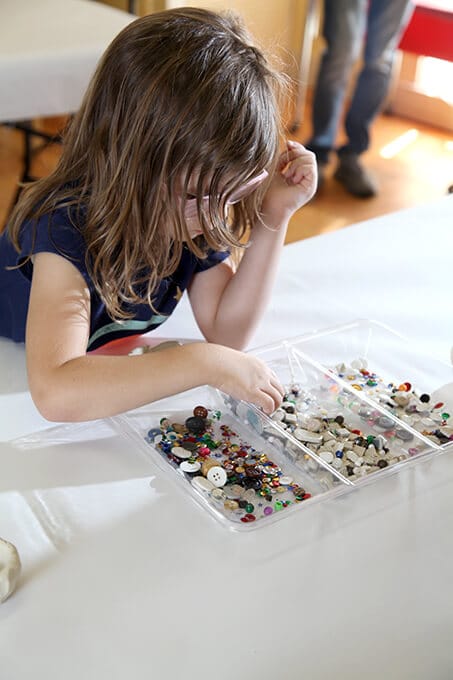
- Time for the air dry clay!
The students at my art studio love, love, love when I bring out clay! They don’t get many opportunities to experiment with clay in school, so it always feels extra special to them.
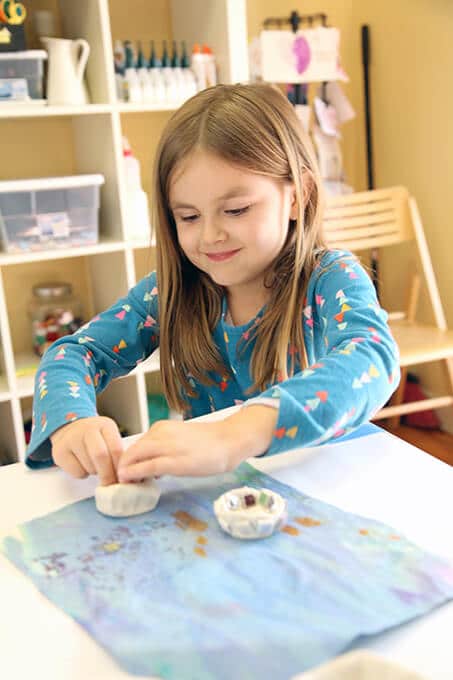
- Create a pinch pot
I give them a small amount of air dry clay to start with then I show them how to roll it into a ball. After this they learn to push a thumb into the middle of the ball to make a little indentation.
Then I ask them to take “pinching fingers” and pinch around the outside edge to make a little bowl or nest.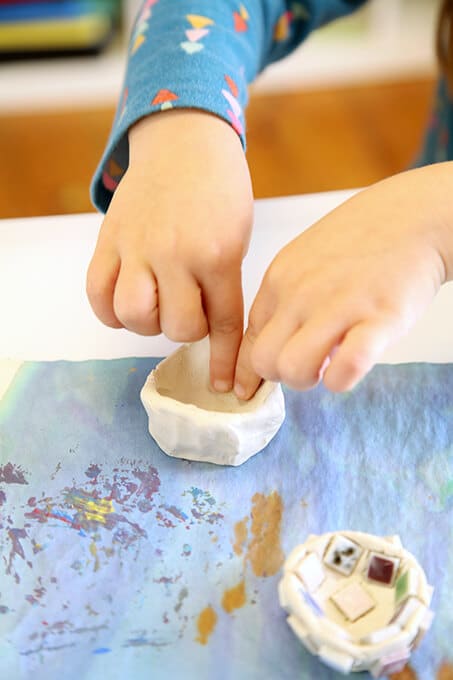
If your kiddos don’t have much experience using clay, they will probably want plenty of time to just explore the material.
It’s fun to talk about how the clay feels and how it’s different than playdough–including how the clay will transform as it dries.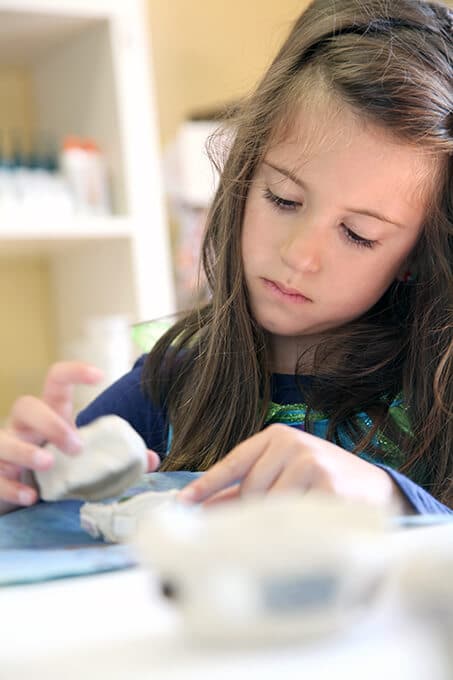
- Make some beautiful mosaic art!
After your child has their basic form made (whether a little bowl or a ball or just a mound of clay), it’s time to start designing with the tiles, buttons, beads, or whatever material you’re using for the project.
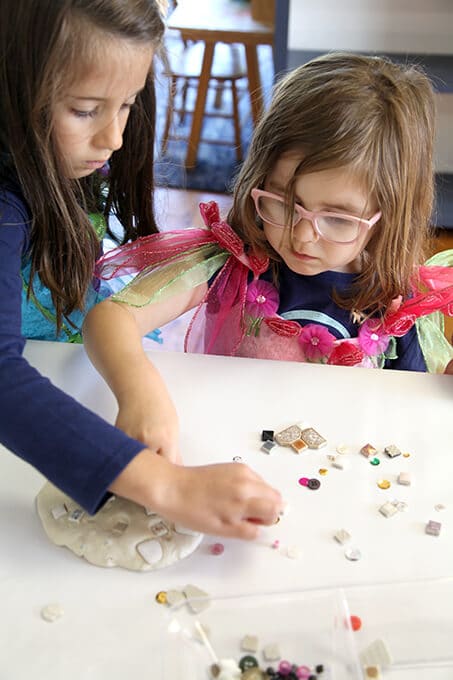
This is a great time to introduce the idea of creating a pattern with shapes and colors. It’s also an engaging sensory process and so good for those little fingers developing fine motor skills to push tiny tiles into a sticky ball of clay!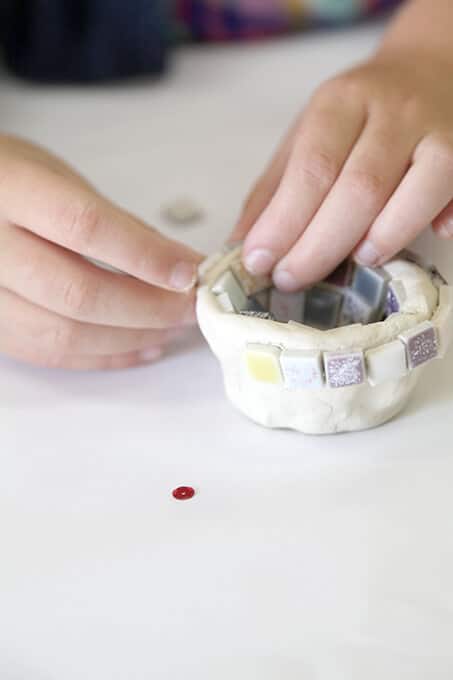
- Let it dry
The air dry clay will be dry after a day or two, depending on the weather.
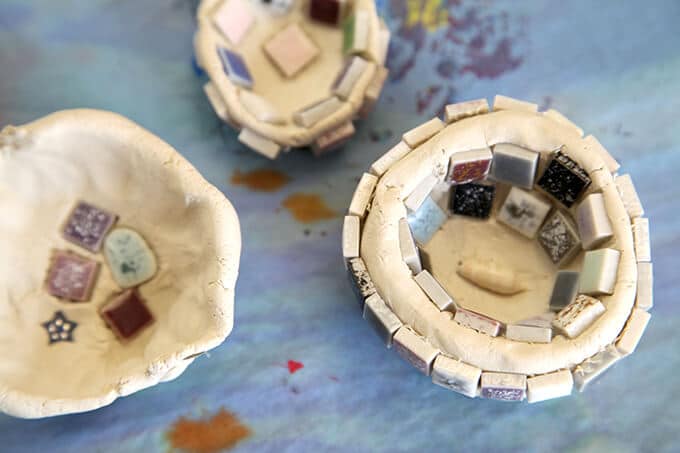
It’s fun to have a conversation with your kids about how to use their special handmade bowl.
What could you keep inside?
- Maybe a collection of precious treasures, such as stones or seashells?
- Or you may choose to display it alone on the mantle!
However you choose to display your child’s artwork, the process of creating something together is a wonderful way to make a memory!
Related Stories from The Artful Parent
More Clay Art Activities for Kids
- 15 Clay Projects for Kids
- How to Make Clay Coil Pots
- How to Make a Clay Coral Reef
- How to Make Lace Hearts from Air Dry Clay for Ornaments & Magnets
- Make a Nature Mobile for Kids with Gathered Materials + Air Dry Clay
- Clay Leaf Prints + Pendants
Pin It for Later


