Learn how to create magic paper for printmaking & painting with kids. Project & post by Joanna Walker of The Blue Barn.
Updated June 2025
We’ve been experimenting with ink lately, inspired by a bottle of calligraphy ink we picked up on a whim. It sparked all kinds of creative play—writing with feathers, drawing with dip pens, and more.
At the same time, we’d been playing around with bleach as a way to create designs on fabric in the sun. That got us thinking… could we try something similar with paper and ink? What would happen if we used bleach to “erase” the ink?
And just like that, our magic ink activity was born! This simple experiment opens the door to all kinds of creative possibilities, and it can easily be adapted for different ages and interests. Let’s dive in!
Important Note About Bleach and Kids
Make sure that you supervise this activity closely as it involves working with liquid bleach, which is an eye, lung, and skin irritant. Do this activity in a well ventilated area, preferably outdoors if possible. I would NOT recommend it for young children. Also as a precaution, if you think your age group will end up with bleach on their skin, we recommend kids latex gloves.
A fun alternative for younger kids are these sunprint kits. Collect some nature items to place on the paper & let the sun expose your nature print! Or try this DIY version with construction paper.
How to Make Magic Ink Paper

MATERIALS
- Heavy weight paper (watercolor or mixed media work well)
- Black ink
- Bleach – it will need sodium hydrochloride in it
- Tools such as paint brushes, toothpicks, foam shapes, etc.
- Kid sized disposable gloves
INSTRUCTIONS
- Brush ink onto paper
Use a paint brush to cover a piece of paper with the black ink and leave to dry. You may want to go to the edges of the paper for this or just have your child color a section of the paper. We tried both which you will see in some of the later pictures.
Leave paper and ink to dry.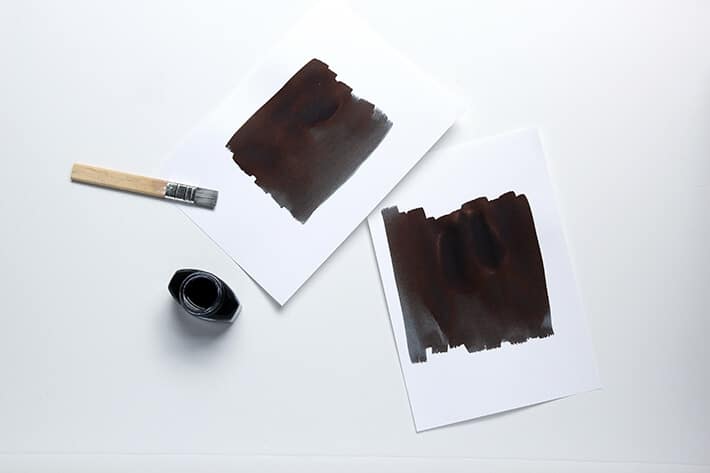
- Paint or print with bleach
Now that you’ve created your black paper, it’s ready to use. The bleach takes the pigment out of the black ink––be sure to watch your clothes and table cover because it’ll bleach them too!
Depending which project you decide to tackle your set up will vary.
Here are the three ways we used our magic paper:
3 Ways to Use Magic Ink Paper
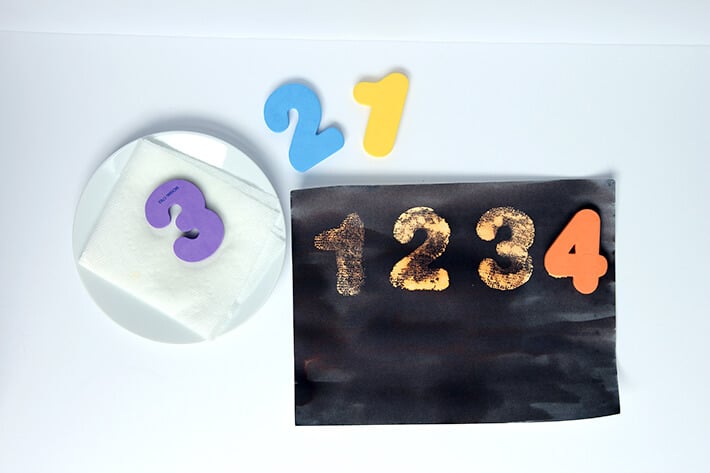
1. Printing with Foam Shapes
Lay out the black paper and next to it place a small dish with a folded paper towel that’s been soaked in bleach.
This method is probably my preferred way to work with bleach with the younger crowd because they can’t accidentally spill it or drink it.
We used some foam letters and numbers from our bathtub. We pressed a number into the bleached paper towel and then pressed the bleached side down on to the inked paper.
When the children lift it up from the black paper they are left with a print.
We repeated this activity with different numbers and letters; we also used some shapes, corks and bottle tops. This is a great way to work on printing with kids and they find the magic reveal fascinating.
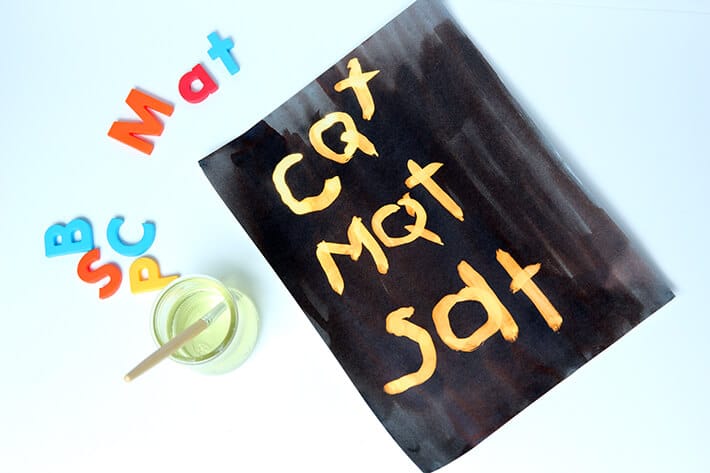
2. Draw or write freehand
The slightly older crowd enjoys this one. It’s especially good for those headed off to school as it makes practicing sight words and spelling a little more fun! For sight word practice, I suggest supplying magnetic letters so they can play with the letters to create new words to copy.
For this I supplied the children with a little jar of the liquid bleach. Do not leave children unattended with the bleach and please remind them to be careful and DO NOT drink the bleach.
For the self portrait, I provided a paint brush, jar of bleach and a small mirror. Let them paint the bleach onto the inked paper using a paint brush. The kids were asked to look at the details of their faces and paint them onto the magic paper.
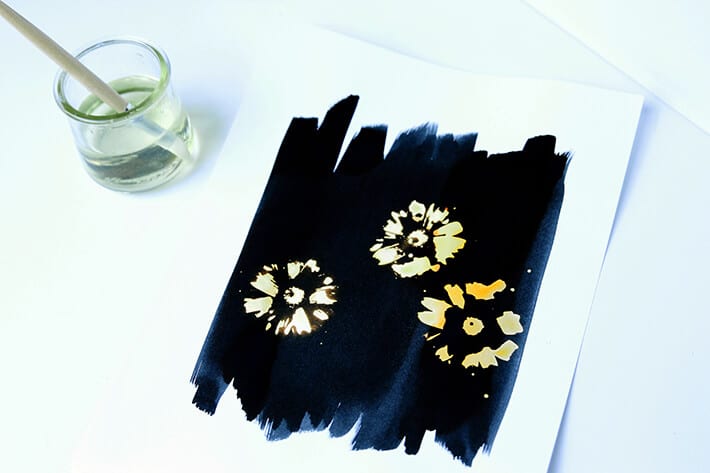
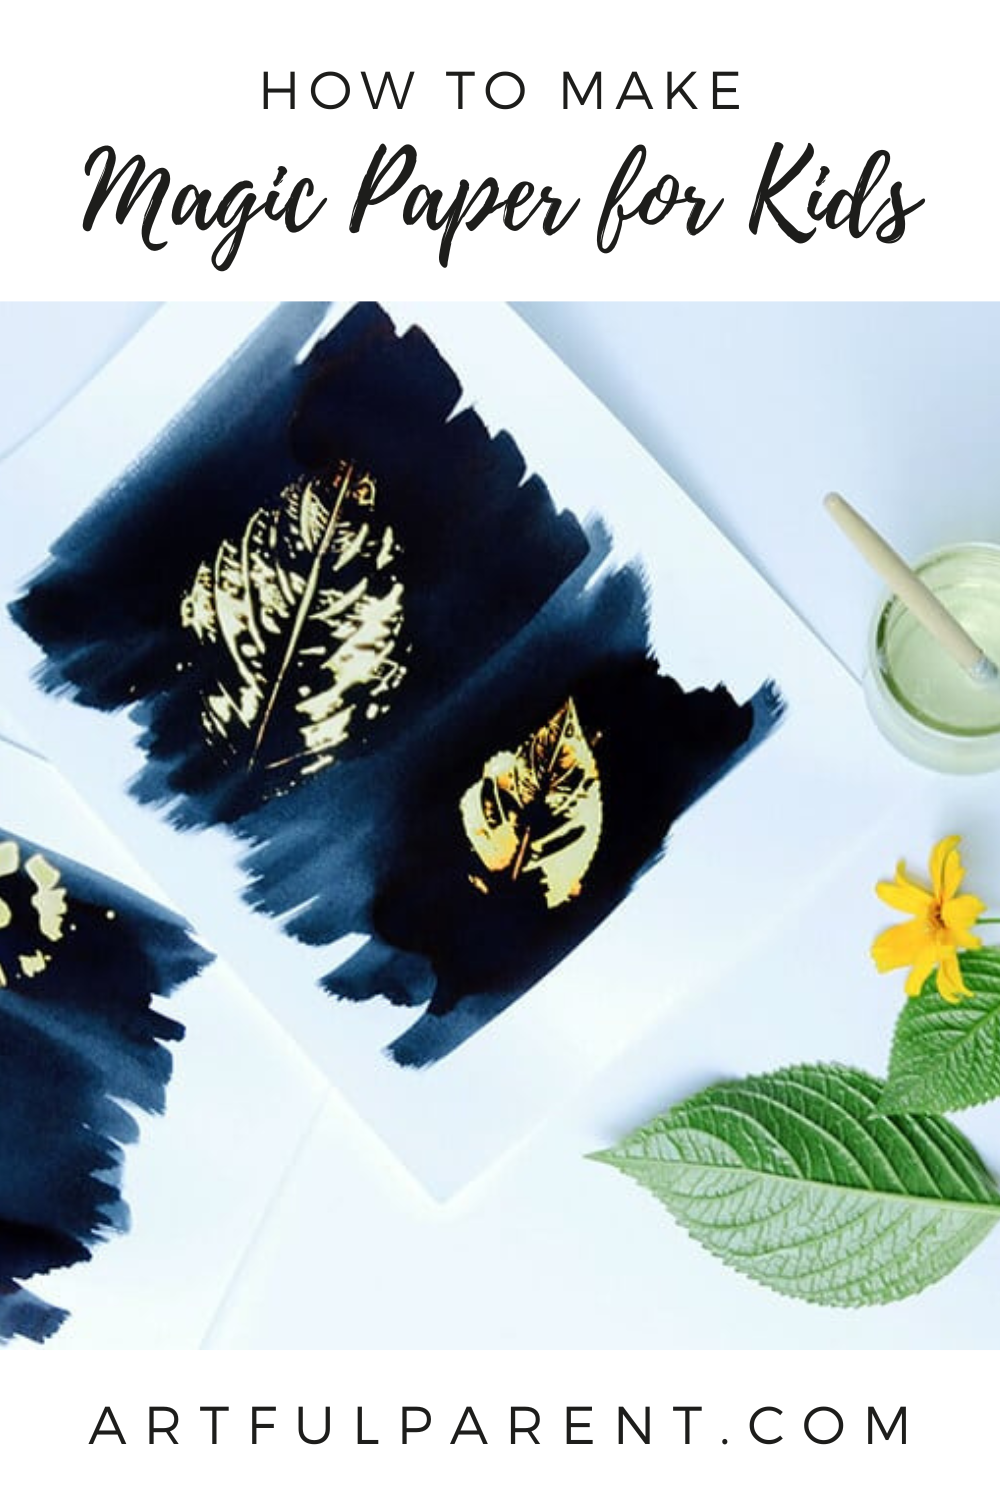
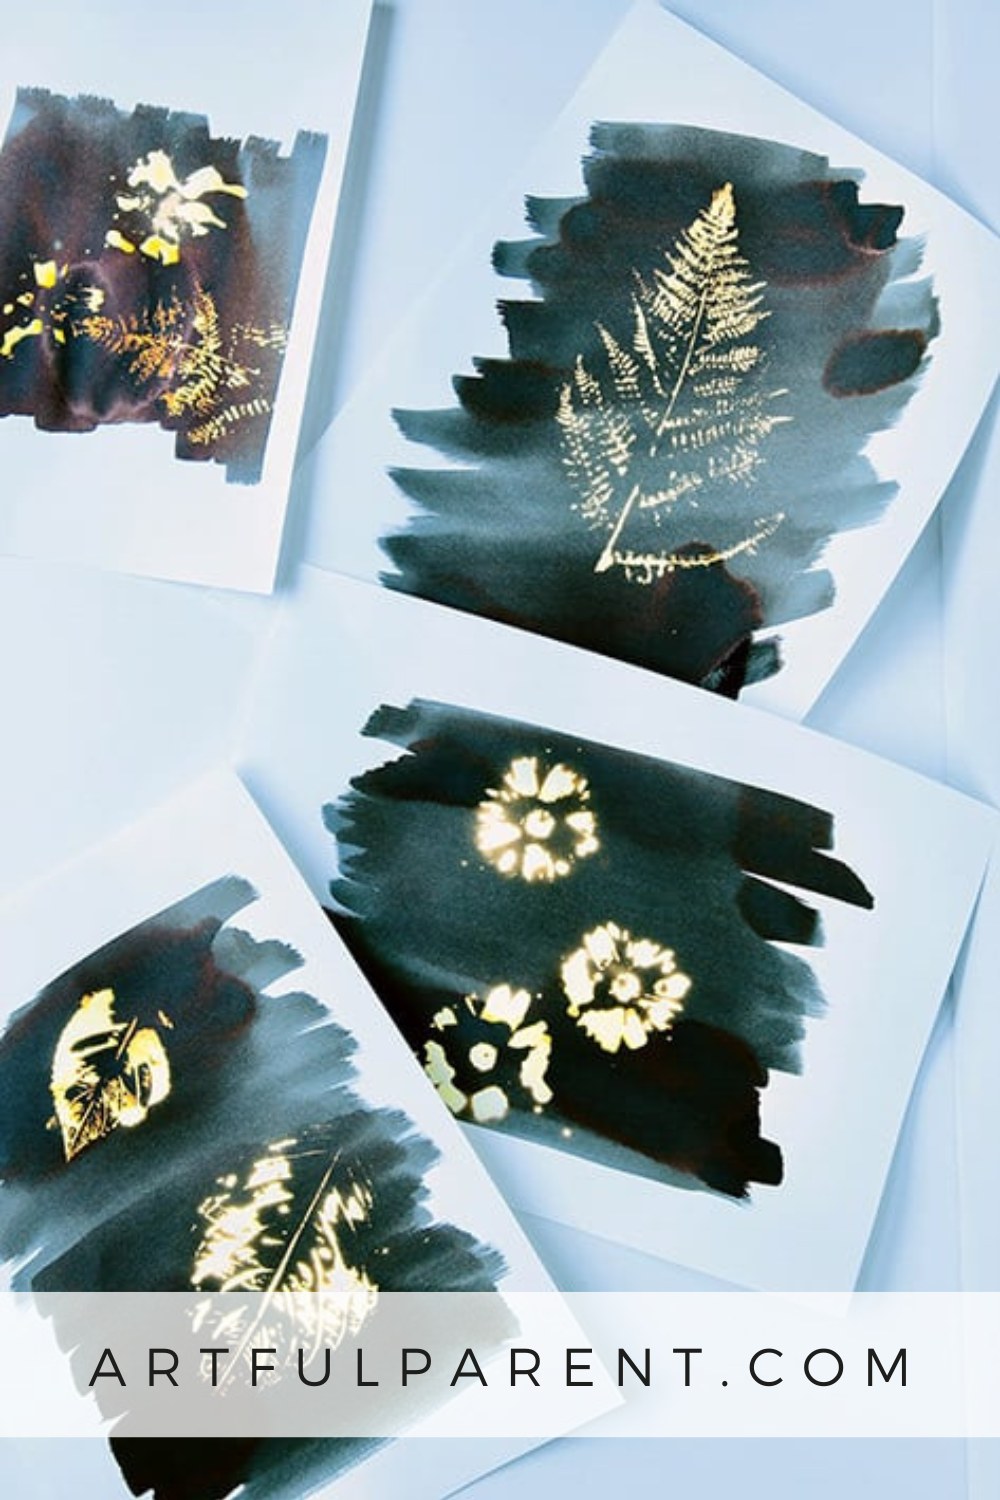
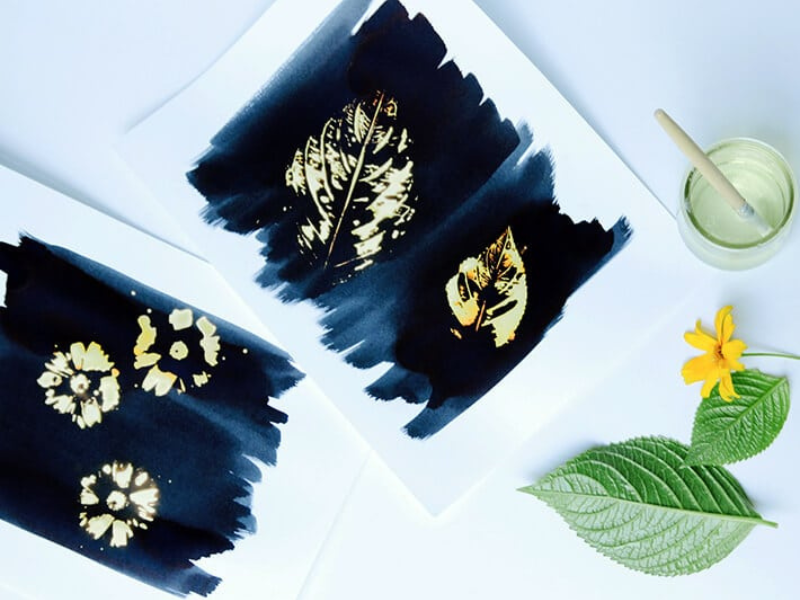
3. Magic Ink + Bleach Nature Prints
This is probably one of our favorite ways to use the magic paper. After seeing lots of prints on fabric using leaves, we decided to create some nature inspired prints on our magic paper.
We began by dipping some flower heads into the bleach. Then we lifted them out, gently knocking the excess drips off and pressing the flower head onto the paper.
After printing a flower, we collected a few leaves from the yard.
We painted the underside of the leaves with the bleach using a paintbrush. Once we covered the leaf we flipped it over and pressed it down on the paper. Then we lifted it up to reveal the most beautiful print of the underside of the leaf!
We even tried a fern, how pretty!

I hope you try this activity! It’s fun and exciting to make magic prints.
More Printing Activities for Kids
- How to Create Bubble Prints for Kids
- How to Do Leaf Printing with Kids
- How to do Monoprinting with Kids
- 6 Easy Paper Marbling Techniques
- Easy Gelatin Printmaking for Kids
- How to Make Sun Prints
Pin It For Later