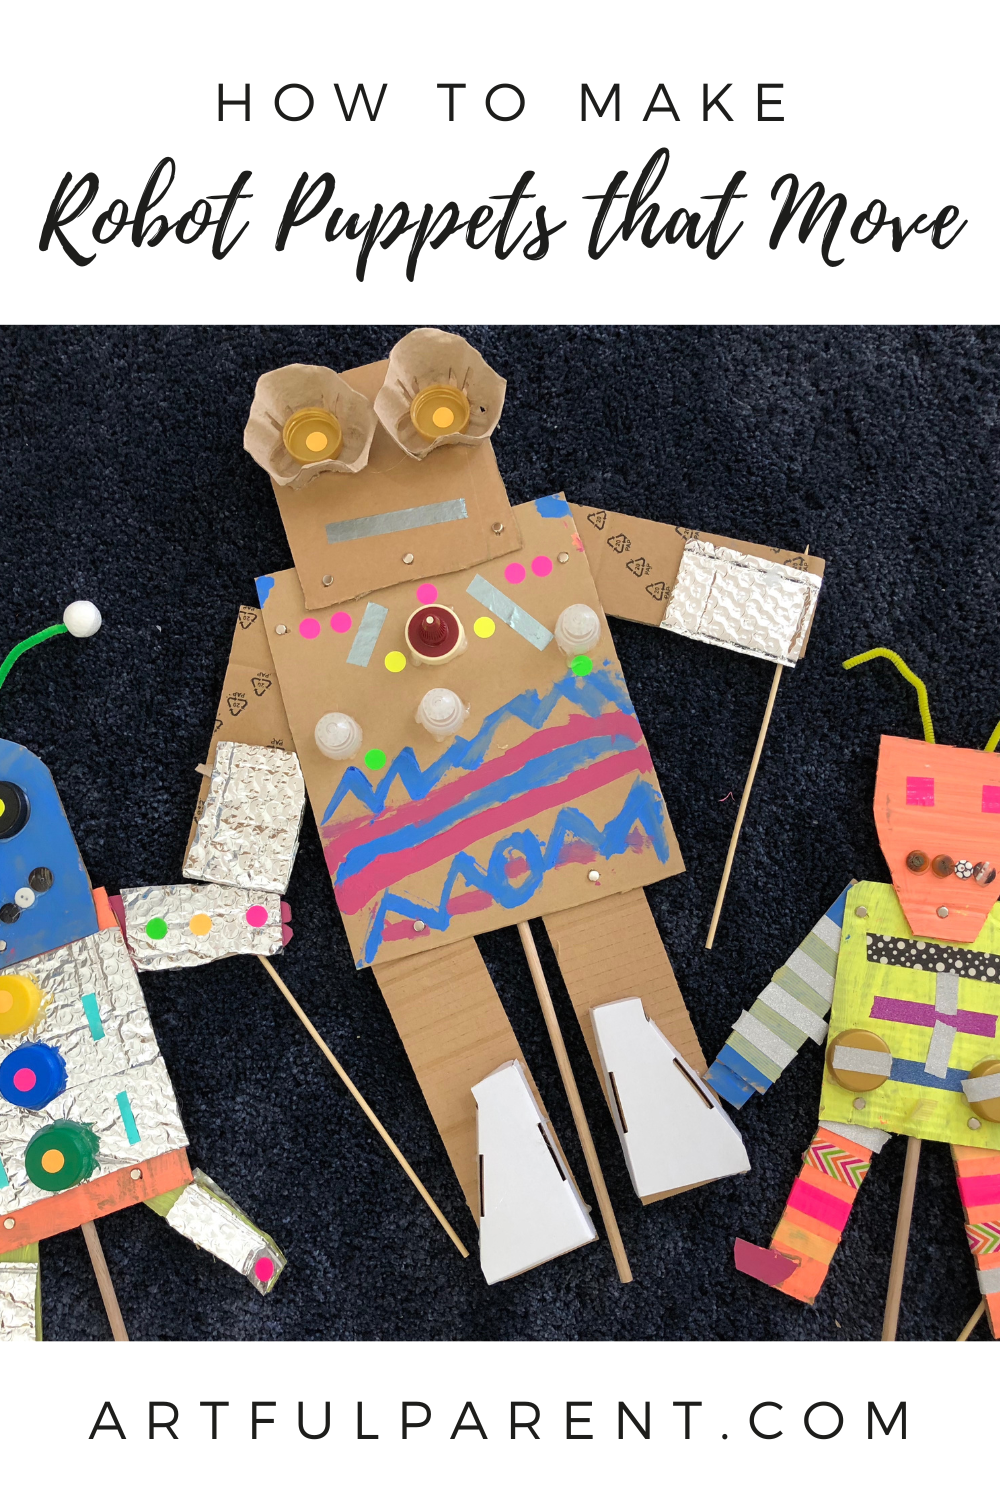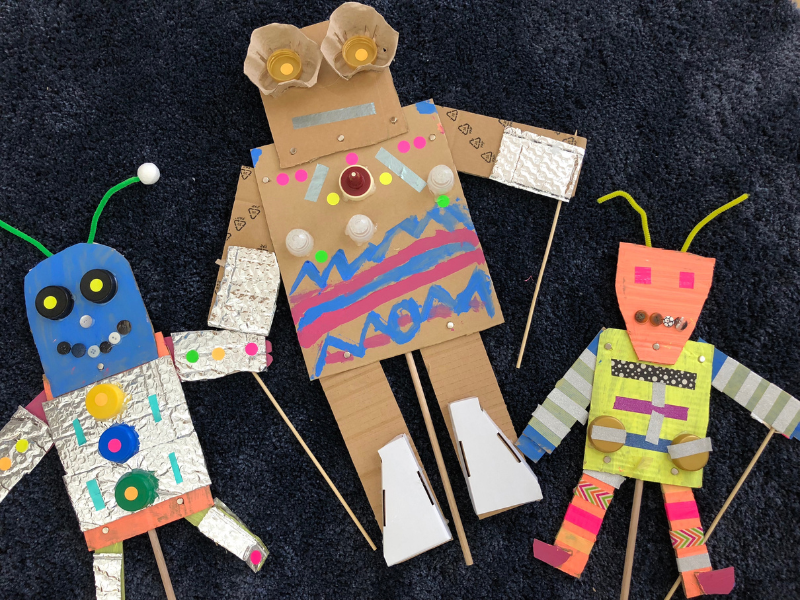
Learn how to create fun robot puppets that actually move using cardboard and other recycled materials in this make and play project for kids by Danielle Falk of Little Ginger Studio.
Updated April 2025
Any art teacher will sing the praises of good ol’ cardboard as a brilliant material for art-making.
A cardboard box has endless possibilities for re-invention as a fort, rocket, shop, or whatever.
Cardboard can easily be cut, glued, painted, decorated and shaped into almost anything little imaginations can come up with. And it lends itself especially well to puppet-making as it is strong but still easy to manipulate.
And kids love puppets.
You’ve heard me rave on about how much children enjoy creating and playing with puppets before, and these robot puppets I’m about to show you are no exception.
It’s especially fun to create extra-large robots that children can hide behind and get lost in role-playing their characters.
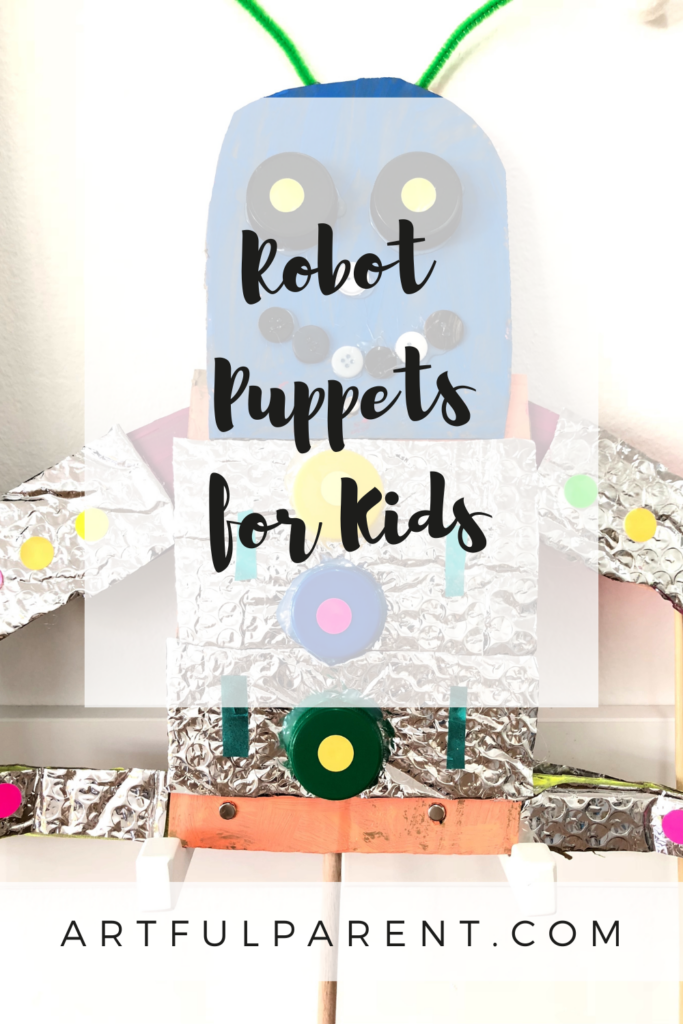
How to Make Cardboard Robot Puppets

MATERIALS
- Lots of medium weight cardboard (ie: that is still “cuttable” with scissors). Depending on the age of the children you might wish to pre-cut some into robot shapes: squares, rectangles, triangles, long limbs, etc.
- Scissors
- Acrylic paint, tempera paint or tempera paint sticks
- Hot glue gun
- School glue and/or glue sticks
- Recycled materials (bottle tops, champagne bottle cages, jar lids, popsicle sticks, coffee cup holders, cardboard packing materials, cardboard rolls, egg cartons, silver bubble wrap, old nuts, bolts, and screws)
- Washi tape, pom poms, pipe cleaners, colored construction paper, or aluminum foil
- 20 inch long dowel per puppet
- Thick kitchen wooden skewers
- Colored duct tape
- Paper fasteners and something sharp to make holes in the cardboard (I used a Phillips head screwdriver)
INSTRUCTIONS
- Create the robot body + limbs
Begin by selecting a large square or rectangle for the body and head shape. An adult will need to attach this with a hot glue gun.
Next, choose some limbs and attach the hands and feet in the same way. We took our time arranging and re-arranging our pieces until we thought our robots had enough “personality”.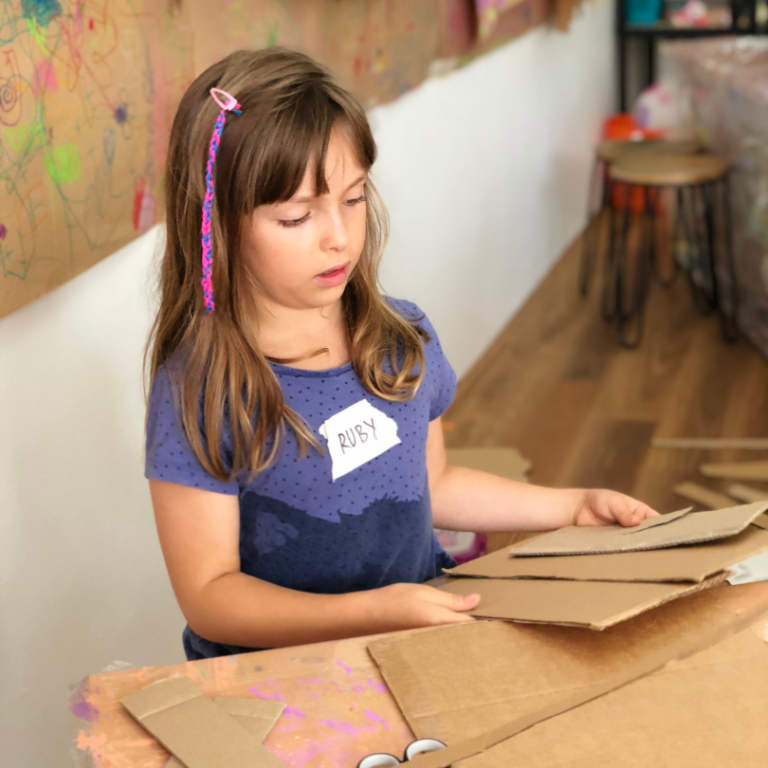
- Decorate the robot
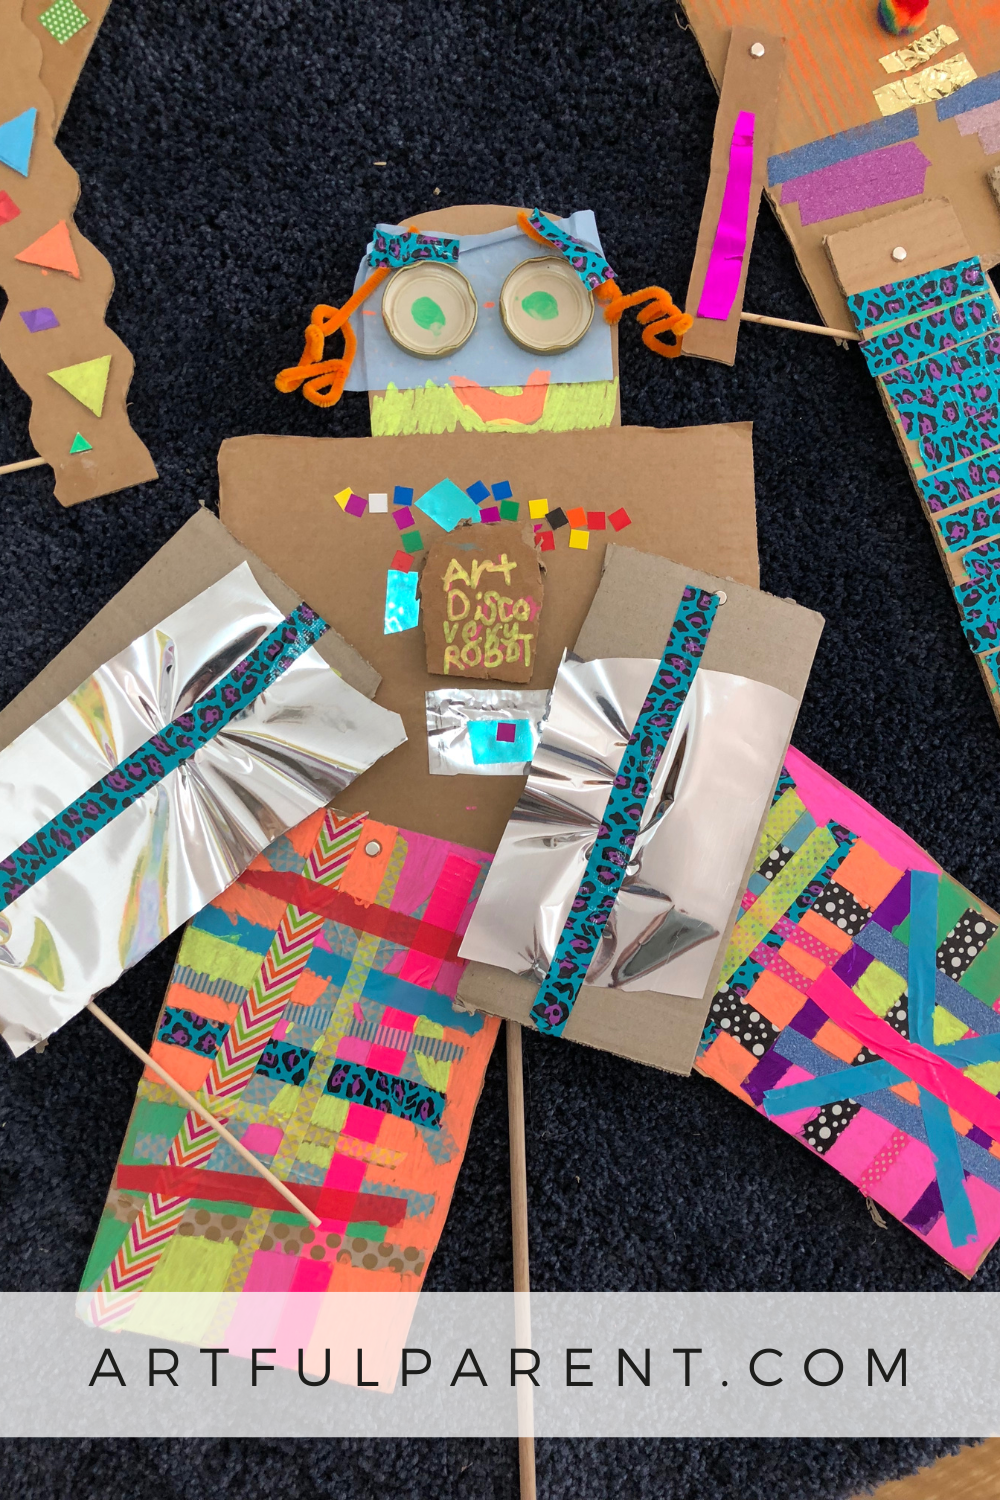
Kids can decorate their robots using paint, paint sticks, paper, washi tape, silver bubblewrap & foil in any way they like.
It’s best to direct them towards using smaller pieces and ensure everything is attached properly with glue.
However in terms of how to decorate their puppets, I like to present children with a wealth of exciting materials and then step right back to watch their creativity in action!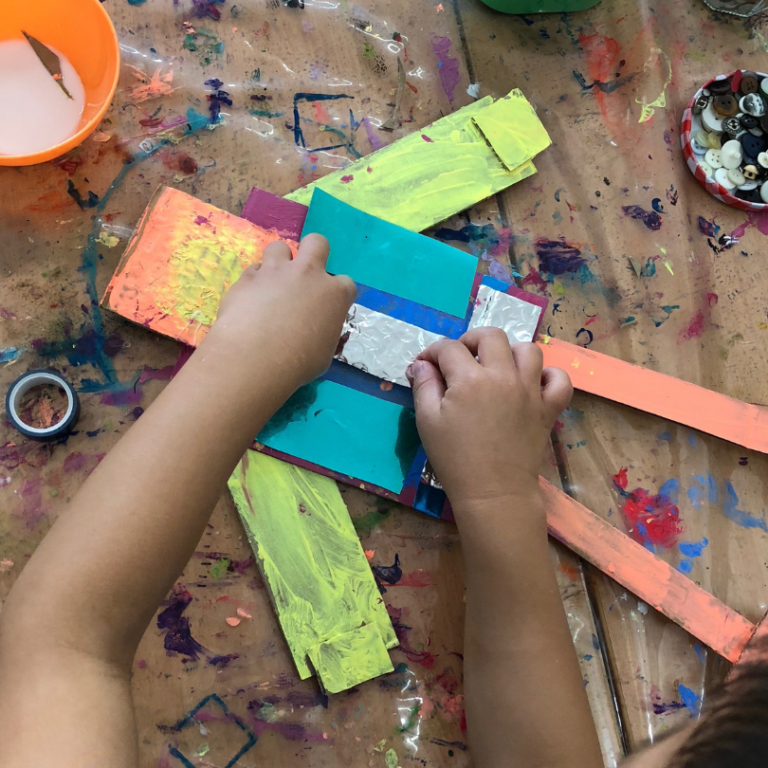
- Add details
The real magic happens in the second “layer” of decorating when children add details such as:
Eyes: coffee cup holders & bottle tops
Buttons & Dials: bottle tops & jar lids on the robot body
Antennae: pipe cleaners, metals bits, etc.
These materials will all need to be hot glued on by an adult.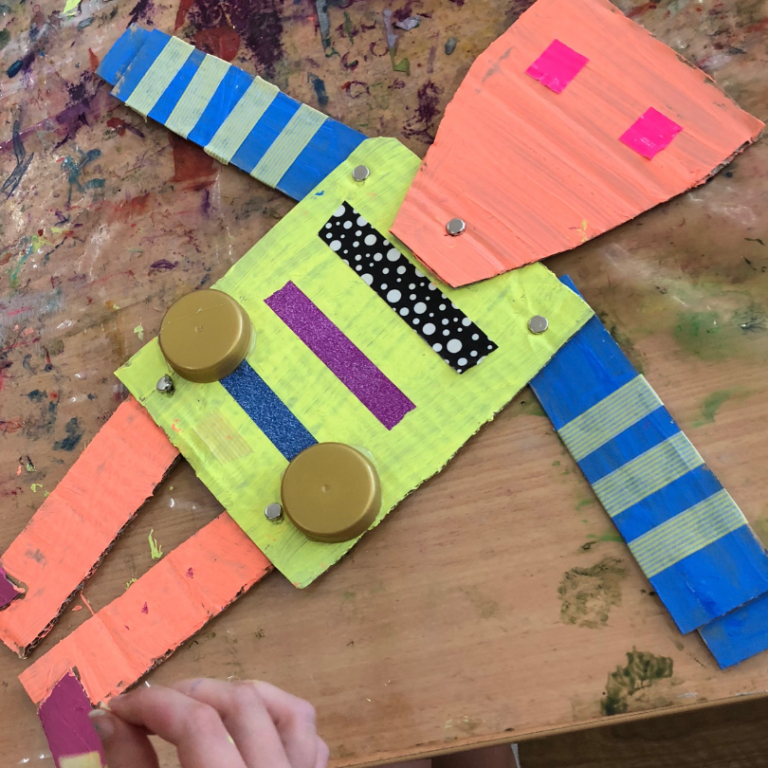
- Attach the limbs to the body
Carefully line up the limbs and body and make holes at the ends of each limb (not too close to the edge). Create holes in the right places on the body as well.
Line up the holes and attach the limbs by sliding the fasteners through both holes and securing to hold in place. Kids LOVE doing this bit, but will probably need help to press down the pin firmly. - Attach the dowel stick
Once again, that handy adult will have to use the hot glue gun to attach the dowel puppet handle. It’s also a good idea to add duct tape here for extra strength.
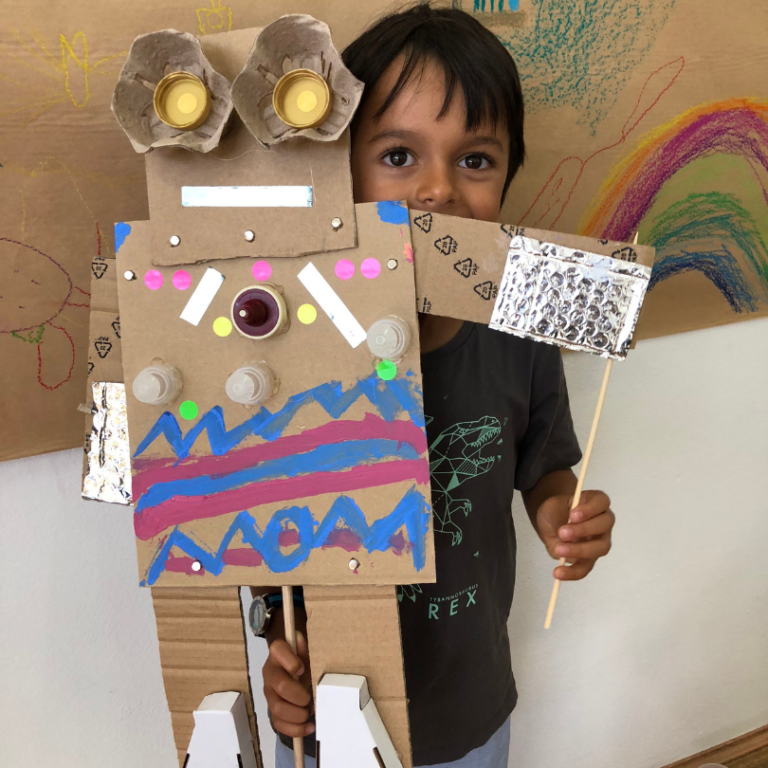
Now it’s playtime! Create some silly robot voices, have fun moving the robot puppets arms and maybe make a funny Robot Puppet Show.
More Pretend Play Activities for Kids
- How to Make Easy Hand Puppets for Kids
- Craft Ideas Perfect for Pretend Play
- How to Make a Cardboard Castle for Pretend Play
- How to Make DIY Play Mat for Kids
- 5 DIY Cardboard Toys You Can Make With Your Kids
- Creative Small World Play with Clay
Pin It For Later