If you want to try printing with kids, muffin tin printing is an easy and fun technique that kids of all ages will want to do over and over.
Updated June 2024
Have you tried muffin tin printing?
It’s a super simple, yet super engaging printmaking technique that we love to do with kids. Even the littlest artists can give this one a try and make some sweet prints!
The best part about this process art activity is that you probably already have the materials required.
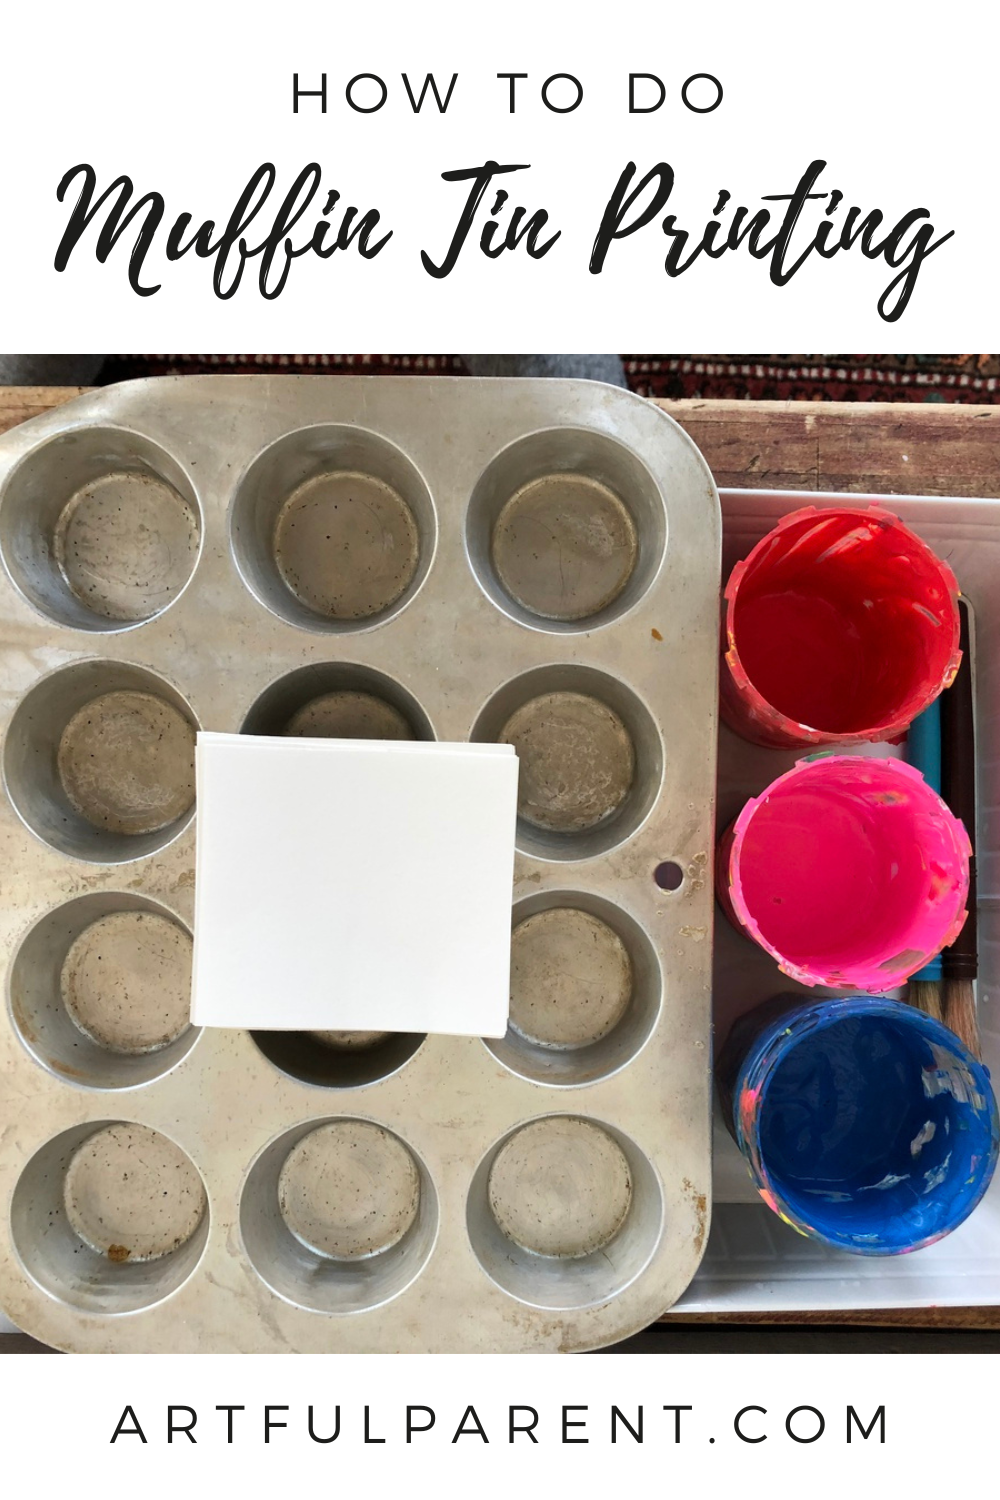
Muffin Tin Printing with Kids
MATERIALS
- Muffin tin
- Paint
- Brush or mini roller
- Paper
Note: You can find the mini paint rollers in the painting section of the hardware store (they’re used for painting trim and corners).
INSTRUCTIONS
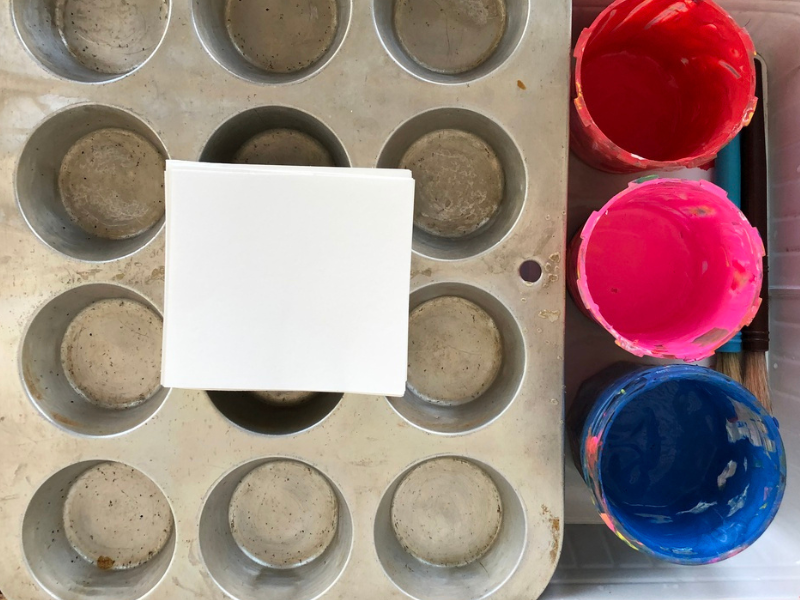
- Prep your materials
We like to use smaller pieces of paper for this, so cut your paper into small squares that will fit one muffin tin bottom.
Pour your paint into small cups or bowls. And this can get a bit messy, so you might want to cover your workspace.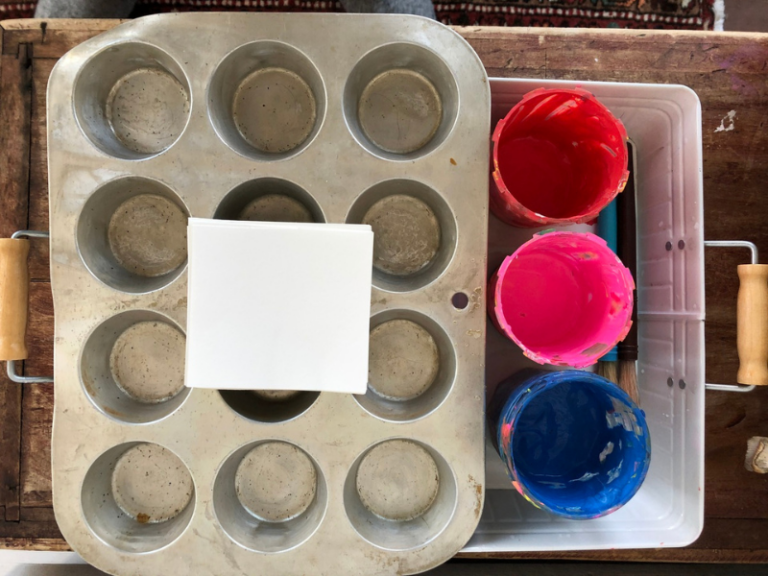
- Paint the muffin tin
Turn the muffin tin upside down and paint the bottoms of the cups.
You can use a brush for interesting brush marks that transfer to the final print or use a mini paint roller for a more even application of the paint.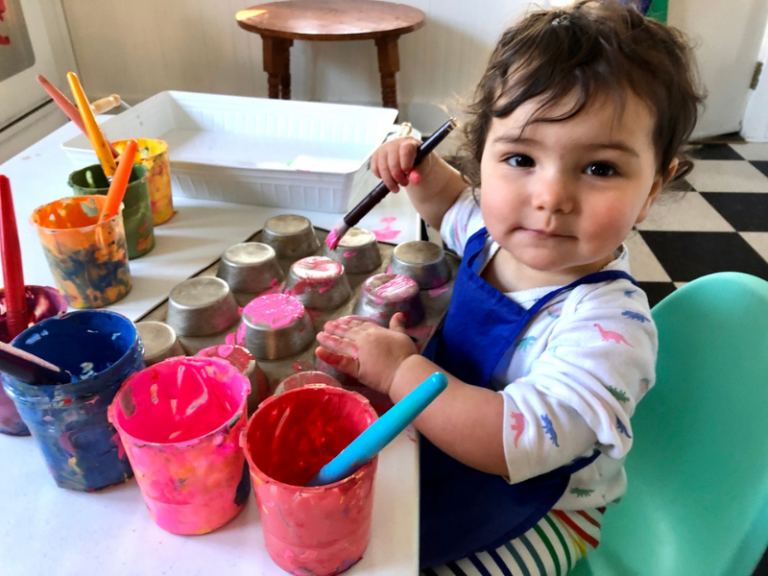
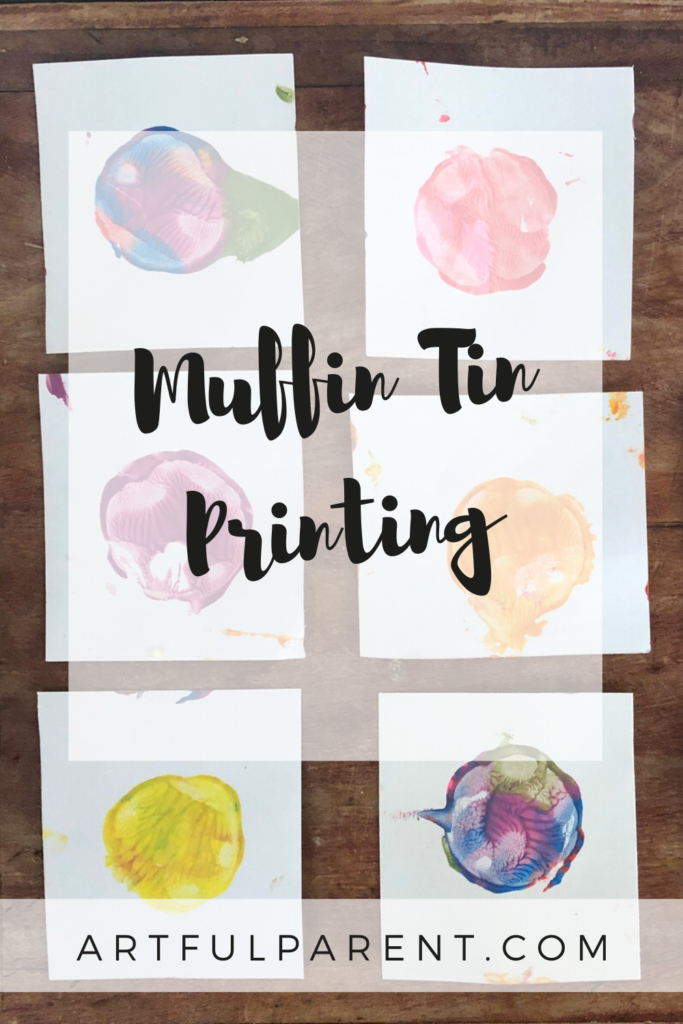
- Make your print
Center a piece of paper over the painted muffin tin and press the paper down with your hands. Lift the paper to reveal your new print!
- Repeat!
Make another. And another. Keep going until you run out of paper!
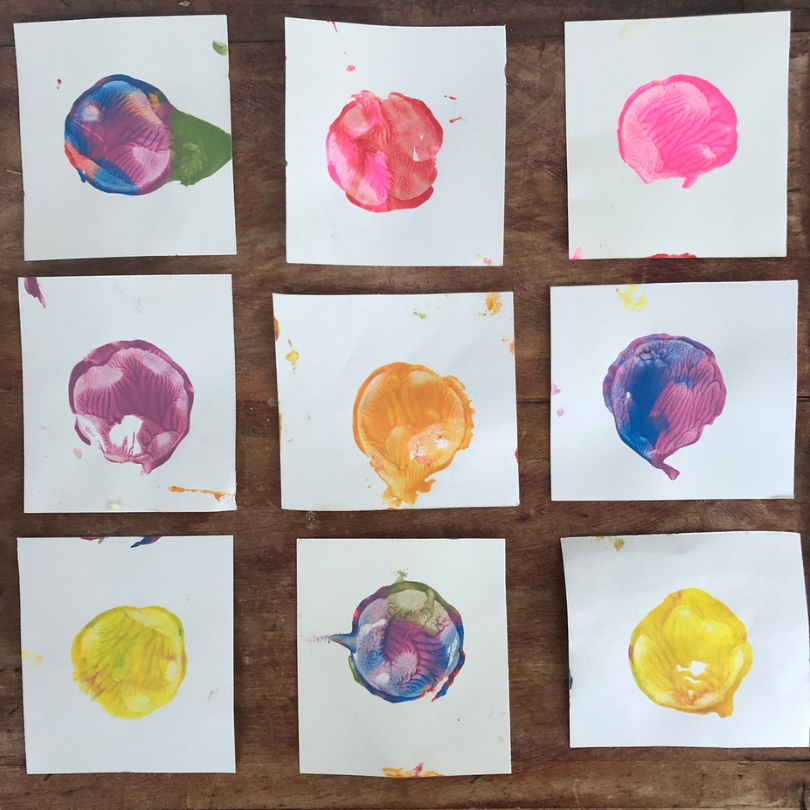
Experiment with different colors and combinations of colors; maybe use this as a color mixing experiment? You can also try different brushstrokes or designs; draw with a finger or Q-Tip in the paint before making your print.
How about you? What printing techniques have you tried with your kids?
More Ideas for Printing with Kids
- How to Do Shaving Cream Marbling
- Foam Printmaking with Kids
- How to Do Mandala Printmaking for Kids
- How to Create Bubble Prints for Kids
- Painting with Bubble Wrap for Kids
- How to Do Balloon Printing for Kids
Pin It for Later