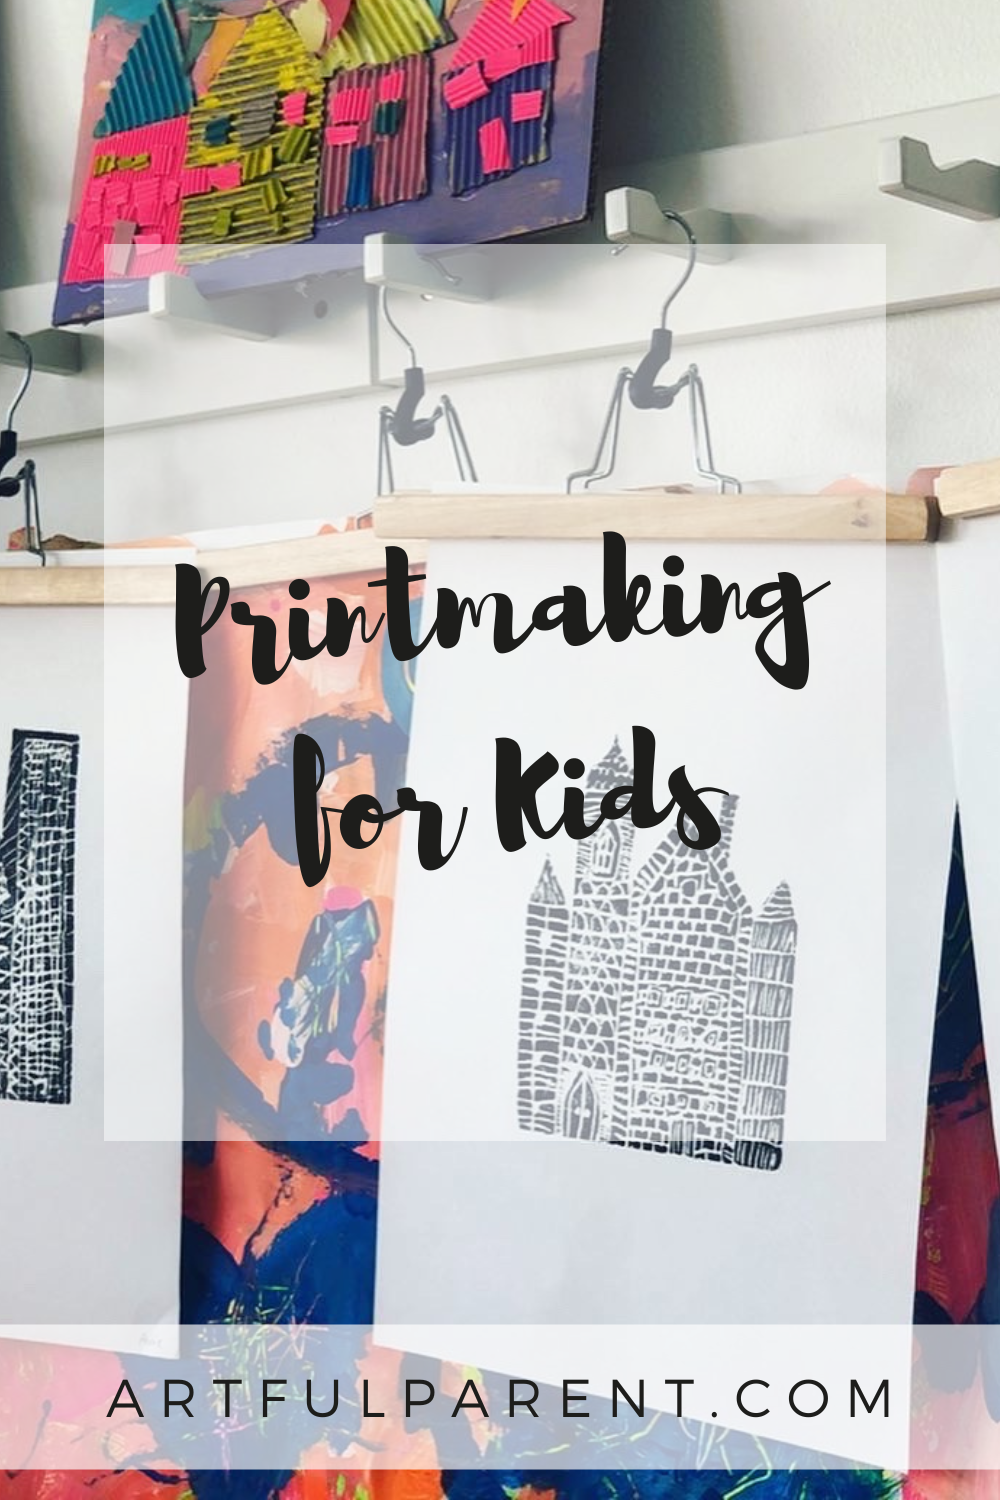
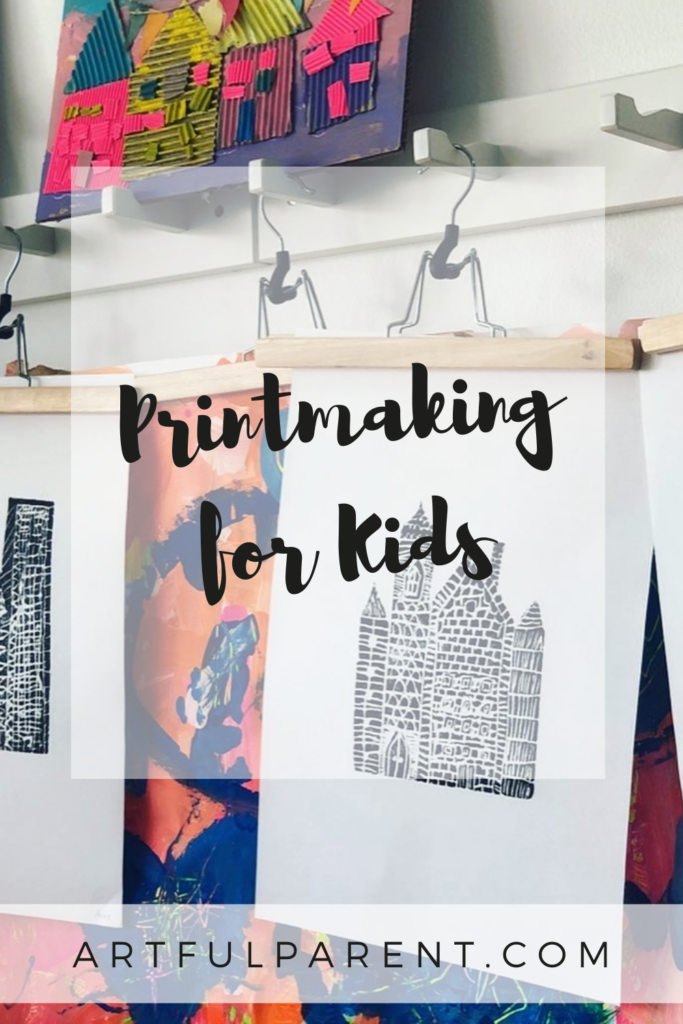
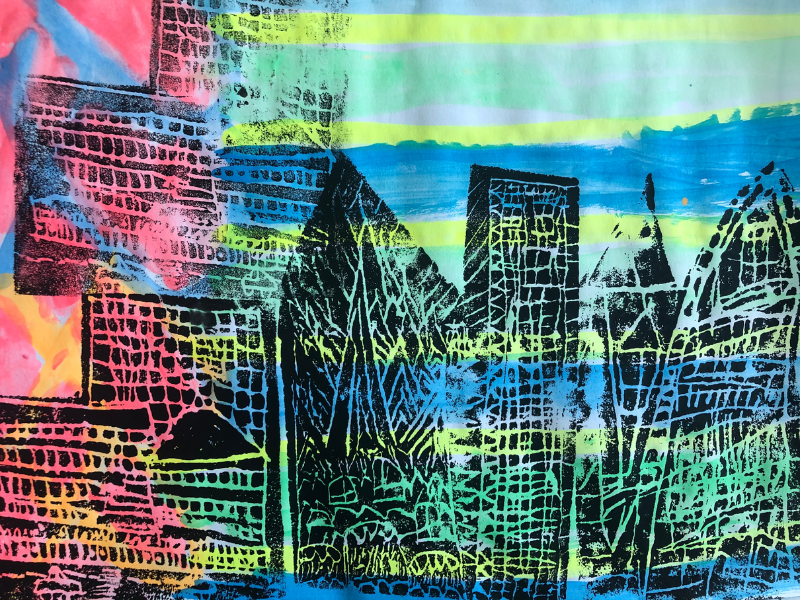
Danielle Falk of Little Ginger Studio shares an easy printmaking project using scratch foam. These city scape prints are amazing & make great gifts for family or friends!
Updated August 2024
In my opinion, process art is where it’s at! This type of art creates a rich learning experience by giving kids ample opportunities to explore art materials. It’s how they learn to problem solve, explore, discover color and shape, and more!
As you can see, I LOVE process art, but we all like something pretty to frame and hang up on the wall too, right?
That’s where printmaking comes in. Kids can create beautiful prints with a super simple process.
We printed buildings, and then cut them out to create streetscapes. But kids can literally draw anything they want onto the printing plates.
Styrofoam Printmaking for Kids
MATERIALS
- brayer (roller)
- large old bathroom tile / metal kitchen tray / plastic tray
- printing foam (or try polystyrene plates or polystyrene meat trays)
- sharp pencil / ball point pen
- spatula (or paint knife or just an ordinary knife)
- non-toxic, water-based block printing ink (black)
- white printer paper, colored paper, etc.
- tempera paint cakes (I love the fluorescent ones).
- water
- scissors
- paintbrush
- lots of newspaper
- baby wipes (These really help with this activity as the ink is super-messy.)
Time needed: 1 hour
INSTRUCTIONS
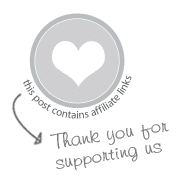
- Draw the image.
Make sure you use a pencil that has been well sharpened, or else a ball point pen.
Simply press into the printing foam to draw your picture, making sure not to press through the foam. Also, be sure to use lots of detail (think patterns, cross hatching, linework). Anything to fill the spaces or else your print will be predominantly black (boring!).
Pro tip: Steer away from writing as the prints will be mirror impressions of the printing plate (the writing will be back to front).
Also, I like to cut away around some of the print so that it can be more easily combined with other prints, but it’s not essential.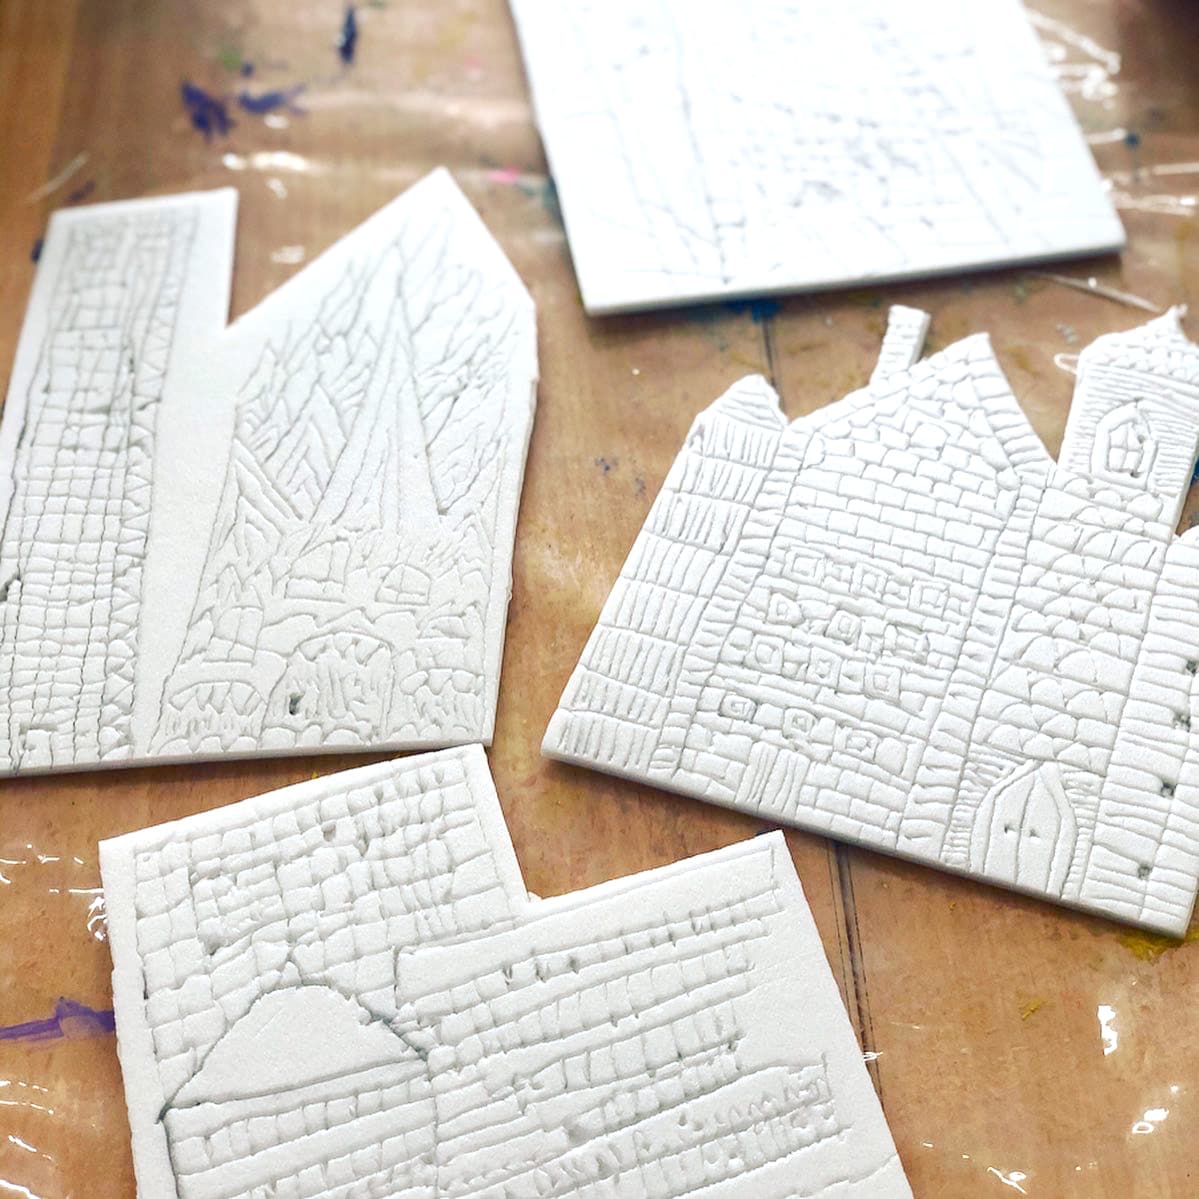
- Roll up the foam plate.
Use a spatula to scoop out a smallish amount of printing ink and scrape a line of it at the top of your tile or metal tray. (Be sure to use a smooth, washable surface for rolling out the ink).
Carefully roll out a small amount of ink working the brayer (roller) back and forth and side to side to achieve a thin coating of ink on the brayer.
Then use the brayer to roll ink onto your foam plate, until it’s evenly covered. You’ll notice all your drawn lines will show as white as the ink will sit on top.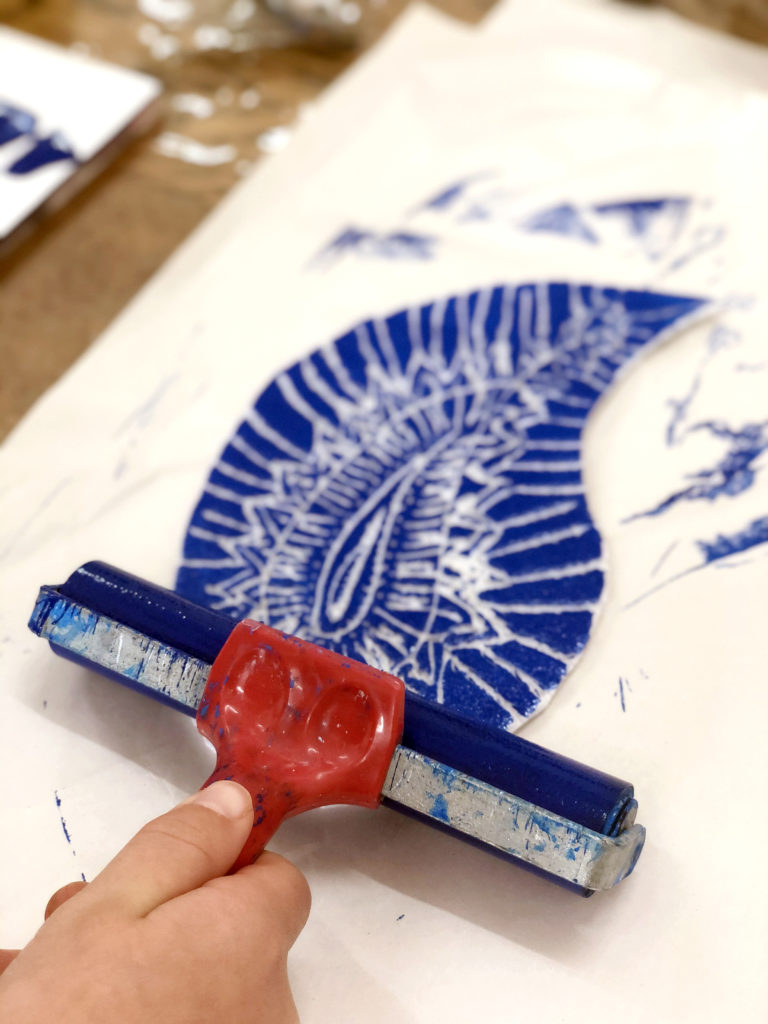
- Create the print.
You can do this two ways: either place your foam plate face-down on the paper you wish to print on. Or place your paper on top of your printing plate. Either way, be careful to place your image in the middle of your paper. Then apply even pressure, rubbing in circles with a flat palm.
Pro tip: Use newspaper underneath your plate when rolling it up and replace it frequently to keep your work area clean.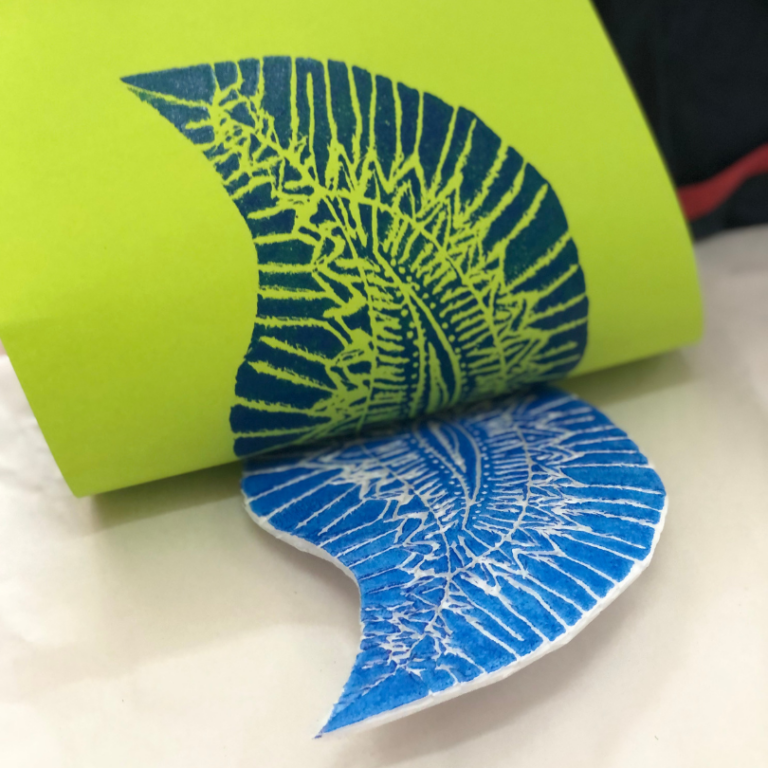
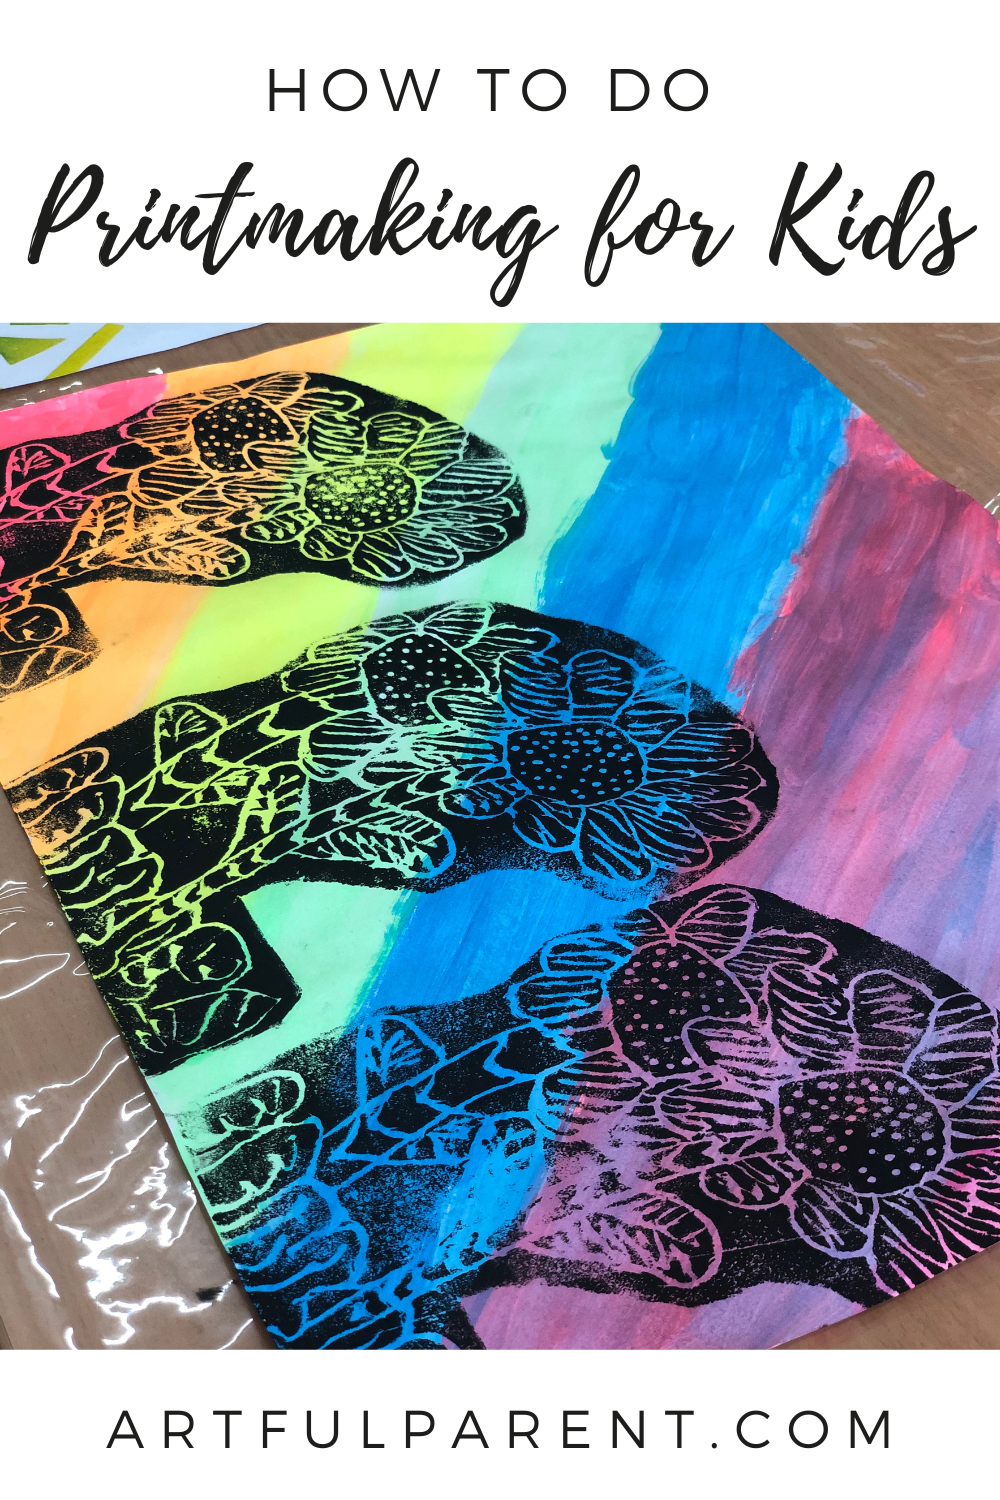
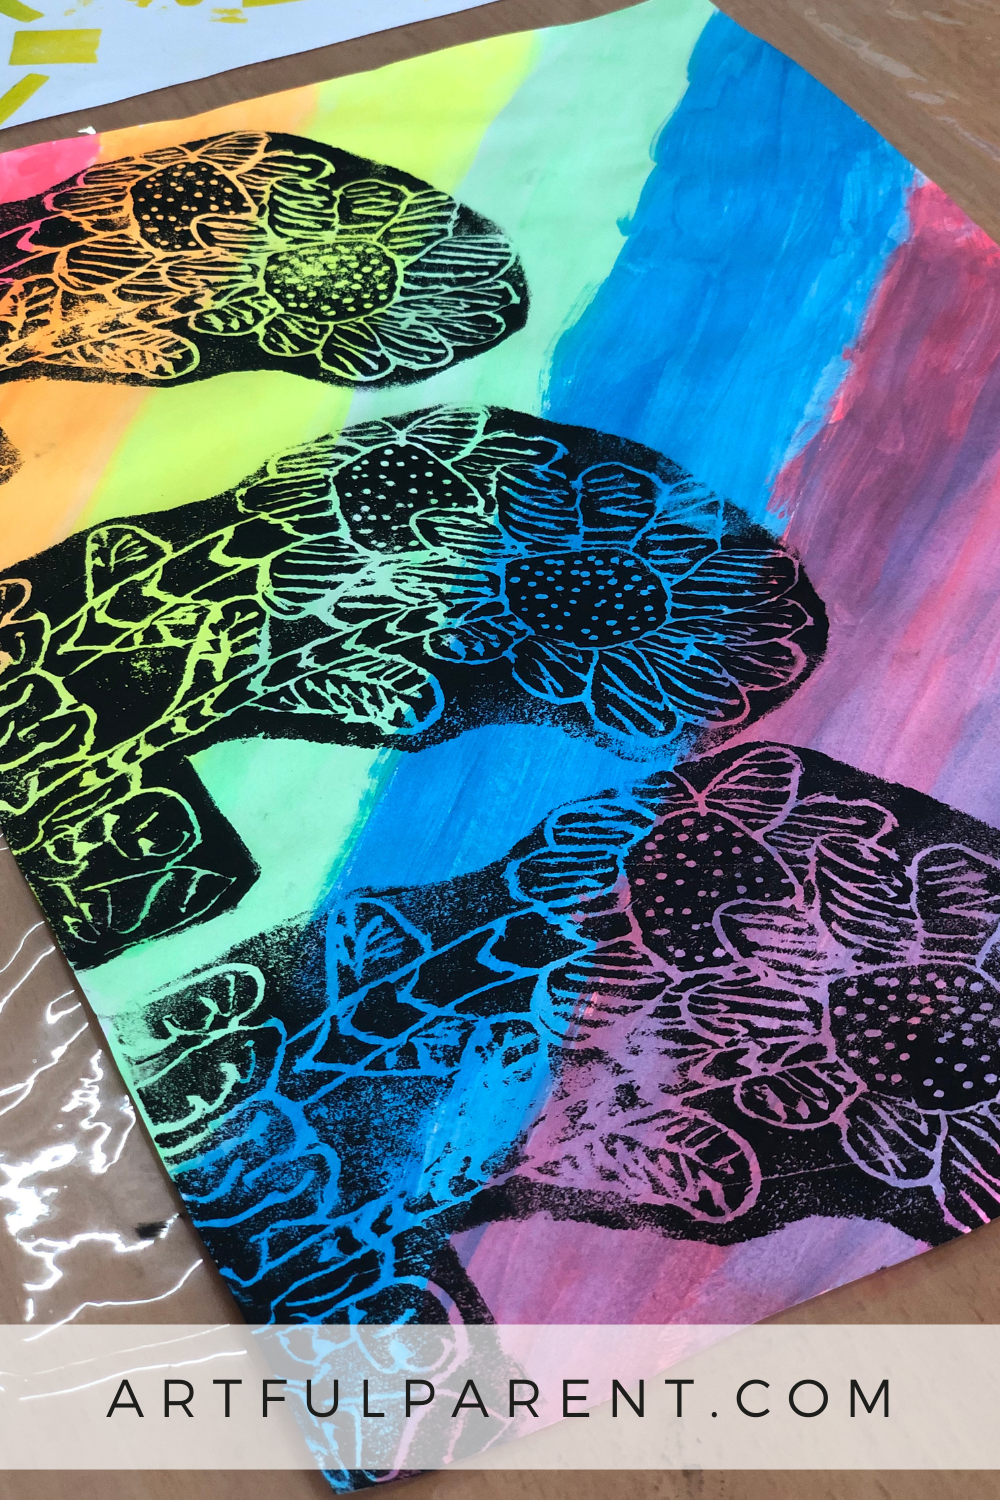
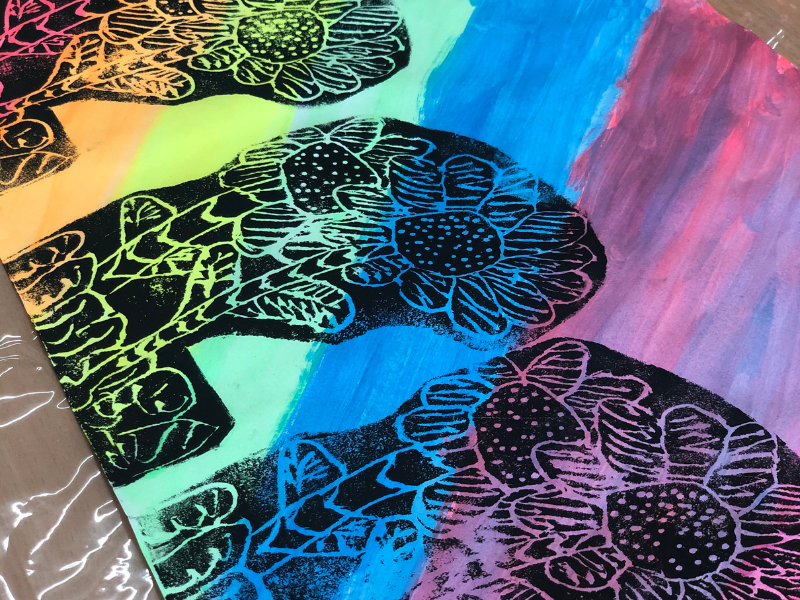
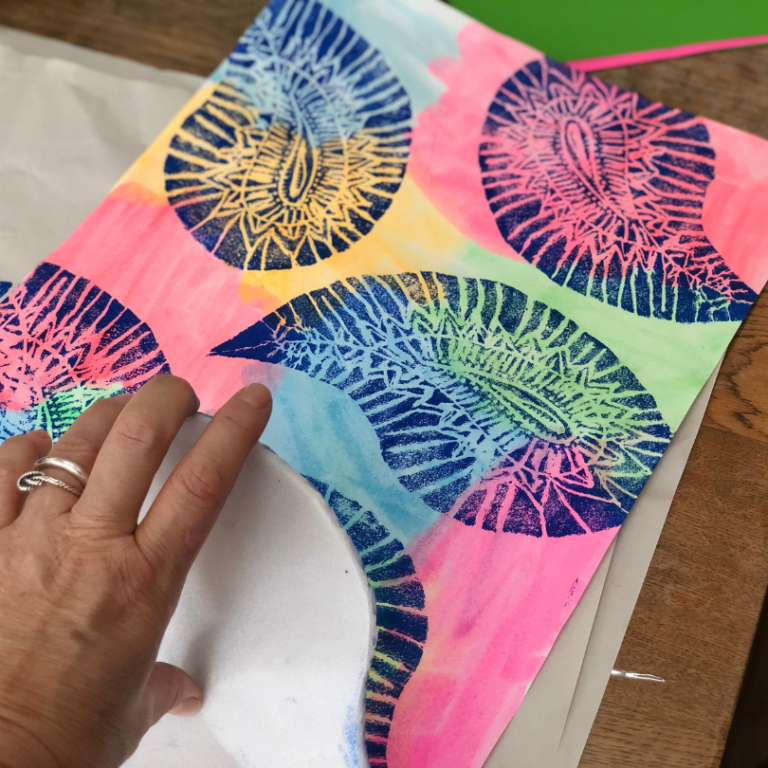
- Print on a painted background.
We used fluorescent tempera paints to create abstract backgrounds, carefully painting away all the white. Press your inked-up plates directly onto your watercolor background to create interesting compositions. I guarantee you will be impressed with the results!

I hope you give this printmaking project a try and if you do, please tag us on Instagram! We really enjoy seeing your family’s creativity!
More Printmaking for Kids
- Foam Printmaking with Kids for Easter
- Easy Gelatin Printmaking for Kids
- 10 Ways to Make Your Own Stamp Sets for Kids
- How to Do Mandala Printmaking for Kids
- How to Make Christmas Cards with Styrofoam Printing
- How to Make Potato Prints
Pin It for Later