Foam printmaking is an easy and rewarding printing technique to do with kids for everyday art or for holiday cards. We love using this technique to make Easter egg prints!
Updated January 2024
Have you tried foam printmaking with your kids?
It’s a remarkably easy and rewarding printmaking technique! It’s not as easy to get Styrofoam trays from the grocery store these days, so we use foam sheets from the craft store.
To make your printing plates, you simply draw a design into the soft foam. Then you ink it up and press the ink-covered foam to paper.
Plus, this kind of printing lends itself to making art and cards for any of the holidays. We’ve done this for Valentine’s Day, Christmas, and Easter. But, of course, you can use this technique any time of the year and create any kind of art with it.
Here’s a video showing Styrofoam Printmaking in action! And don’t forget to keep scrolling for step-by-step instructions, and a fun way to use this technique for Easter.

Foam Printmaking for Easter

MATERIALS
- Foam sheets (or you can use styrofoam trays from the grocery store)
- Pencil
- Printing ink or acrylic paint
- Flat tray or plate
- Hard rubber brayer (optional)
- Sturdy white paper
- Colored pencils, markers, crayons, etc. (optional)
INSTRUCTIONS
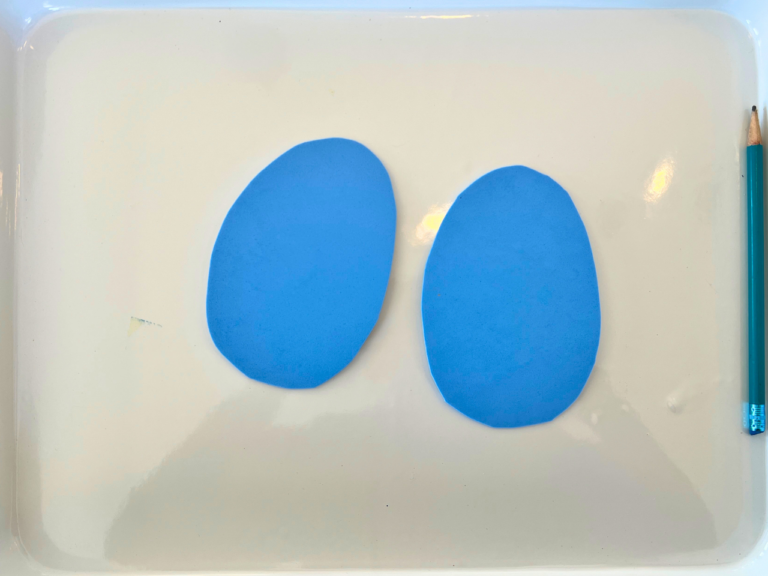
- Cut out your egg shapes
Use scissors to cut out egg shapes from your foam sheets.
- Draw your Easter egg design
Use a pencil to draw Easter egg designs (or anything) in the foam, pressing down rather hard.

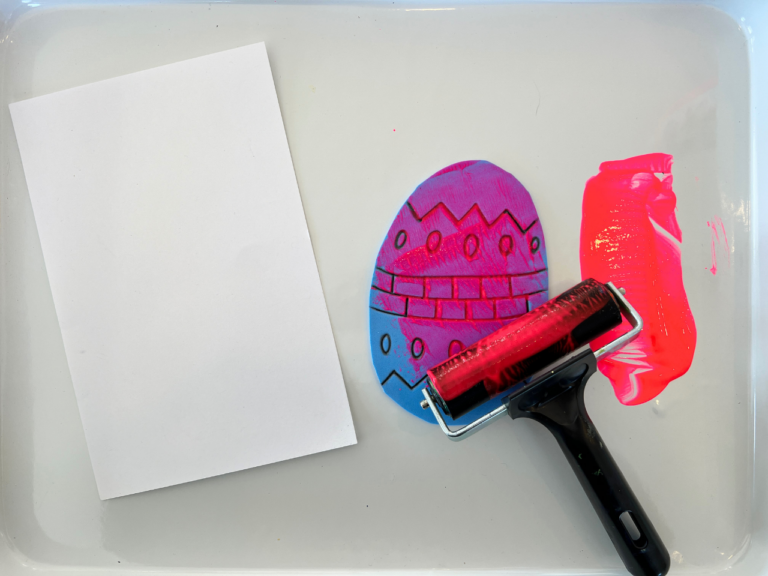
- Ink the foam egg
Squeeze some ink or paint onto the tray and spread it around with the brayer. Once the brayer is coated with an even layer, roll it over your styrofoam Easter egg.
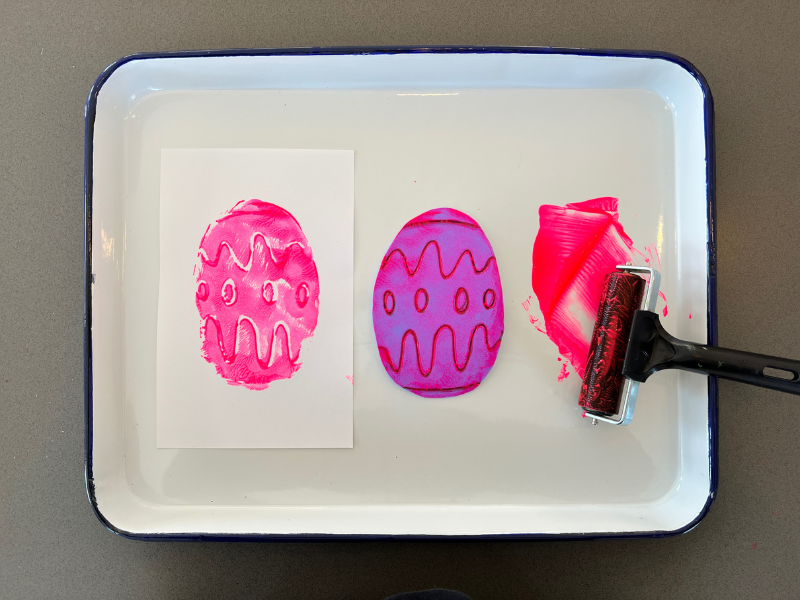
- Print your egg!
Position the foam egg face down on your paper or a blank card and carefully press firmly and rub over the foam to help transfer the design.
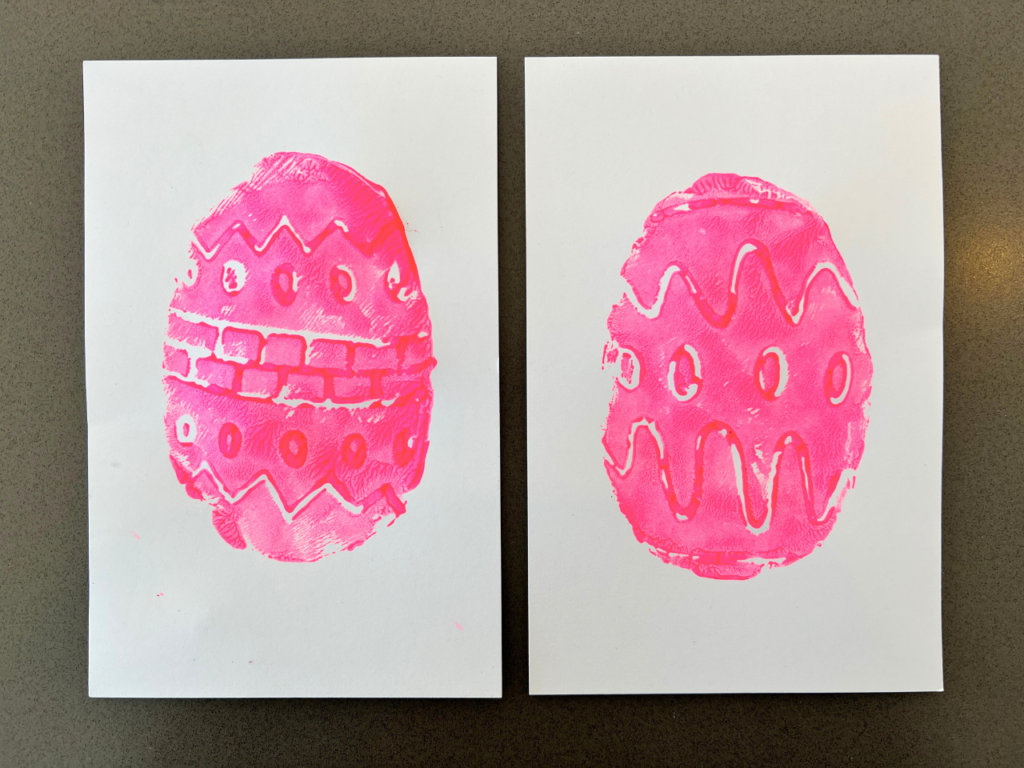
Lift the foam egg to reveal the print!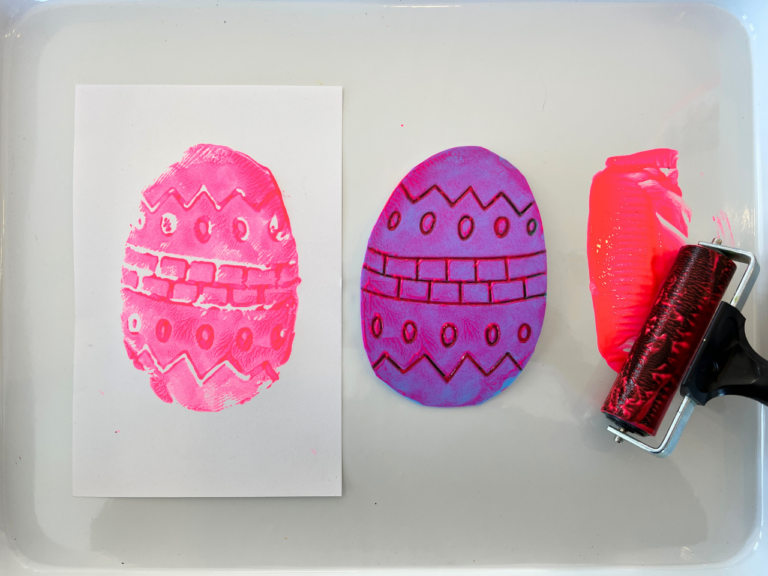
- Create more prints!
Repeat to create more prints as desired. Let dry.
- Color print (optional)
If desired, you can color in the Easter egg designs with markers or colored pencils.
This is a fun way to experiment with printmaking, while getting some pretty Easter cards at the same time!
More Printmaking Activities for Kids
- How to Make Christmas Cards with Styrofoam Printing
- How to Do Styrofoam Printmaking
- Gelatin Printmaking Made Easy for Kids
- How to Do Mandala Printmaking for Kids
- Potato Printing for Kids: How to Make Potato Prints
Pin It for Later