Learn how to dye flowers with two (or more!) colors. You can use this fun and educational activity for your 4th of July celebration.
Updated June 2022
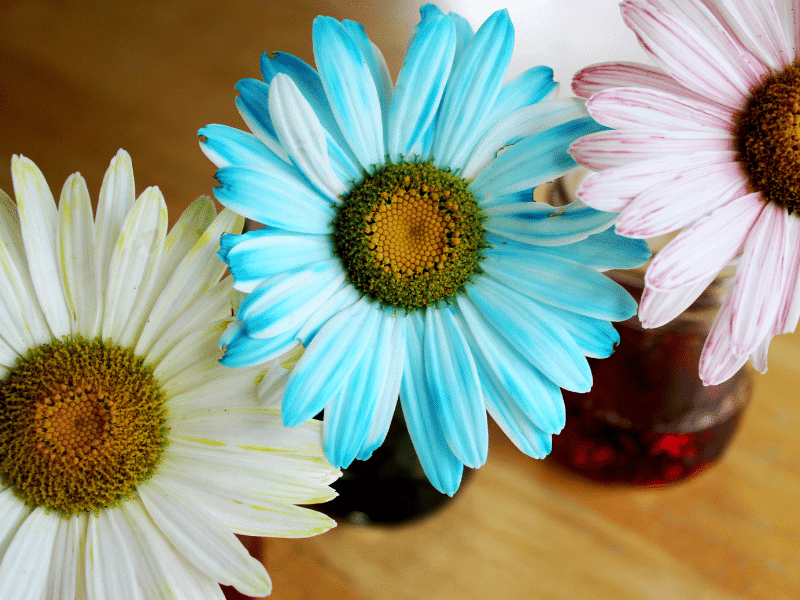
These patriotic flowers are the perfect artful science experiment for kids.
Plus, it’s never too late to make them; they start changing color within an hour!
This basic science experiment is much the same as our painted daisies, except that we were aiming at two colors per flower this time, specifically red and blue. While we were at it we also tried some other color combinations as well.
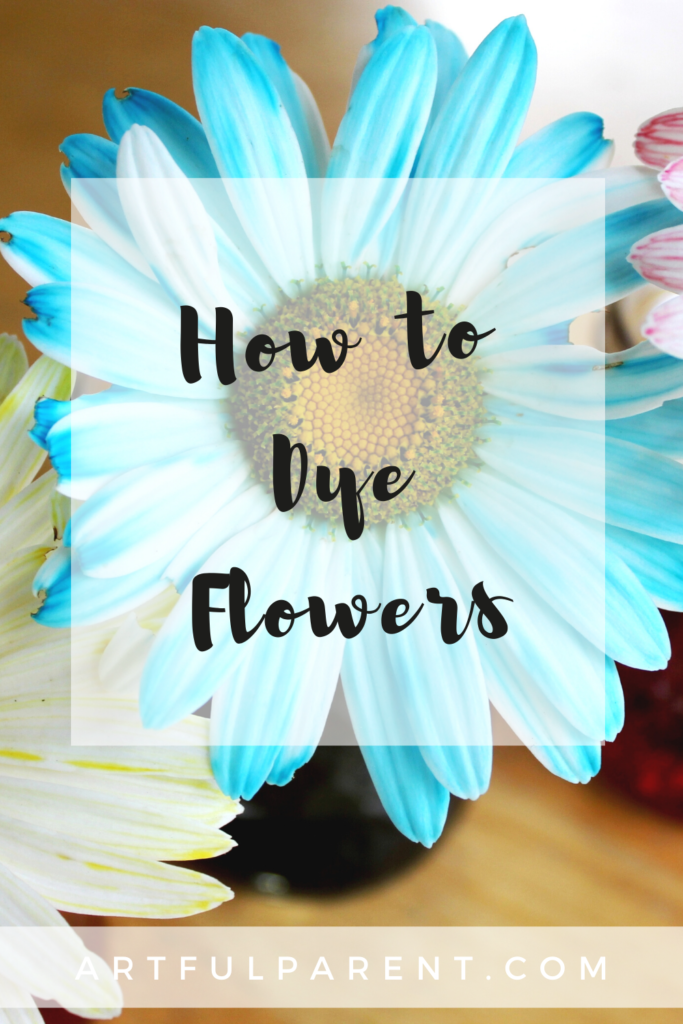
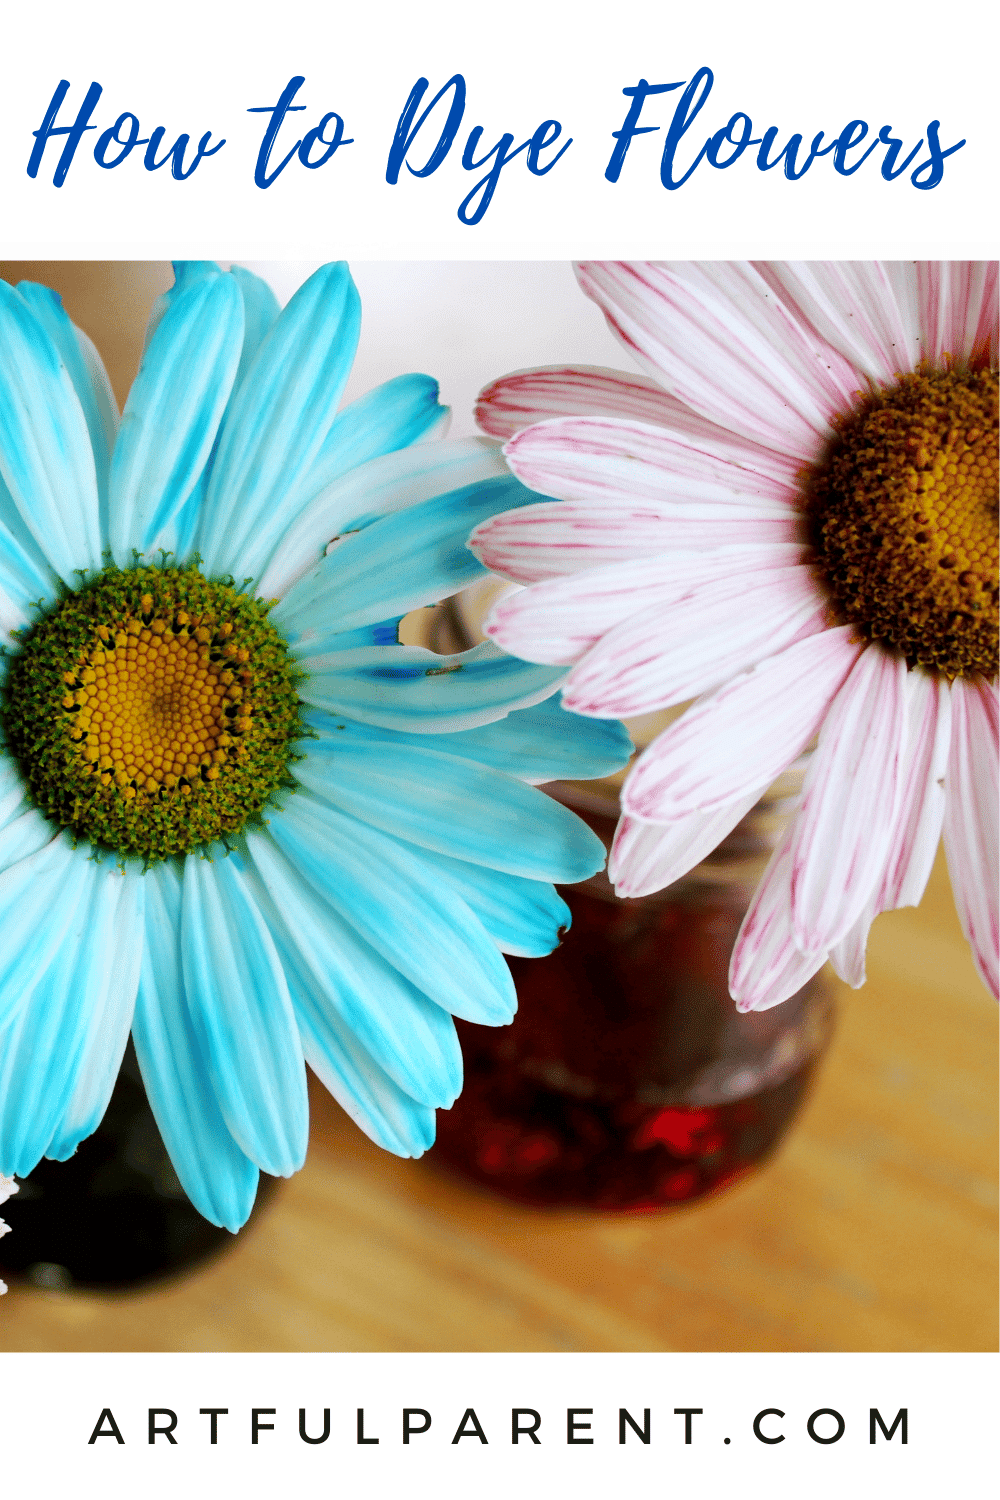
How to Dye Flowers with Two Colors

MATERIALS
- White daisies or chrysanthemums
- Red and blue food coloring or liquid watercolor paint
- 2 or more Mason jars or cups
- Chopping board and knife
INSTRUCTIONS
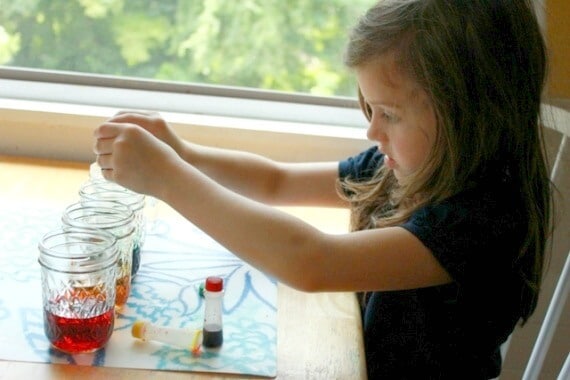
- Prepare the cups
Pour an inch or two of water into each cup. Add food coloring or liquid watercolors to the water (we use liquid watercolors interchangeably with food coloring for most of our science experiments and homemade art materials). Be generous with the color.
If you’re going to make the patriotic flowers, use blue food coloring in one cup and red in the other. - Prepare your flowers
Pick your daisies or pick up a bouquet at the store. Using a sharp knife, slice the stem in half lengthwise. Leave an inch or two of solid stem between the cut and the flower head.

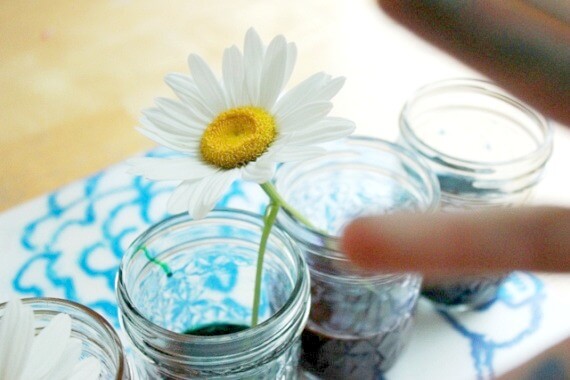
- Put the flowers into the cups
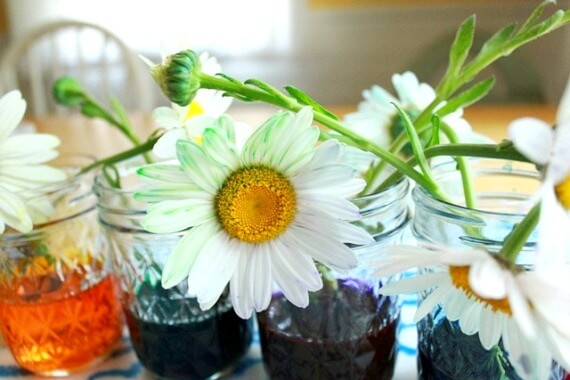
Position the flower over your two cups of colored water with one stem piece in the red cup and one stem piece in the blue cup (or, as in this picture, green and purple). Make sure the stem ends are well submerged in the colored water.
- Wait and watch how the dying process happens
The flowers will start changing color within the hour, with some colors appearing faster than others.
The longer the flower stem sits in the colored water, the more of the dye the flower will absorb as it “drinks” the water.
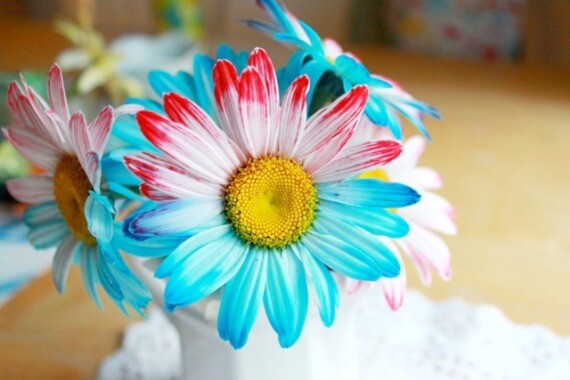
And here are our red, white, and blue patriotic flower ready to grace the table at a 4th of July BBQ. A whole bouquet of them! How often do you get to use your science experiments as party decorations?
More Summer Activities for Kids
- 11 Ways to Have a Creative Summer with Kids
- 100+ Summer Crafts & Activities for Kids
- 12 Best Summer Art Activities for Kids
- Nature Art for Kids
- Garden Crafts for Kids
- How to do Flower Printing with Kids
Pin It for Later
