How to make clay leaf prints with air dry clay. This easy nature craft project is fun for kids and creates a beautiful ornament or pendant to hang.
Updated April 2024
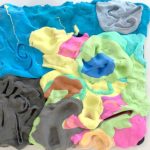
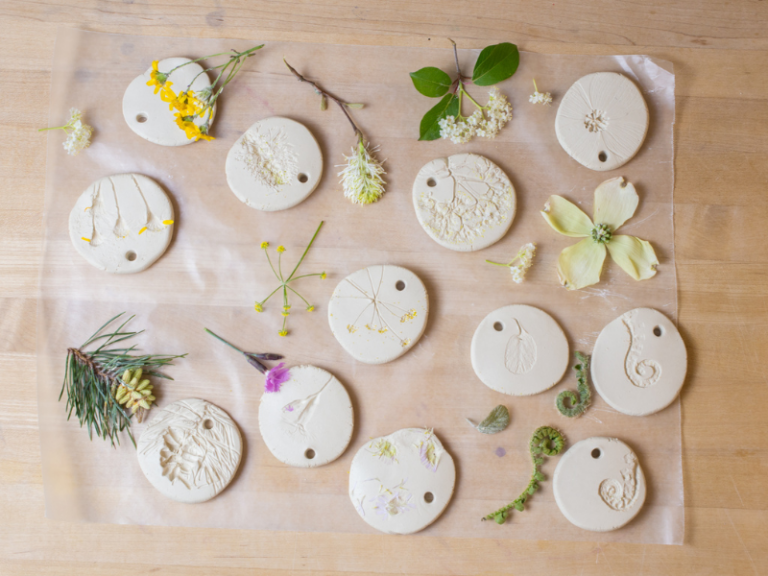
We love making leaf prints, whether on fabric, paper, clay, or even plaster of paris. The process is so satisfying, and the results capture the natural beauty of leaves.
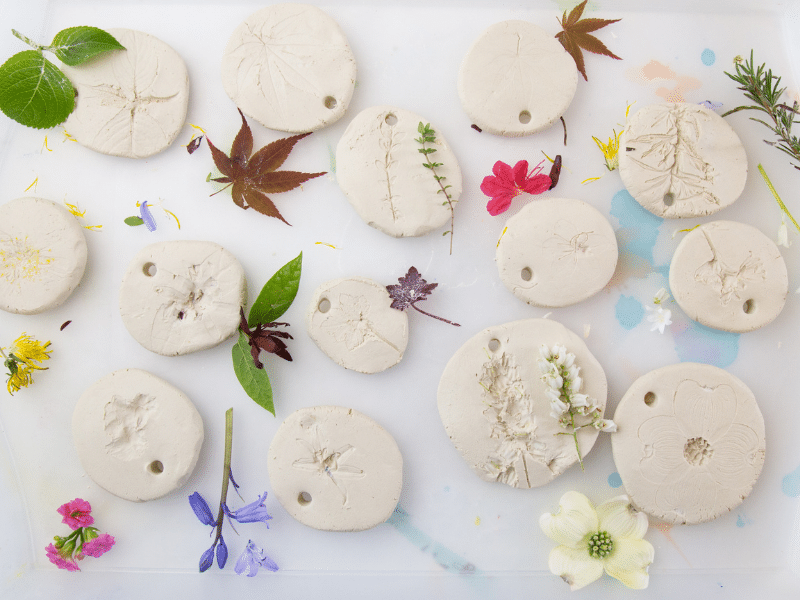
One of the easiest and most lovely ways to make leaf prints is with air dry clay. You can use these clay leaf prints for ornaments, pendants, or as gifts.
Here’s how we made these beautiful prints.
First, here’s a video tutorial, then we’ll give you the step-by-step instructions.
Clay Leaf Prints

MATERIALS
- Small leaves, ferns and flowers
- Air dry clay
- Wax paper, parchment paper, or a plastic placemat/tray
- Drinking straws
- String or elastic thread
- Watercolor paint (optional)
- Beads (optional)
INSTRUCTIONS
- Arrange your leaf
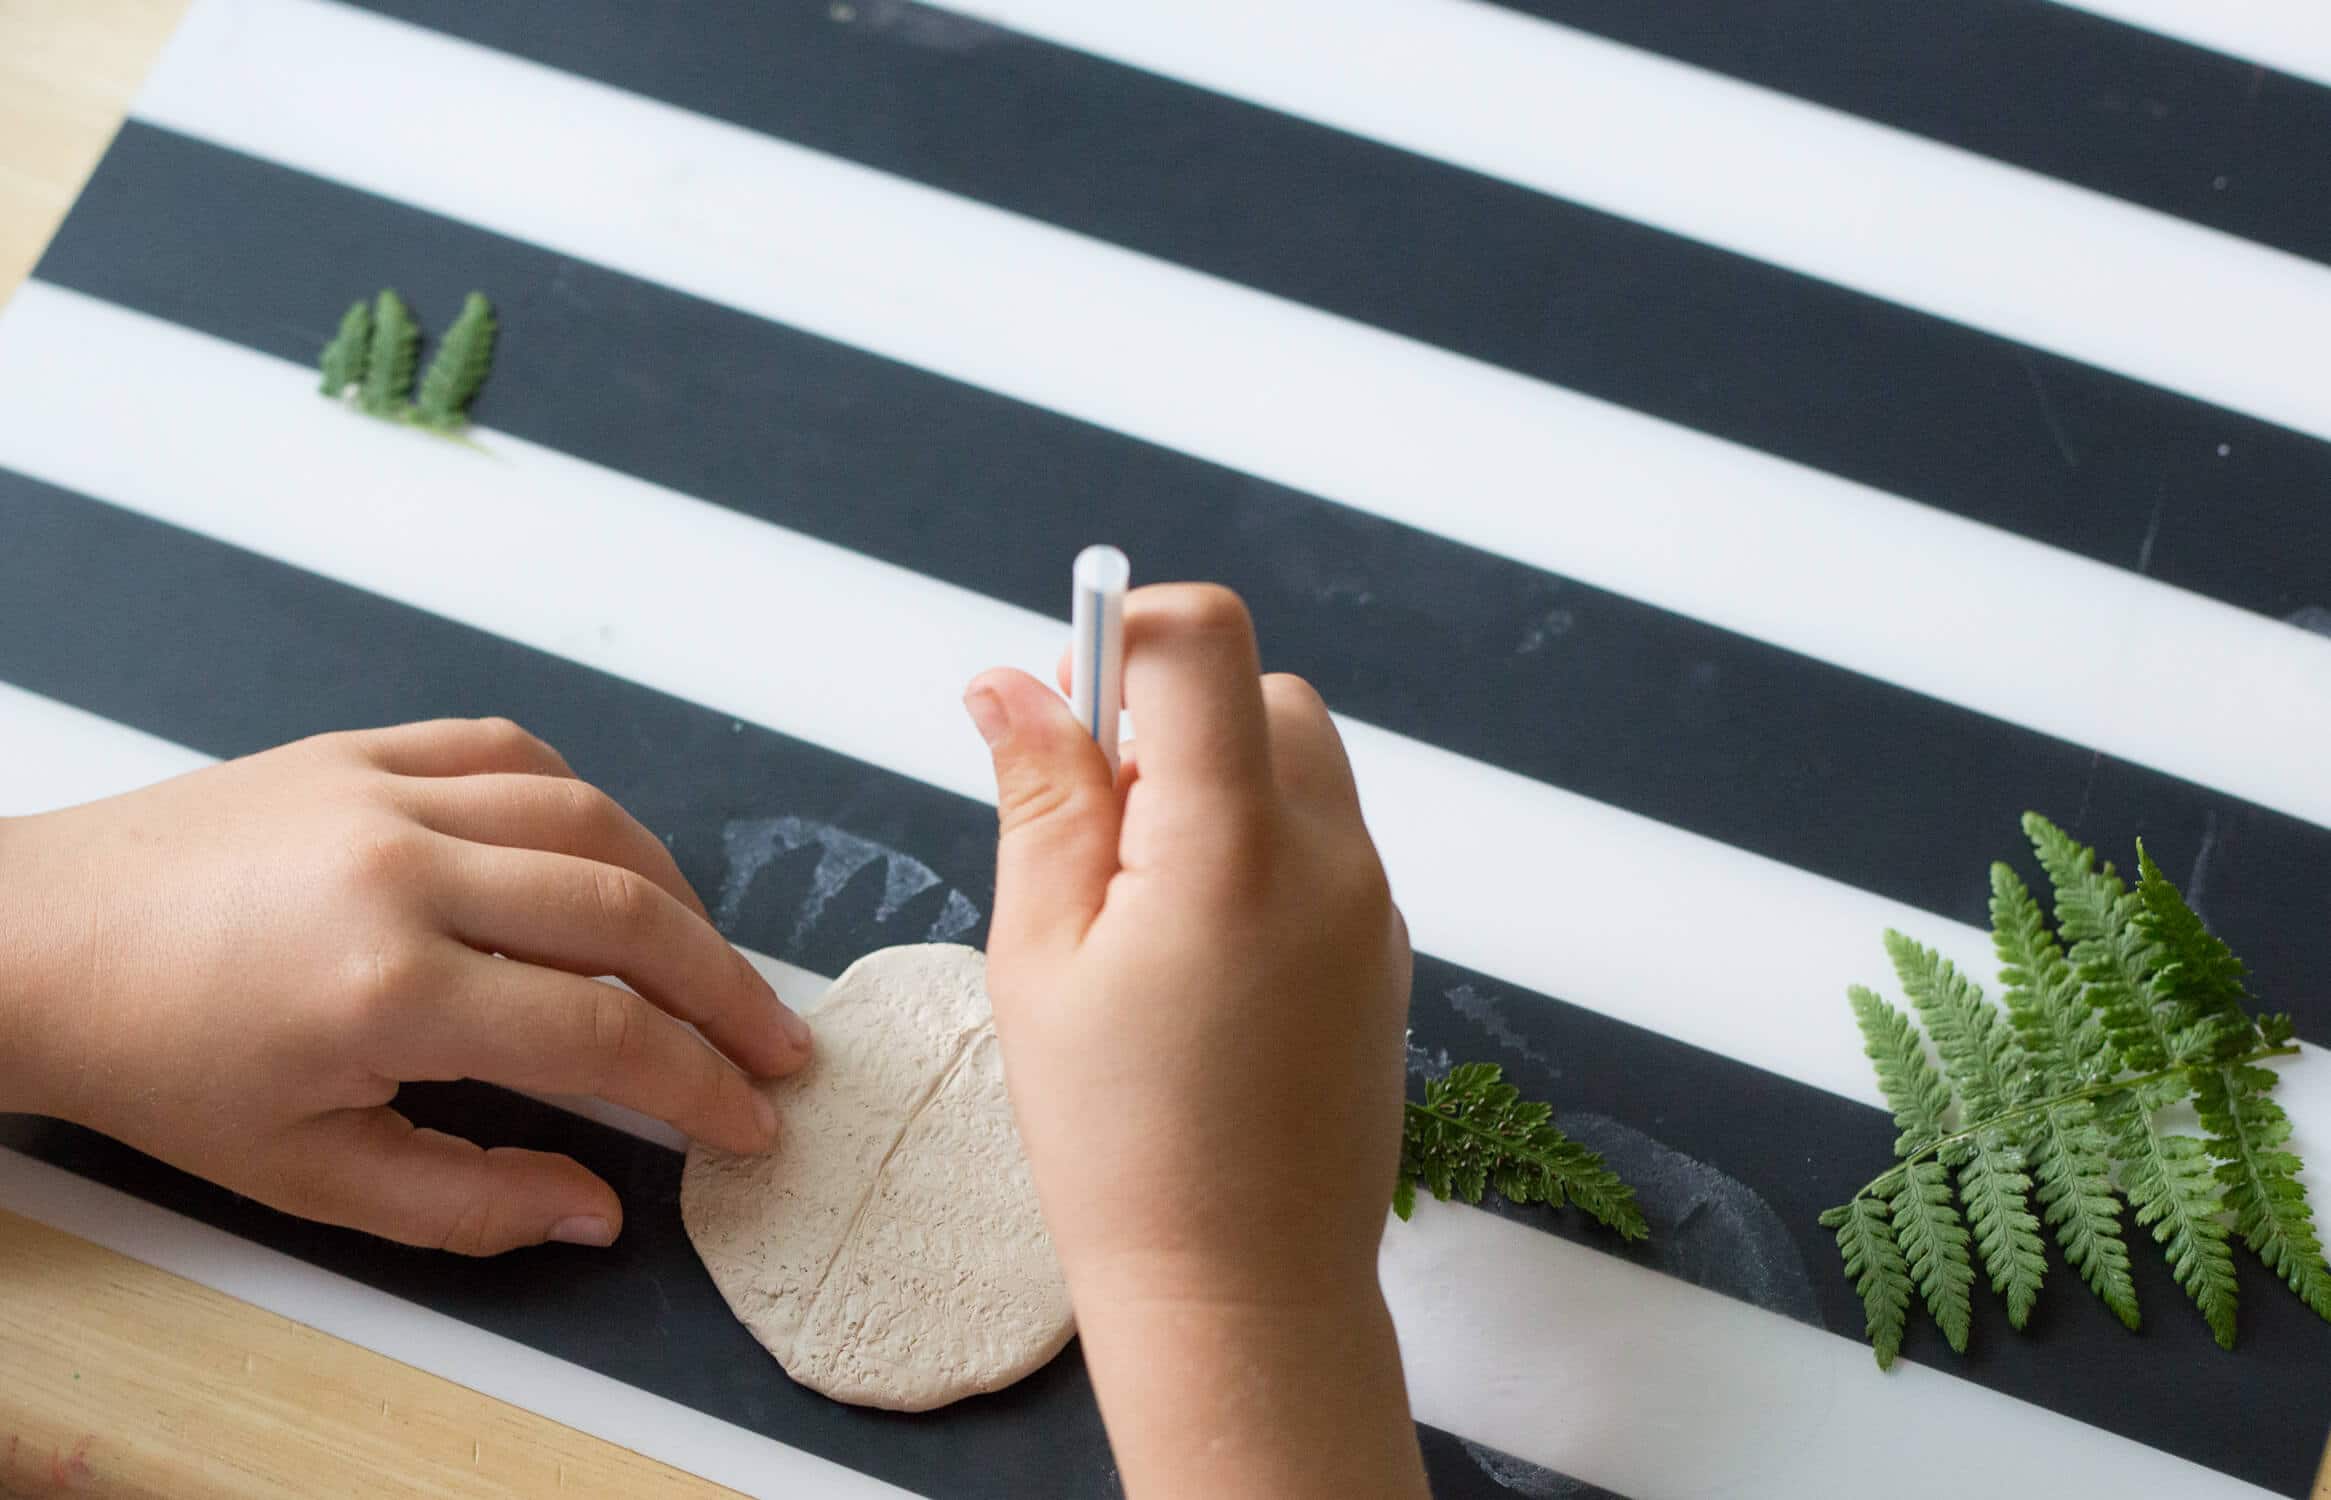
Lay a small leaf on the wax paper, vein side up.
- Prep your clay
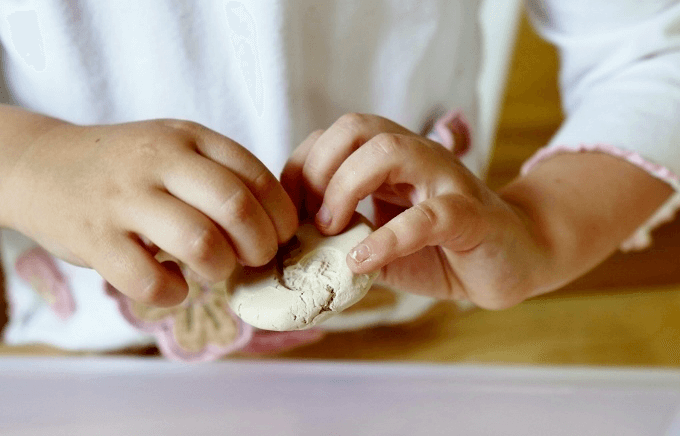
Pinch off a small piece of air dry clay (maybe a tablespoon or two) and roll it into a ball between your hands.
- Make your print
Set the clay ball on the leaf and press down with the palm of your hand to flatten it.
- Remove the leaf
Carefully lift the clay disk, turn it over, and peel away the leaf.
- Make a hole to hang your disk (optional)
If you’d like to hang your leaf print, poke a hole at the top of your disk with a drinking straw.
- Repeat!
Repeat the process with additional leaves and clay balls.
- Let dry thoroughly
This may take two to three days.
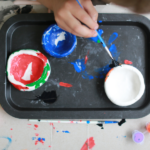
- Decorate your clay leaf prints
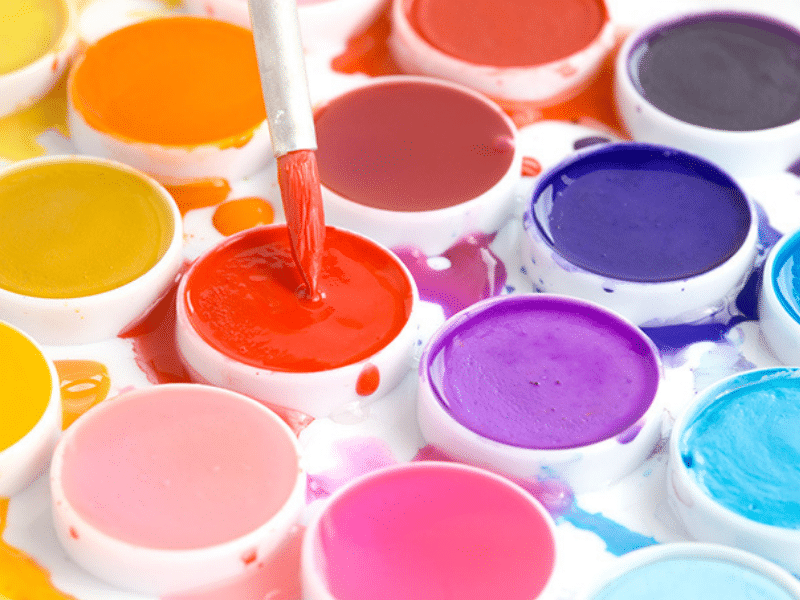
If desired, paint the clay leaf print with watercolors.

You can also decorate them with colored pencils.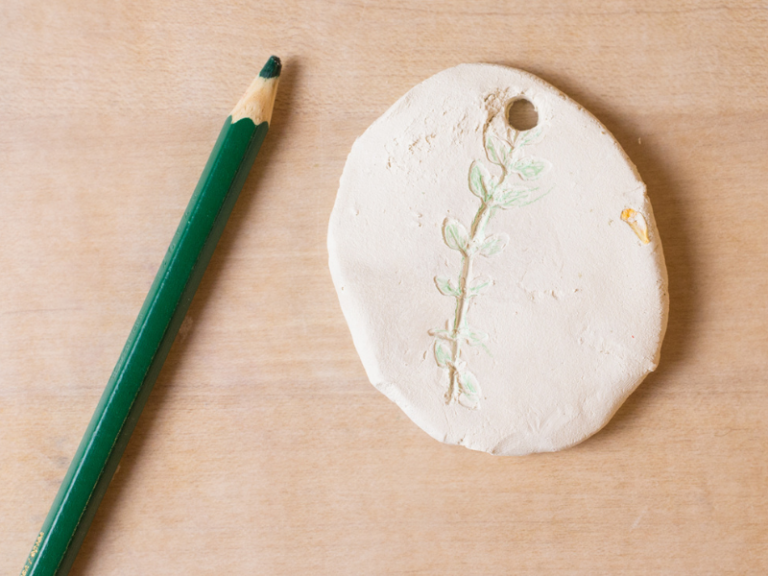


A great way to use these clay leaf prints is to make an ornament or pendant. To do so, thread string through the hole and tie to form a loop for ornaments or a pendant. Add beads if desired. You can also string several clay disks together into a garland.

More Clay Projects for Kids
- 15 Amazing Clay Projects for Kids
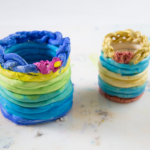
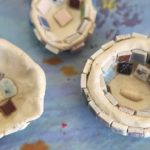
- How to Make a Coral Reef with Clay
- How to Make Clay Coil Pots
- How to Make Mosaic Art for Kids with Air Dry Clay
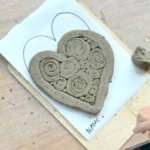
- Create Colorful Clay Relief Tiles for Kids
- Why We Love this Kids Pottery Wheel
Pin It for Later