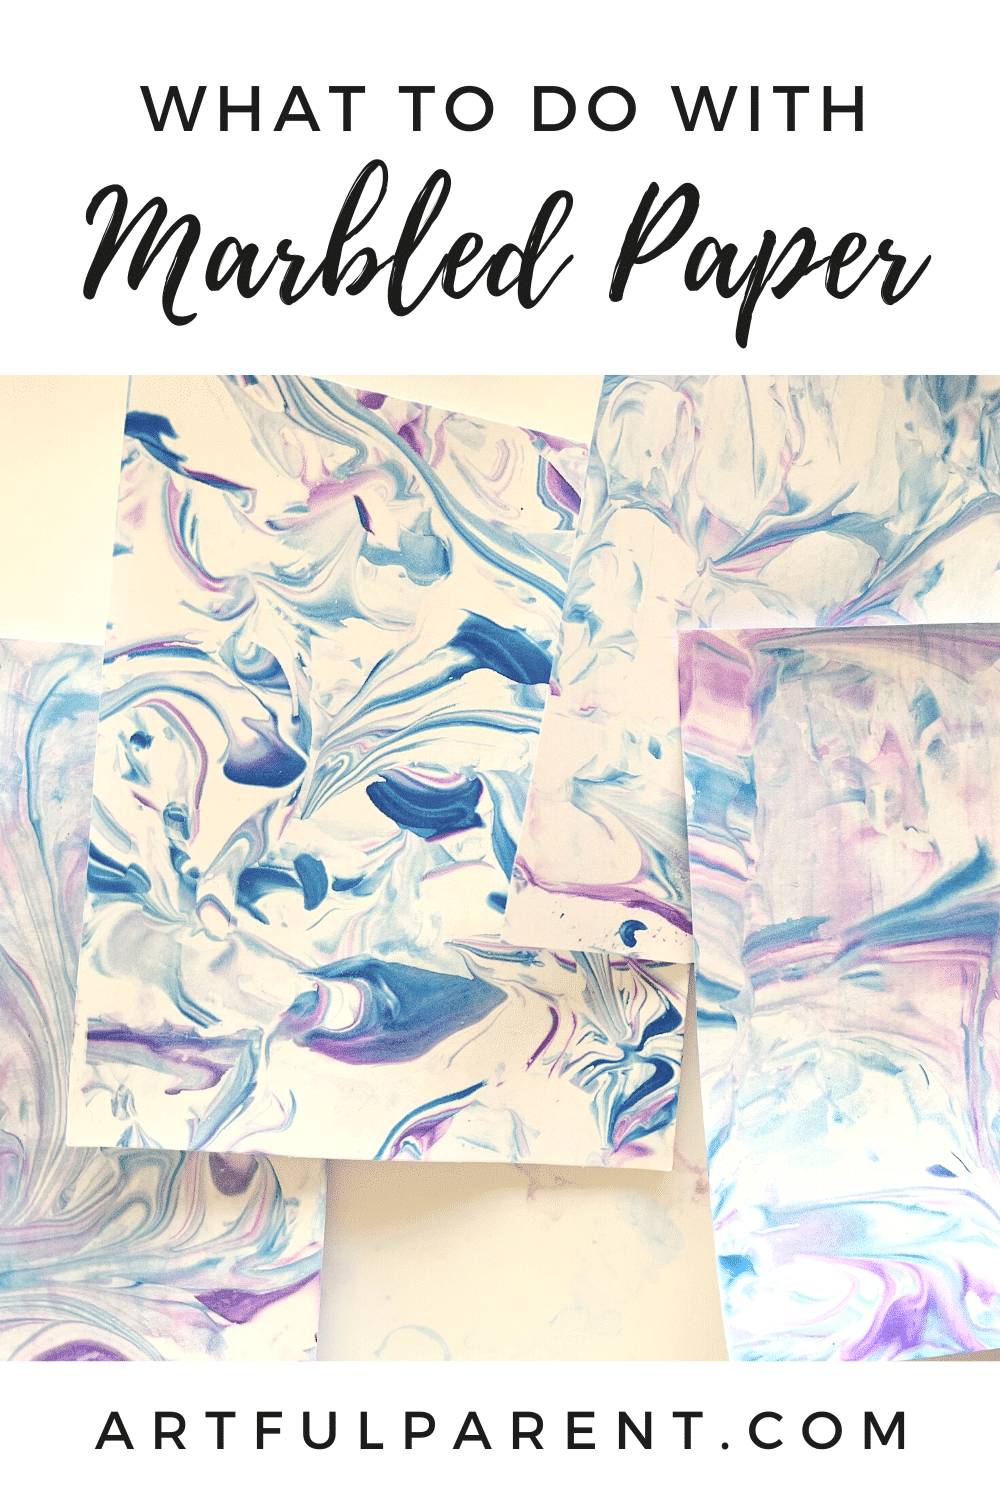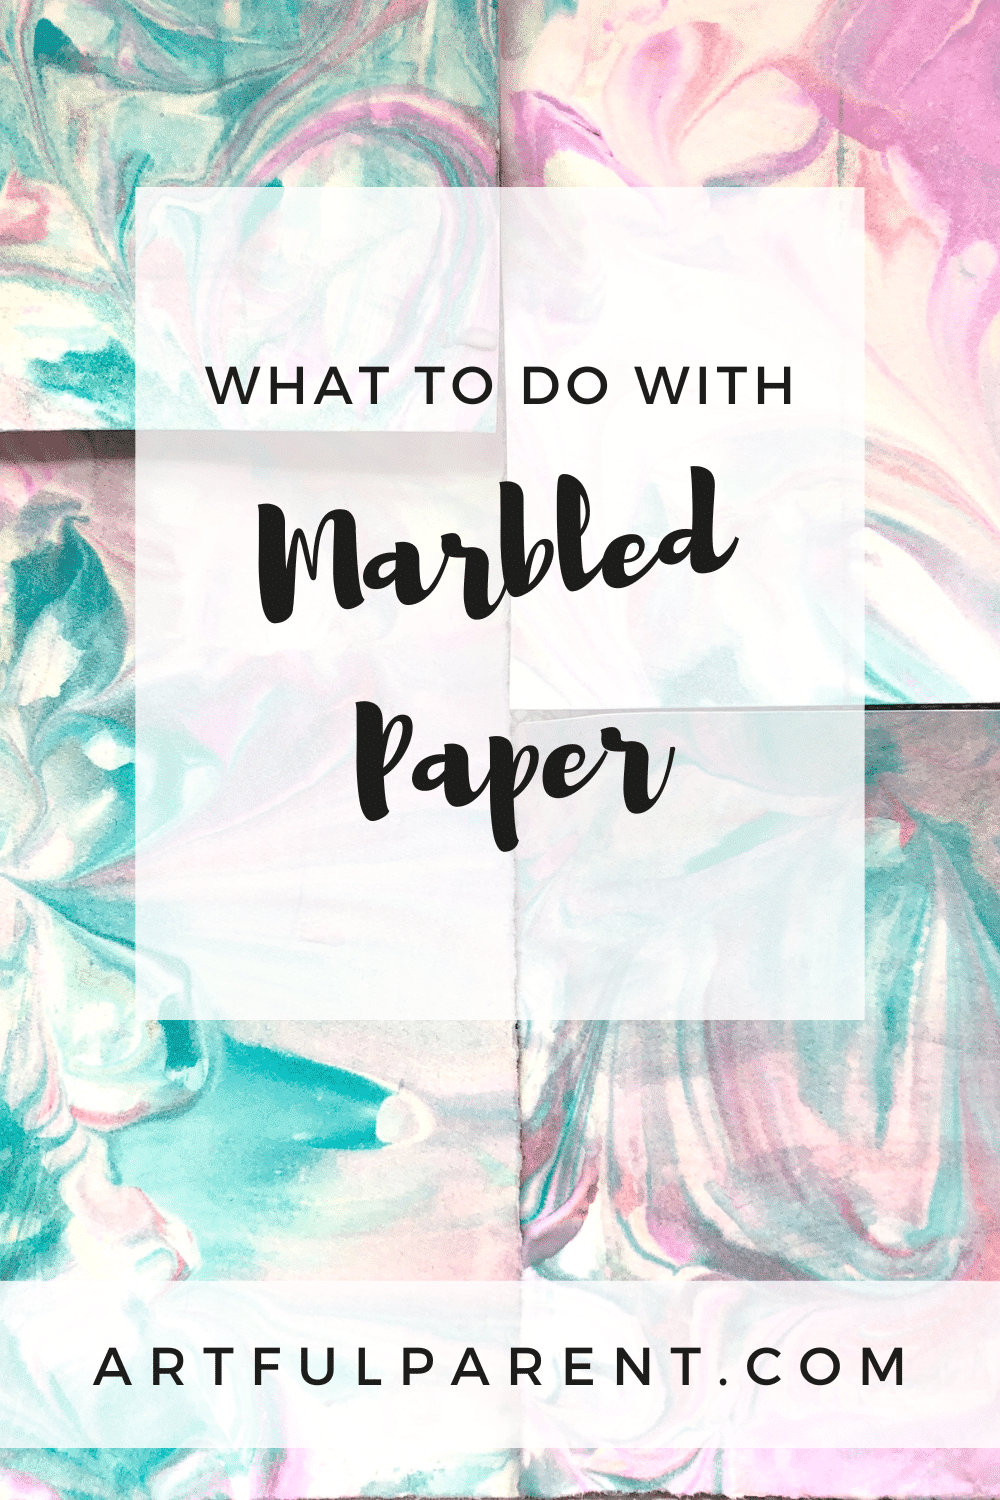
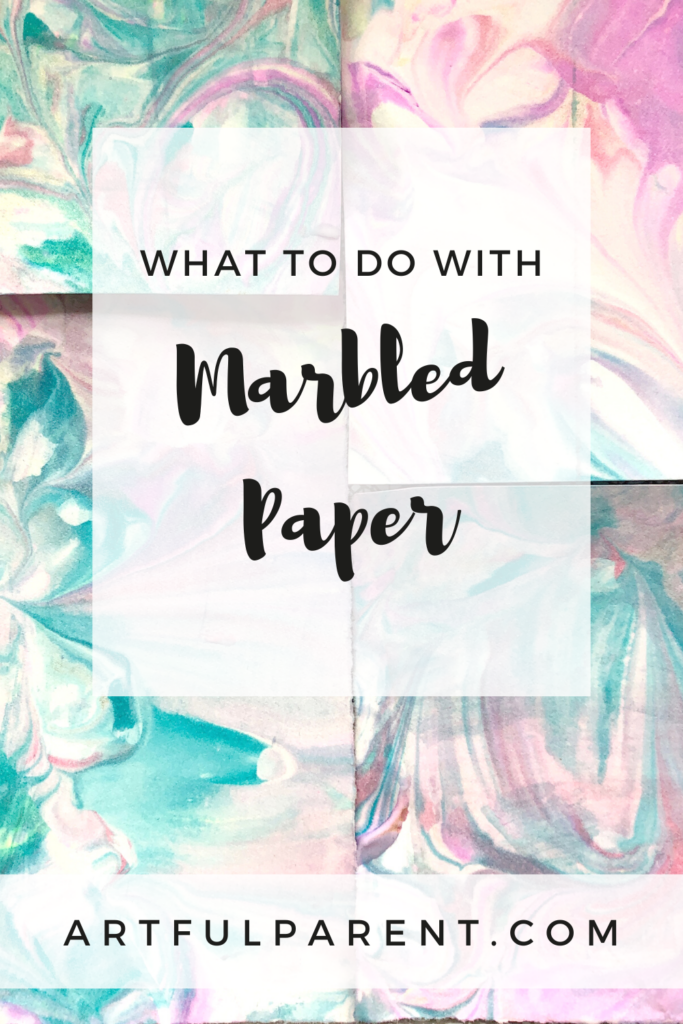
Making shaving cream marbled paper is an all-time favorite kids’ art activity. Here are some ideas for what to do with all that paper you end up with!
Updated May 2023
We LOVE making shaving cream marbled paper. We love any marbling, really, but shaving cream marbling is especially fun (it involves shaving cream, after all) and beautiful liquid watercolors (the colors are just so vibrant)!
We’ve done shaving cream marbling so many times over the years, both on our own and with friends, for no special reason and to make handmade gifts.
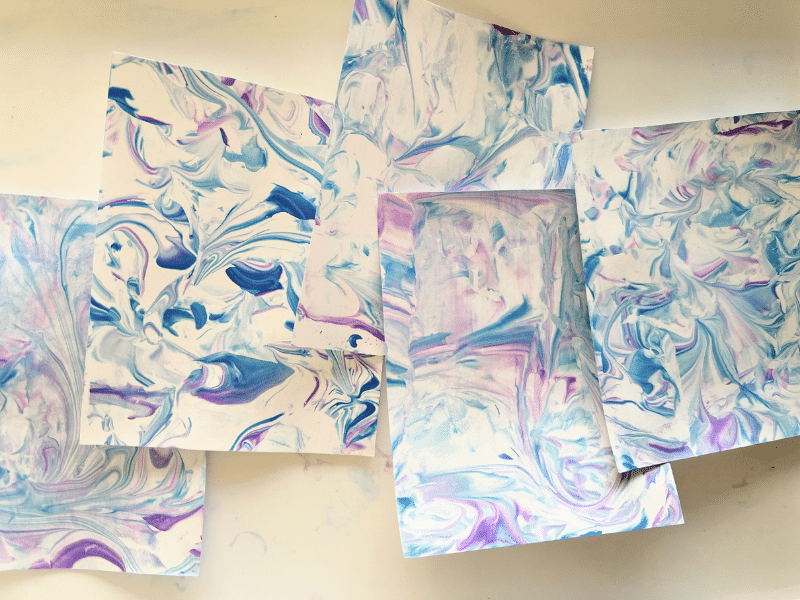
And the inevitable issue that always arises is: what to do with all that beautiful, marbled paper?! Because you will end up with tons! We’ve found that everyone has so much fun making the paper, you usually run out of materials before you’re ready to stop.
Here’s a video showing Shaving Cream Marbled Paper in action! And don’t forget to scroll down for some of our favorite ways to use it!
Shaving Cream Marbled Paper
 MATERIALS
- Shaving FOAM
- Shallow baking dish, such as a pie plate or brownie pan
- Liquid watercolor paint (or watered-down food coloring)
- Droppers
- Stir stick, like a chopstick or the bottom of a paint brush
- Card stock
- A scraper, such as a square piece of cardboard
For detailed instructions on shaving cream marbling, please visit our post all about the process. There we lay out step-by-step how to make beautifully marbled paper!
What to Do with Marbled Paper
1. Try one of our 13 ways to reuse children’s art
Marbled paper lends itself well to being used for gift wrap, note cards, valentines, buntings, collages, book covers, and more!
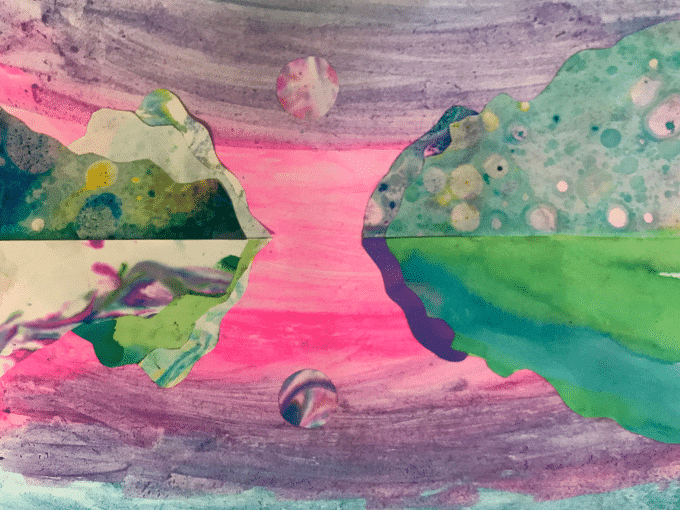
2. Make a marble paper art landscape collage
Create beautiful marble paper art landscape collages inspired by Australian artist Kate Shaw.
3. Use a marbled paper plate to make a beautiful butterfly
Use paper plates to marble and then simply cut the marbled paper plate into wings and decorate your butterfly!
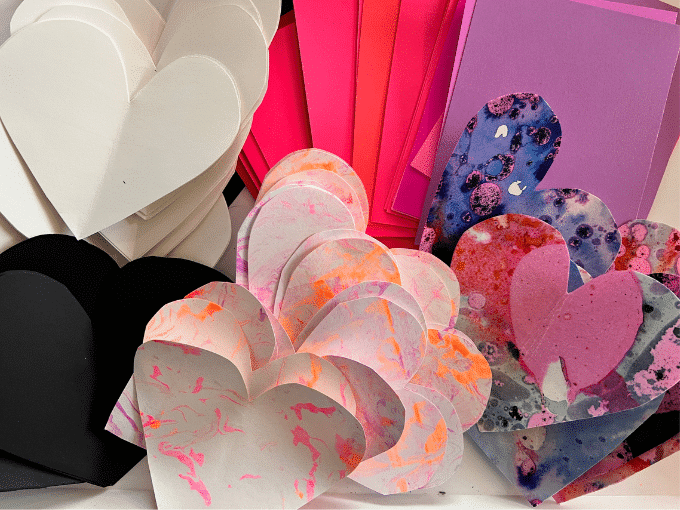
4. Check out these Valentine craft ideas
If you happen to make marbled paper in February, you can use it to make some super cute Valentines!
5. Frame your paper and display it on the wall
We’ve got some great ideas for kids’ art displays that would work perfectly with some newly marbled paper!

People Also Ask:
- How do you make marbled paper? It is so easy to make! Just spray the shaving cream into a shallow dish and swirl some drops of paint into. Then carefully press a piece of cardstock into the cream and remove. Scrape off the excess shaving cream and there you have it!
- What kind of paint do you use for shaving cream marbling? You can use just about any paint you have on hand! We love liquid watercolors for it, but you can try tempera, acrylics, or even watered-down food coloring.
- What kind of paper is used for paper marbling? We have found that thicker, smooth paper like cardstock or poster board works best for this art activity.
- Can you mix shaving cream and paint? Yes, you can! It will make the paint a little foamy and not as spillable! Be sure to check out all the fun art activities you can try with shaving cream.
Have you made shaving cream paper with your kids yet? If not, it’s a must-try art project!
More Marbling Art Activities for Kids
- How to Do Shaving Cream Marbling
- Shaving Cream for Kids: Ideas for Art, Play, and Learning
- Paper Marbling with Acrylic Paint and Liquid Starch
- How to Marble Paper with 6 Easy Marbling Techniques for Kids
- Marbling with Oil and Food Coloring
- The Best Art Ideas for Kids in 2023
Want even more science experiment ideas?
Check out our Science Creativity Pack!
You’ll love the magical combination of science & art, helping kids make all kinds of fantastic discoveries!

Pin It for Later