DIY scratch art is easier to make than you might think. Kids can make this beautiful scratch art paper with oil pastels, black paint, and toothpicks.
Updated February 2025
Before we tried this DIY scratch art, we thought it would be too much work and so we kept buying premade scratch art paper.
But we finally did it ourselves and it was so easy! And fun. Trust us when we say you’ve got to give it a try!
Here’s a video showing DIY Scratch Art in action! And don’t forget to scroll down to get the step-by-step instructions.

How to Make DIY Scratch Art
MATERIALS
- Sturdy paper (we used ultimate art paper)
- Oil pastels (you can also use crayons)
- Black paint (we like black BioColors the best)
- Foam brush
- Toothpicks and/or Q-tips
INSTRUCTIONS
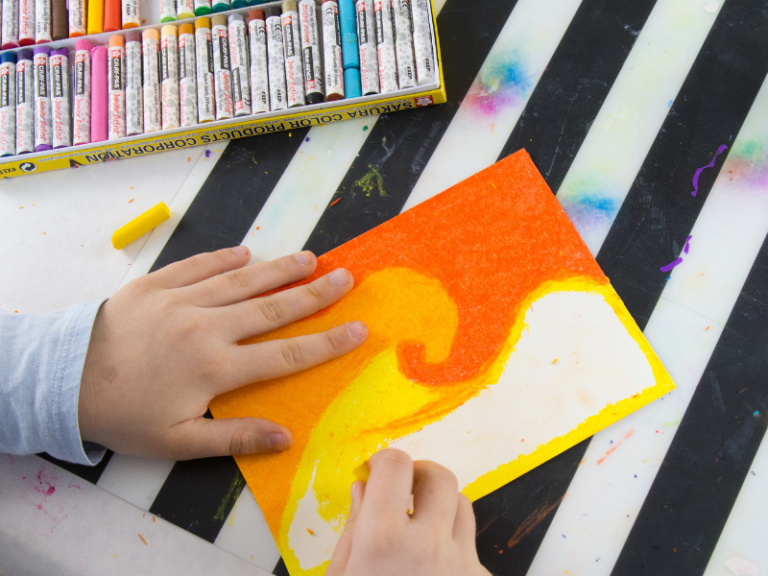
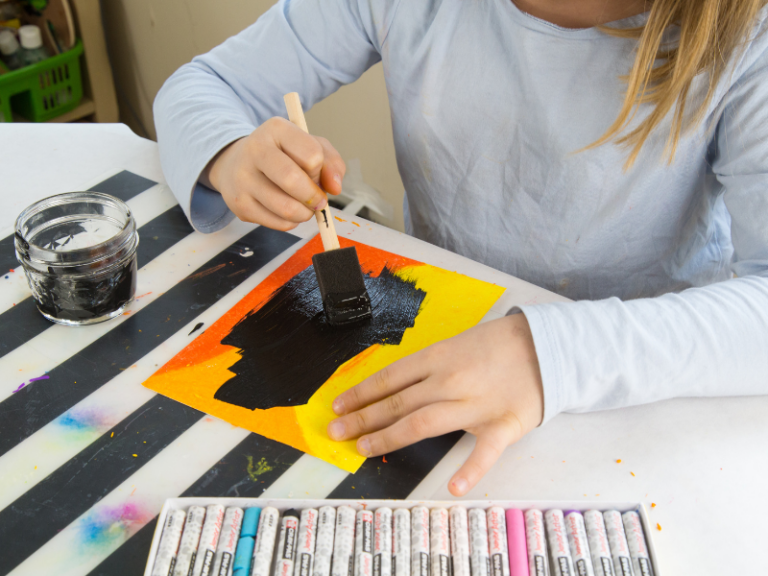
- Add color
First, cover the paper with oil pastel drawings until the entire sheet is full of color.
- Cover with black paint
Then paint over the oil pastel with a layer of black paint.
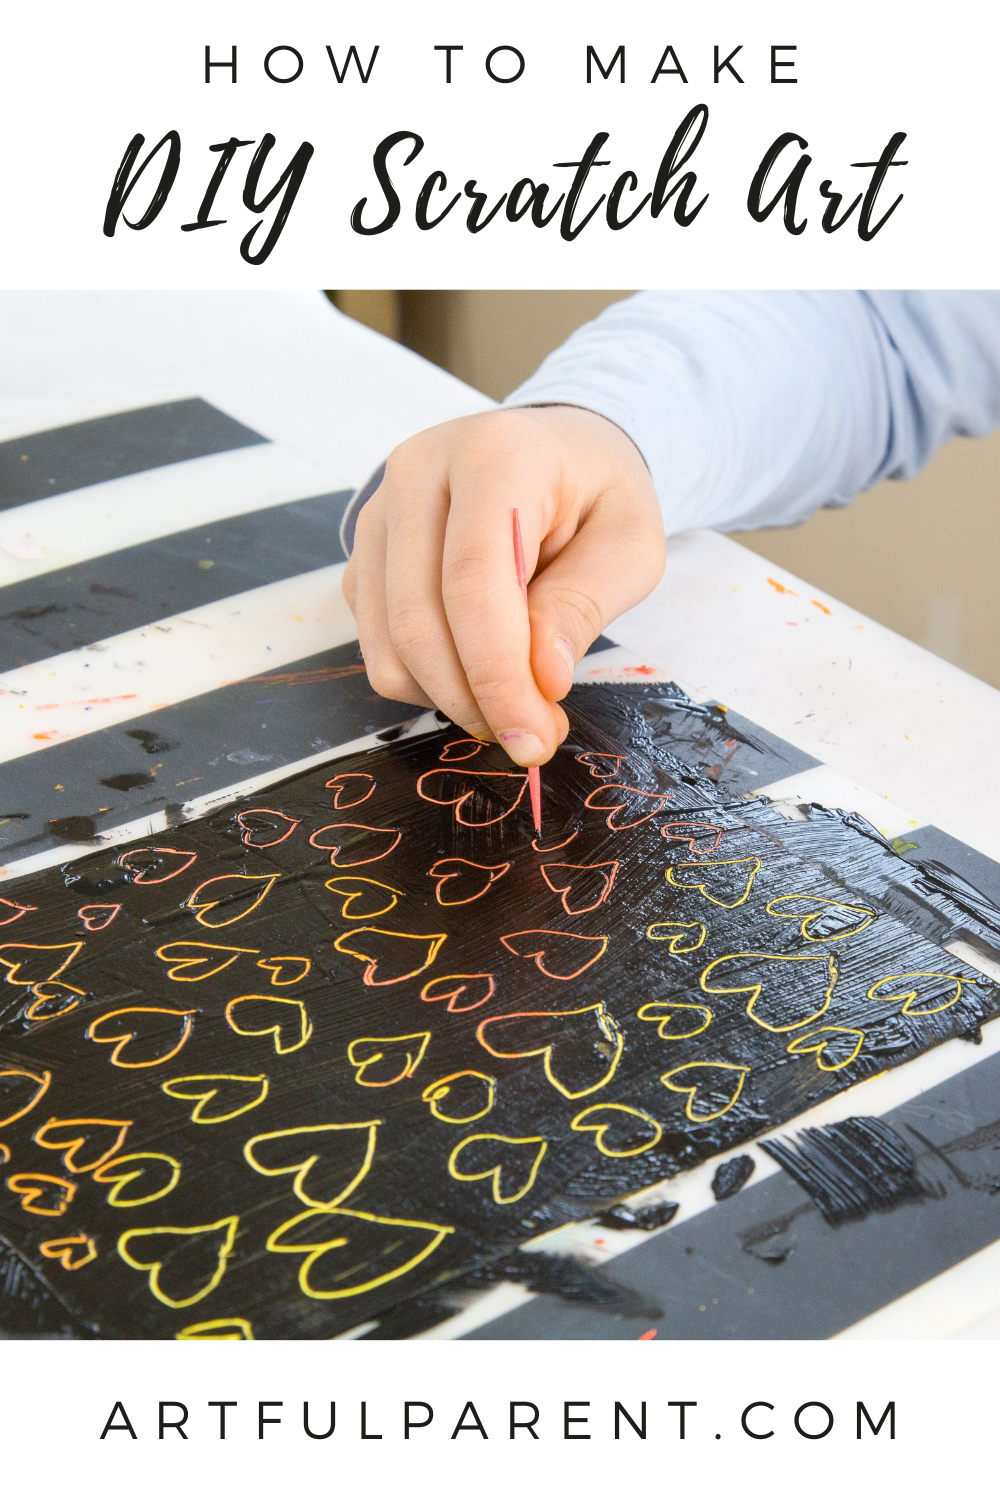
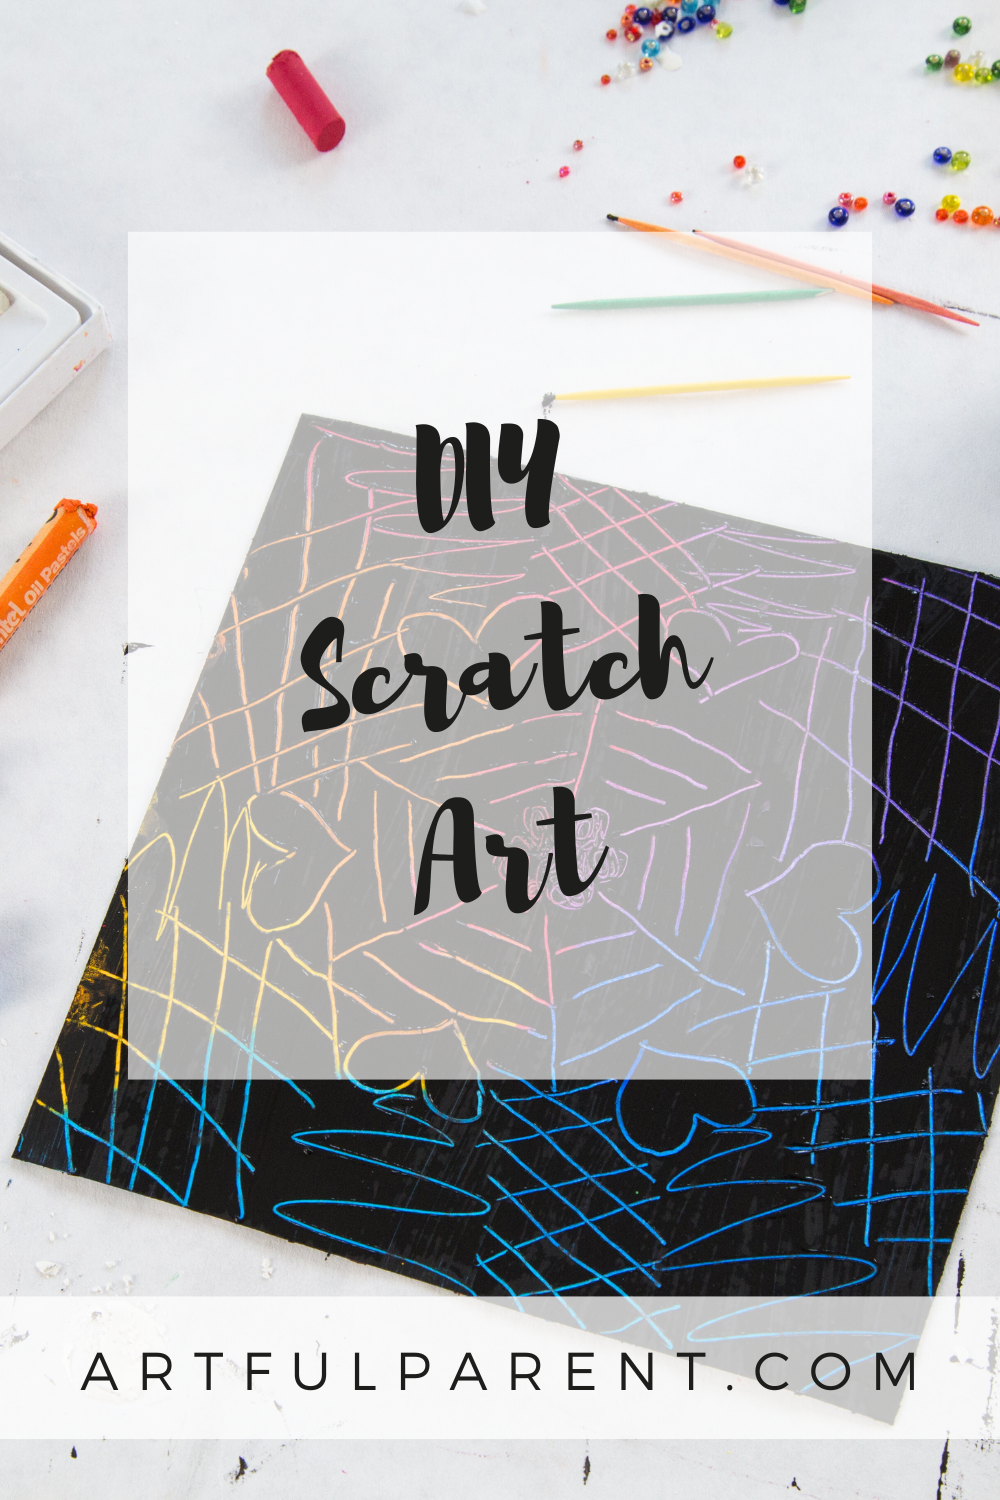
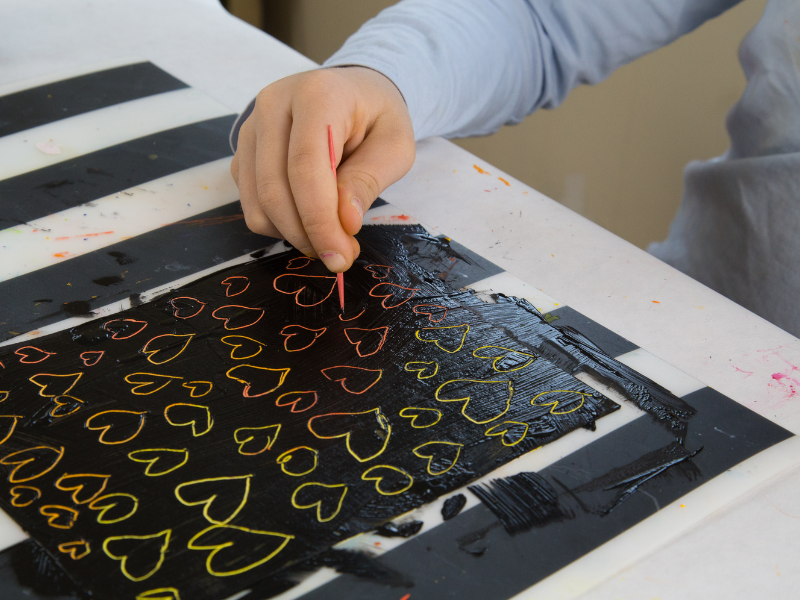
- Draw in designs
Finally, scratch your pictures and designs through the surface of the wet paint with toothpicks and Q-tips.
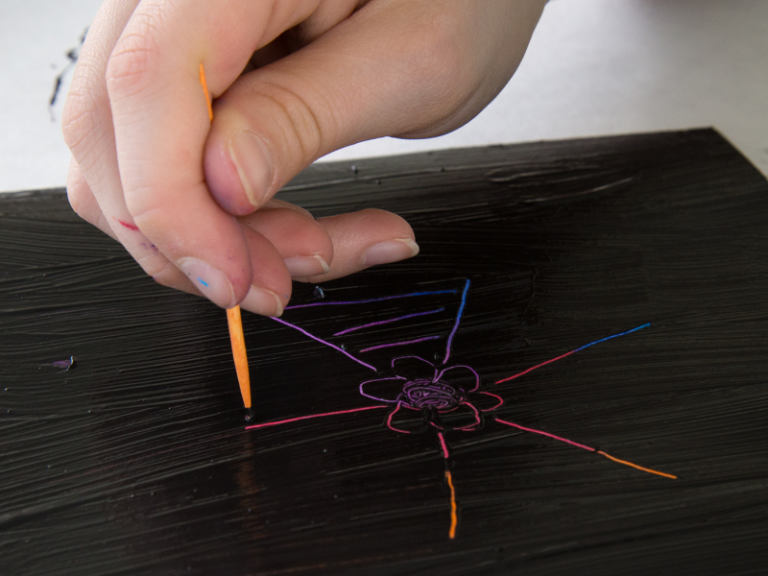
We use oil pastels rather than crayons and scratch the design through the wet paint which is both easier and quicker than if you wait for the paint to dry.
Here are some more tips and notes we’ve discovered that make the process even easier.
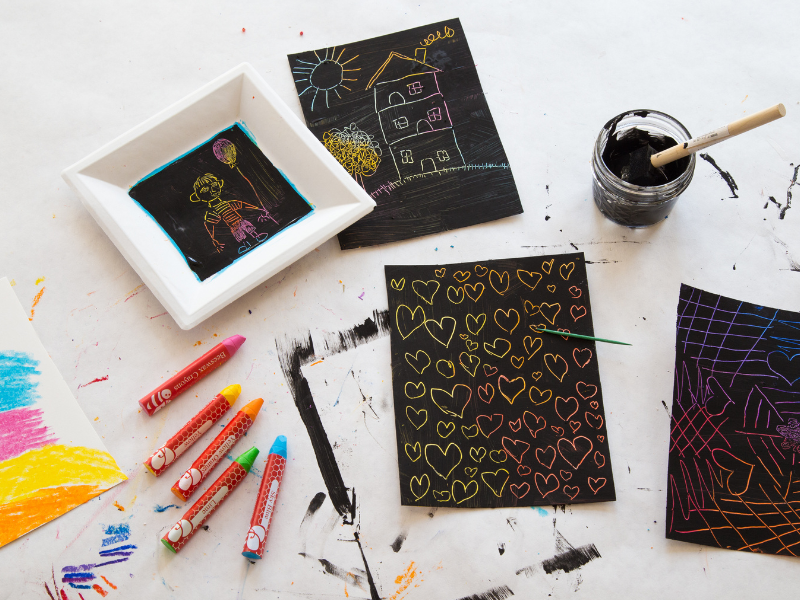
- Paper size: Smaller sheets of paper are quicker to fill with color. You can cut your paper in half, or go even smaller.
- Age: It’s important to fill the entire sheet with color, so this project works better with preschoolers or older, who can/will do that. For toddlers, you can make the scratch art paper for them and let them do the final step of scratching designs in the paper.
- Wet vs dry: We usually make our scratch art pictures and designs while the paint is still wet and it works great. We’ve tried letting some dry first and found that the paint flakes off more unevenly.
- Paint type: The BioColor paint we use needed two layers to coat the oil pastel layer perfectly. We don’t usually do two layers though, and like it fine with a bit of color peeking through.
We highly recommend giving this DIY scratch art activity a try with your kids!
More Art Activities for Kids
- How to Make Halloween Scratch Art for Kids
- How to Make Scratch Art with Autumn Leaves
- 7 Fun Painting Ideas for Kids
- Have you Tried Spin Painting?
- How to Do Oil Pastel Painting with Kids
- How to Do Drip Painting for Kids
Pin It for Later