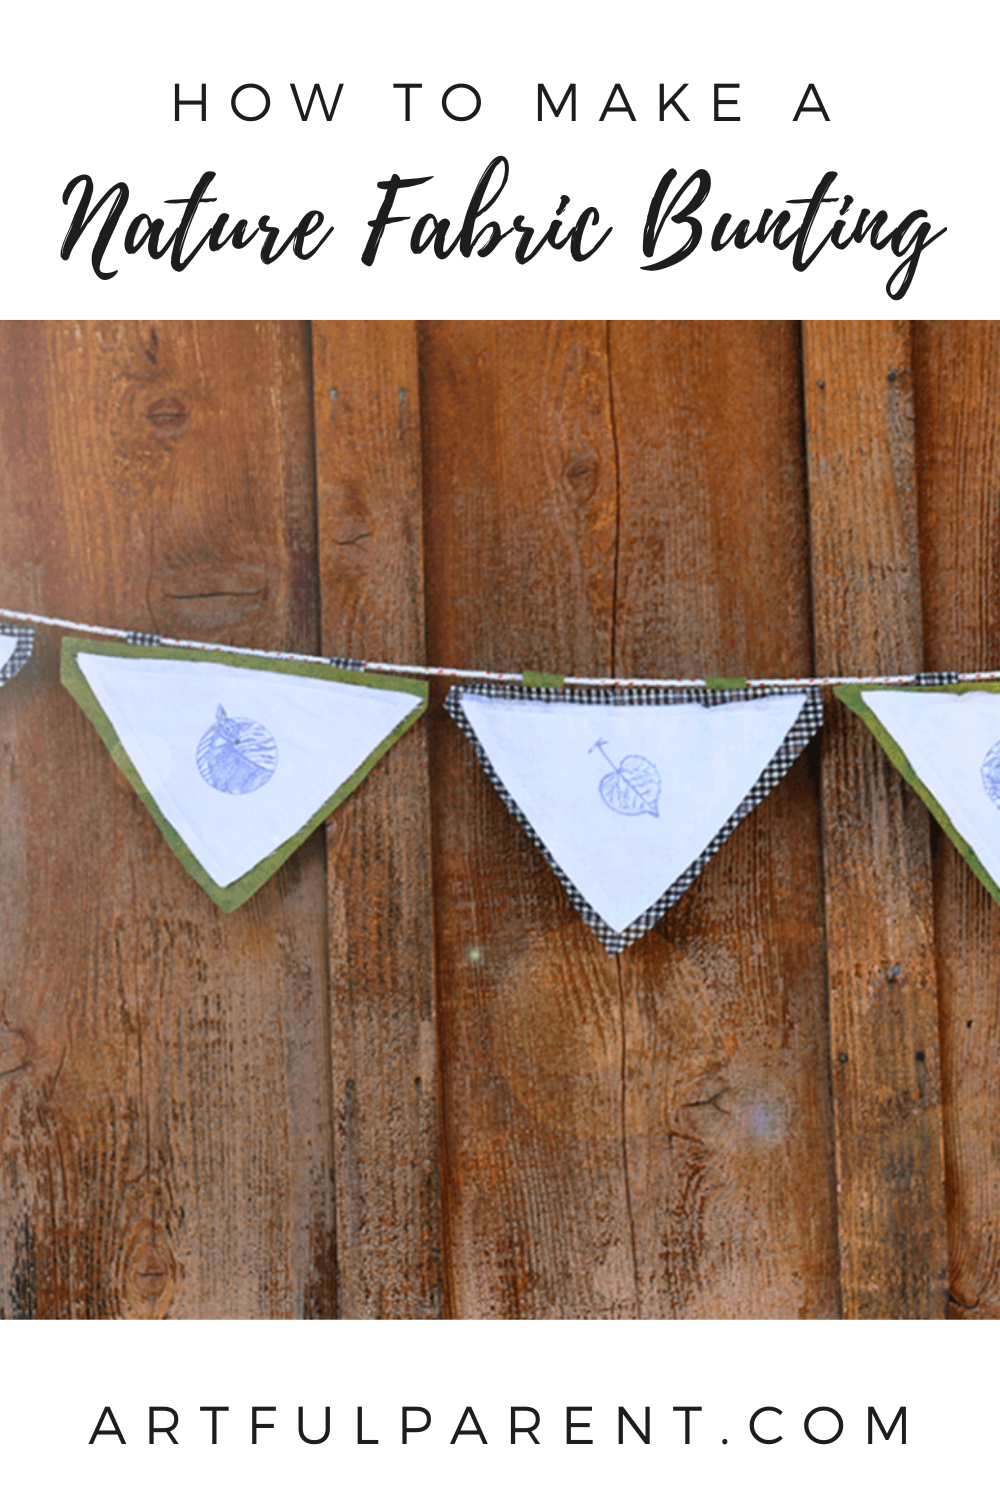
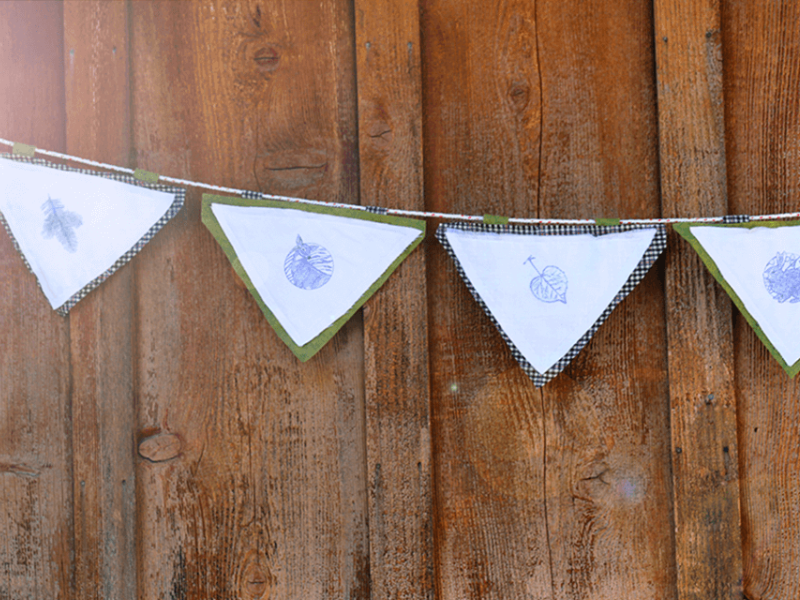
Create a beautiful nature-inspired fabric bunting with just stamps & fabric. Project and post by Sarah Olmsted of Imagine Childhood.
Updated March 2025
At Imagine Childhood, we always like to infuse our crafting with a little nature study, and today’s activity is no exception.
This lovely little nature-inspired bunting is the perfect way to introduce a new subject through a fun craft. This project easily accommodates many different ages and skill levels.
By sewing loops onto the pennants, the bunting can be updated regularly, which also makes it a great addition to any classroom.
This might mean you have a bunting full of flowers one day, birds the next week, or animal tracks after that. The opportunities for study and creativity are endless.
Nature Inspired Fabric Bunting

MATERIALS
- White cotton fabric (with a smooth weave)
- Assorted patterned and colored scrap fabric
- Ribbon or colorful string
- Needle and thread
- Stamp pad or fabric paint
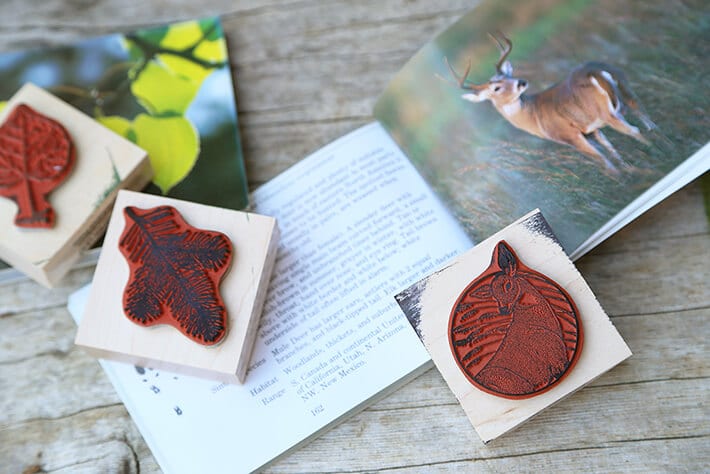
- Stamps (we used these beautiful nature stamps)
- Your favorite nature study guides
INSTRUCTIONS
- Cut triangles
First cut triangles of white fabric that are approximately 8″ wide and about 5.5″ tall. Cut as many as you’d like on the bunting.
Then cut out the same number of triangles from the patterned and colored fabrics but size them up to 8.5″ wide by 6″ tall. - Get inspired by nature
Grab your favorite nature study guides and explore their pages for plants and animals of interest. Learn about where these plants grow, where the animals live, what they eat, etc.
- Pick out stamps
Make your own stamps with a DIY stamp kit or grab a few nature stamps. Alternately, you can paint or draw on your bunting if you prefer.
- Stamp triangles
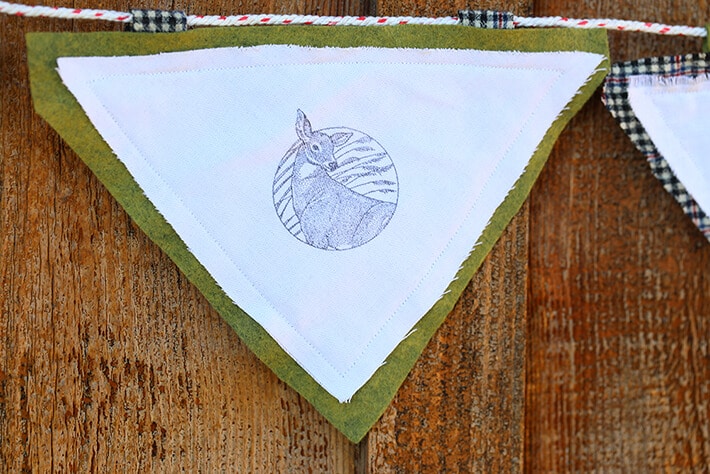
Use your stamps to decorate the white triangles of the buntings.
- Sew stamped triangles onto backing
When you have all of the triangles decorated, sew them to the alternating colored backing triangles, leaving the edges raw.
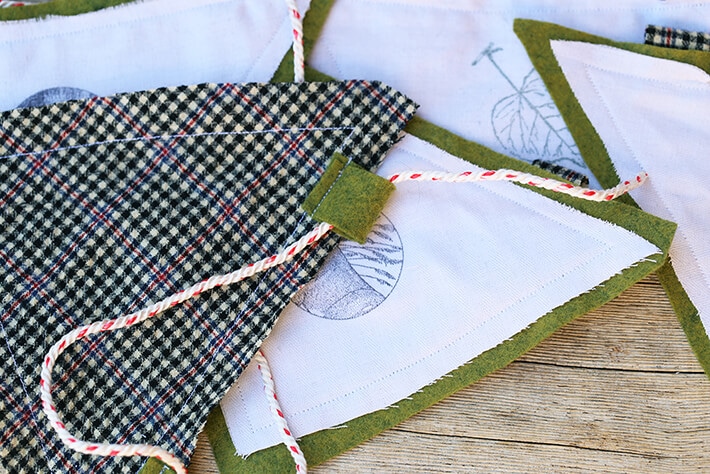
Cut two strips of fabric 3/4″ x 2″ for each triangle. Fold these in half and secure the loops to each side with a few stitches. This is where your ribbon or string will go through. - Hang bunting
Thread your ribbon or string through the loops and hang your bunting.
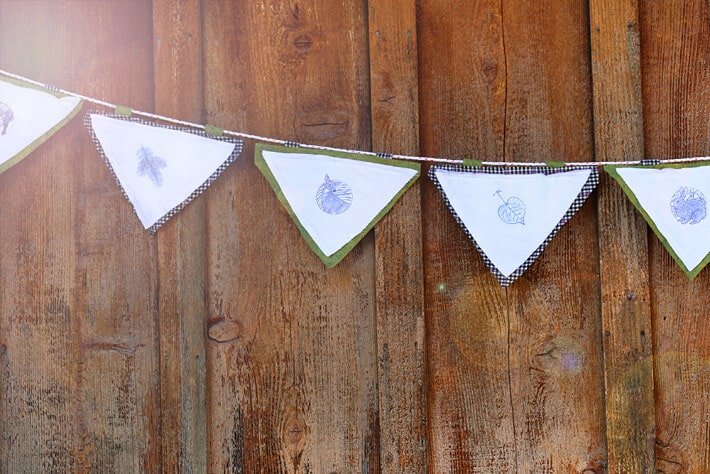
*Tips for younger kids: If you have a younger crew, or need something a little more streamlined you can simply cut out triangles of fabric, stamp them and attach them to a ribbon with safety pins or a simple running stitch.
To extend this activity, try using leaves and flowers or sticks and stones as stamps. Go on a nature hike and collect your favorite shapes and use them to decorate your bunting.
More Nature Activities for Kids
- 16 Garden and Nature Crafts for Kids
- 5 Nature Art Ideas for Little Kids
- 5 Nature Based Play Ideas for Toddlers & Preschoolers
- 22 Nature Art Ideas for Kids
- 12 Flower Crafts for Kids
- How to Make Flags With Flower Pounding
Pin It for Later
