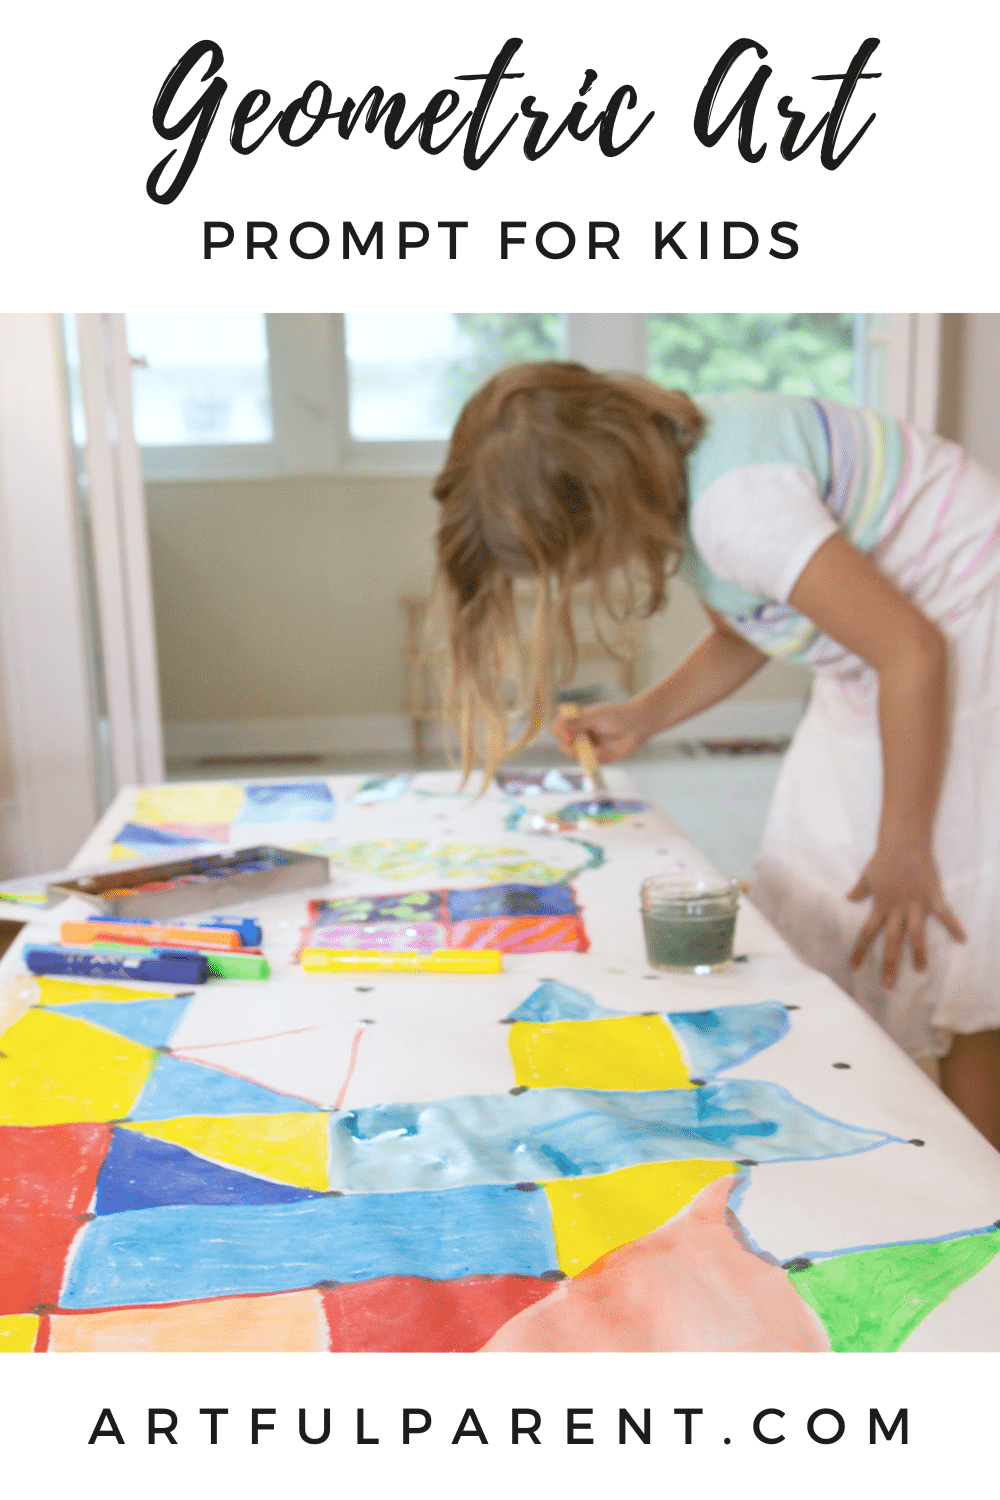
Geometric art for kids is easy, fun, and visually striking with this connect the dots prompt. A great collaborative art activity for all ages!
Updated March 2023
We like to offer art prompts to kids on occasion because they inspire creative responses. In coming up with a solution or reaction to the art prompt, the children create in ways that they wouldn’t otherwise when faced with a blank sheet of paper.
We’ve tried this connect the dots art prompt for kids of all ages and find that they all love the creative process.
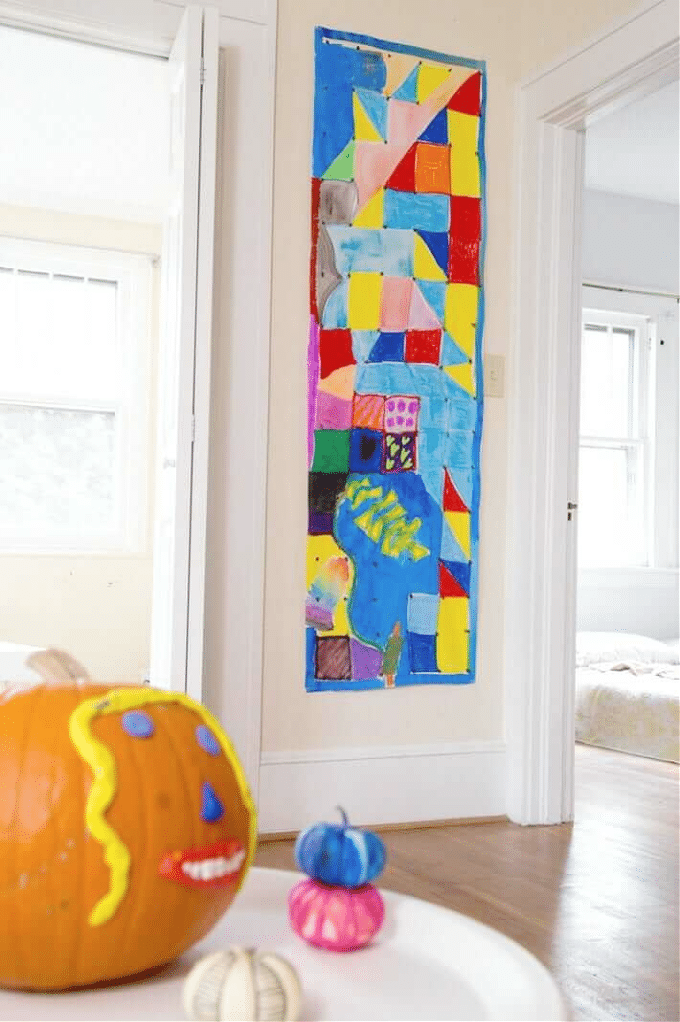
And you end up with a gorgeous piece of geometric art that you can hang on your wall!
Geometric Art for Kids
A big thanks to Kwik Stix paint sticks for sponsoring this post! As always, all opinions expressed are my own.

MATERIALS
- Big paper or cardboard
- Tape
- Kwik Stix paint sticks*
- Watercolor paint (optional)
INSTRUCTIONS
- Prepare the connect the dots art prompt
First, tape your large piece of paper down to hold it in place as you work. You can do this on the floor, on a table, on an easel (for something smaller scale), or on the wall.
Then add dots all over the paper.
You can space them out relatively evenly in a grid formation or add your dots more randomly.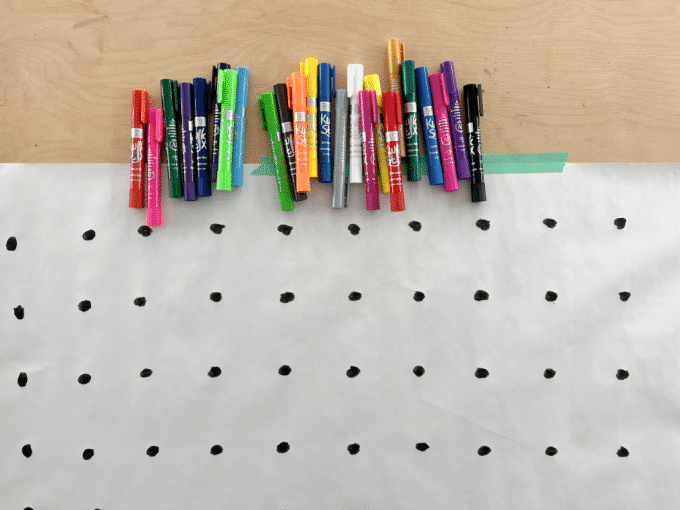
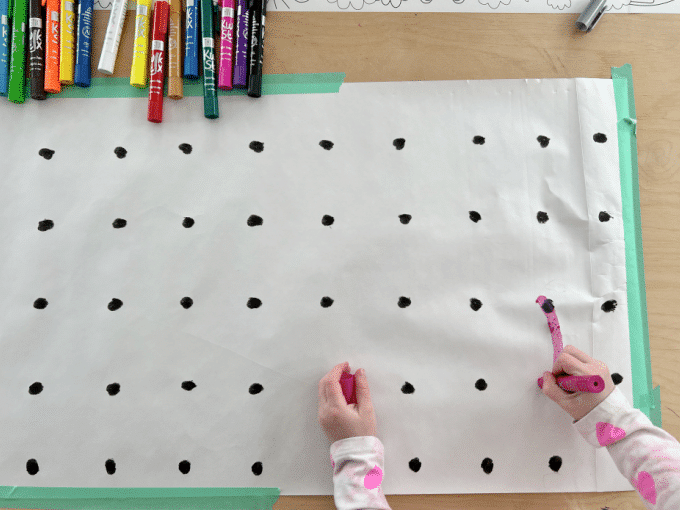
- Invite your kids to connect the dots
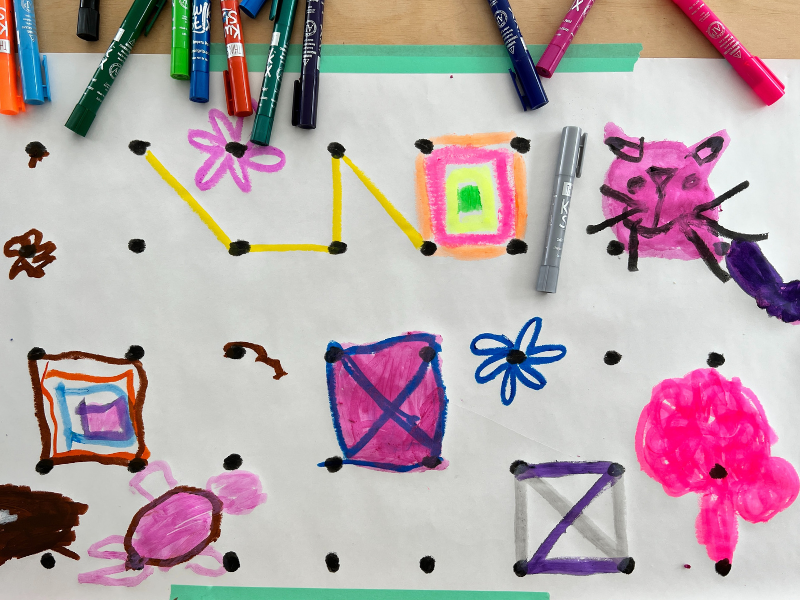
Kids can connect the dots, color over them, scribble on the paper, or whatever they feel moved to do!
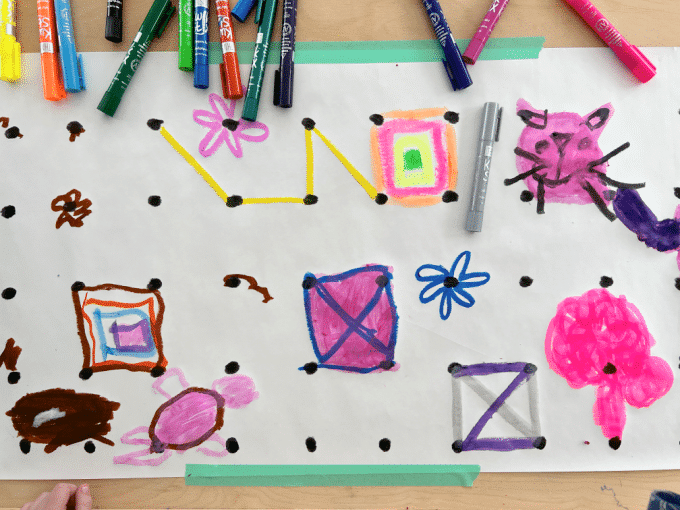
- Fill in the geometric designs with color
For our geometric artwork, we used the Thin Stix paint sticks and loved them even more than the regular Kwik Stix, if that’s possible.
But you can use regular paint sticks, crayons, oil pastels, markers, etc.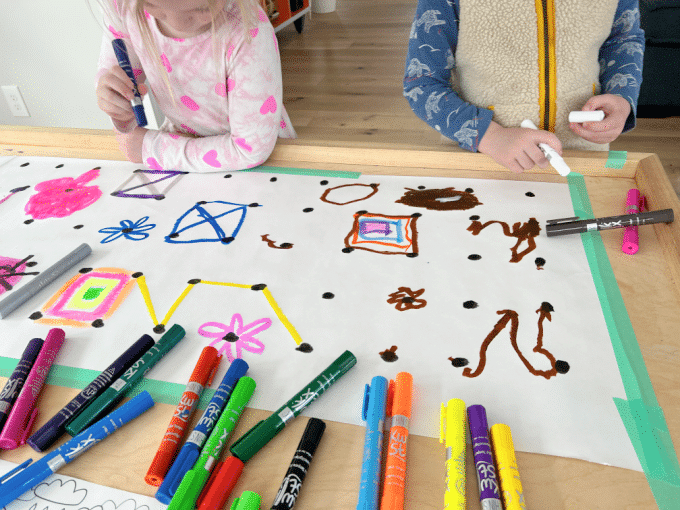
- Add watercolor paint (optional)
If you’d like to extend the process, you can use some watercolor paint to fill in even more of the dots.
- Display your new geometric artwork
We love the way this artwork looks on Jean’s living room wall!
7 Reasons We Love Kwik Stix and Thin Stix
These tempera paint sticks:
- Glide on smoothly
- Have vibrant colors
- Dry within 90 seconds
- Are mess free
- Fill large areas quickly
- Work on paper, cardboard, wood, and pumpkins
- Play nice with other art supplies
If you haven’t tried paint sticks yet, we highly recommend them! And check out our list of favorite art supplies!
More Geometric Art for Kids
- Geometric Watercolor Art with the Saran Wrap Technique
- Two Ways To Create Fun Geometric Art with Tape for Kids
- How to Create Colorful Collage Art for Kids
- How to Do Scribble Art
- How to Make Picture Frame Wallpaper for Children’s Art
- Shadow Art for Kids: How to Trace and Paint the Light
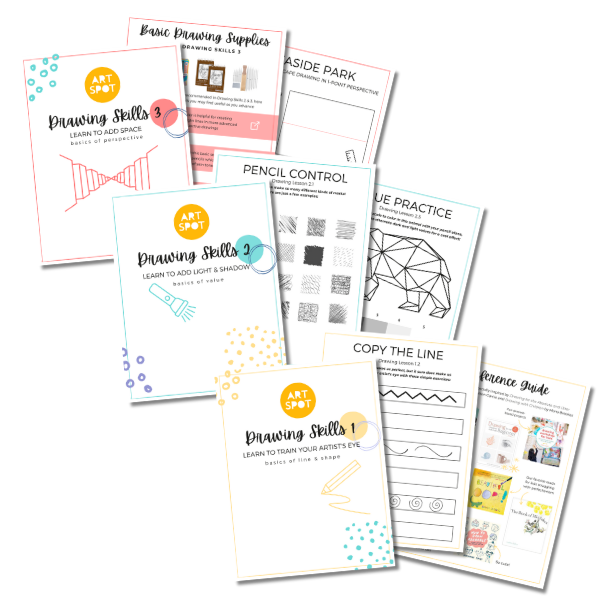
Does your child want to explore the world of drawing and expand their skills? Check out our three-part Drawing Skills Master Class for kids! Your child can learn to draw at home with 3 unique modules: Line & Shape, Light & Shadow, and Perspective. With at-home video lessons and easy-to-follow printable workbooks, your child will build skills and confidence as they learn to draw!
Pin It for Later
Thanks again to Kwik Stix for sponsoring this post and for sending us paint sticks to use and review! As always, all opinions expressed are my own.