Danielle Falk of Little Ginger Studio explores how to create colorful geometric art with tape resist paintings for kids.
Updated June 2025
Looking for a fun and colorful way to introduce kids to geometric art? Here are two engaging ideas that combine creativity and movement.
First, kids can create striking tape resist paintings on canvas, using tape and paint to explore shape, color, and negative space.
And if you want a bigger, collaborative project, take the activity to the floor by taping down large geometric shapes for kids to walk, jump, and play through—bringing art to life in a whole new way.
These projects are easy to set up and perfect for getting kids thinking about lines, patterns, and spatial awareness. Whether at home or in the classroom, this playful approach to geometry is sure to inspire.
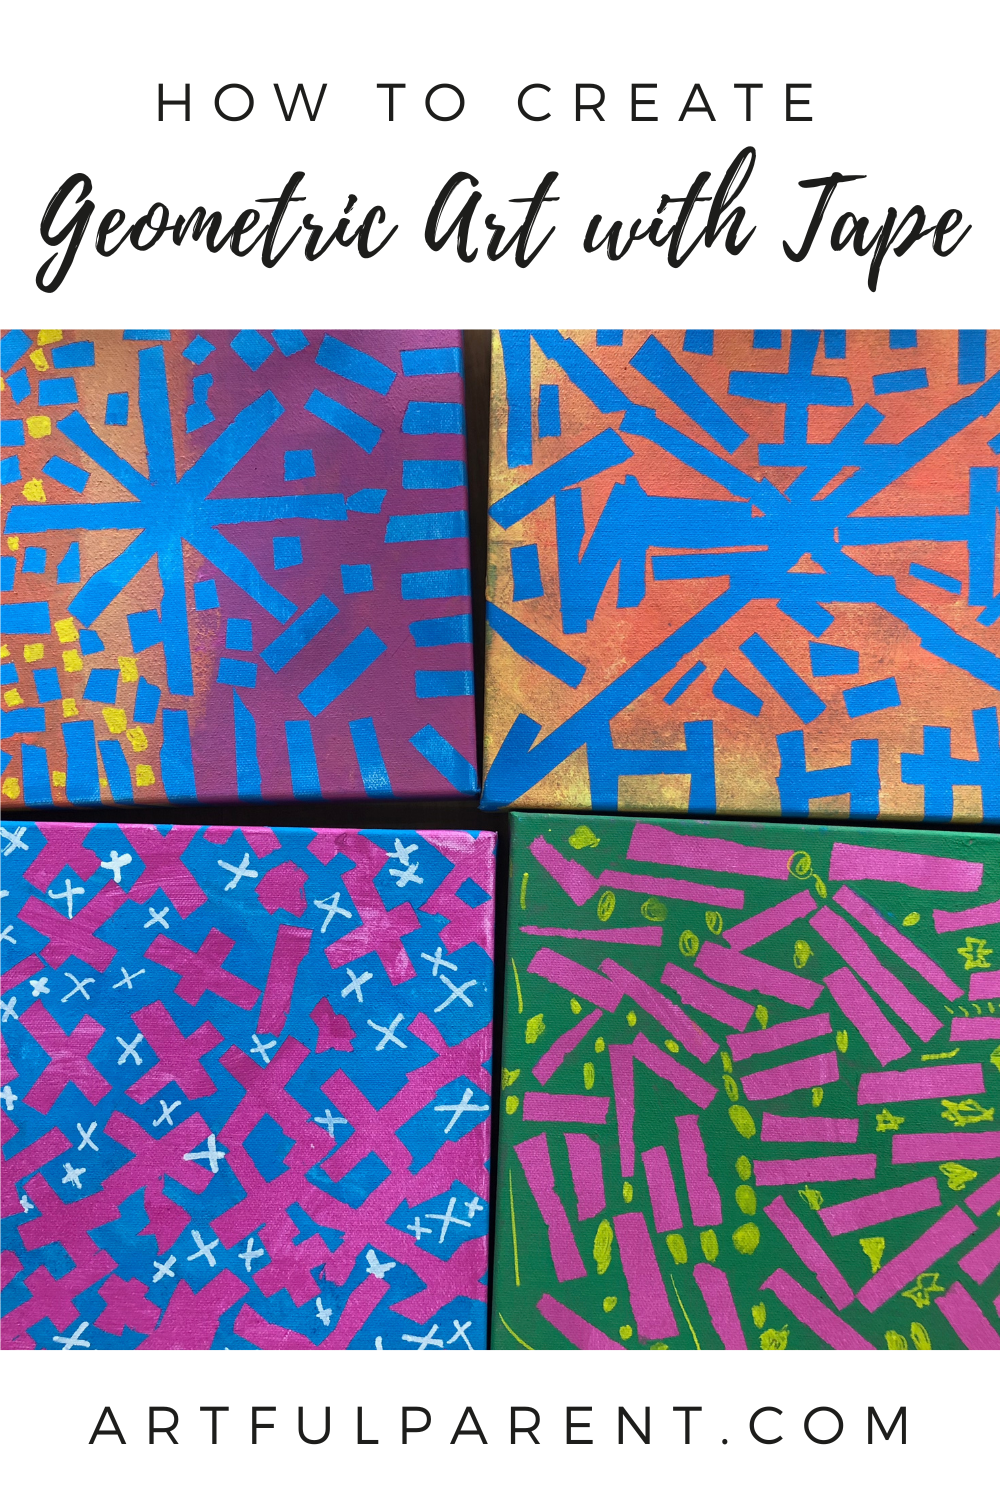
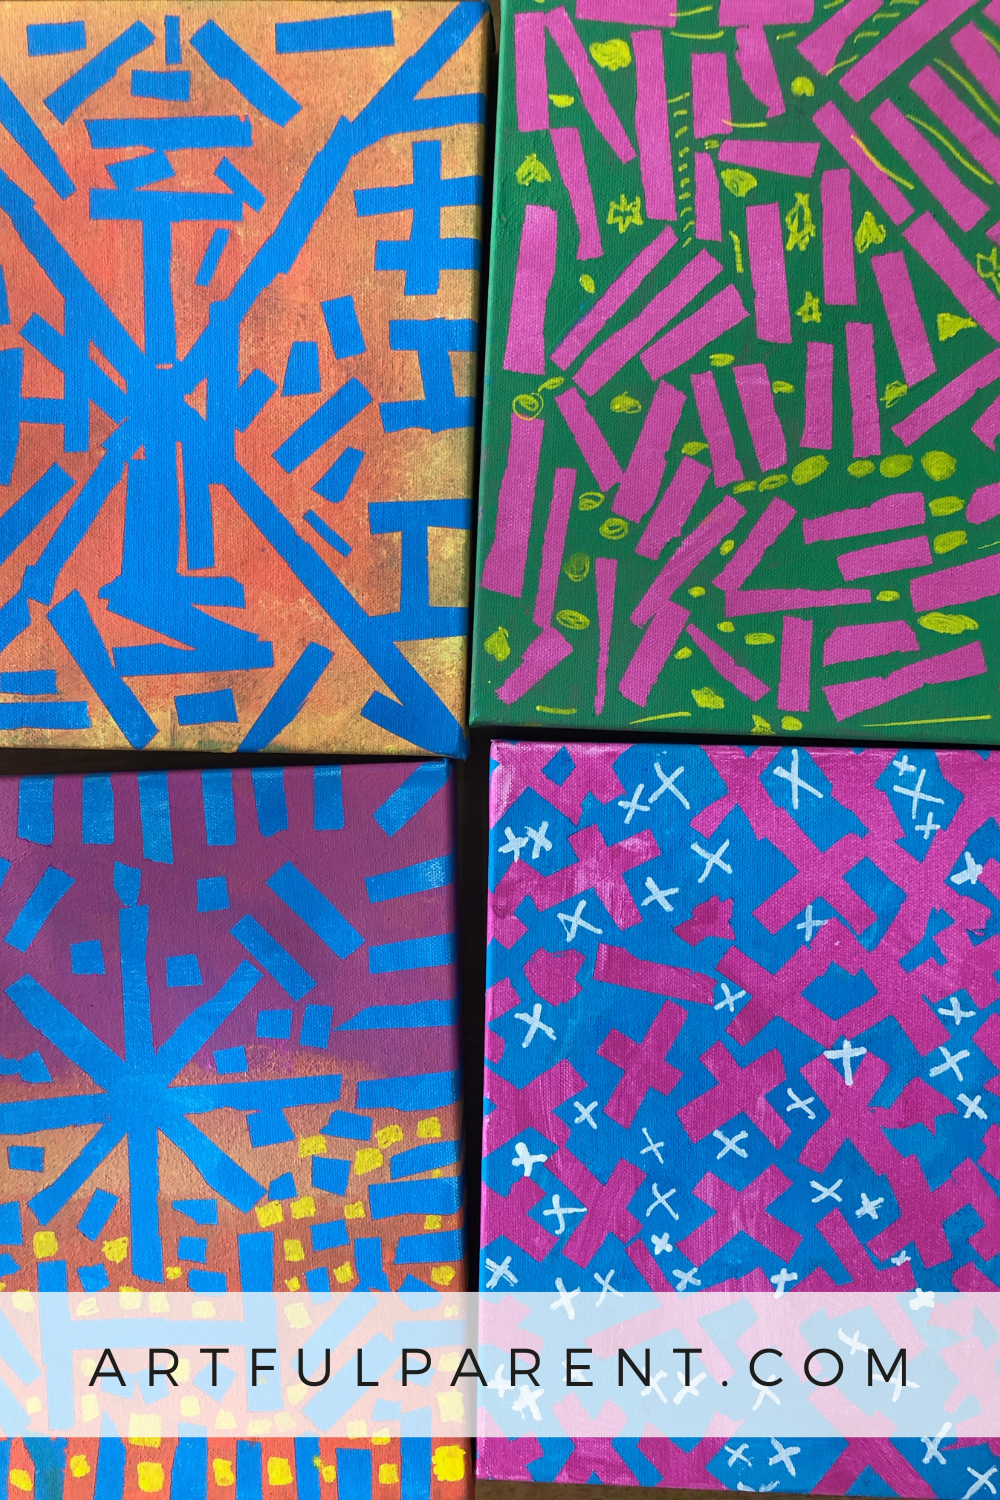
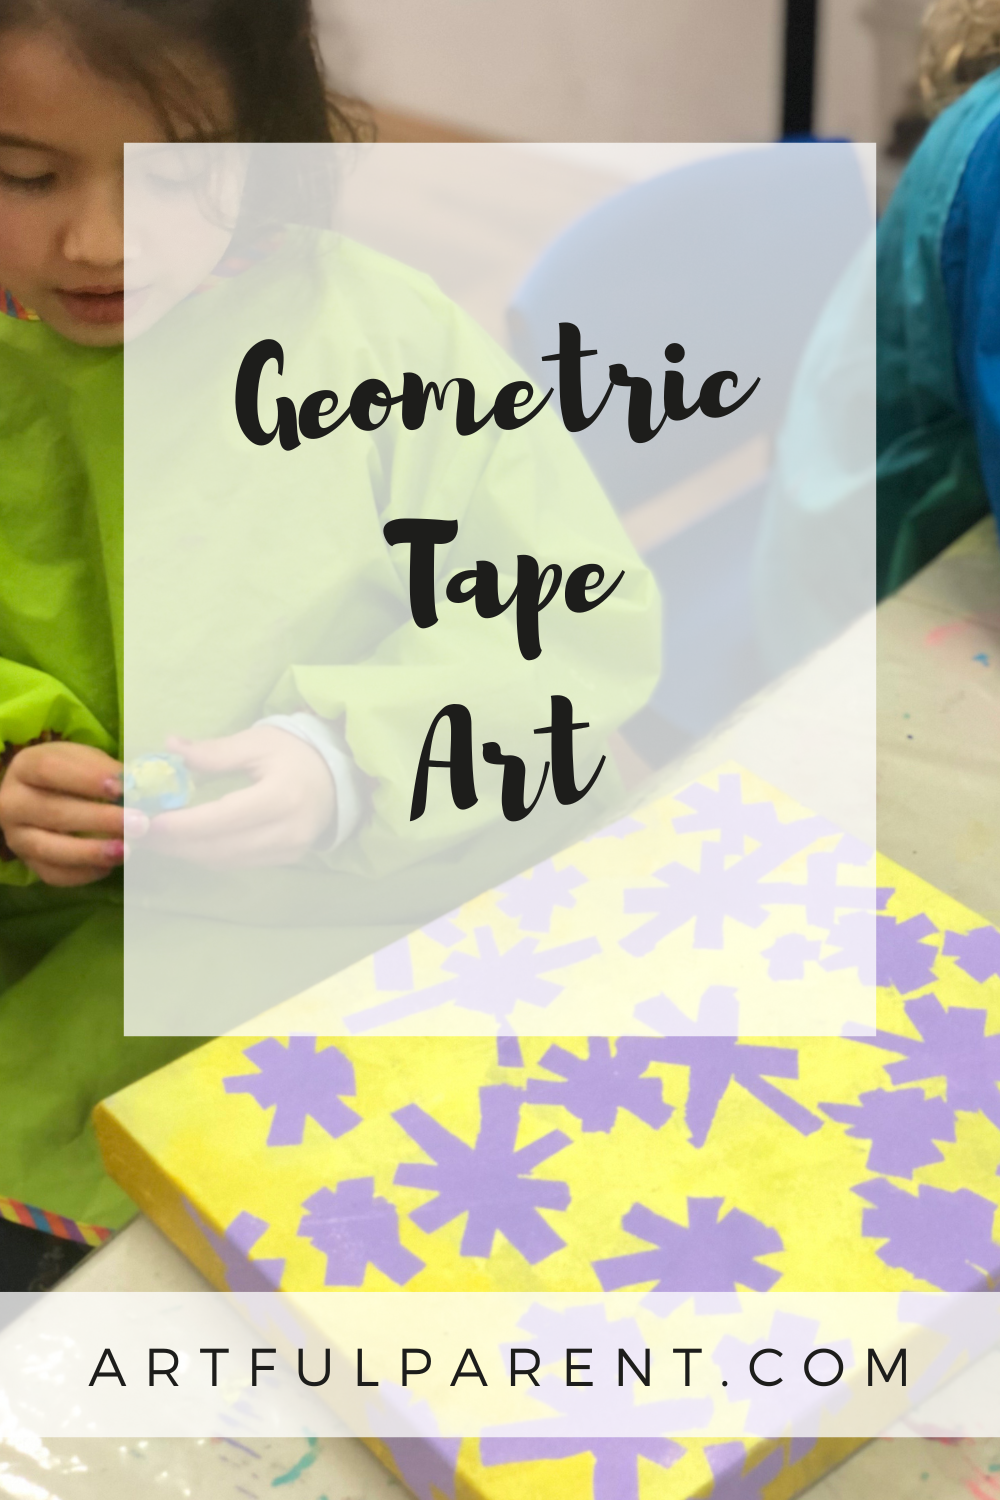
Geometric Art with Tape Resist

MATERIALS
- a stretched canvas or canvas board
- a small foam roller or large flat paintbrush
- acrylic paints in contrasting colors
- white acrylic paint for mixing
- 1 inch painter’s tape (masking tape is okay but it won’t work as easily)
- scissors
- small sponge
- paint pens such as Posca
INSTRUCTIONS
Time needed: 45 minutes
- Prepare the canvas
First choose the base color for the canvas. Keep in mind that most of this color will be covered up by the end. Your base color will only be visible wherever you place your tape.
Then use a mini roller to paint a thin, even layer of base coat all over the canvas, including the edges, for a professional look. Let dry.
PRO TIP: Mix your base color with a small amount of white paint to create a slightly lighter color.
Acrylic paints always dry darker and I never use them without adding white first. This is a mistake I see non-art trained teachers making often and it has a huge affect on the finished result of artworks. To achieve beautiful “candy” colors, always mix with white first, but not too much or you will get pastels. - Create patterns with a layer of tape
Don’t attempt to add tape until your base coat is completely dry.
We used 1 inch wide painter’s tape and small canvases for this project, so we cut our tape strips in half before using.
Cut the half inch wide strips of painters tape into short strips 1.5-2 inches long and start creating your design. We focused on creating patterns and movement.
PRO TIP: Make sure all your tape is completely flat to avoid paint bleeds and ensure your design continues over the edges of your canvas.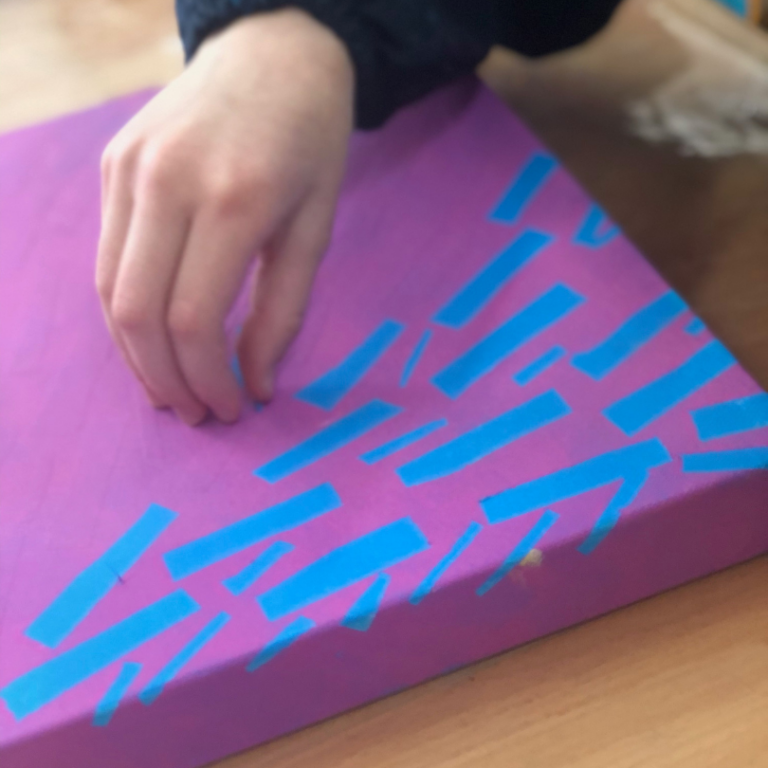
- Add a second layer of paint
Now it’s time for a second layer of acrylic paint. The color choice is really important here. In order to achieve maximum contrast, choose a second color that is complementary (opposite) to your base coat.
For example: use yellow on purple, blue on orange, etc. We got a bit fancy at this point and experimented with creating blends of two or even three colors on top of our base. We used warm colors on cool or or cool colors on warm.
Alternatively you might choose to keep it simple and add just one color over the top of your first using a roller or large paintbrush.
Once this second layer of paint is dry, you could add more tape and continue with a third or even fourth layer of paint, all the while switching between contrasting colors.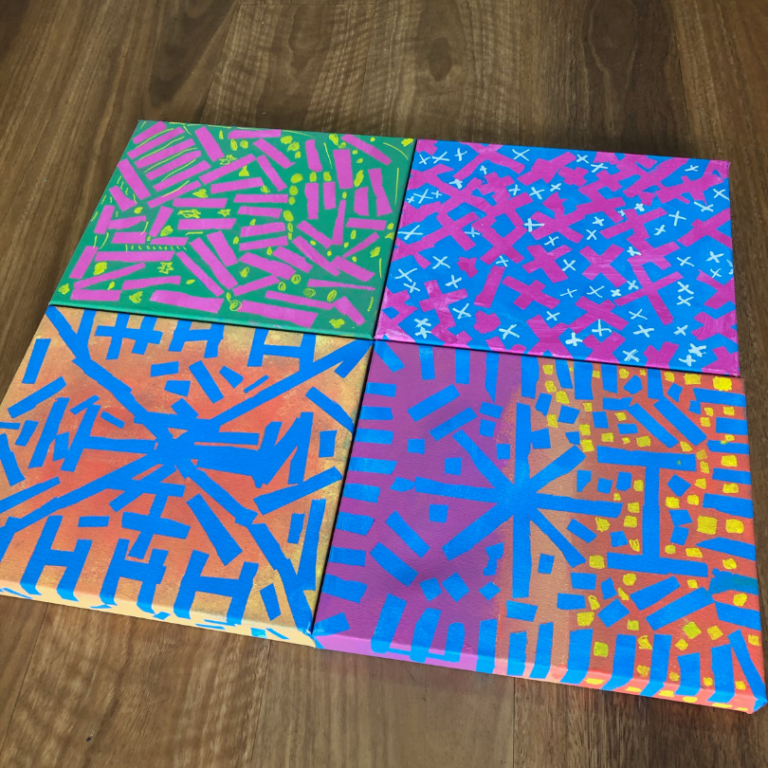
- Peel off the tape
This is the FUN part of the process! Once your top layer of paint is completely dry––and I mean completely––no cheating here, carefully peel off every single piece of tape for the big reveal of your artwork.
I guarantee kids will love doing this and there will be lots of oohs and aaahs in the room! If your artwork seems a bit unfinished, add another color and more detail with carefully placed paint marker.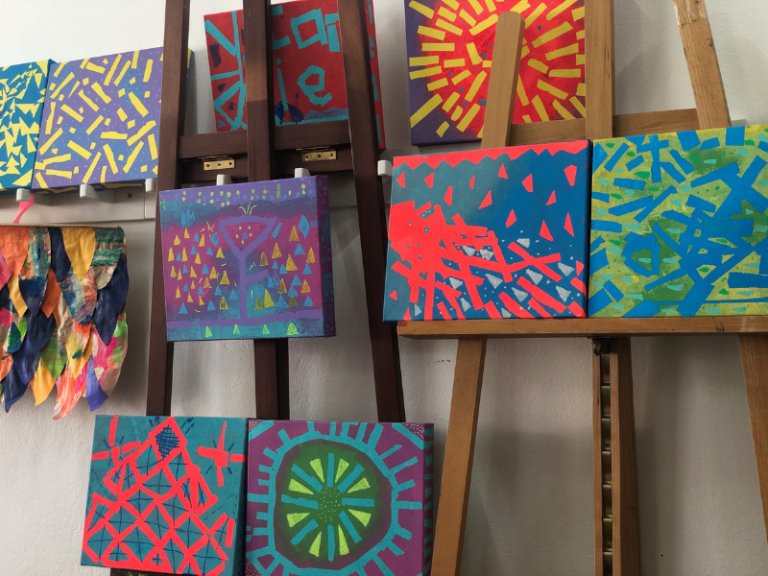
If you’ve got the space and a group of bored kids, you can create a tape mural on the floor!
We used inexpensive electrical tape in different colors and blue painter’s tape to create all sorts of pictures on the floor. I provided the kids with very little instruction and lots of freedom to create anything. We are so happy with the results and they LOVED it!
There is definitely something a bit naughty about putting tape on the floor, just be sure to test the stickiness of your tape first to ensure it will come off easily afterwards.
Tape resist canvases look amazing large scale and are a great technique for collaborative artworks. I’m getting the urge to create a HUGE canvas with my classes this term!
More Tape Resist Art for Kids
- How to Make Tape Resist Paintings for Kids
- How to Make Mess-Free Tape Resist Art
- 5 Tape Art Ideas for Kids
- How to Make Watercolor Resist Artwork with Tape
- How to Make Starry Night Cards with Sticker Resist Art
- Masking Tape Art for Kids
Pin It For Later