Geometric watercolor art is beautiful and easy to make with plastic wrap painting. Try this tutorial with fun doodle variations.
Updated April 2024
This geometric watercolor art is an activity we first tried years ago. We’ve done it many times of the years, and always love the way our paintings turn out.
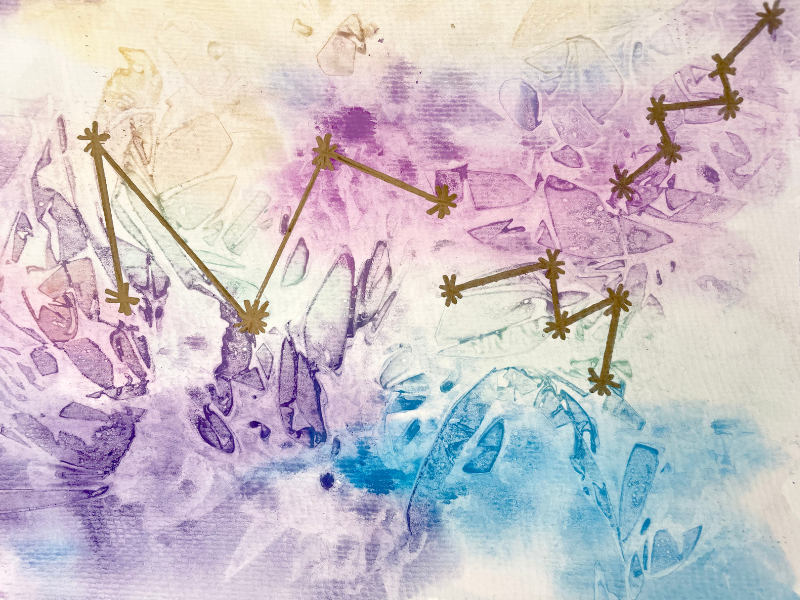
This is also a really cool way to make constellations and has become a favorite space art project.
It’s very simple: you paint with watercolors and then place scrunched up plastic wrap on the wet paint. The plastic wrap makes the paint dry in really cool geometric designs. You can extend the activity by doodling on and tracing the angled lines with metallic Sharpies or chalk markers.
Plastic Wrap Painting

MATERIALS
- Watercolor paper (or poster board or card stock)
- Watercolor paint
- Saran Wrap (Cling wrap, plastic wrap…)
- Metallic Sharpies, pens, or chalk markers
Time needed: 1 hour
INSTRUCTIONS
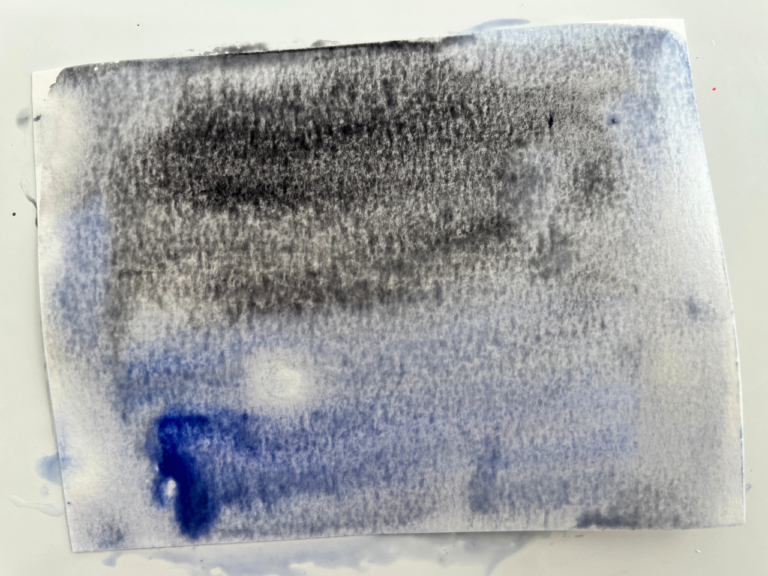
- Paint with watercolors
You’ll want to add lots of watercolor paint to your paper. The more wet watercolor paint there is, the better.
- Add Saran Wrap
Scrunch up some plastic wrap and apply it to the wet watercolor painting right away.
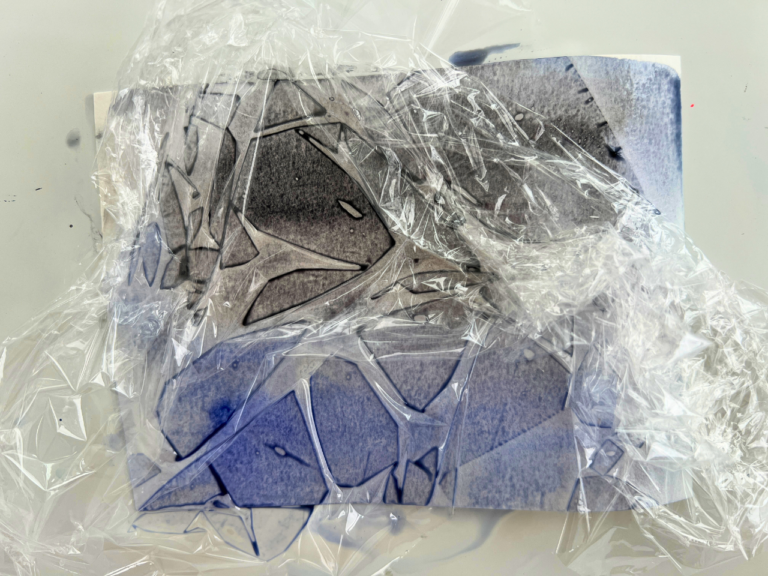
Or, as our kids like to do, apply a flat piece of plastic wrap then scrunch it up directly on the paper.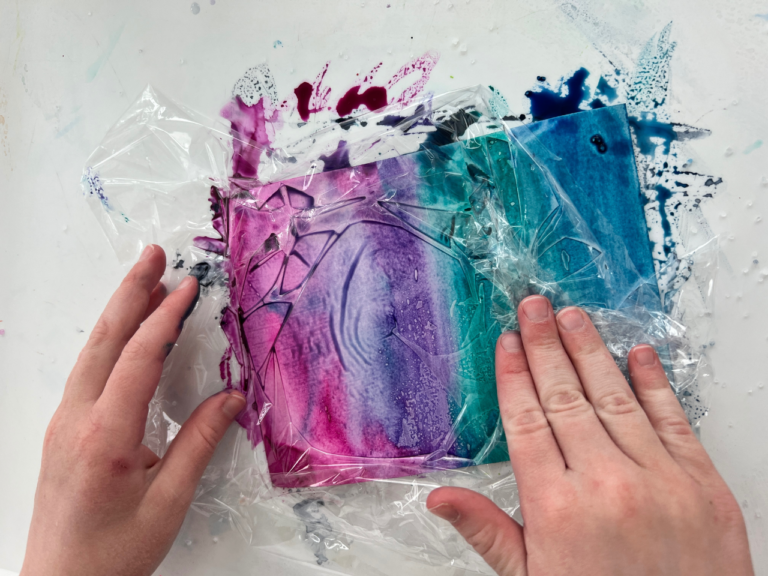
- Let dry then remove plastic wrap
Set the paintings aside to dry completely. Then lift the plastic wrap to reveal your new geometric watercolor art!
Some work better than others, so make a bunch.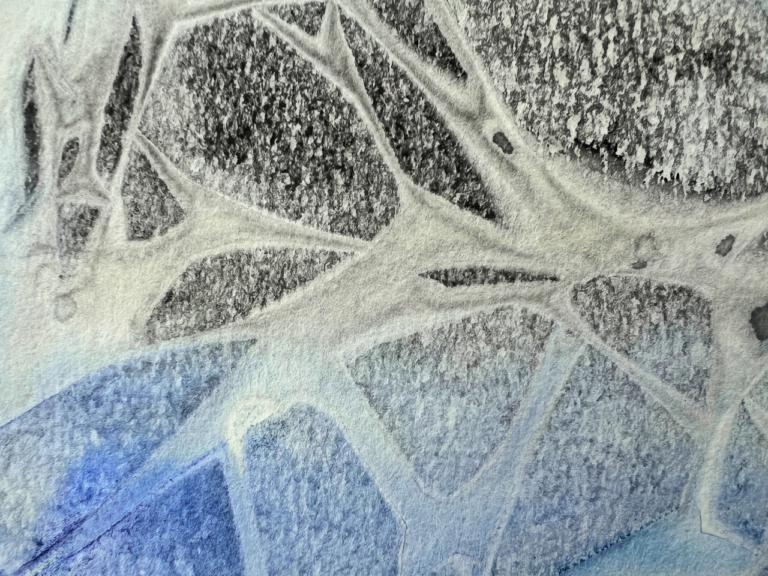
- Draw geometric designs
After making dozens of geometric watercolor art, we got out the pens and markers and doodled constellations on the paint.
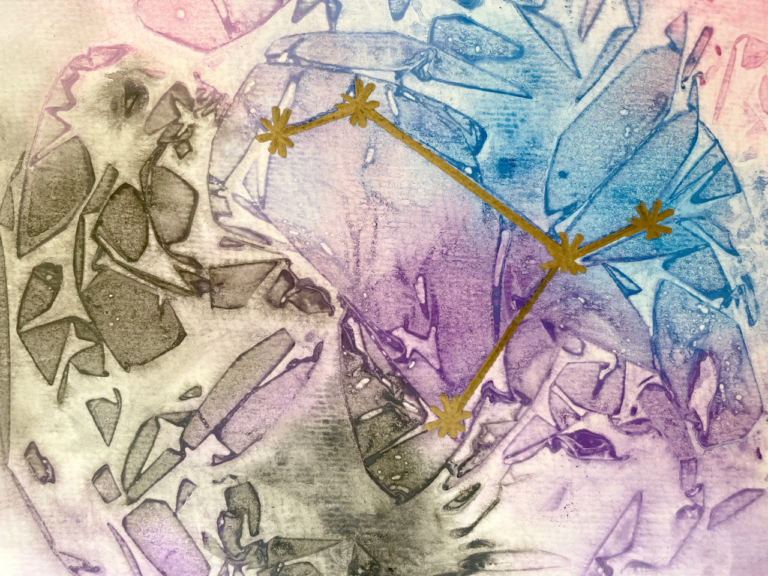
We love how these paintings look! We especially like the effect of the silver metallic Sharpies and the chalk markers.
More Fun Watercolor Ideas to Try
- 12 Awesome Watercolor Art Activities for Kids (+ A Free Printable Guide!)
- 7 Watercolor Techniques for Kids to Experiment With
- 5 Watercolor Resist Techniques to Try
- Watercolor Painting Ideas about Space
- How to Paint Butterflies with Liquid Watercolors
- How to Paint a Watercolor Geode
Pin It for Later


