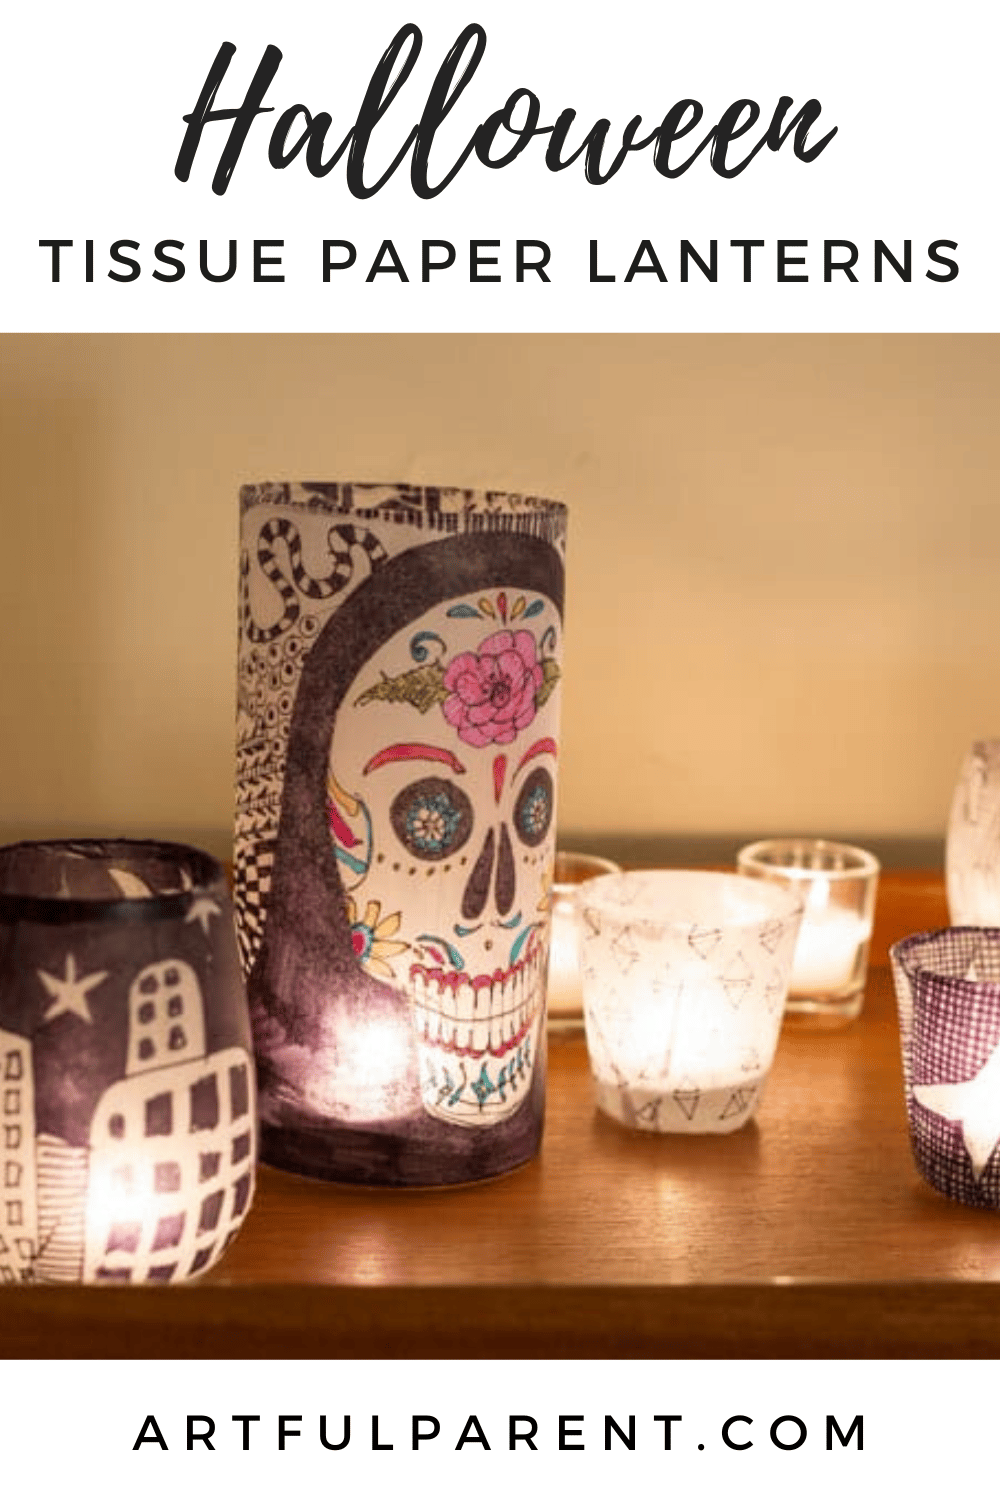
Try making these Halloween tissue paper lanterns for kids! Doodle designs, pictures, and zentangle patterns onto tissue paper and then glue to glass jars.
Updated August 2022
This fun DIY lantern project was inspired by some super cool DIY tissue paper lanterns on Alisa Burke’s site and we can’t get enough of them!
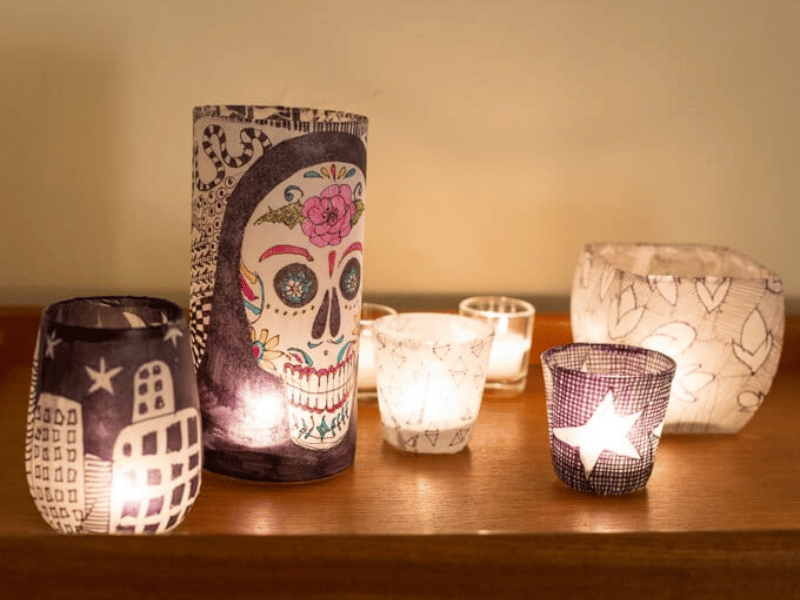
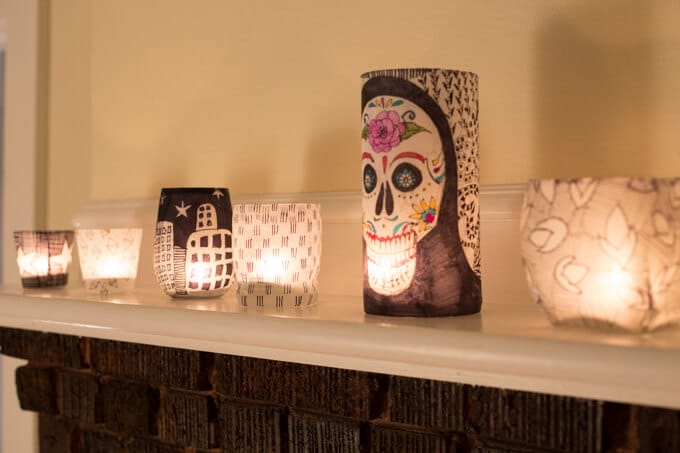
Especially at night, when they are all lit.
Warning. This project is addictive. Your kids will love it. YOU will love it! And you’re gonna want to make more than you think.
How to Make Halloween Tissue Paper Lanterns

MATERIALS
- White tissue paper (you can find this in the gift wrap section of stores)
- Permanent markers (we used Sharpies and Pilot rolling ball pens)
- Glass jars (votive holders, glasses, or jars from the recycle bin)
- Mod Podge
- Foam brushes
INSTRUCTIONS
- Gather your materials
We started this project using our own drinking glasses. But we were soon out of drinking glasses and wanted to make more and try different shapes, so we went to the thrift store and picked up a box full of glass jars, votive holders, and glasses to use for this project.
Gather your pens, tissue paper, glasses, glue and brushes.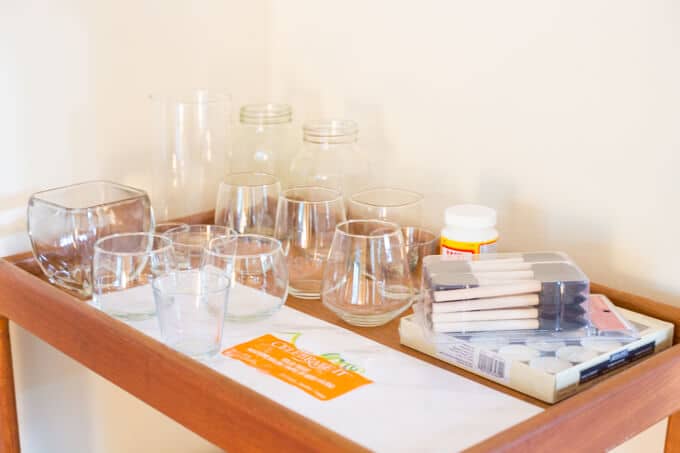
- Cut tissue paper
Then, cut a piece of tissue paper to fit around your glass jar.
- Doodle!
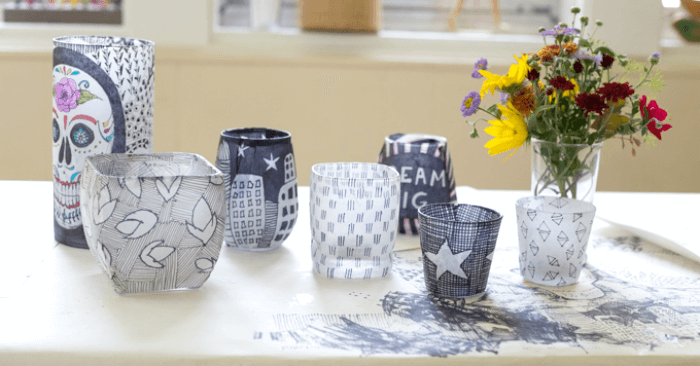
Draw and doodle on your tissue paper with permanent markers. You can go black and white or color. They both look awesome on these lanterns.
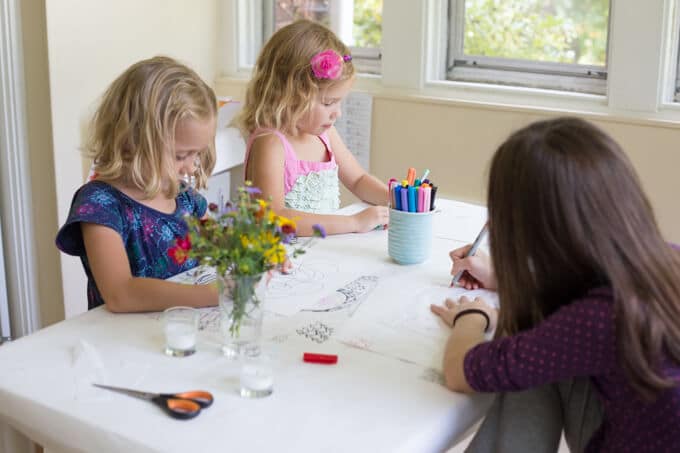
Tip: Protect your work surface with a tray, placemat, or piece of paper. The marker will bleed through the tissue paper.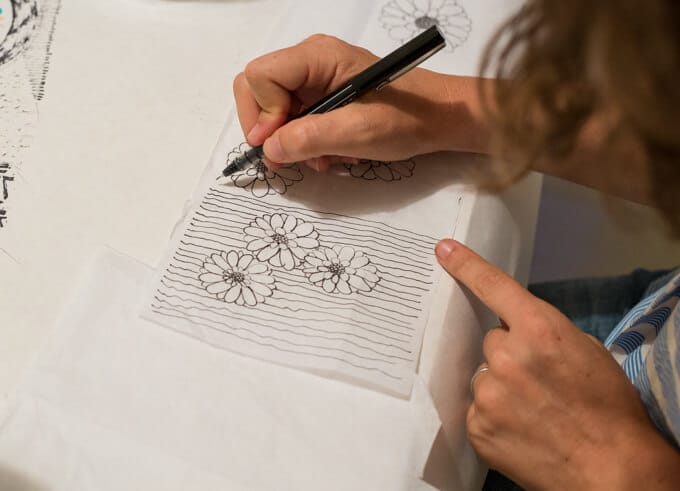
- Add Mod Podge
Brush a layer of Mod Podge on the outside of your glass jar then carefully wrap the tissue paper around the jar. Add another layer of Mod Podge over top if desired.
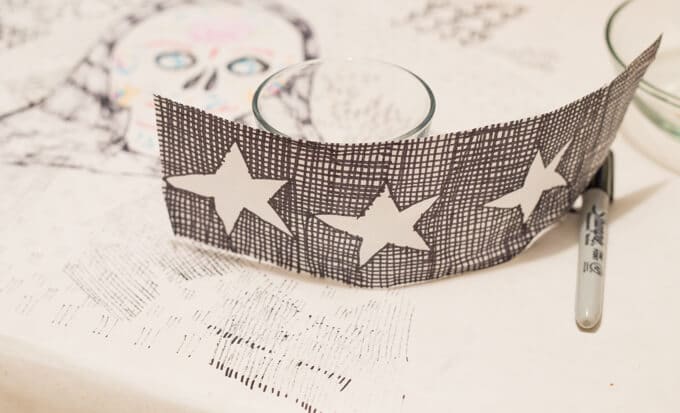
Note: If your jar is curved at all, you will have to pleat or overlap areas of your tissue paper as you Mod Podge it on to make it fit the shape.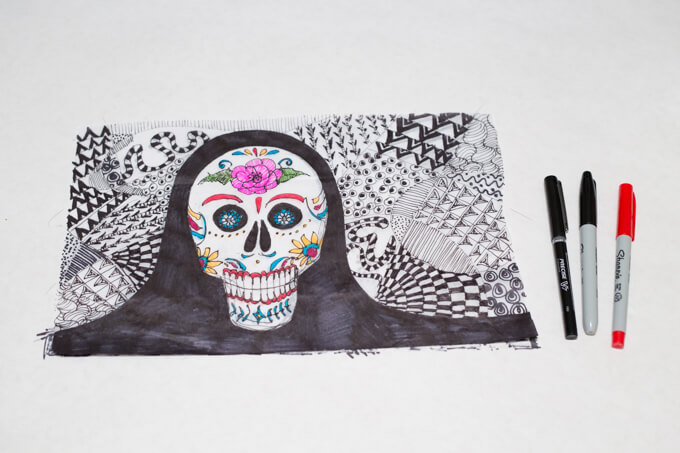
Let dry completely. - Add light!
Finally add a tea light or votive candle and enjoy your beautiful new tissue paper lantern!
More Halloween Art Ideas for Kids
- How to Create a Hanging DIY Lantern (& Ideas for a Candlelit Nature Walk)
- How to Get a Lite Brite Pumpkin Effect for Your Jack-O’-Lantern
- 13 Awesome Halloween Craft Ideas for Kids
- 31 Days of Halloween Activities for Kids (with Free Printable!)
- How to Make Easy Halloween Potato Prints for Kids
- How to Make a Cardboard Halloween House
Want even more Halloween fun?
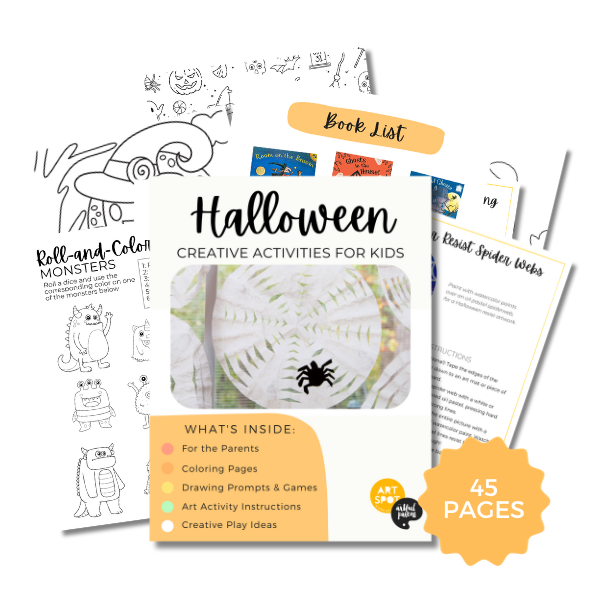
Check out our Halloween Creativity Pack!
This 45-page printable eBook is full of seasonal coloring pages, drawing prompts, games, and art projects. It’s the simplest way to enjoy an October full of creativity!
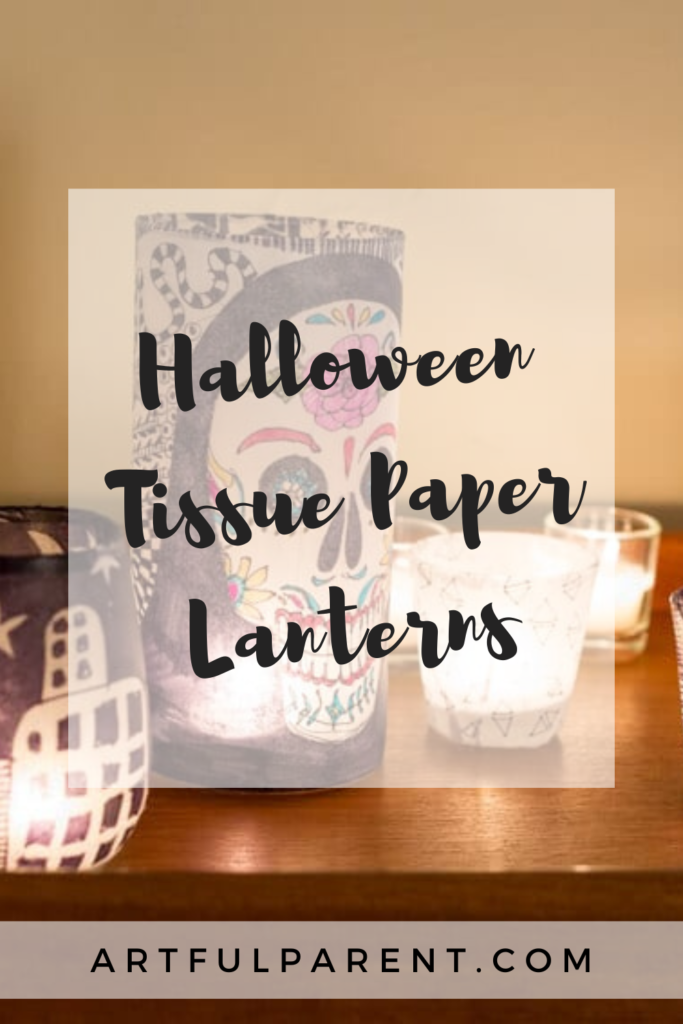
Pin It for Later