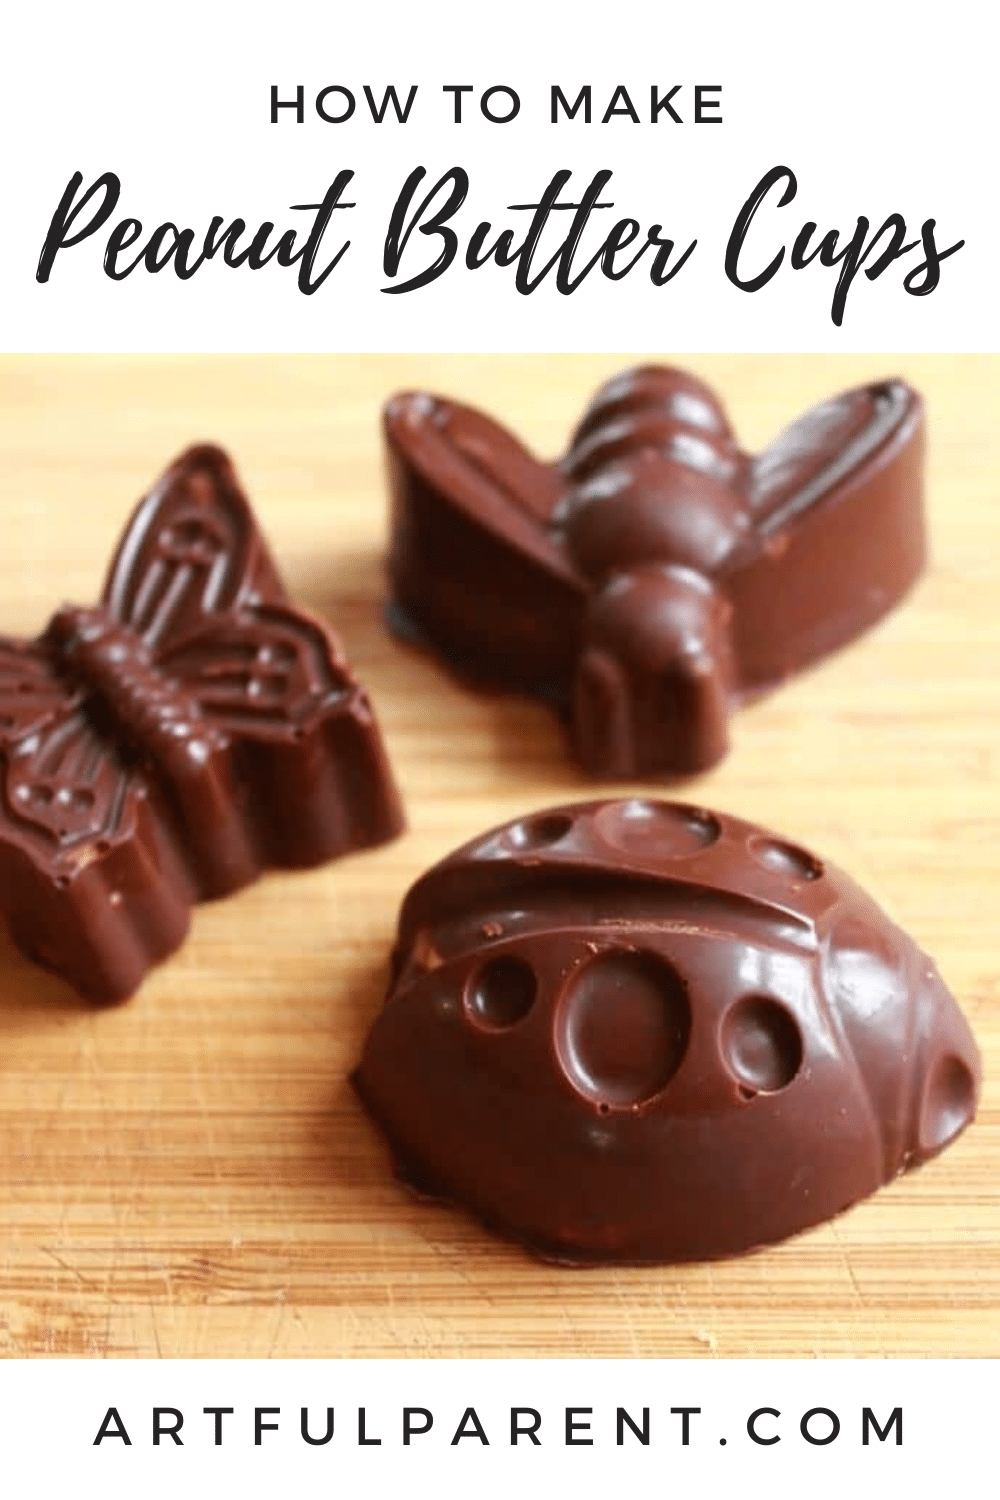
Learn how to make peanut butter cups in silicone molds for shaped treats. This peanut butter cup recipe is easy enough for kids to make and so delicious!
Updated March 2022
Given our love of peanut butter playdough, peanut butter nest snacks, and peanut butter cups, we thought we ought to try to make an Easter version of the divine combination of chocolate and peanut butter.
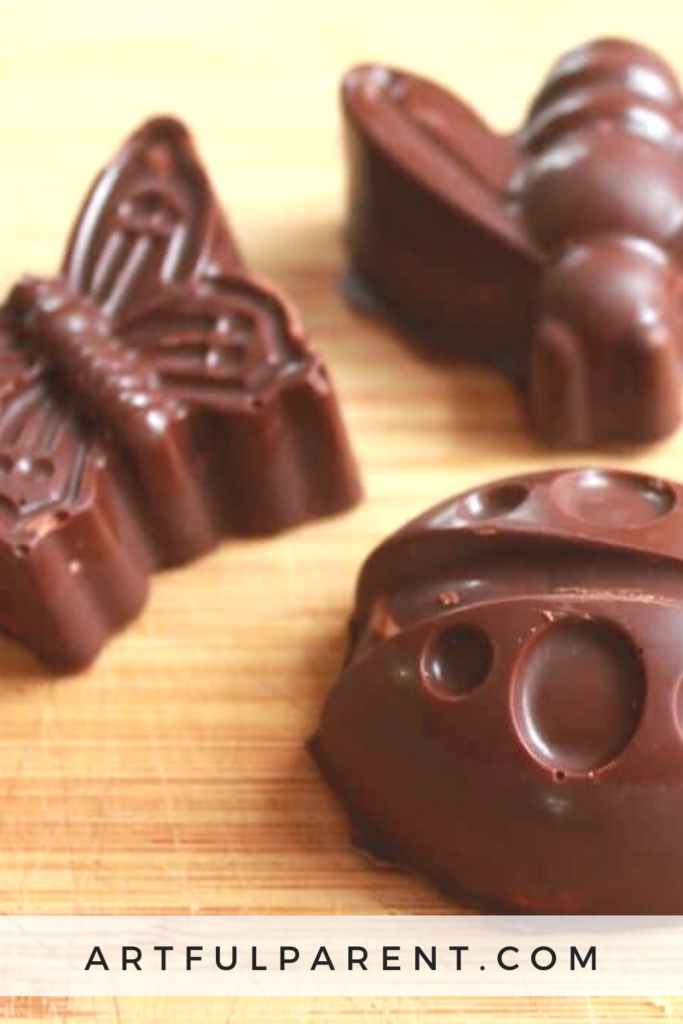
We came across a silicone mold that seemed perfect for the job. This one has butterflies, dragonflies, ladybugs, and bees—lovely and perfect for springtime!
This recipe is super easy and fun for kids to help make.
How to Make Peanut Butter Cups
MATERIALS
- Silicone baking mold (any mold will work; we love this springtime animals one!)
- 1 1/2 cups peanut butter (we used creamy)
- 1 cup powdered sugar
- 1/2 teaspoon sea salt
- 2 bags chocolate chips (we used semi-sweet)
- 1-2 tablespoons coconut oil (optional)
INSTRUCTIONS
- Make peanut butter center
Mix the peanut butter, powdered sugar, and salt in a food processor. Set aside.
- Coat mold with chocolate
Melt chocolate chips in a double boiler with the coconut oil. Add a layer of chocolate to the bottom of each silicone mold cavity then place in fridge until hardened.
Note: If you don’t harden this chocolate first before proceeding, the peanut butter will displace the melted chocolate and you’ll end up with peanut butter bits showing through the chocolate coating as we did with our first batch. Still completely delicious, but not as gift-giving worthy… - Add chocolate to the sides of the mold
When that first layer of chocolate has hardened, remove from fridge, and add another layer of the melted chocolate, this time pulling it up the sides of the silicone mold cavities with a spoon.
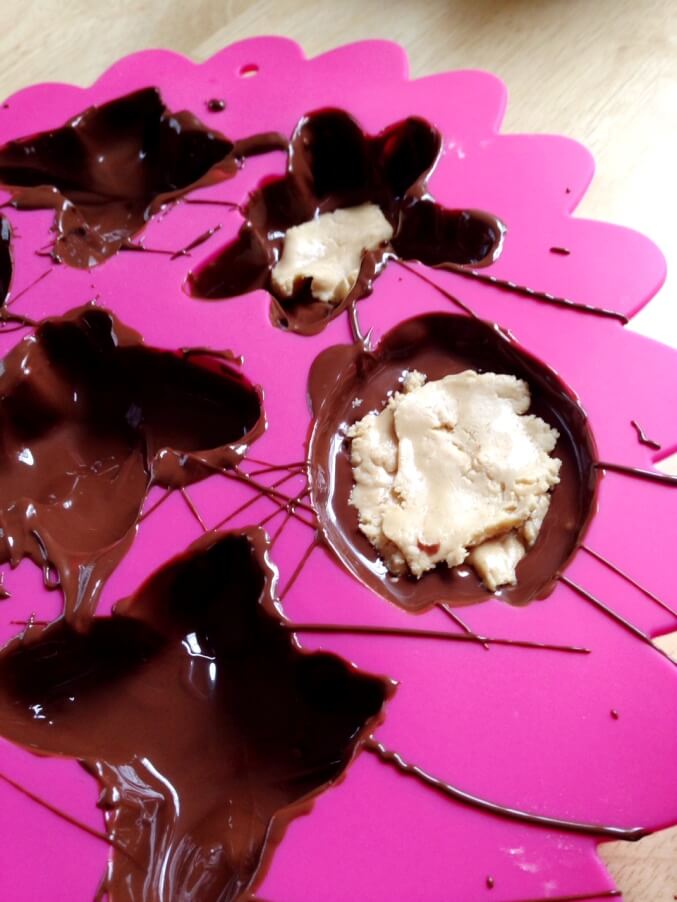
- Add peanut butter mixture
Next, add the peanut butter mixture to the molds by the spoonful (you want to fill them most of the way to the top).
- Cover with more chocolate!
Spoon the rest of the chocolate over the top of the peanut butter.
Chill in fridge until hardened.
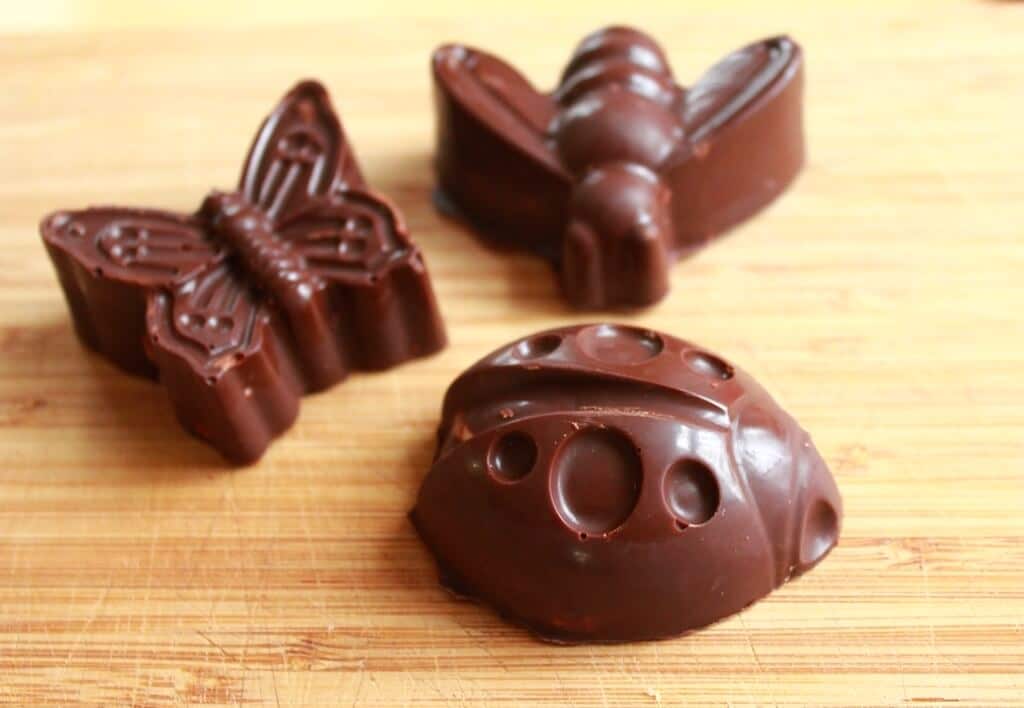
Once your peanut butter cups are completely hard, pop them out of the silicone molds.
Don’t forget to do a taste test. And maybe another…
PRINTABLE RECIPE
Print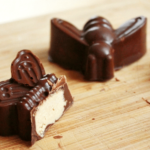
Homemade Peanut Butter Cups
- Yield: 16 1x
- Category: Dessert
Description
Learn how to make peanut butter cups in silicone molds for shaped treats. This peanut butter cup recipe is easy enough for kids to make and so delicious!
Ingredients
- 1 1/2 cups peanut butter (we used creamy)
- 1 cup powdered sugar
- 1/2 teaspoon sea salt
- 2 bags chocolate chips (we used semi-sweet)
- 1–2 tablespoons coconut oil (optional)
- Silicone baking mold*
Instructions
- Mix the peanut butter, powdered sugar, and salt in a food processor. Set aside.
- Melt chocolate chips in a double boiler with the coconut oil. Add a layer of chocolate to the bottom of each silicone mold cavity then place in fridge until hardened.
- Note: If you don’t harden this chocolate first before proceeding, the peanut butter will displace the melted chocolate and you’ll end up with peanut butter bits showing through the chocolate coating as we did with our first batch. Still completely delicious, but not as gift-giving worthy…
- When that first layer of chocolate has hardened, remove from fridge, and add another layer of the melted chocolate, this time pulling it up the sides of the silicone mold cavities with a spoon.
- Add the peanut butter mixture to the molds by the spoonful (you want to fill them most of the way to the top).
- Spoon the rest of the chocolate over the top of the peanut butter.
- Chill in fridge until hardened.
Notes
*Any silicone baking mold will work
These are seriously good! And seriously easy!
More Springtime Treats to Make with Kids
- Edible Spring Nests: A Creative Easter Snack for Kids
- The Best Cherry Pie Recipe Ever
- Spring Cake Decorating Ideas: Birds Nest Cake with Ice Cream Eggs
- Raspberry Lemon Cream Cheese Coffee Cake
Want even more creative ideas?
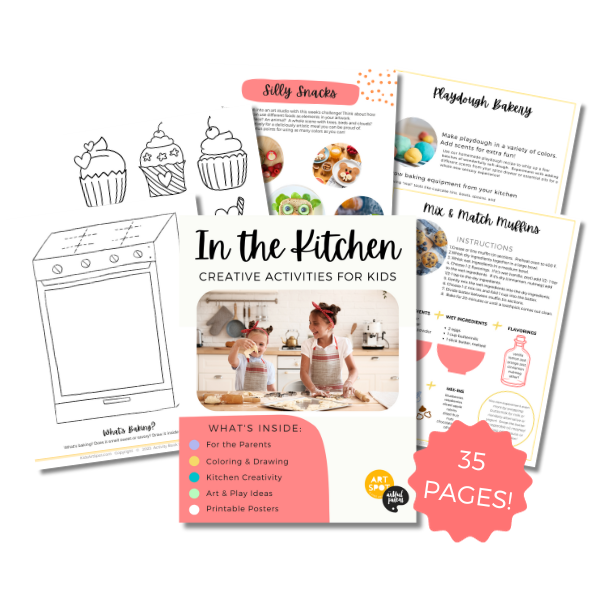
Check out our Cooking Creativity pack!
Have a budding chef in the family? This 35-page eBook is ready for immediate download and includes a Family Meal Planner, Tips & Tricks, Easy Recipes, and more!
Pin It for Later