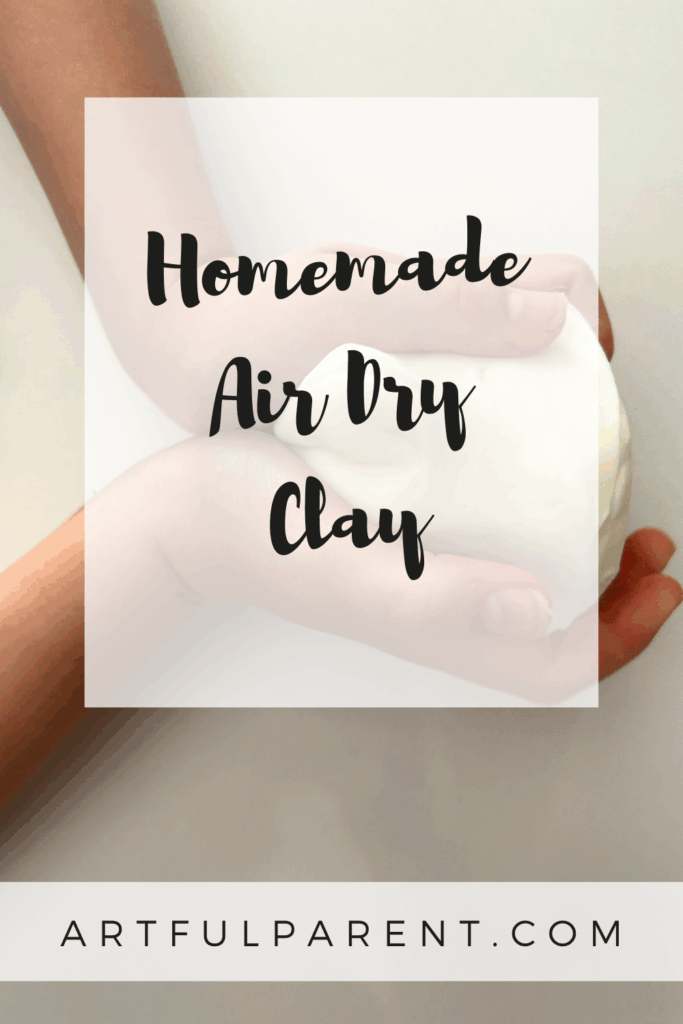
Learn how to make homemade air-dry clay with just 4 inexpensive ingredients! This easy recipe is perfect for all kinds of crafting fun.
Updated August 2025
Kids of all ages love the sensory experience of exploring art through clay, and we’re always on the hunt for great new recipes to try. We love how this homemade version of air-dry clay uses inexpensive ingredients and results in a product that’s silky smooth and easy to work with.
Mix up a batch of air-dry clay today, and watch your kids enjoy hours of fun sculpting, squishing, rolling, and playing!
How to Make Your Own Air-Dry Clay

MATERIALS
- 1 cup white glue
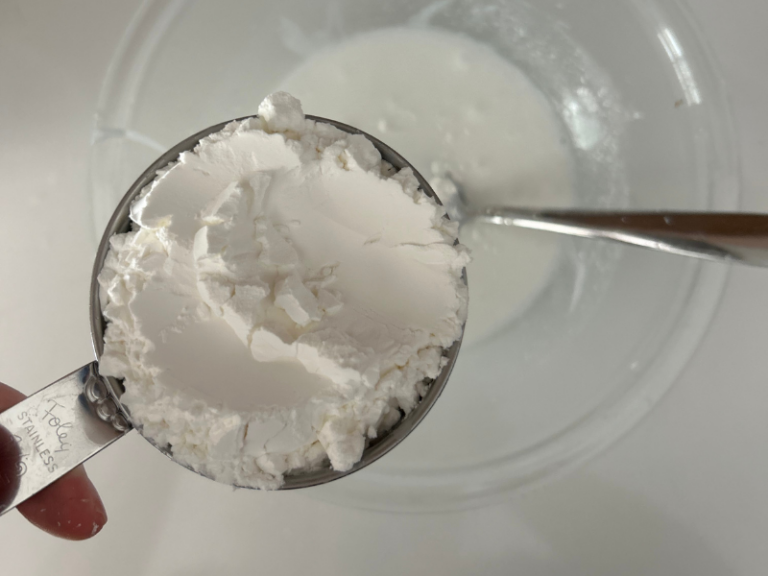
- 1 cup cornstarch
- 2 tablespoons vinegar
- 2 tablespoons oil (a clear oil like baby or coconut works best)
- Food coloring or liquid watercolors (optional)
INSTRUCTIONS
- Mix the ingredients
Combine the glue, vinegar, and oil in a medium mixing bowl and stir until well combined. Add the cornstarch and mix well.
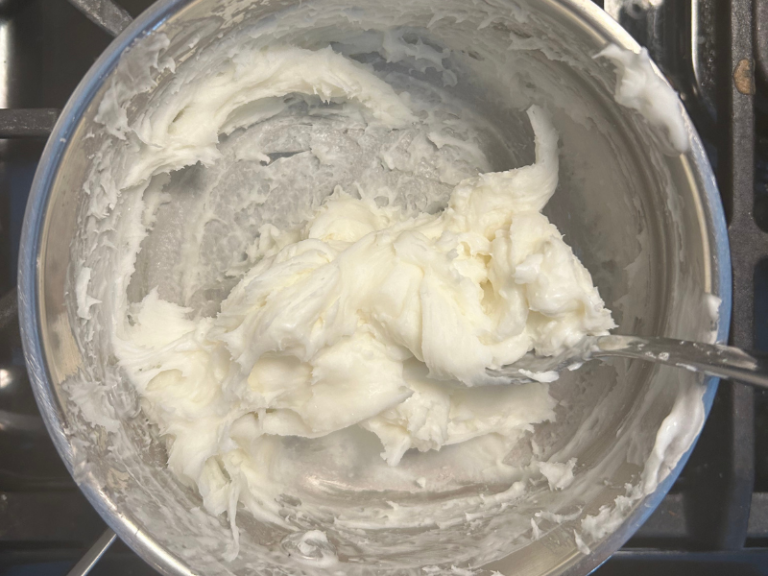
- Cook
Pour your mixture into a small saucepan and cook over low heat until it starts to resemble smooth mashed potatoes (this can take up to 10 minutes).
- Let cool
Let the mixture rest off of the heat until cool enough to handle.
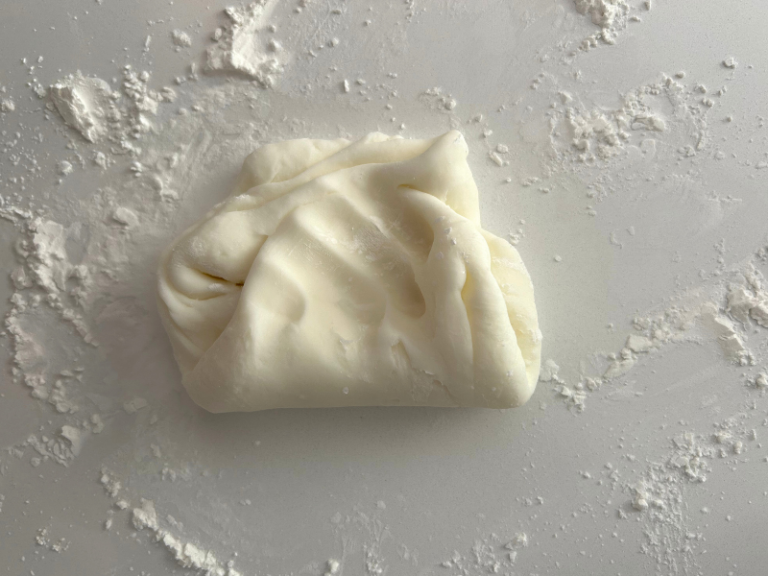
- Knead the clay
Transfer the clay onto a surface lightly dusted with cornstarch and knead well for several minutes until it loses its stickiness and becomes smooth and pliable.
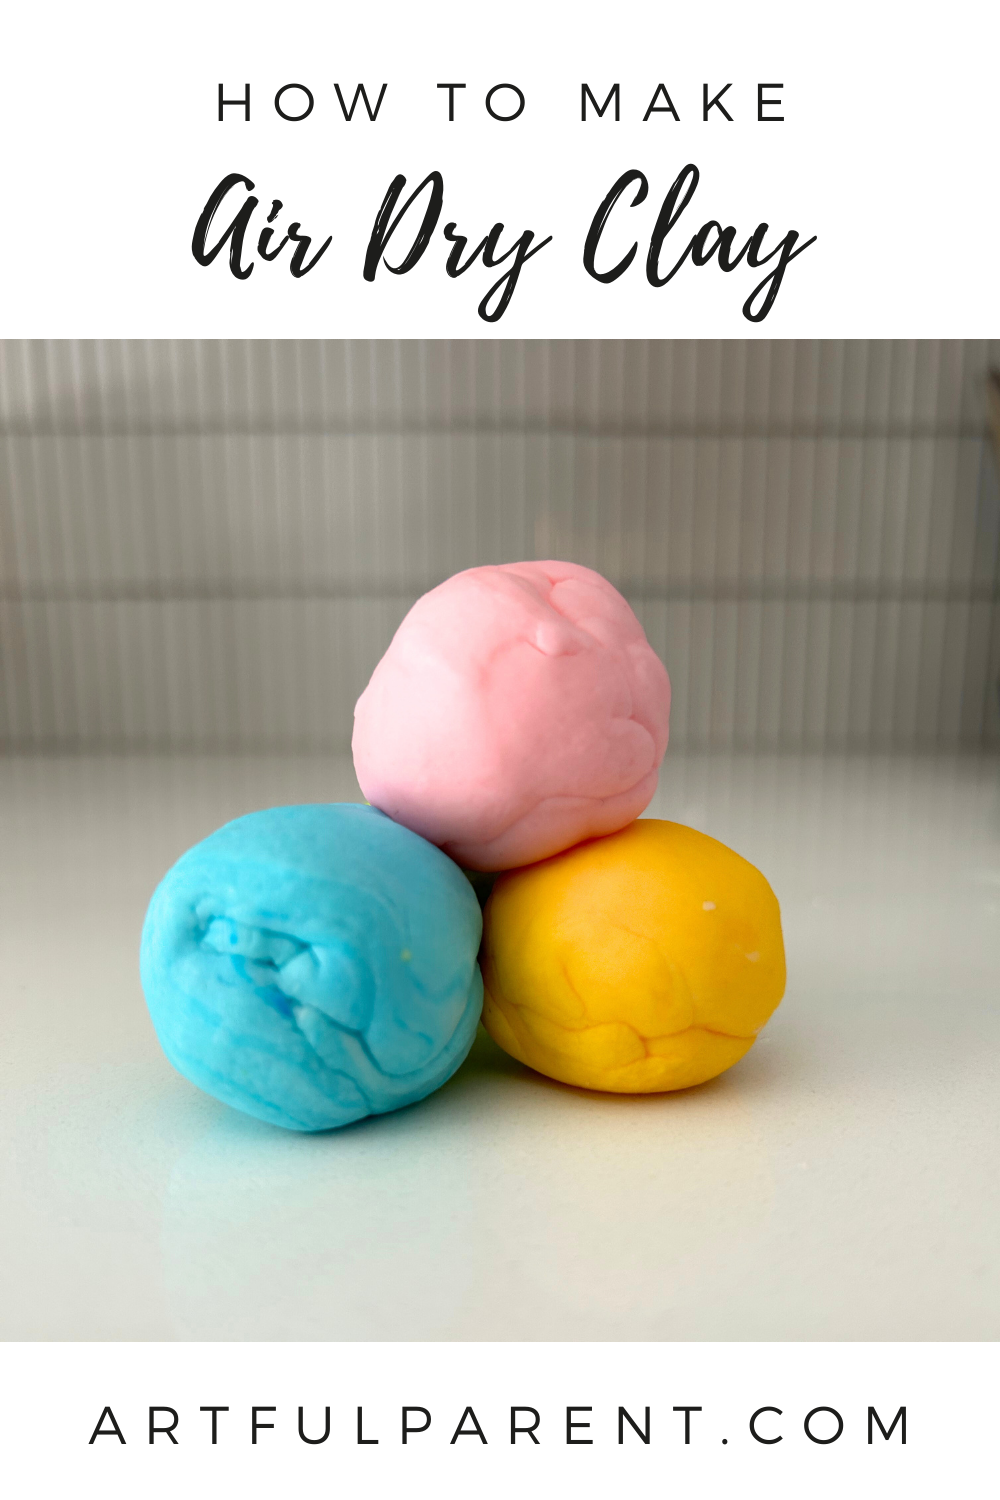
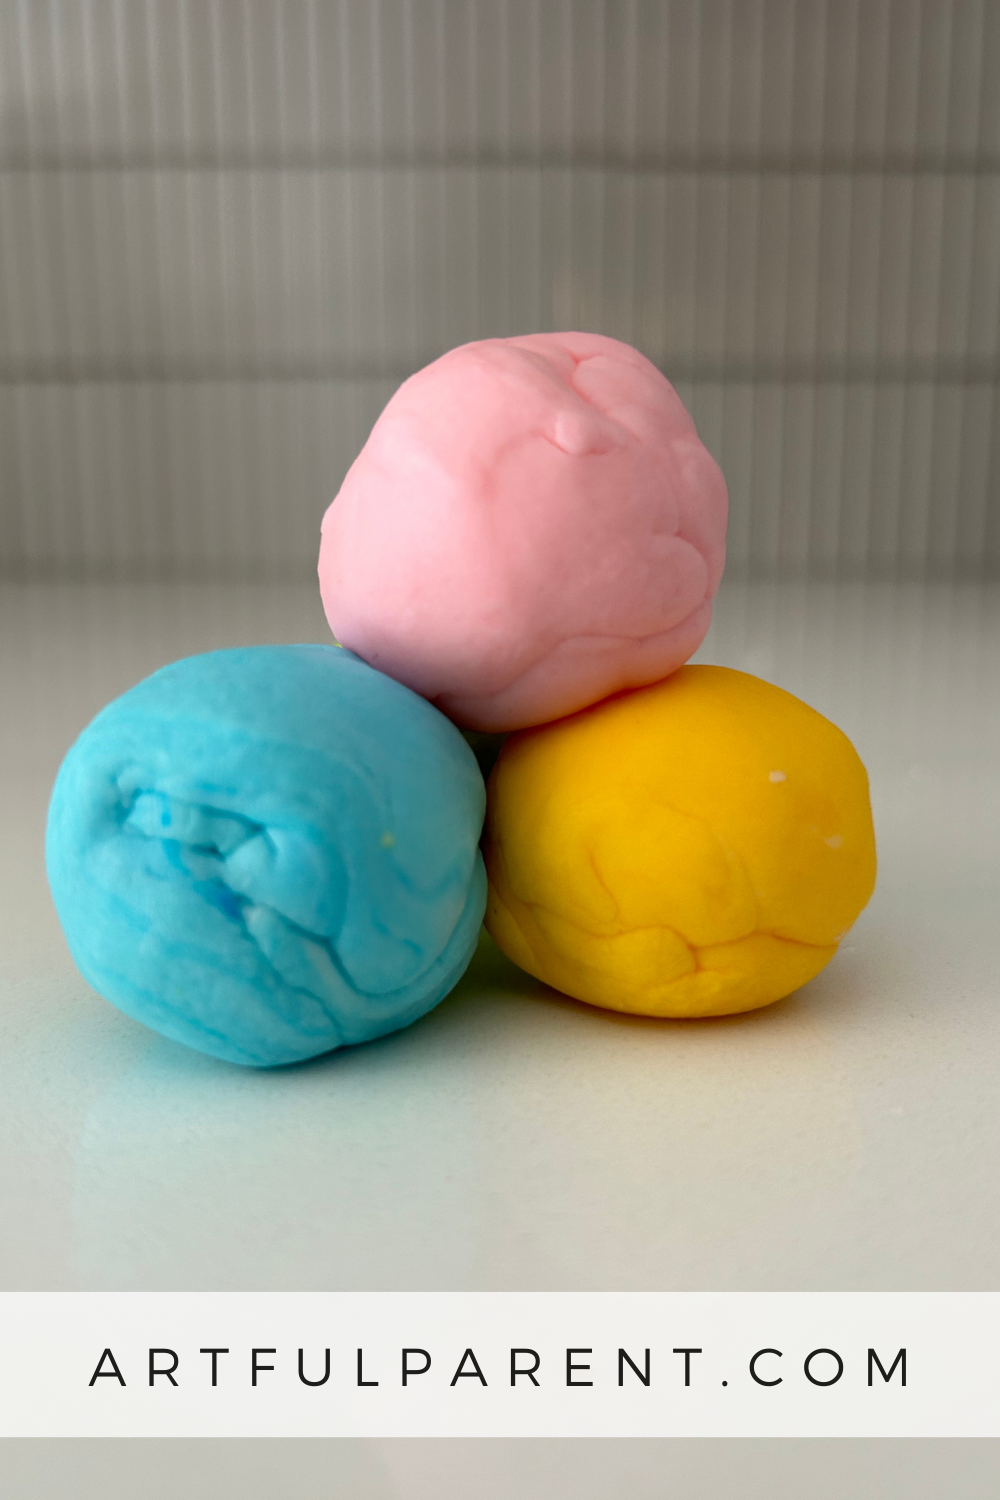
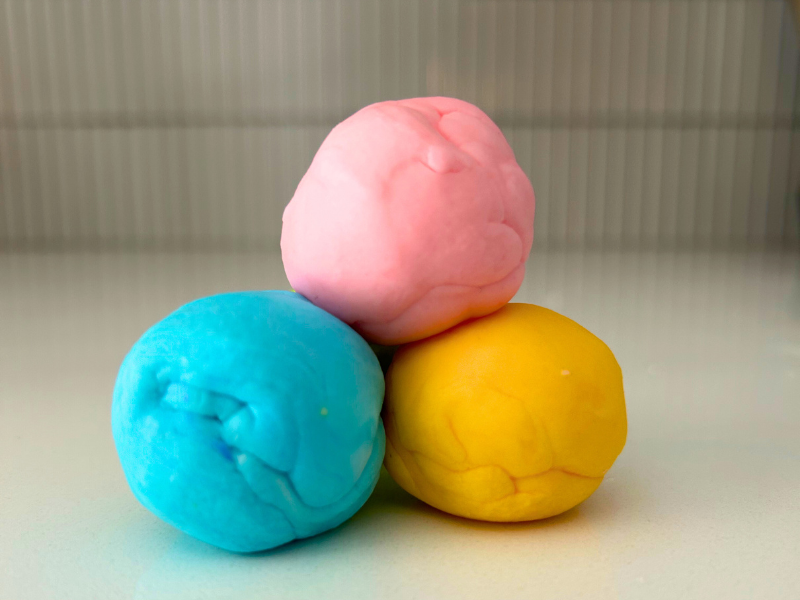
- Add color
You can use food coloring or liquid watercolor paints to create rainbow of colored clay! Simply divide clay into sections, add a few drops of coloring, and knead well.
Tip: Use plastic gloves if you’re worried about messy hands.
- Create and play!
Use this air-dry clay to create cute magnets, pinch pots, or ornaments. Let clay pieces dry completely before adding paint or other decorative elements.
You can add a coat of clear nail varnish for extra shine and protection.
Wrap leftover air-dry clay in cling wrap and store in an airtight container at room temperature for up to two weeks.
Print out this easy recipe and keep it on hand any time you need it:
Print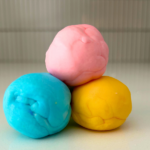
How to Make Air Dry Clay
Description
Use this recipe to create your very own soft and pliable air dry clay
Ingredients
- 1 cup white glue
- 1 cup cornstarch
- 2 tablespoons vinegar
- 2 tablespoons oil
- Food coloring or liquid watercolors (optional)
Instructions
- Mix the ingredients: Combine the glue, vinegar, and oil in a medium mixing bowl and stir until well combined. Mix in the cornstarch.
- Cook: Pour your mixture into a small saucepan and cook over medium heat until it starts to pull away from the sides and resemble mashed potatoes.
- Let cool until it’s safe to touch
- Knead: Transfer the clay onto a surface lightly dusted with cornstarch and knead well for several minutes until it loses its stickiness and becomes smooth and pliable.
- Add Color: Divide clay into sections and add a few drops of food coloring to each one. Knead well.
- Create and play!
Notes
- Cook clay in a well-ventilated area and take care not to burn
- Wrap in cling wrap and store in an air tight container to prevent clay from drying out
- Store at room temperature for up to two weeks
More Fun with Clay
- 15 Amazing Clay Projects for Kids
- How to Make Stamped Salt Dough Ornaments
- How to Make Ornaments with Sparkly Glass Beads
- How to Make Clay Leaf Prints
- How to Make a Clay Pinch Pot Keepsake
- How to Make Clay Coil Pots
Pin It for Later