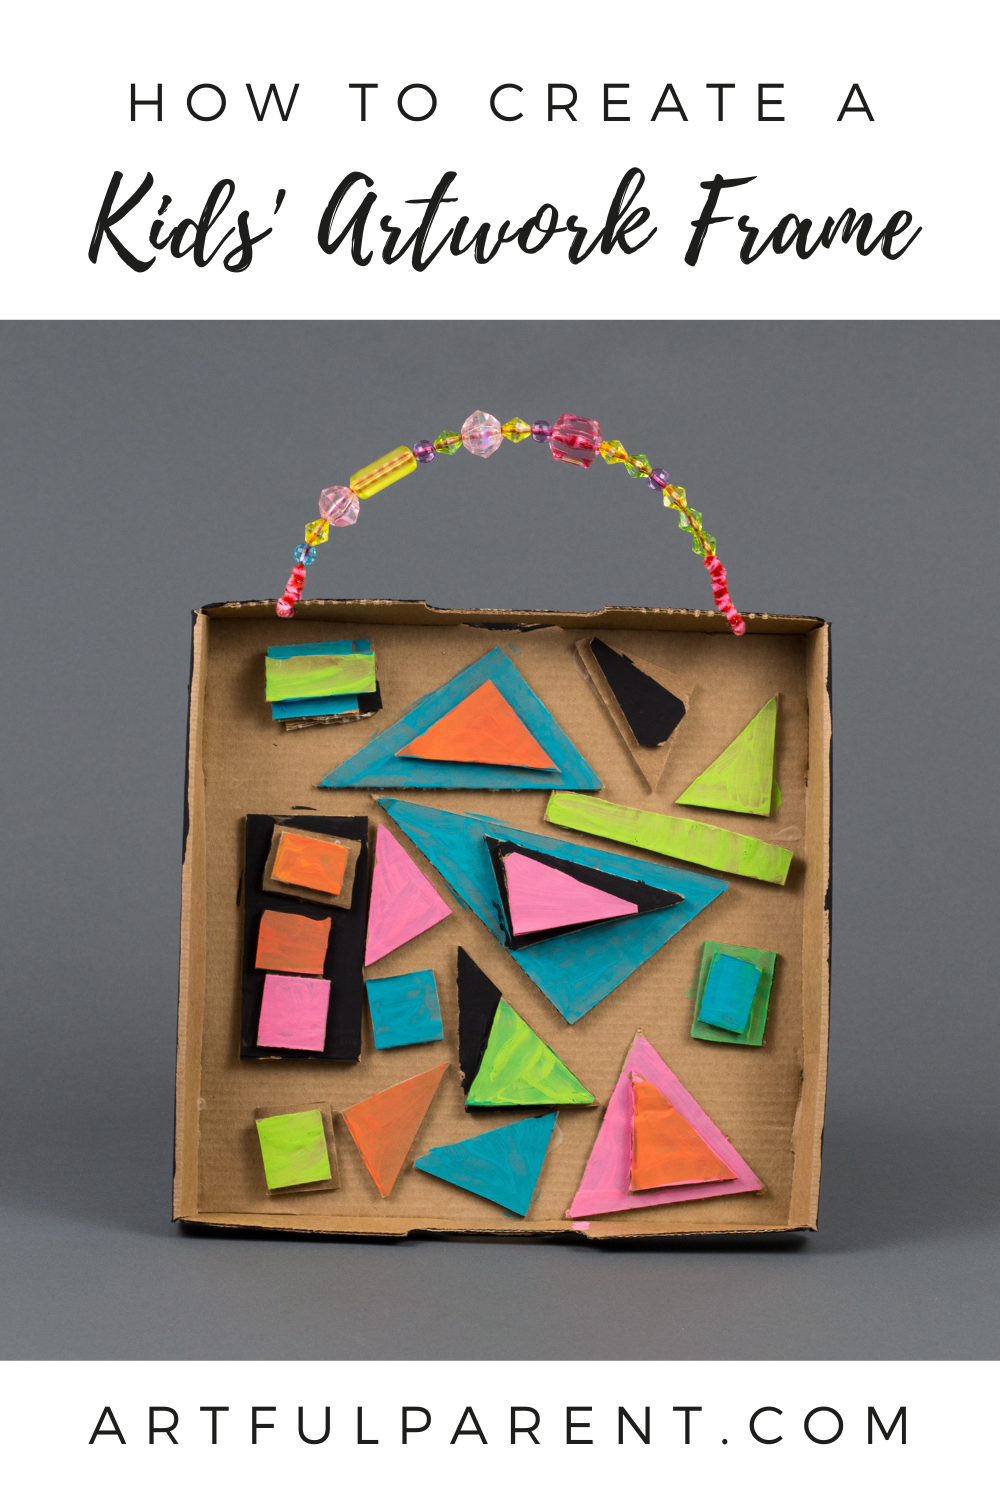
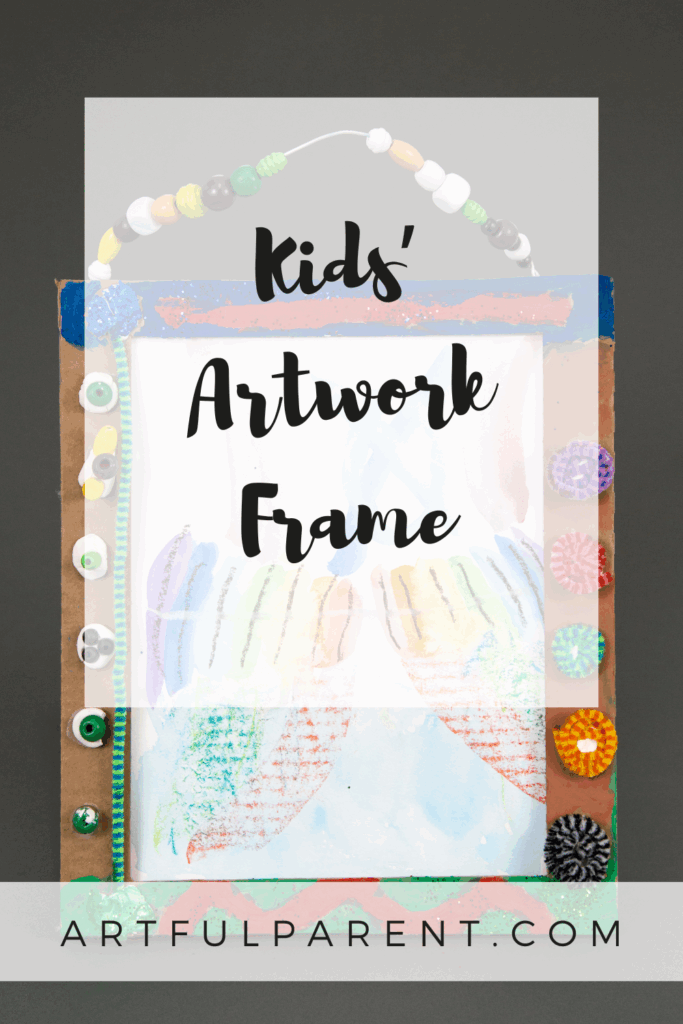
Learn how to create a kids’ artwork frame with cardboard, paint sticks, wire, and beads. These make a lovely gift or way to display kids’ art!
Updated July 2025
We like to encourage our kids to make handmade gifts for family and friends. Sometimes it’s home baked treats, sometimes it’s art, sometimes it’s playdough snowmen, sometimes it’s a gift we craft together.
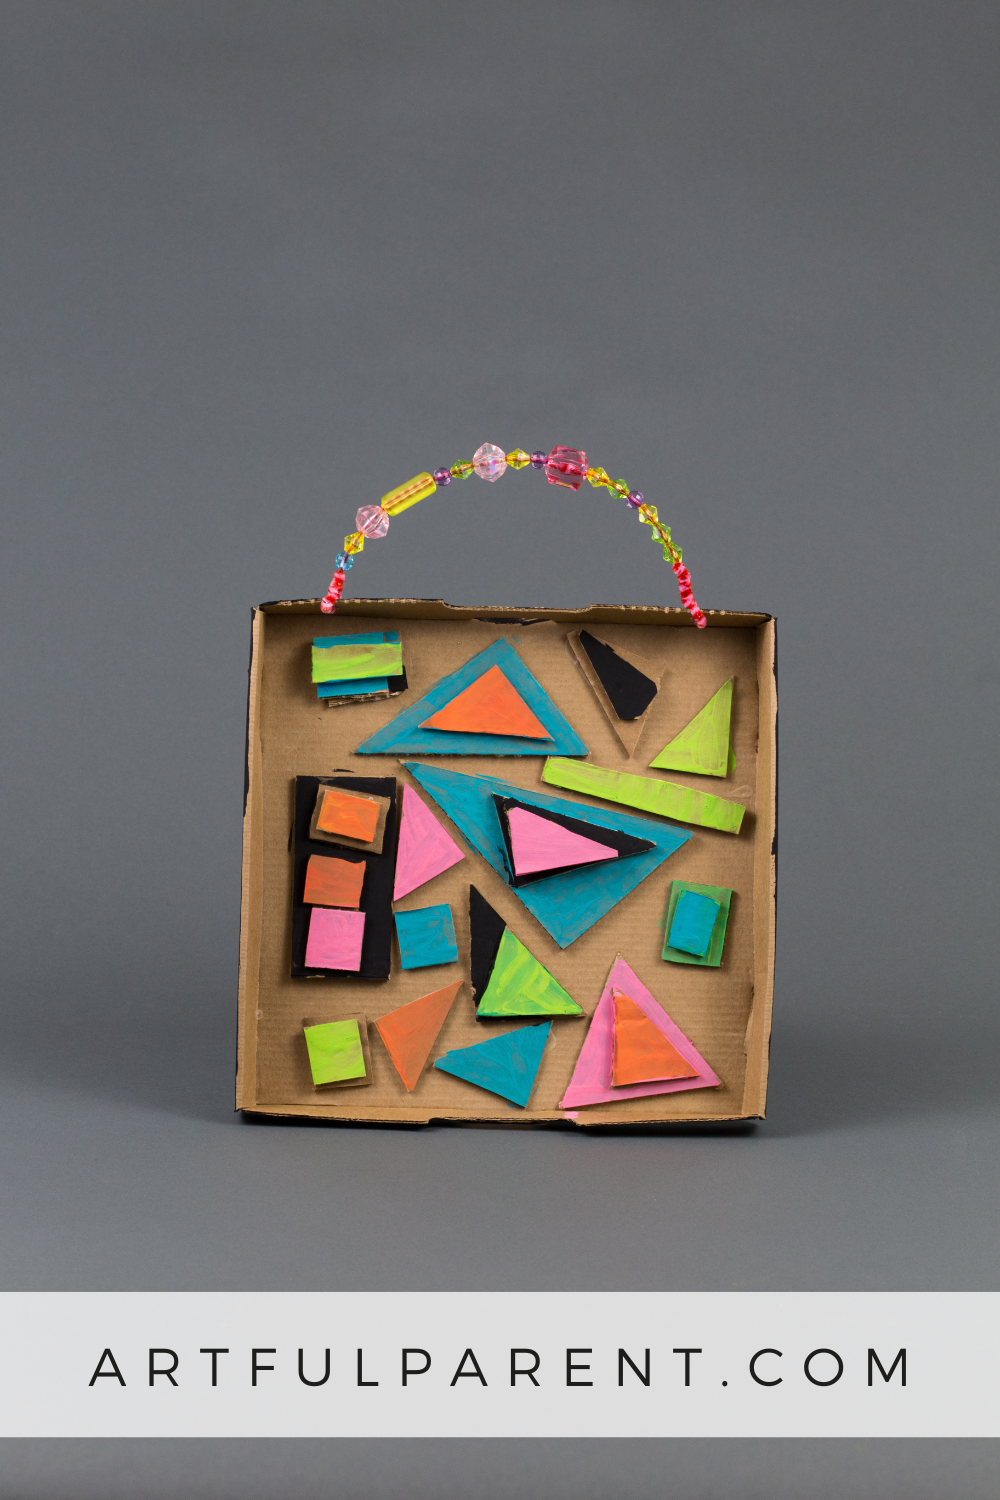
We especially love these recycled cardboard kids’ artwork frames with vibrant colors and beaded handles.
If you’re looking for a handmade gift idea, this is a sweet one for the kids to make for family, teachers, and friends. These frames also make a great addition to a home art gallery!
How to Make a Kids’ Artwork Frame
 MATERIALS
- Cardboard
- Utility knife, such as an X-Acto
- Paper
- Tempera paint sticks
- Markers or pencils
- Flexible wire (we used 18 gauge)
- Beads
- Hot glue gun
INSTRUCTIONS
- Get your materials prepped
First, have an adult use a utility knife to cut two pieces of cardboard into matching rectangles or squares. Any size is fine. We made ours roughly the size of a sheet of paper. One will be the back of the frame and one will be the front.
Then, cut out the center of the top piece of cardboard. We traced a ruler onto the cardboard for an even frame of about 1 1/4 inches wide.
Slip a piece of art paper between the two pieces of cardboard and trim it to fit.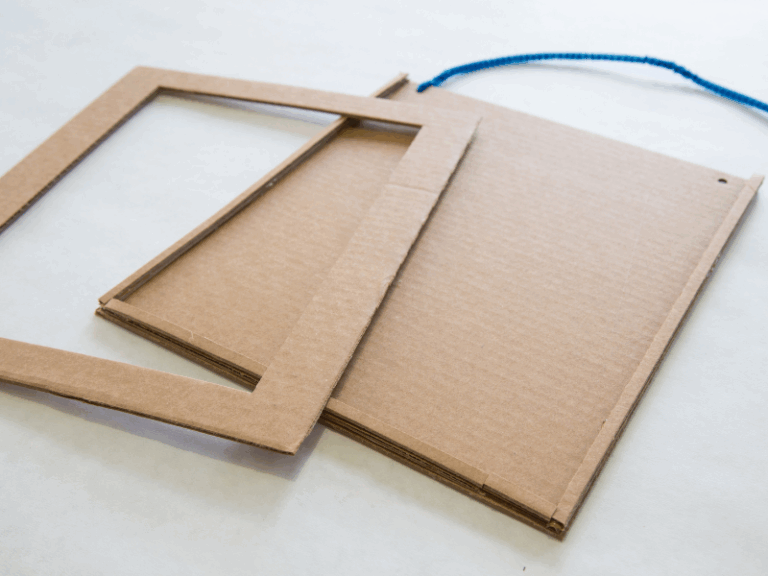
Set up your art-making station with the frames, paper, drawing tools, and paint sticks. - Draw and paint your picture
You can make your picture anything you want! You can use the paint sticks to add color.
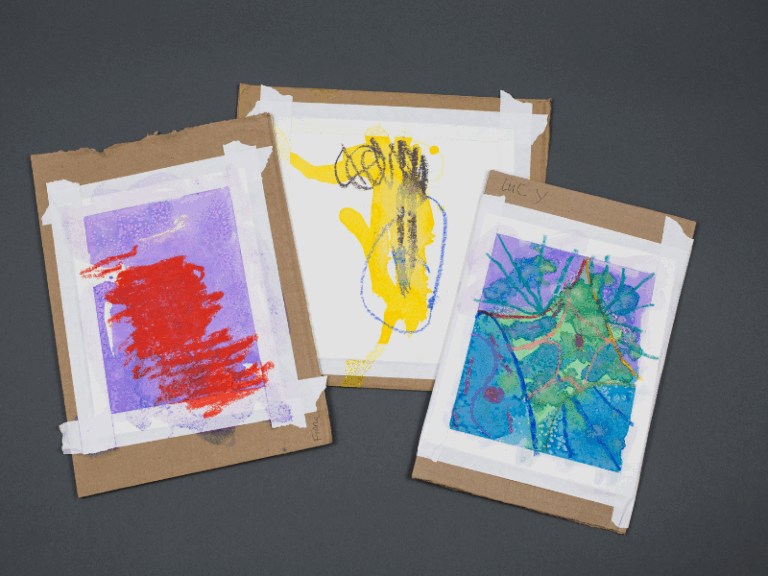
Or you can use permanent markers on top of the paint sticks!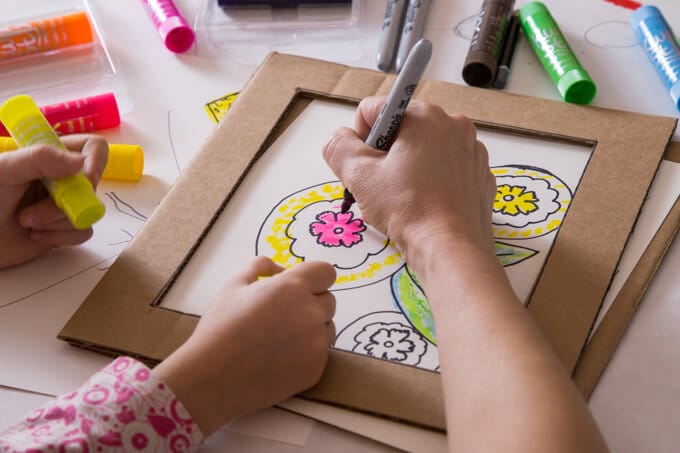
- Decorate your frame
Once you’ve finished your artwork, it’s time to decorate your frame! We liked adding a pattern of colors around the edge.
- Make your beaded handle
To create the hanging and carrying handle on your framed artwork, punch two holes at the top of the cardboard back. Slip a length of flexible wire through one, wrapping the end around itself to secure it.
String beads along the wire, leaving enough room at the end to wrap it through the second hole.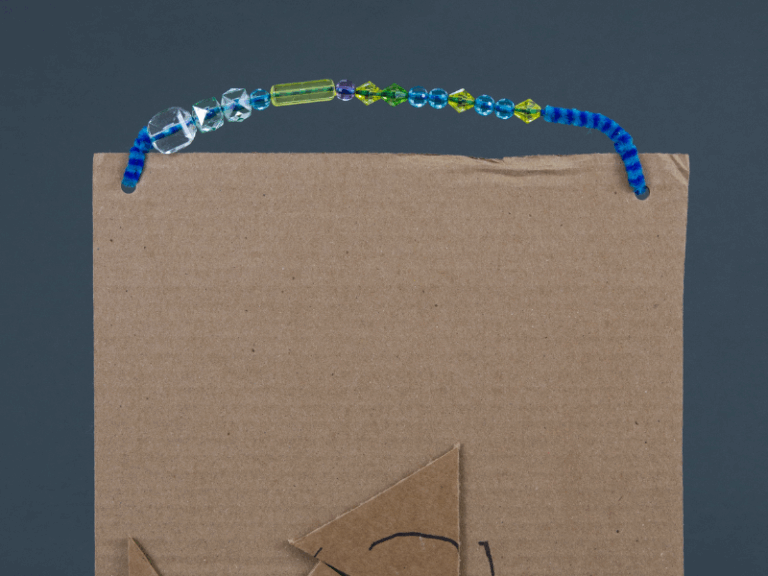
- Put your frame together!
Now it’s time to glue the three layers together—the cardboard backing (with the beaded handle), the paper artwork, and the decorated cardboard frame front.
We used a hot glue gun, but you could easily use most other glues if you’re more patient about drying time.
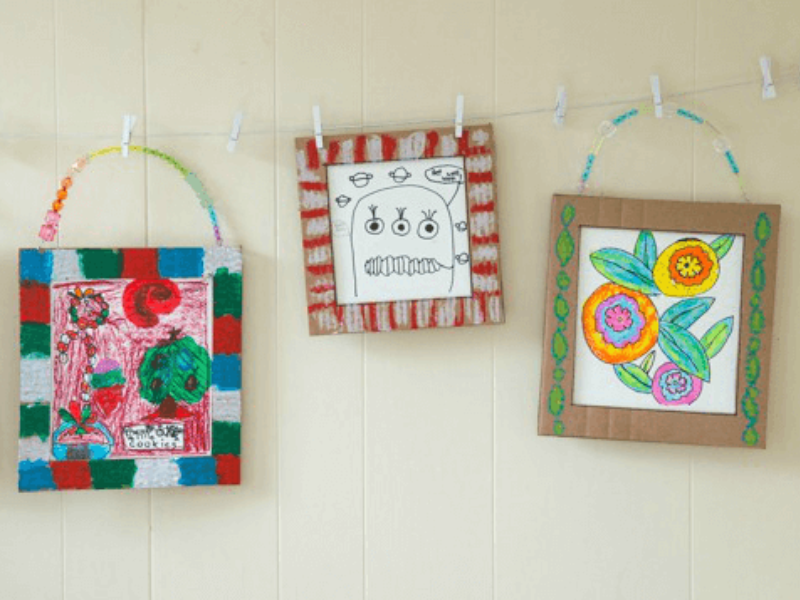
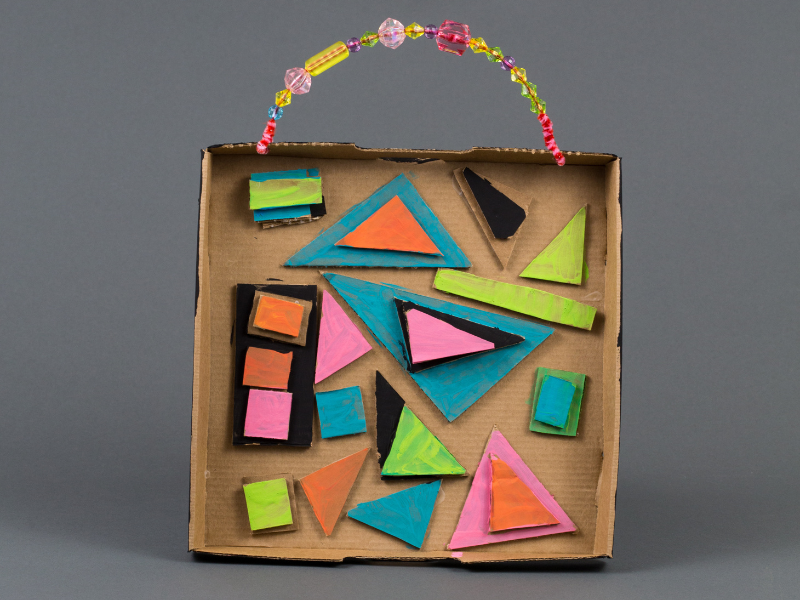
Finally, admire your new DIY cardboard frame and artwork. These are so perfect to give as a gift! Or as a sweet way to display your kids’ artwork.
More Ways to Display Kids’ Artwork
- 21 Kids’ Artwork Display Ideas for Your Home
- 6 Easy Ways to Display Kids Artwork
- 12 Ways to Reuse Children’s Art
- 40 Handmade Gift Ideas that Kids Can Make
- How to Make a Painted Frame Gift
- 6 Kids’ Artwork Storage Ideas
Pin It for Later