This kids’ map art activity helps children learn geography while making art. Decorate a map puzzle with a variety of fun art supplies!
Updated September 2024
We love painting on paper. But sometimes it’s nice to mix things up a bit and try painting other things.
Have you ever tried painting wood? It’s a great inexpensive alternative. You can take a walk outside and collect sticks, twigs, or stumps to paint. Or you could also visit your local thrift store for old wooden items like toys and frames.
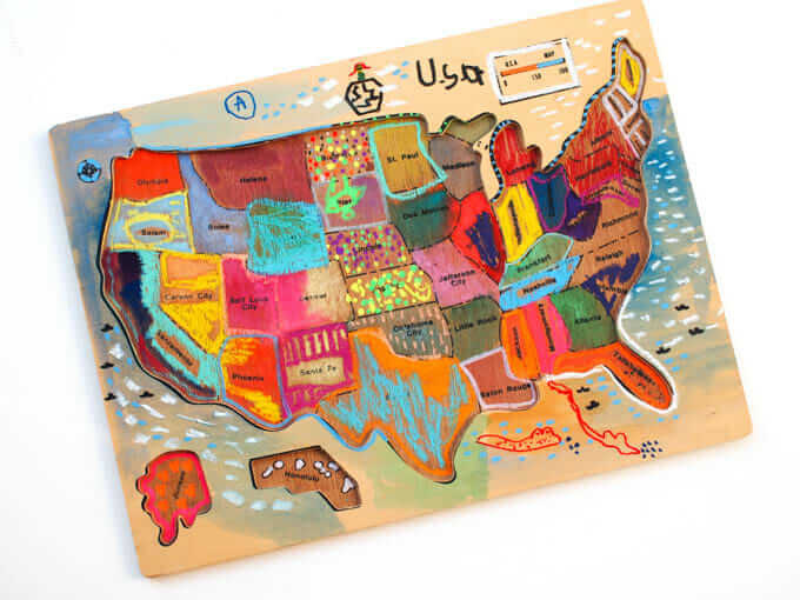
During a recent visit to our local thrift store, I found a wooden map. It showed the United States of America but was missing all of its pieces, making it useless for puzzle play. But I bought it anyway. It was the perfect canvas for making some collaborative process art while also learning about our 50 states.
How to Paint a Kids’ Map

- Watercolor paints
- Paint Brushes
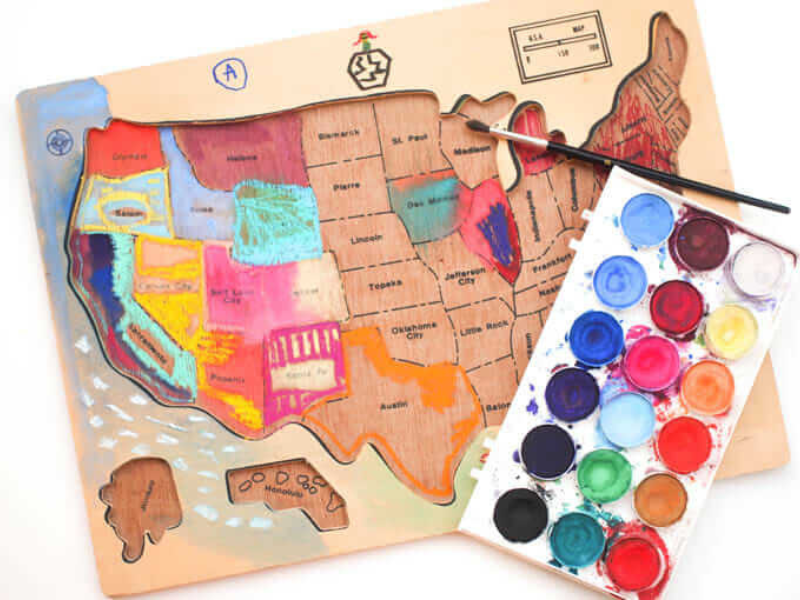
- Wooden Map Puzzle*
- Oil Pastels
- Chalk Markers
- Sharpie Markers
- Fixative
*If you don’t have a wooden map puzzle, you can decorate a paper map. You can also decorate other unpainted wooden items like toys or wood frames.
INSTRUCTIONS
- Clean the wood
Use a wet cloth and clean off your wooden item. (Optional: You can also sand it a bit if you want.) Let dry. This will help the art materials adhere to your wood.
- Prepare your space
Cover your workspace. You’ll also want to assemble your art materials. So, grab your watercolors, brushes, oil pastels, Sharpie markers, and chalk markers!
- Decorate your map
It’s time to get creative with your art materials! Draw and paint over the states or countries.
Something to keep in mind while doing this project is that some materials will react with water. Sharpies and oil pastels should stay vibrant and untouched. But chalk markers may smear a bit when mixed with watercolors.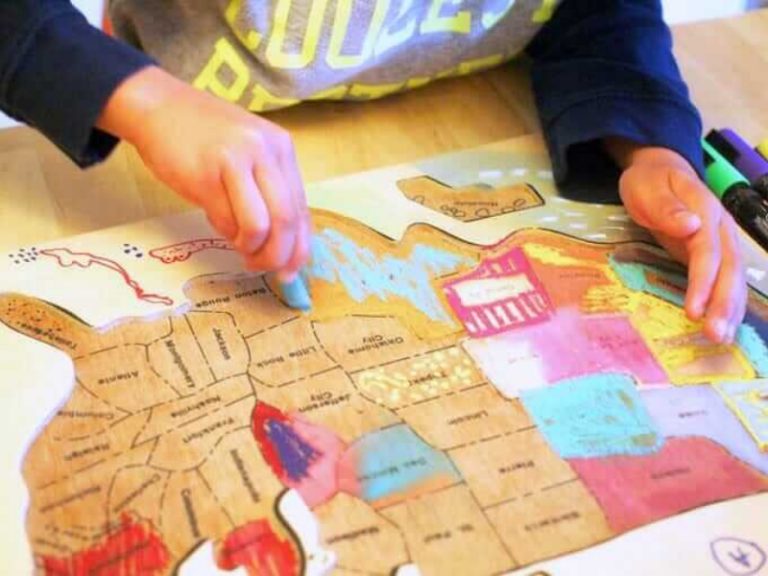
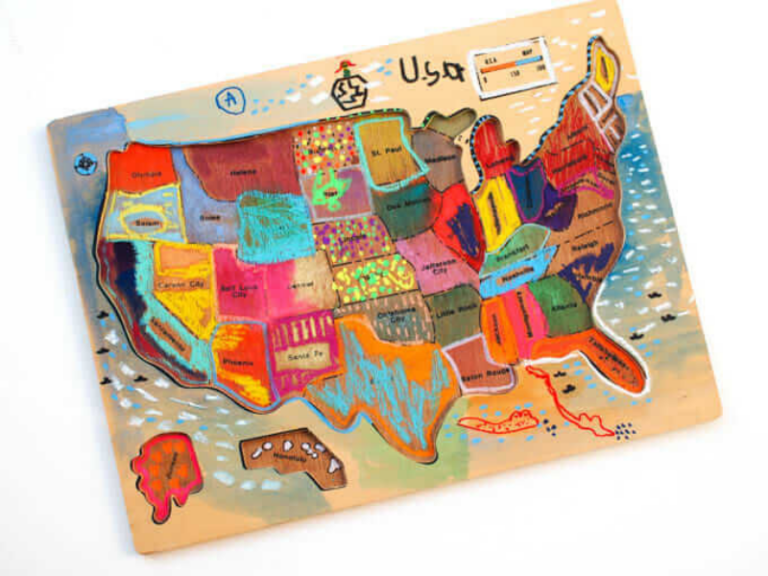
My son and I worked together on painting and drawing. Aren’t the final results lovely? - Protect your map art
If you’d like to keep your artwork for a longer period of time, spray it with fixative. This will prevent the oil pastels and chalk markers from smearing.
Don’t use Mod Podge. We tried it and it smeared our chalk markers.
Yay! Now you have a lovely and unique piece of wooden map art.
And if you don’t have a wooden map that is missing puzzle pieces, how about using the above instructions to decorate a paper map? You can find one online for any country. Mr. Printables has some nice printable maps of the USA here.
More Creative Learning Activities for Kids
- Fun Preschool Activities for Home Learning
- How to Make Your Own Geoboard for Kids
- The Best Family Board Games for Fun, Connection, & Learning
- The Best Science Experiments for Kids
- How to Create a Seasonal Home Library for Children
- Invitation to Draw: 99 Drawing Prompts to Inspire Kids Creativity
Pin It for Later


Related Posts
-
DIY Art Printables for Kids
Encourage kids' creativity with these DIY art printables that can be created using materials you…
-
Creative Alternatives to Coloring Books for Kids
Learn how to offer creative, open-ended, and developmentally appropriate alternatives to coloring books for kids.…
-
Creative Alternatives to Coloring Books for Kids
Learn how to offer creative, open-ended, and developmentally appropriate alternatives to coloring books for kids.…

