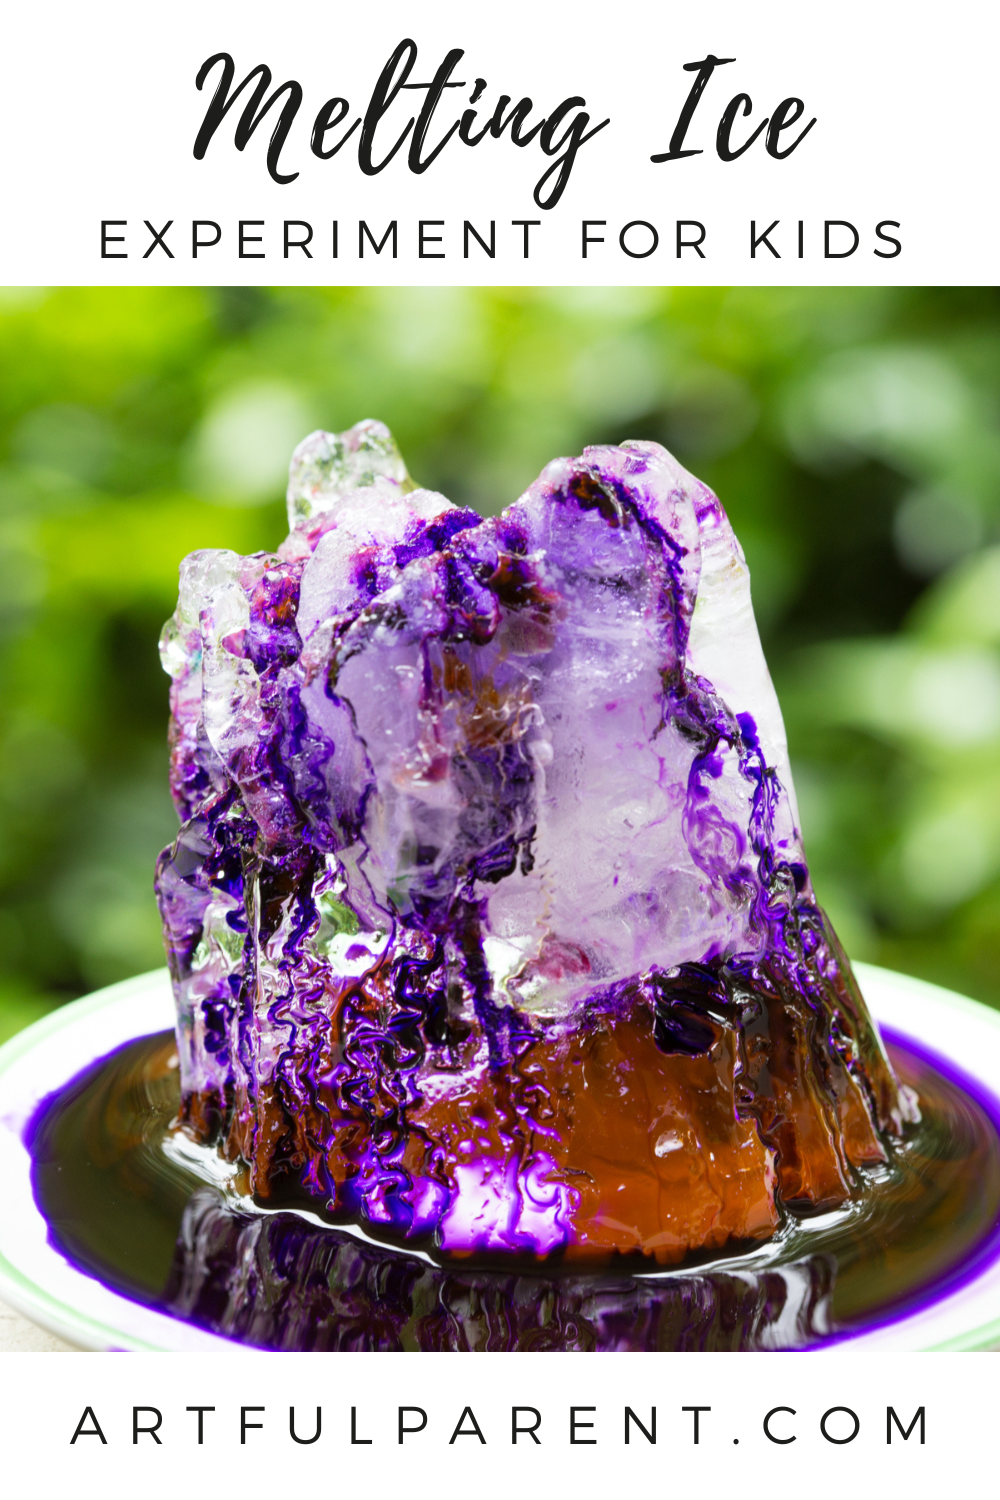
Try this beautiful version of the melting ice experiment from the book Play Make Create by Meri Cherry. It involves adding color to melting ice tunnels and making beautiful ice sculptures.
Updated January 2024
We are big fans of mixing art, science, and play in the name of childhood fun, learning, and creativity.

So, we want to give a big thumbs up for Meri Cherry’s book, Play Make Create: A Process-Art Handbook. She blurs the lines between art, science, play, and crafts in a beautiful and inviting way that will help kids everywhere be more creative while having a blast.
Meri Cherry has long been someone we’ve admired over the years for her fun ideas, beautiful aesthetic, and child-oriented approach to art. You probably know her from her blog (Meri Cherry) or her Instagram (@mericherryla) or even from her kids’ art studio in Los Angeles.

This melting ice science experiment is a favorite and something we’ve done a number of times in different ways over the years, but we were really excited about Meri’s presentation of the activity.
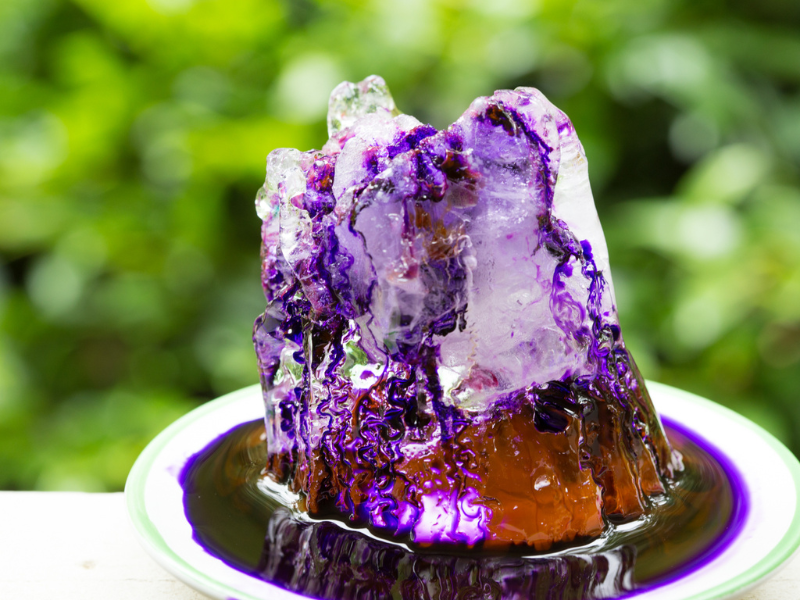
It’s an absolutely amazing experiment and the results are gorgeous!
Check out this video of us creating Melting Ice Sculptures, and then keep scrolling for detailed instructions!
Melting Ice Experiment
MATERIALS
- Bowls or dishes (for making the ice)
- A large tray with sides
- Salt
- Liquid watercolors or food coloring
- Droppers or a spoon
- Animal figurines or small toys
INSTRUCTIONS
- Make the ice
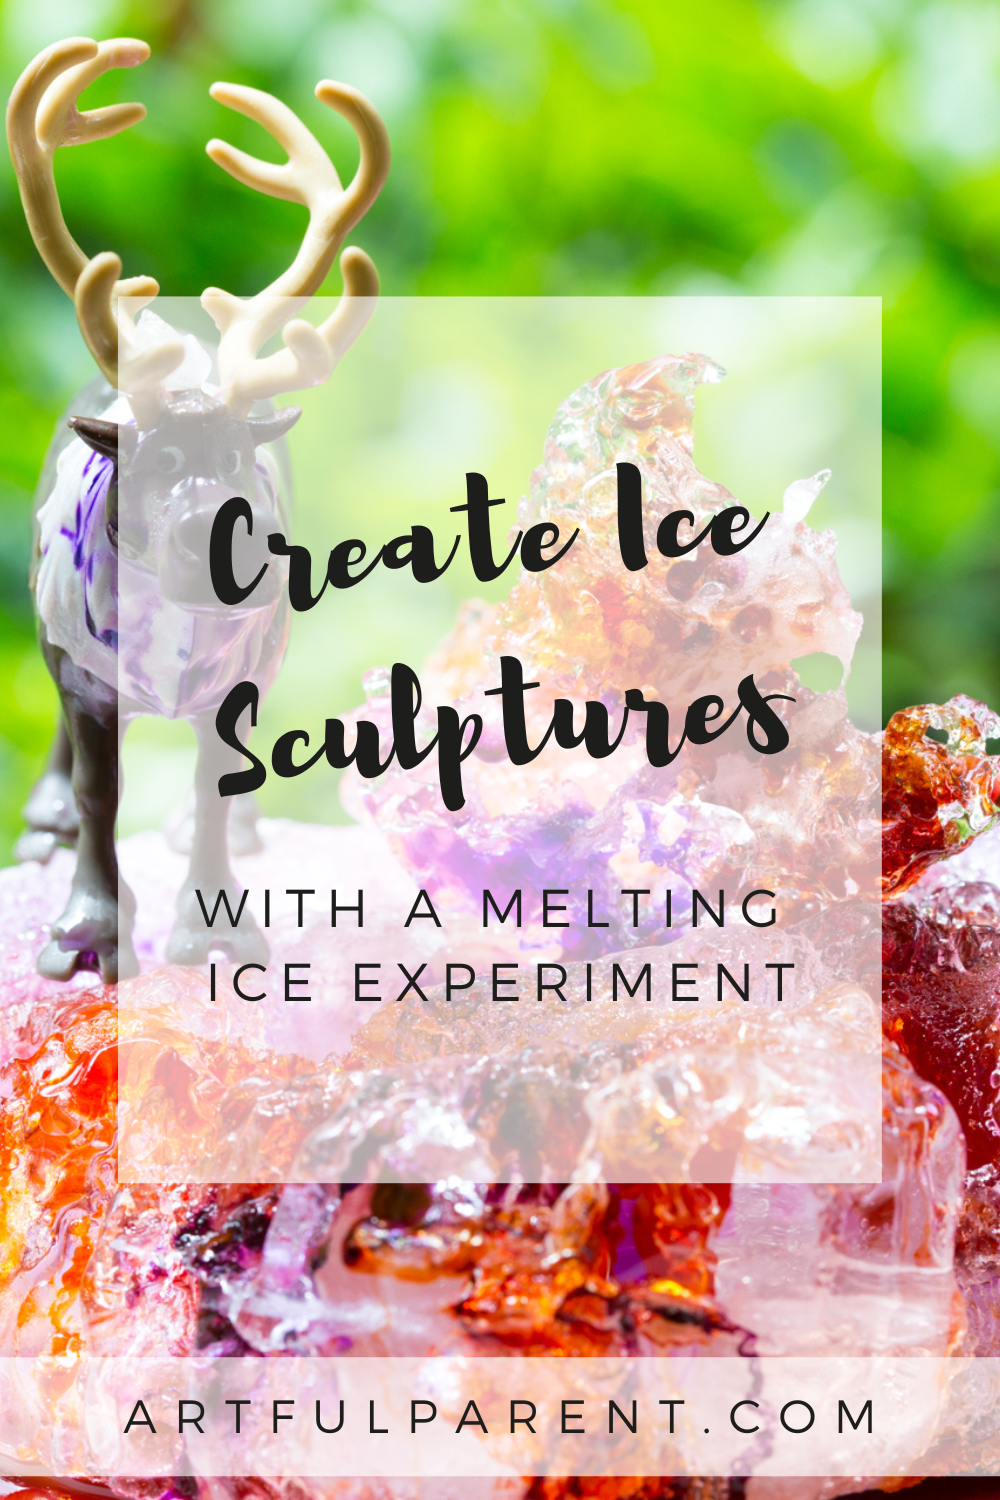
First, we filled some food storage containers with water, slipping animal figurines into some of them, and set them in every available spot in the freezer.
TIP: Try this with a variety of sizes and shapes! It’s interesting to the see the differences as they react to the salt and color. - Set up your melting station
The next day, we took the ice blocks out of the containers and set them on a tray with a rim. (This is important, as you’ll soon see. All that melting ice + the addition of liquid color means lots of colored water that you want to contain.)
We also put out some salt in a small bowl with a spoon and some watered-down food coloring or liquid watercolors in small jars with pipettes/droppers. - Add salt
Set out a few bowls of table salt (inexpensive Morton’s salt works great) and sprinkle it over the tops of the ice blocks.
To do the ice melting experiment, you sprinkle salt over the ice blocks. The salt melts the ice faster than the ambient temperature, melting tunnels and crevasses into the ice.
- Add color!
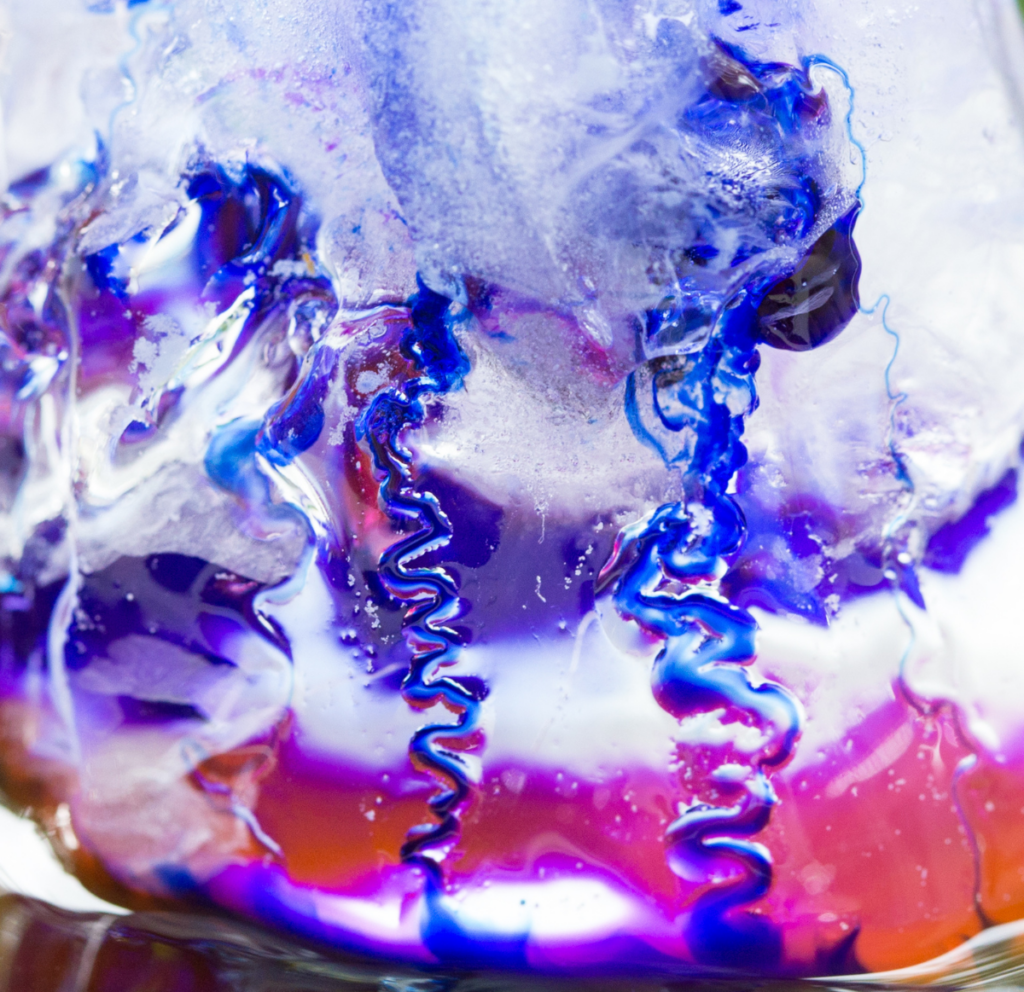
Once you have some crevasses in your ice, use a dropper to add color (liquid watercolors or watered-down food coloring). The liquid color highlights the tunnels and crevasses so that you can better see them.
Can you see the tiny tunnels inside the ice sculpture formed by melting salt and filled with food coloring?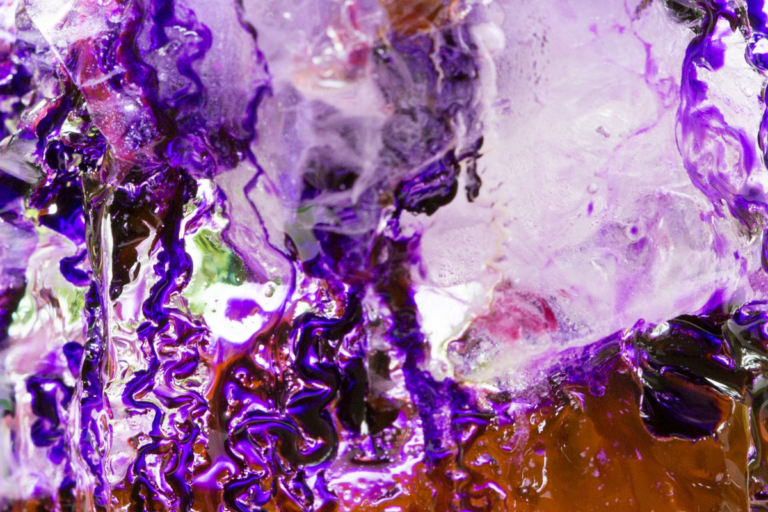
Besides the science behind what’s going on with the experiment, it’s a fun process to do and observe, and the results can be absolutely beautiful!
How to Create Beautiful Ice Sculptures
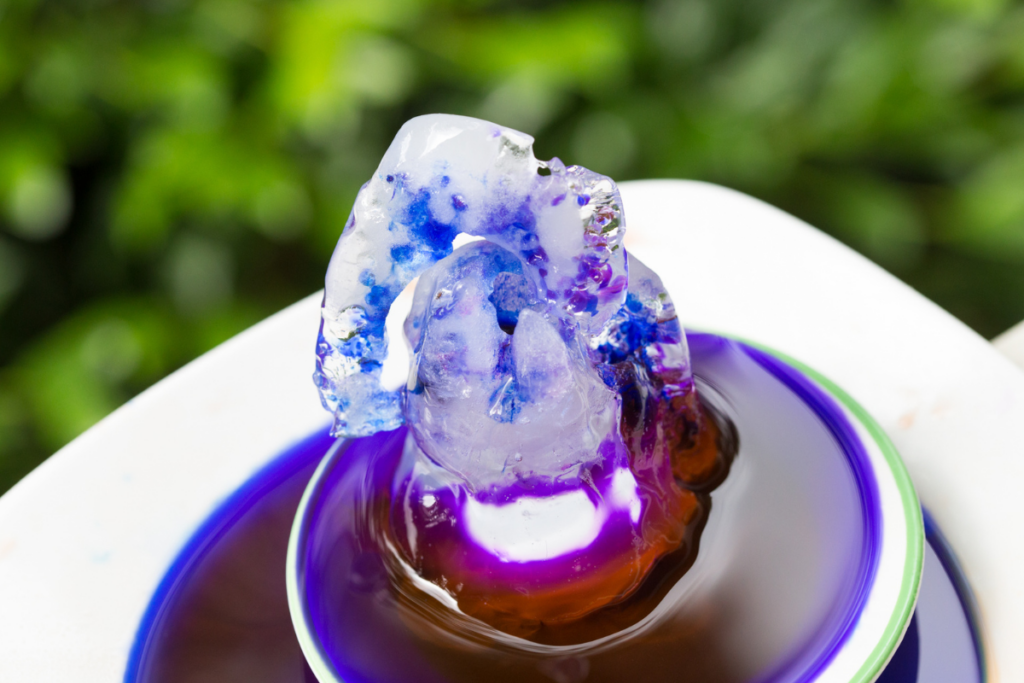
Each block of ice becomes a stunning ice sculpture as it’s formed by the salt melting technique and colored with the liquid paint.
And you can stack and combine the ice sculptures as well! Simply arrange the different ice pieces however you like. You can let them melt as is or refreeze them into a new sculpture!
A big thank you to Meri Cherry for sharing the wonderful art, play, and science activity in her new book!
We ALL had so much fun doing this melting ice experiment and making the ice sculptures! And we’re so glad that we came across the activity in Meri’s book.
There are so many fun process art + play activities inside this book! It’s definitely worth picking up a copy!
You can buy Play Make Create: A Process-Art Handbook on Amazon and everywhere else books are sold.
More Science Experiment Activities for Kids
- The Best Kids Science Experiments to Try at Home
- How to Do the Rainbow Skittles Experiment
- How to Do a Baking Soda Experiment with Kids
- How to Do the Magic Milk Science Experiment
- Try These Kids’ Science Experiments
- How to Make Stacked Ice Sculptures
Want even more science experiment ideas?
Check out our Science Creativity Pack!
You’ll love the magical combination of science & art, helping kids make all kinds of fantastic discoveries!

Pin It for Later