
Learn how to make Valentine’s Day shirts with a modern look. Print with everyday objects to create this fun heart shirt.
Updated February 2024
These printed Valentine’s Day shirts are easy to make using materials you probably already have at home. They’re the perfect thing to wear on Valentine’s Day. And they are so fun to make!
The kids all had a blast and worked on their shirts longer than they often spend on an art activity when play is also an option.
DIY Valentine’s Day Shirts

MATERIALS
- Plain T-shirts, short or long sleeve
- Freezer paper (you can find this next to the wax paper in the grocery store)
- Scissors
- Fabric paint (we used Jacquard Textile Paint as well as BioColor paint mixed with BioColor fabric medium)
- Paper plates or other shallow dish for holding paint
- Everyday objects for printing, such as straws, marker tops, Q-tips, legos, garlic press, potato masher, playdough tools, cookie cutters, toilet paper rolls, fork, toys, screws, etc.
INSTRUCTIONS
- Create a heart template from freezer paper
Cut off a piece of freezer paper that will fit across the front of your T-shirt. Fold it in half. Draw half a heart, then cut along the lines.
Open up your paper and center it over the front of the shirt, waxy side down. Now cut a piece of freezer paper to fit inside the T-shirt (to protect the back of the shirt from paint seepage) and slip it inside, waxy side toward the front of the shirt.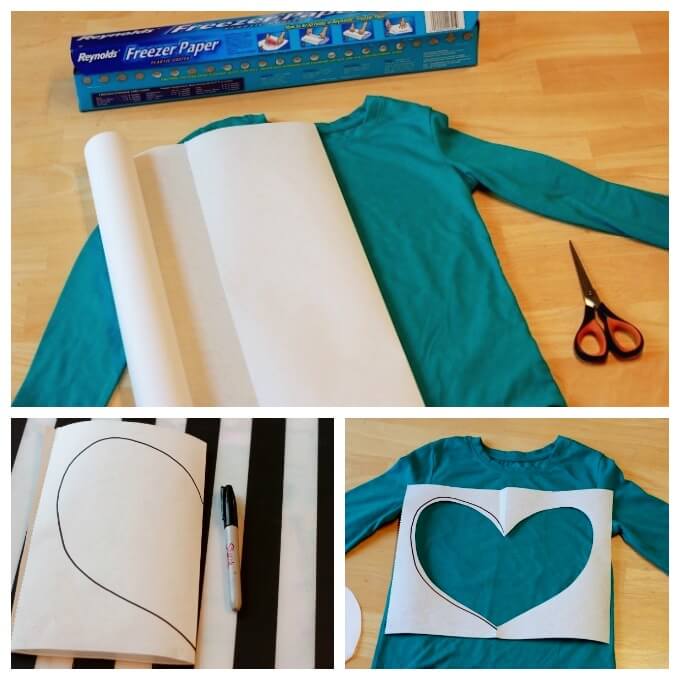
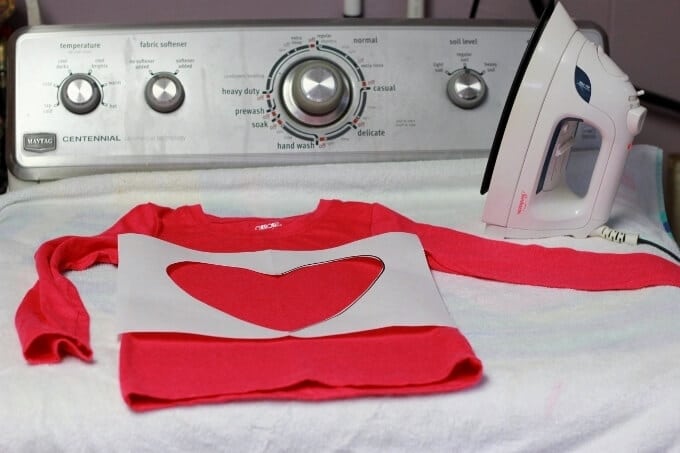
- Iron
Once both sheets of freezer paper are in place, gently iron them on high for a few seconds (no steam) so that the waxy side sticks to the shirt fabric.
- Prepare for printing
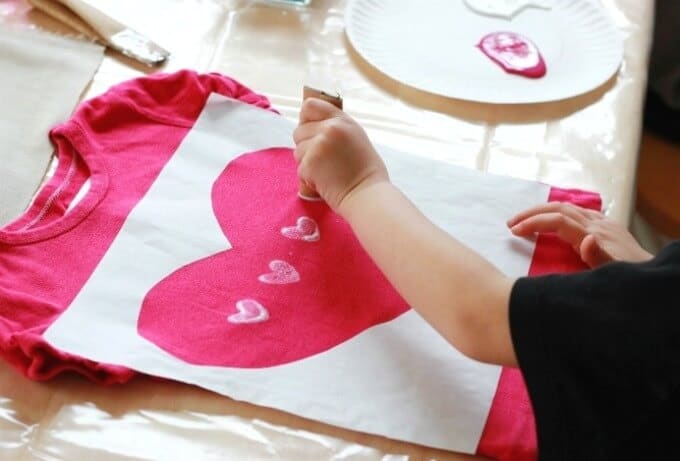
Set your T-shirt with its heart template on a protected work surface. Squeeze small puddles of fabric paint onto your paper plate and assemble your everyday objects that you think would make interesting prints.
- Fill the inside of your heart template with prints
Dip an object, such as the tip of a straw, in fabric paint. Then, press to the fabric, and lift it to reveal the print. Or use a paint brush to paint the object with fabric paint first.
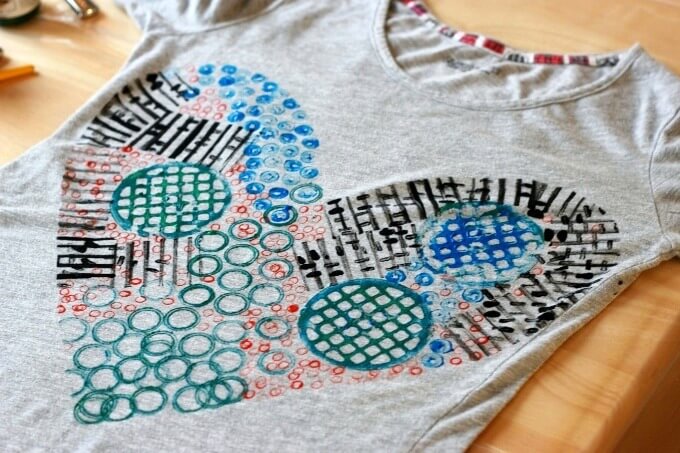
Continue until you have filled the heart.
Or you can trace along the edges of the heart with a fabric crayon or marker, or with a paintbrush and some fabric paint.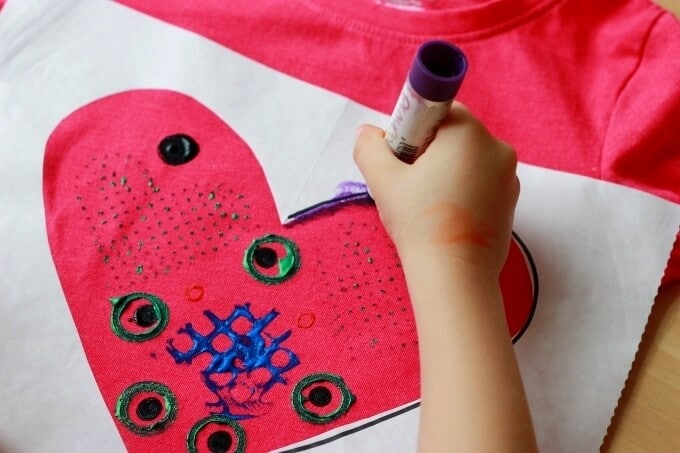
- Let dry and set the paint
If you haven’t already lifted off the freezer paper yet (it’s okay to give in and do it earlier if you’re careful), you can do so now. Let the shirt dry overnight.
Follow the instructions on your particular fabric paint to set the paint.
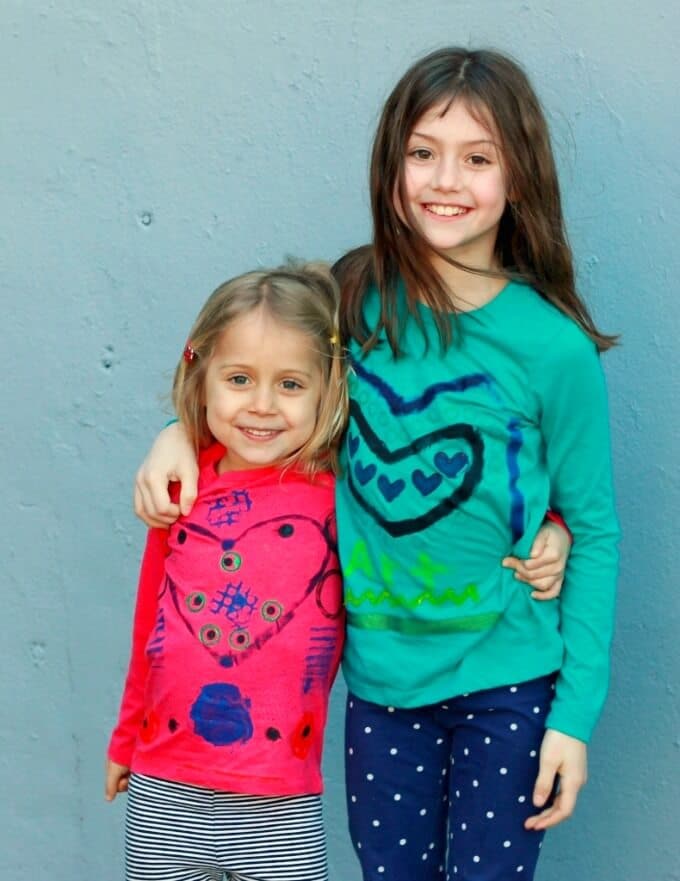
Finally, admire and wear your new Valentine’s Day shirts!