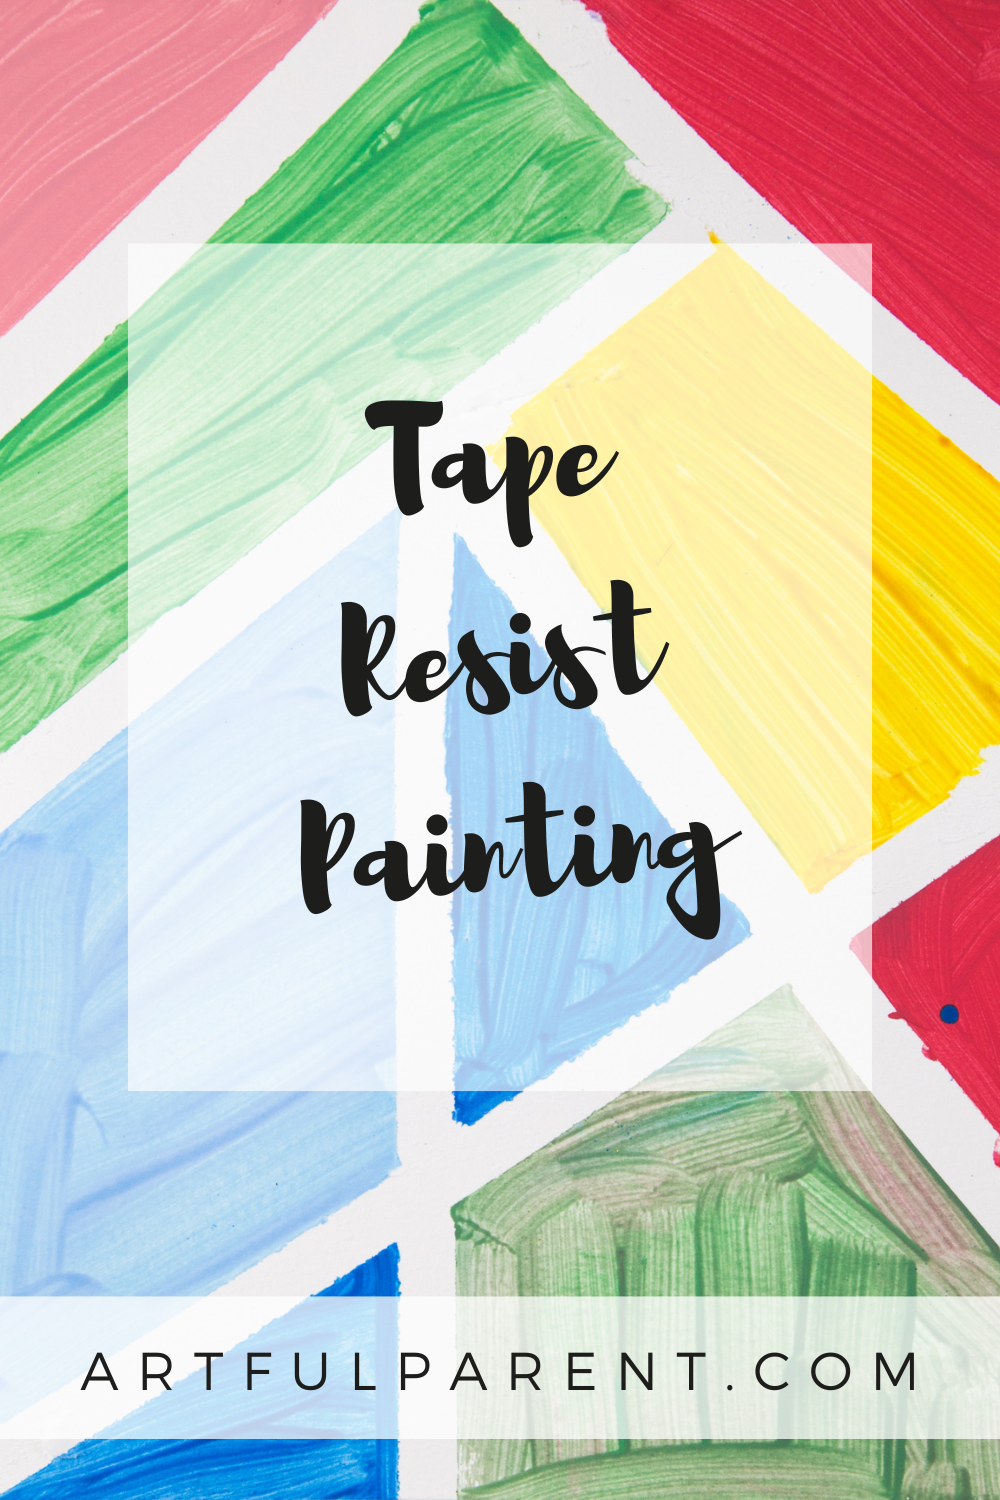
Tape resist painting is a fun technique for kids to create bold designs. Follow this easy tutorial and explore different variations to try!
Updated October 2024
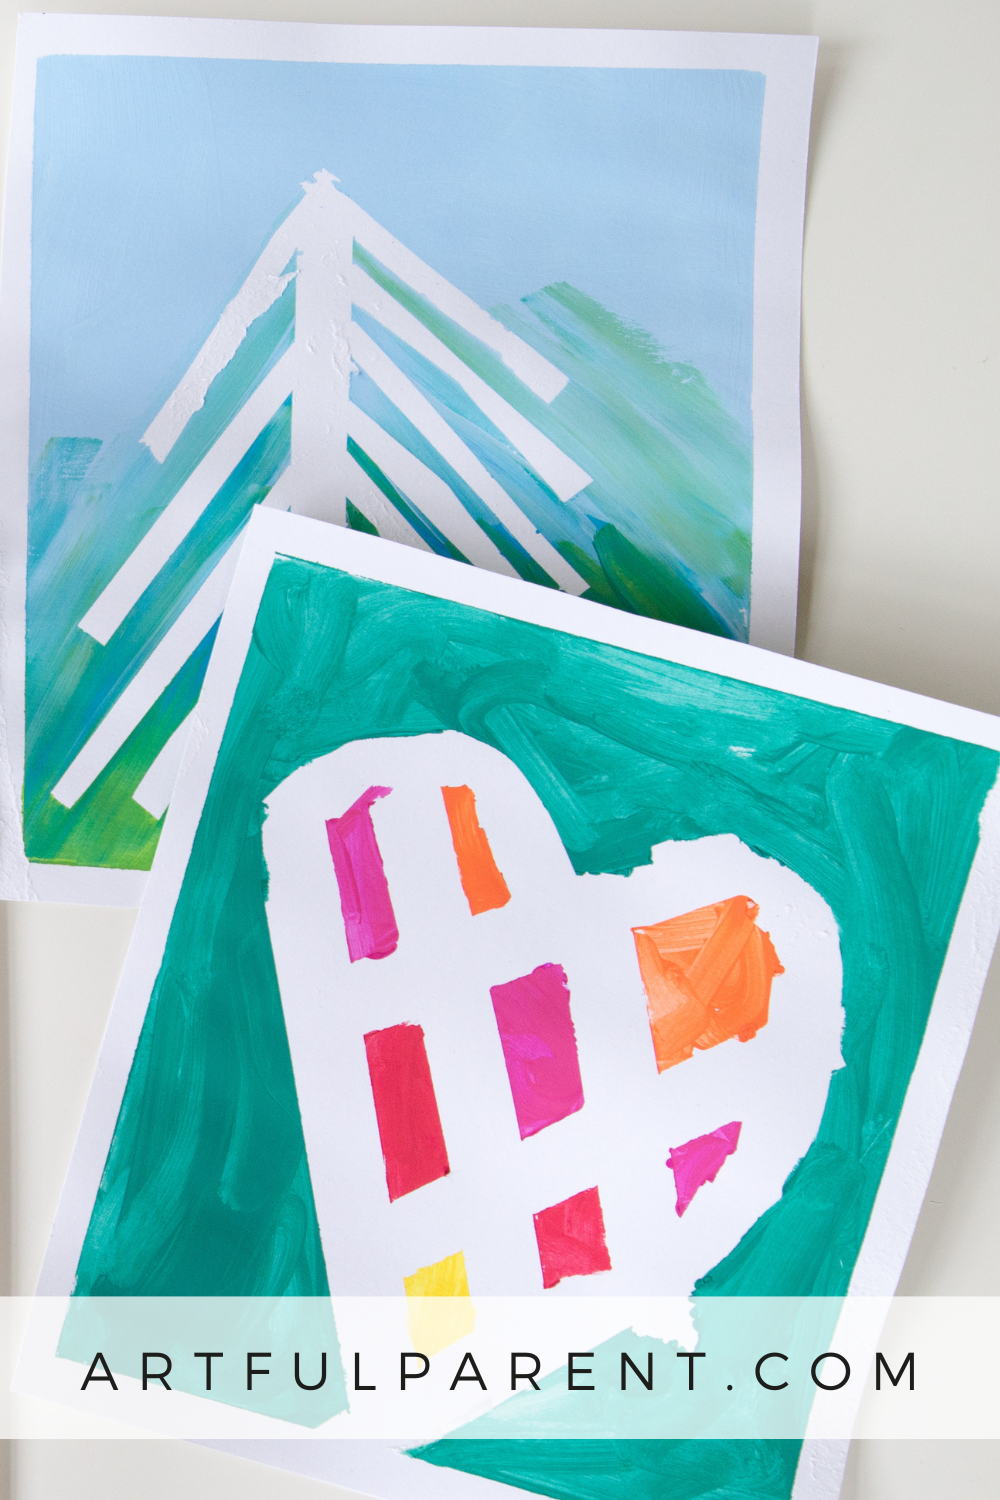
We’ve done various versions of tape resist paintings over the years, for different occasions and holidays.
You can use masking tape, painters’ tape, washi tape, and stationery store stickers. And you can use just about any kind of paint.
Tape resist involves creating a design in tape, then painting over it. Once the paint is dry, you remove the tape to reveal your design!
It’s a great art invitation for kids, as the results are different every time you try it.

Tape Resist Paintings for Kids

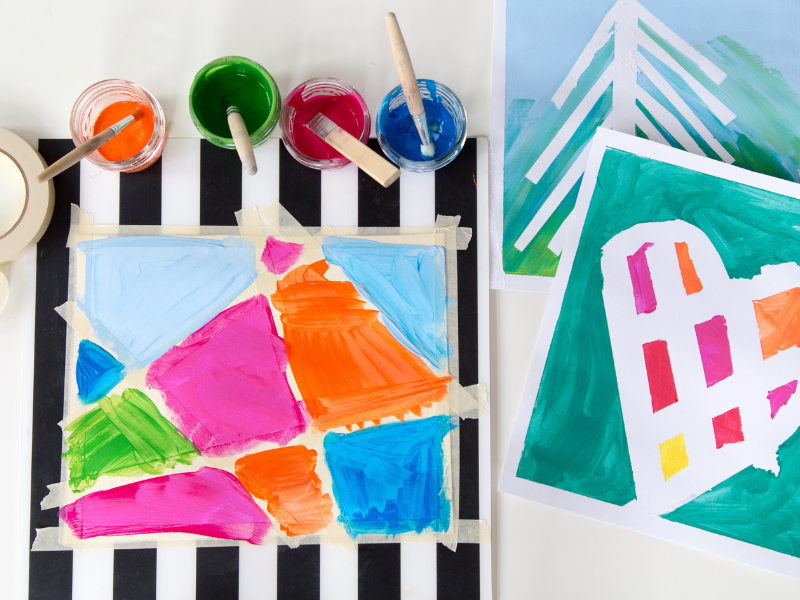
MATERIALS
- Sturdy paper or canvas (you can usually get inexpensive canvases from the dollar store)
- Masking tape (or other tape, such as painters’ tape, washi tape, or stickers)
- Paint
- Cups and brushes for painting
- Sharpies (optional)
INSTRUCTIONS
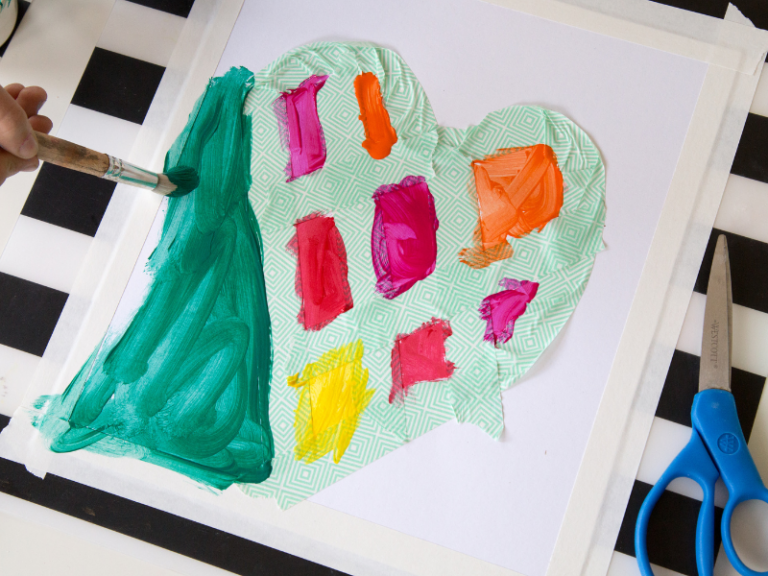
- Create your tape design
Tear or cut off strips of tape and press to the canvas or paper in the pattern or image desired. Tip: To make it extra easy to remove later, press the tape to your shirt or pants before applying it to the paper.
Press the edges of the tape design down securely to prevent paint from seeping under the edges.
- Paint over design
Paint over the entire canvas, including the tape design, as desired.
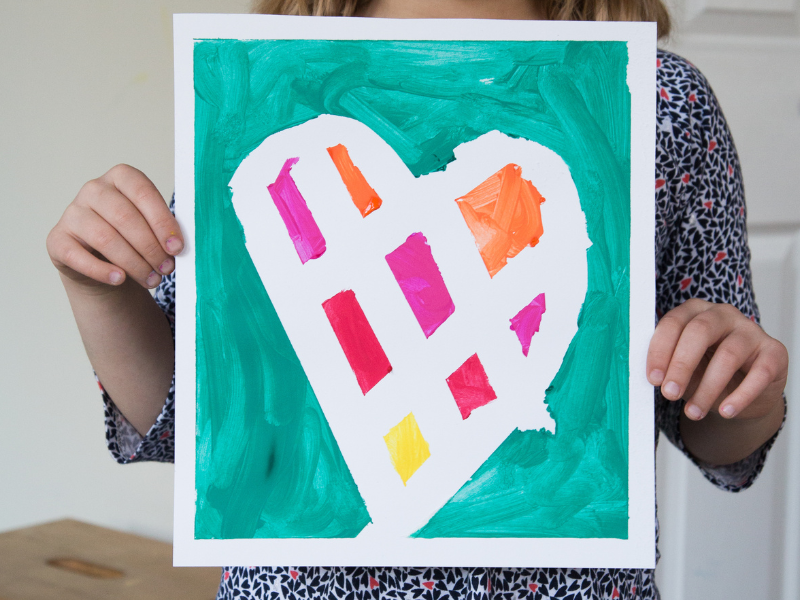
- Let dry
We recommend letting the paint dry before removing the tape, so you don’t smudge the paint.
Once dry, remove the tape to reveal your design! If desired, add detail to your artwork with Sharpies or other permanent markers.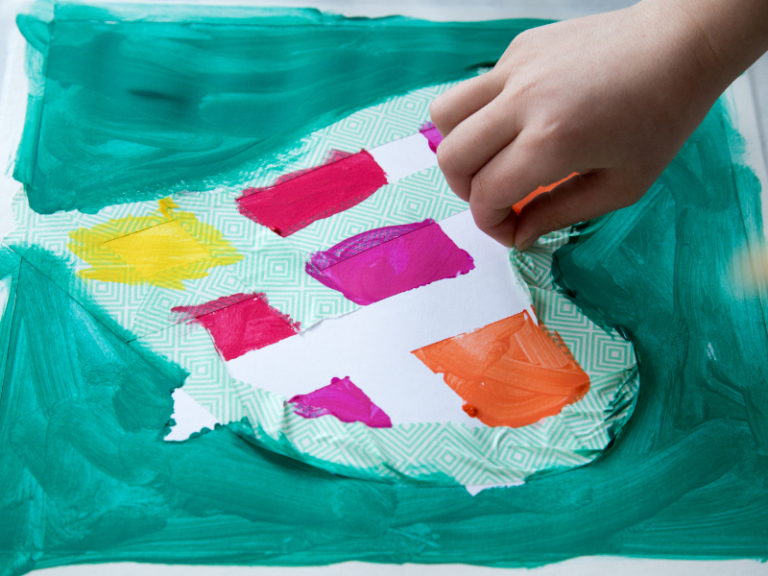
There are so many ways you can do tape resist art. We hope you and your kids give it a try!
More Tape Resist Techniques for Kids
- How to Make Watercolor Resist Artwork
- How to Make Sticker Resist Art Cards
- 5 Tape Art Ideas for Kids
- 5 Easy Watercolor Ideas Using Resist Techniques
- Washi Tape Art for Kids
- How to Make Mess-Free Tape Resist Art with Paint Sticks
Pin It for Later