
Try Halloween scratch art for kids with this simple DIY scratch art method and fun Halloween themes including spider webs, Jack-o’-lanterns, and more.

Updated August 2022
We’ve been doing Halloween scratch art on a variety of surfaces, including paper plates (perfect for spider webs!) and even pumpkins.
Before we figured out how easy it was to do it ourselves, we typically bought ready-made scratch art sheets (especially the awesome mini scratch art notes by Melissa & Doug). But now we mostly DIY it.
We’ve posted about our scratch art before, perfect for any time of year, and also during Autumn.
Here’s a video showing Scratch Art in action! And be sure to keep scrolling for step-by-step instructions!

How to Make Halloween Scratch Art for Kids
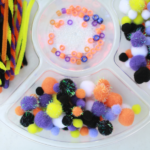
MATERIALS
- Paper plates (the inexpensive, flimsy kind works well)*
- Oil pastels or crayons, especially in bright colors or autumn colors
- Black paint (BioColor paints or tempera work best)
- Foam brush
- Toothpicks for scratching (Q-tips work, too, if you want a broader line)
*If you don’t have paper plates on hand, no worries. Just use a sturdy paper or card stock. Index cards work quite well!

INSTRUCTIONS
- Cover with color
First, cover the inner circle of your paper plate with an even layer of oil pastels.
(One of the nice things about using paper plates is that you have a built in frame around your artwork!)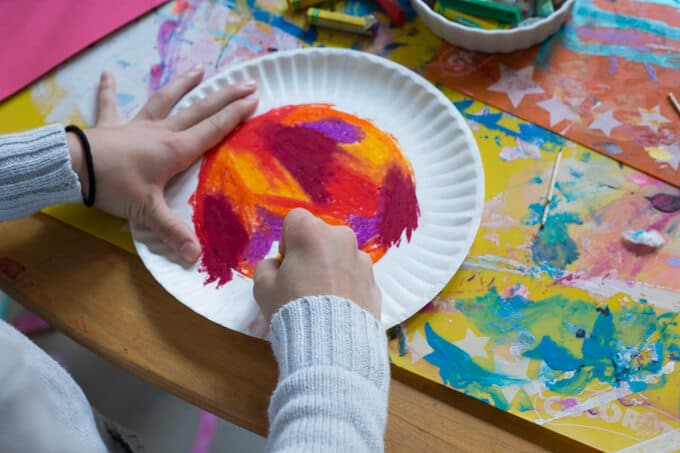
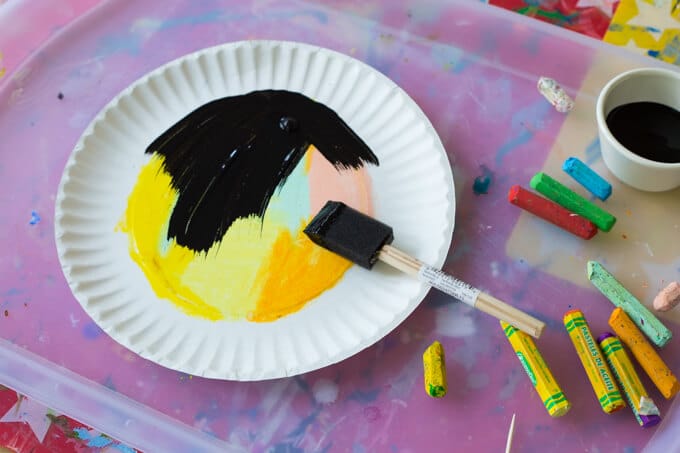
- Add black paint
Then, use a foam brush to paint an even layer of black paint over the oil pastels. Be sure to completely cover the oil pastel drawings.
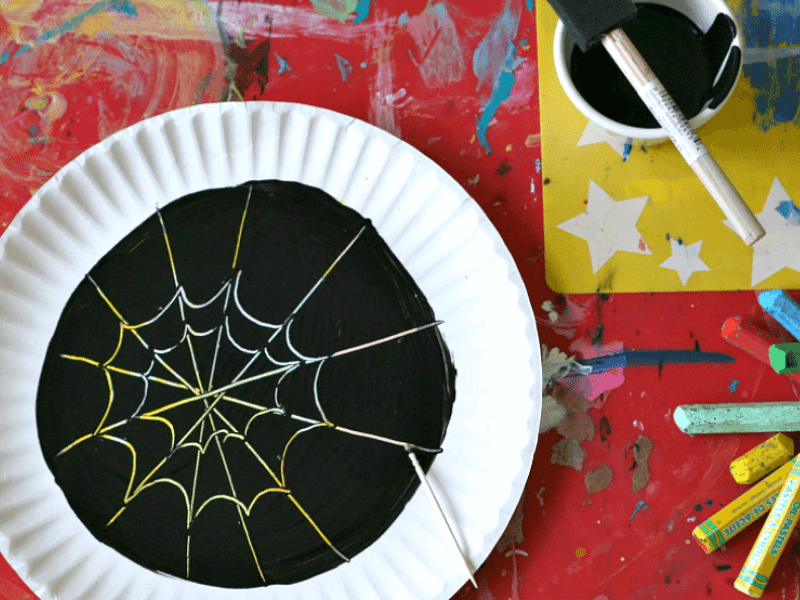
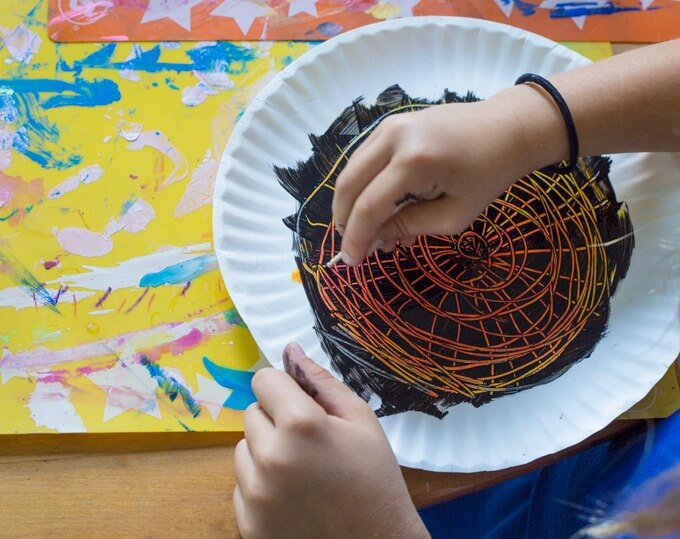
- Create scratch art!
Next, use a toothpick (or Q-tip) to scratch your design through the wet paint layer.
(If you get a build up of paint on the end of your toothpick, wipe it off on a cloth or paper towel periodically.)
Continue working until your Halloween scratch art design is complete.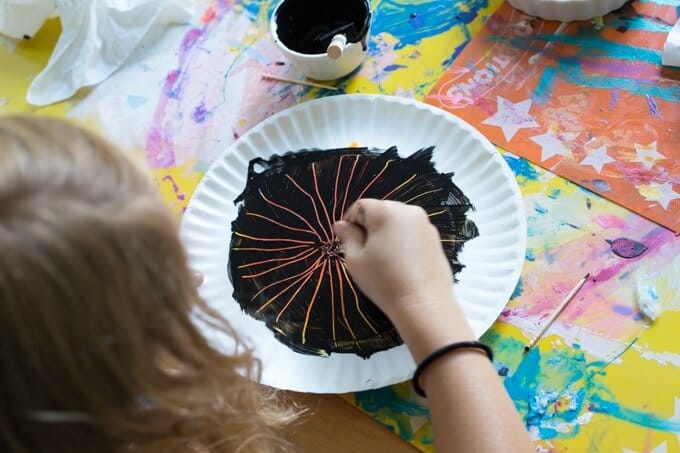
- Let dry and repeat!
When you are finished with your artwork, set it aside to dry and start another!


Variation: Another fun way to try this would be to do a layer of dark oil pastels first (black, purple, maroon, gray, etc) then add a layer of orange paint (or another lighter, Halloween-y color) and add your scratch art design.

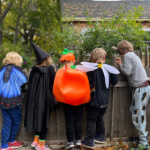
You could try this with cats, witches, spiders, spider webs, haunted houses, owls, ghosts, pumpkins, Jack-o’-lanterns, bats, skeletons, sugar skulls, monsters, or any Halloween theme you can think of!
Have you tried making your own scratch art papers? Give this fun activity a try with Halloween scratch art!
More Halloween Art Ideas for Kids
- 13 Awesome Halloween Craft Ideas for Kids
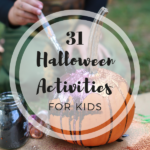
- 31 Days of Halloween Activities for Kids
- Halloween Art for Preschool: Tape Resist Skeletons
- How to Make a Cardboard Halloween House
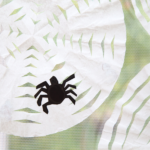
- How to Make a Spiderweb With Marble Rolling!
- The Best Spiderweb Crafts and Activities
Want even more Halloween fun?
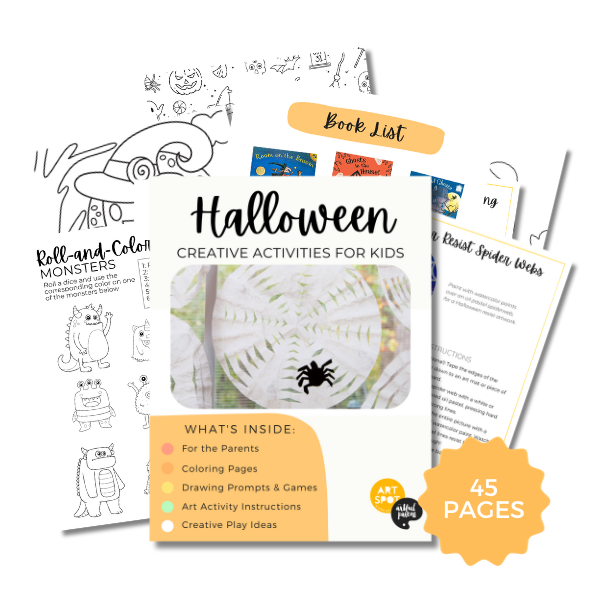
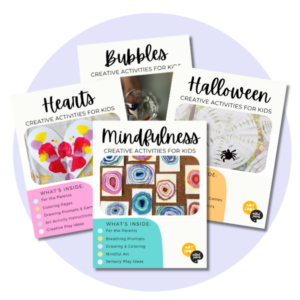
Check out our Halloween Creativity Pack!
This 45-page printable eBook is full of seasonal coloring pages, drawing prompts, games, and art projects. It’s the simplest way to enjoy an October full of creativity!
Pin It for Later


