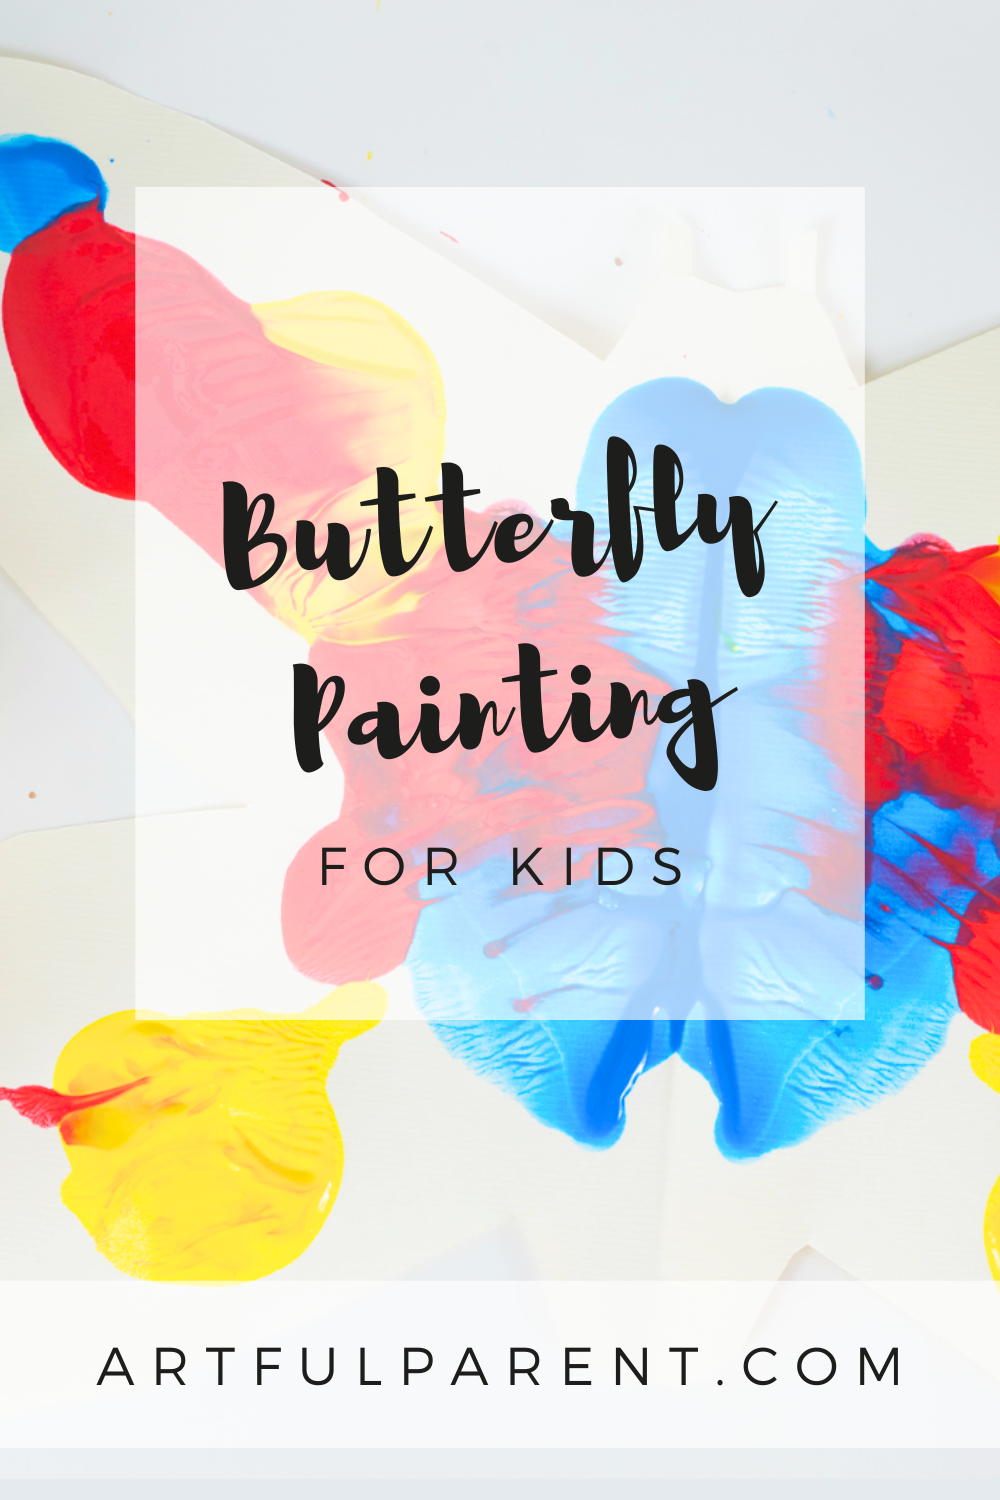
Learn how to paint butterflies with this fun and easy symmetry method. A perfect process art activity for kids of all ages!
Updated March 2024
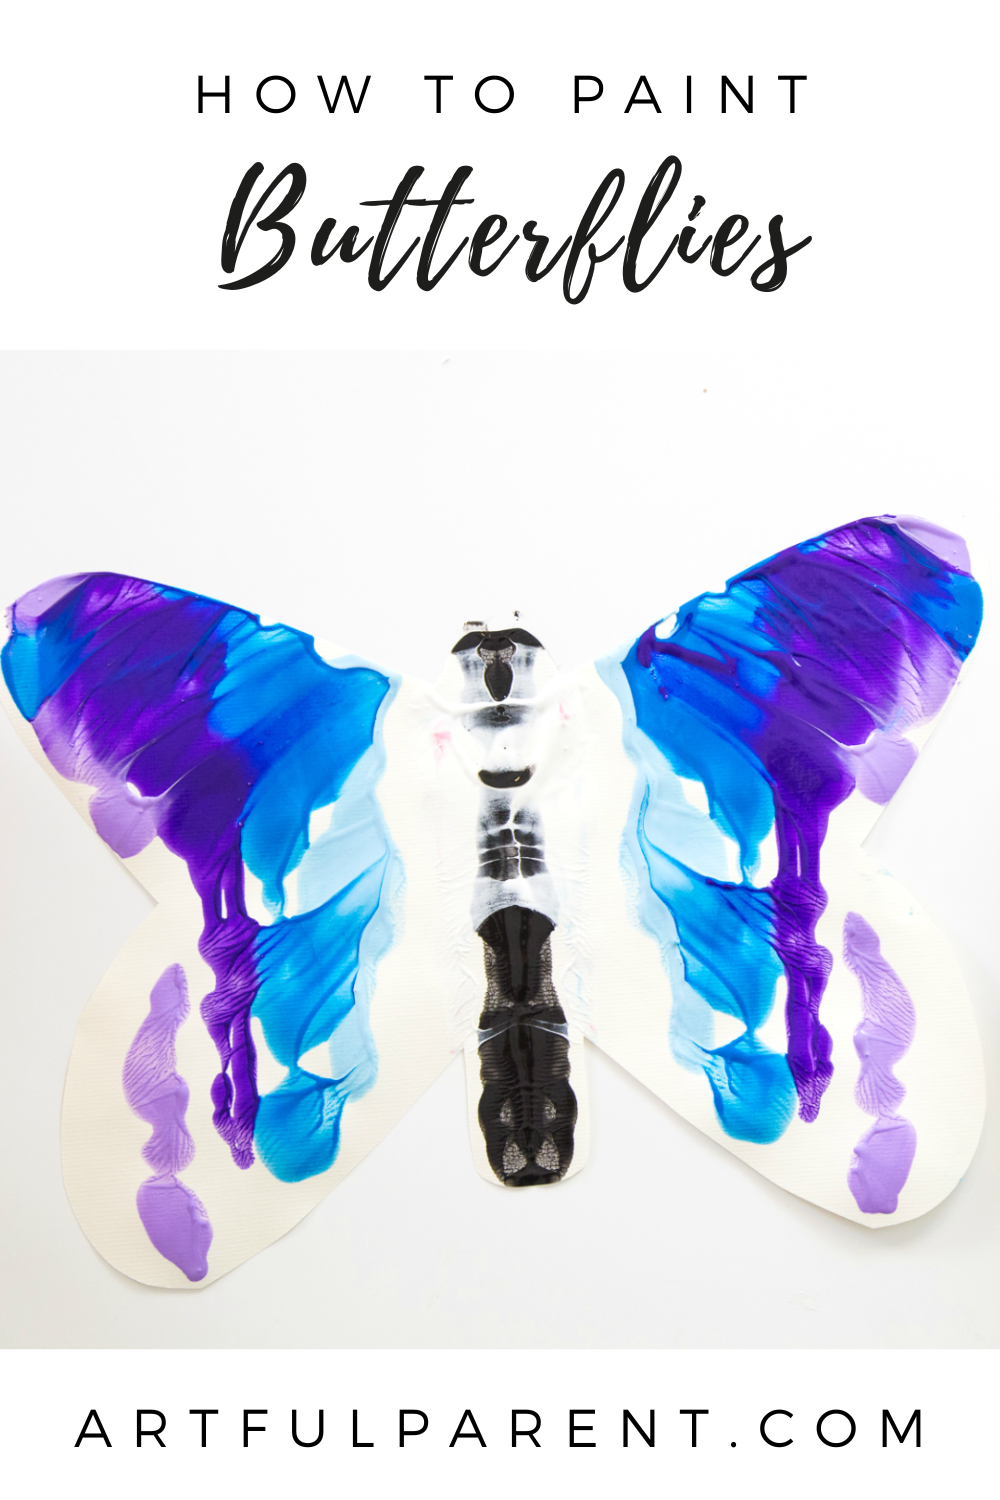
We all love symmetry painting, right? Kids love it. It’s easy, fun, and the result is unique every time.
These symmetry paintings are also known by many other names. Some people call them inkblot prints, blotto painting or prints, smash art, smush art, squish painting, and more.
Regardless of the name, what could be more perfect for painting butterflies?!
They turn out beautifully every time!
Here’s a video of the butterfly painting art activity in action.
How to Paint Butterflies
MATERIALS
- Paper
- Scissors
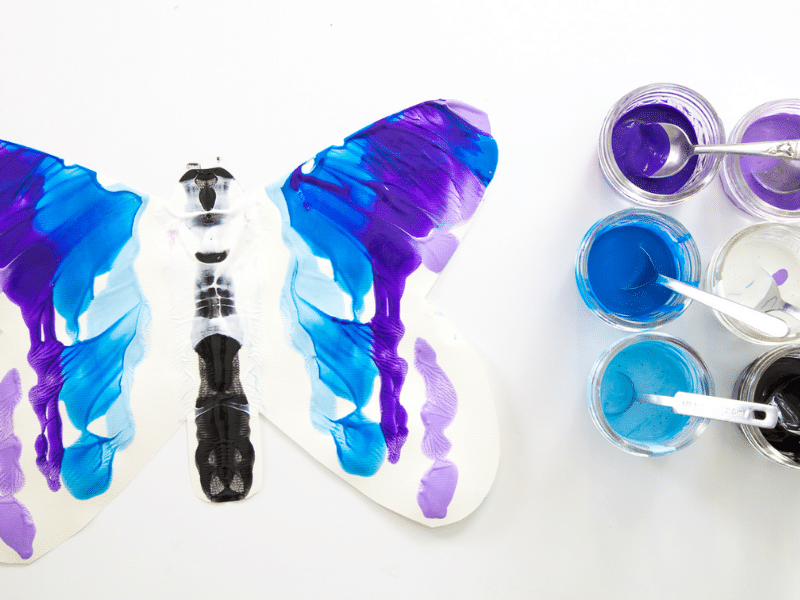
- Tempera paint
- Small cups
- Spoons
INSTRUCTIONS
- Cut paper butterflies
First, cut your paper into a butterfly shape. Fold your paper in half, then use the scissors to cut out a half butterfly, with the body along the fold.
You can draw and cut your butterfly shape freehand or use a template.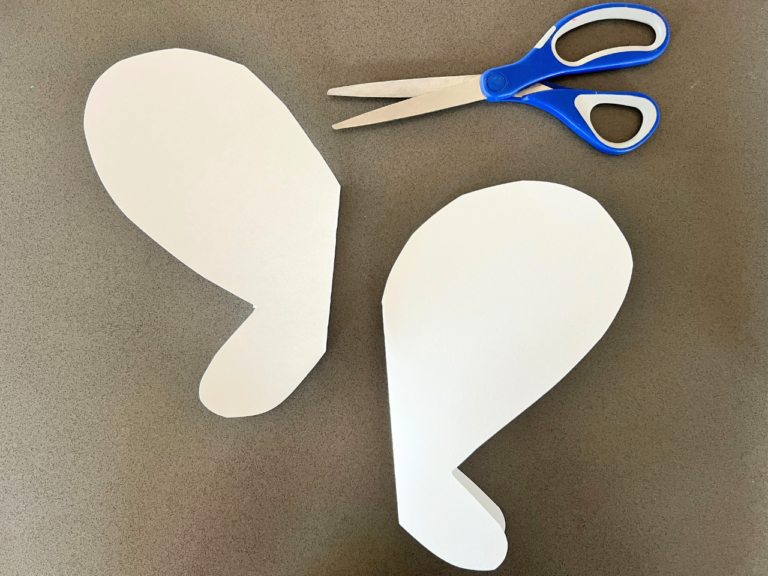
- Prepare paint
Pour small amounts of tempera paint into cups and add a spoon to each cup. You can also mix your colors until you have the perfect assortment of colors to create your butterfly paintings.
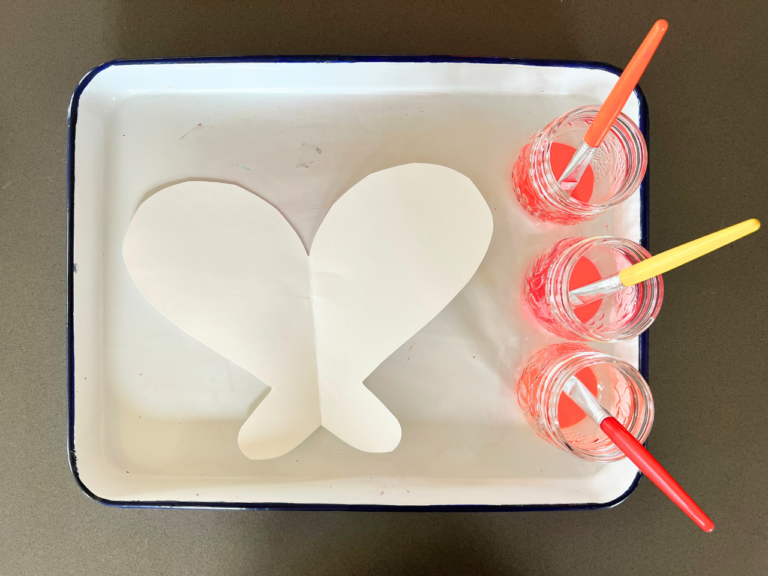
- Add paint to paper
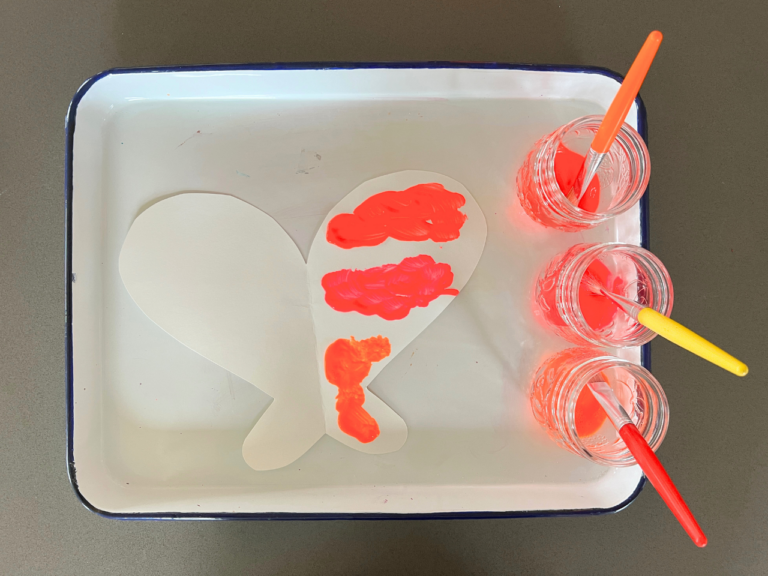
Use the spoon to add drops of paint to one side of your butterfly paper.
- Fold paper
Fold the other half of the paper over the paint drops to create a paint sandwich. Press, smush, and rub with your hands.
- Open your butterfly painting
Finally, open the paper to reveal your symmetrical butterfly painting!
Ours had a fair amount of paint on them, so we set them on art mats to dry.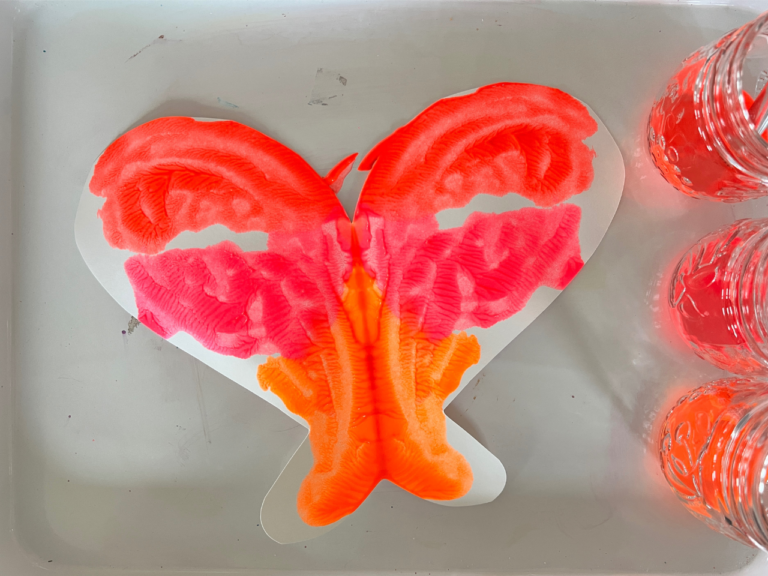
- Repeat!
Repeat this mesmerizing art activity as many times as you like!
Variations and Ideas
- Add details to your butterflies after the paint dries. For example, you could draw details or faces over the dry paint with markers. Or glue googly eyes on the faces.
- You can also make regular symmetry paintings (on rectangular paper), then cut the butterflies out after the paintings dry.
- Tack a kaleidoscope of butterflies onto the wall together (that’s what a group of butterflies is called!) or string them into a butterfly bunting.
More Nature Painting Ideas
- Gorgeous Watercolor Butterflies
- 5 Nature Based Art Ideas for Toddlers & Preschoolers
- 22 Nature Art Ideas for Kids
- 13 Nature Walk Ideas
- Painting Butterfly Mobiles
- 12 Ideas for Spring Crafts for Kids
Pin It for Later