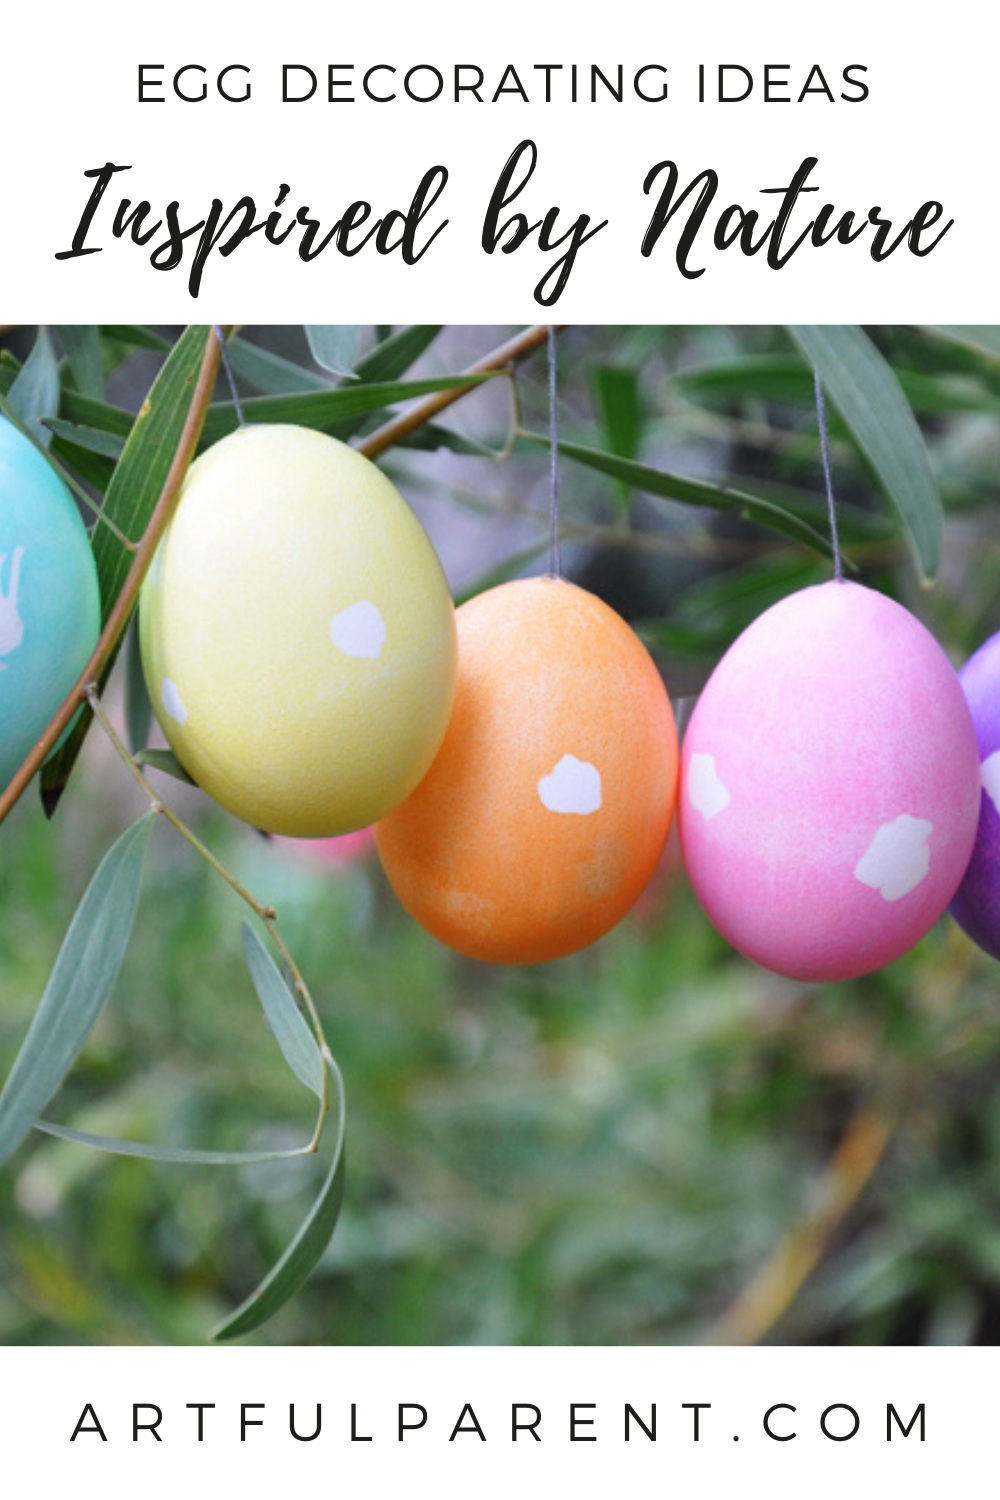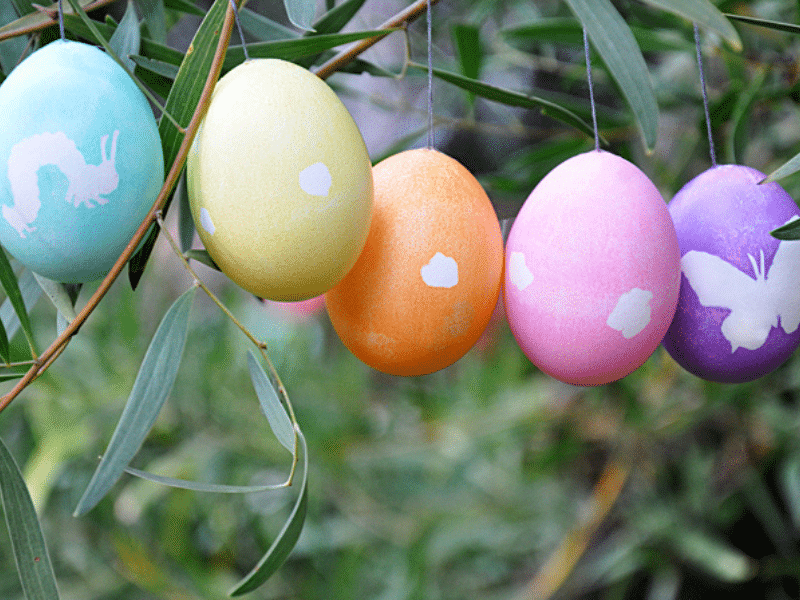
Here are five gorgeous Easter egg decorating ideas inspired by nature and the world around us. Great ideas for kids of all ages!
Updated March 2025
At Imagine Childhood, we’re always looking for a way to add a little nature education into our crafts and activities. And with spring just around the corner, I thought I’d share one of my favorite annual egg decorating traditions: Educational Eggs! This round up features some of my favorite ideas.
Kids love making them, and after all the creative fun, you end up with pretty heirlooms that look beautiful year after year.
First gather your craft supplies together (check below for a few of our favorites). Then select a subject that your child loves at the moment (bugs, butterflies, flowers, stars, planets, etc.) and dive right in. Best of all, it’s easy to adapt the project to any age or skill level.
The simplest versions require only stickers or clear wax crayons and egg dye. If your kids are older and a little more ambitious, they can try their hand at our cameo eggs and make lovely silhouettes. Have a budding artist on your hands? Try lifelike painting from your favorite guide books!
So without further ado, here are a few tips and tricks to get you and your merry brood exploring and creating! I hope you love this round-up of egg decorating inspired by nature.
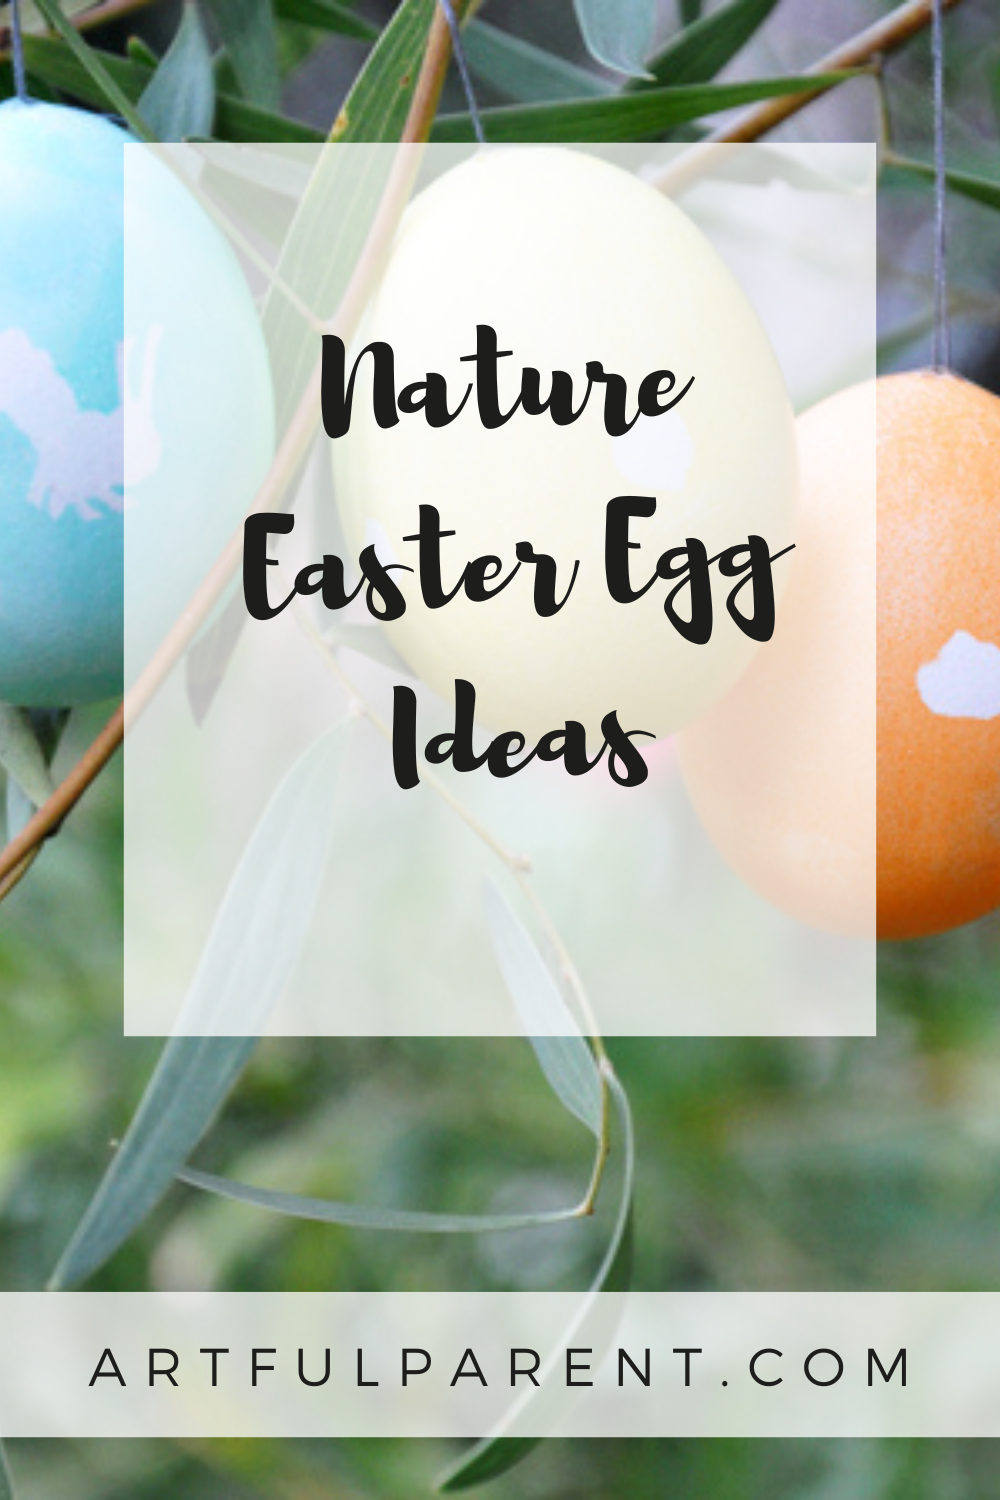
Nature Inspired Egg Decorating Ideas

MATERIALS
- Natural egg dye
- Wax crayons
- Plant/animal/botanical guides (check your library, or we have a great selection here)
- Parchment paper
- Clear packing tape
- Pencils
- Paints
- Pantyhose
Note: Start your projects with clean and dry, blown out eggs. Here’s a quick and easy tutorial for that if you need it.
Now, depending on your kiddo’s skill level and interest, choose one or more of these methods for decorating.
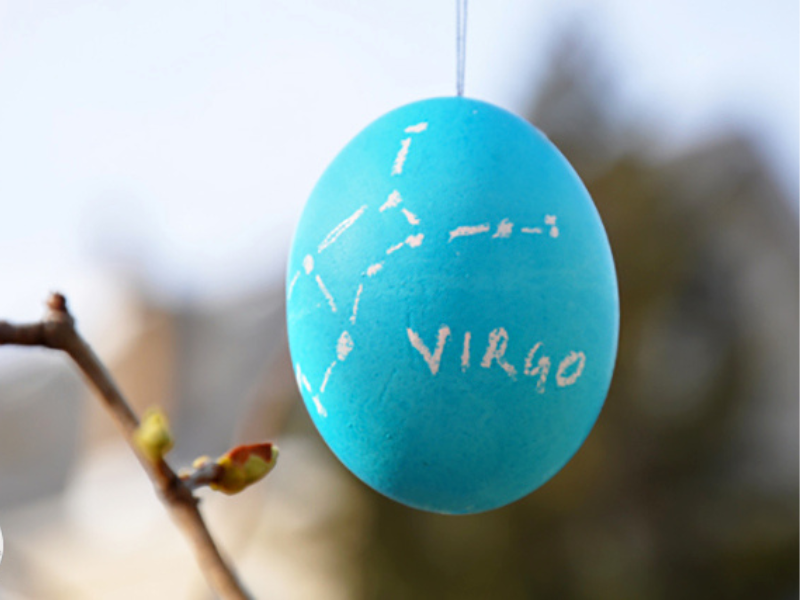
1. Wax Resist Constellation Eggs
Since egg dye won’t penetrate the places you’ve drawn on with clear wax crayon, this simple method can be a lot of fun and even a little bit magic.
We love using this process for constellation eggs. Constellations are simple to draw and a quick dip in a lovely blue will reveal their celestial beauty.
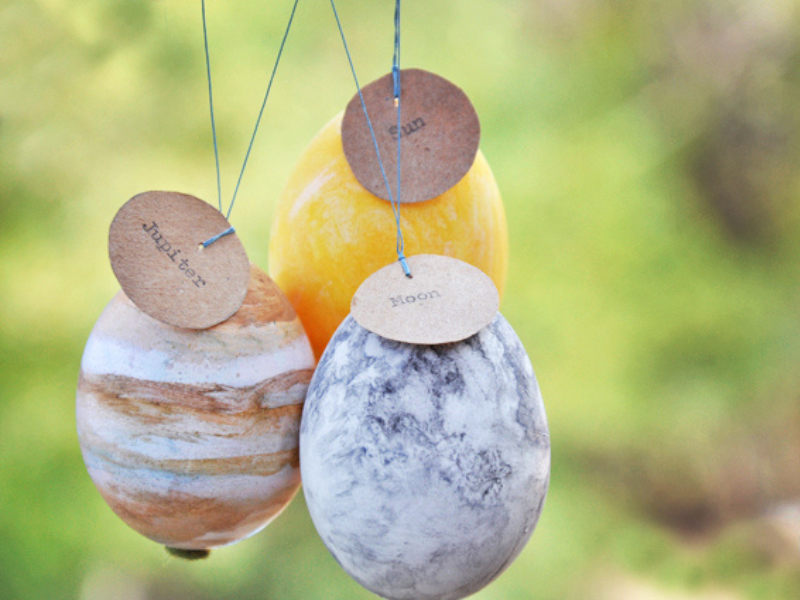
2. Planet Eggs
Use a book about planets to inspire you and try your hand at creating your own solar system! First, dye your eggs to colors that most closely match the planets you want to depict. For the moon and the earth, I chose to leave them white and simply paint the surface. For the other planets I dyed a base color and then used paint on top where necessary.
Dab wet paint with a paper towel to make the blotchy look (like on the moon), or wipe paint around the egg with a paper towel to make the streaked look (like Venus).
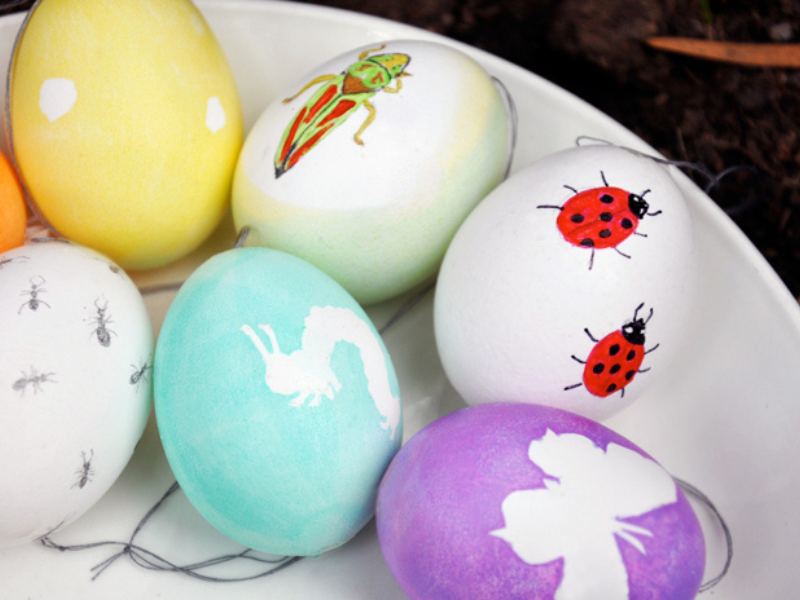
3. Insect Eggs
Spring is a great time for looking for bug inspiration. Make silhouette eggs or try drawing bugs on your eggs!
Place an insect sticker (or make your own!) on an egg and make sure it is well attached, especially around the edges of the sticker. Submerge in a dye color of your choice until it reaches the color you like. When it’s dry, remove the sticker and enjoy the silhouette!
For the more advanced crafters, drawing directly from life or from your favorite guide book can make beautiful eggs. Simply find a specimen and do your best to draw or paint what you see.

4. Cameo Bird Eggs
Submerge an egg in dye, leaving the top face above the liquid. Hold down until it reaches the color you like, and then remove and dry.
I like the way it looks when there is a little color variation around the edge of the oval frame so I dipped most of my cameo eggs in two colors.
Then, use a bird guidebook to help you copy the real-life coloration of your favorites. Or trace a silhouette in the center and fill it in with a solid color for a classic cameo look.
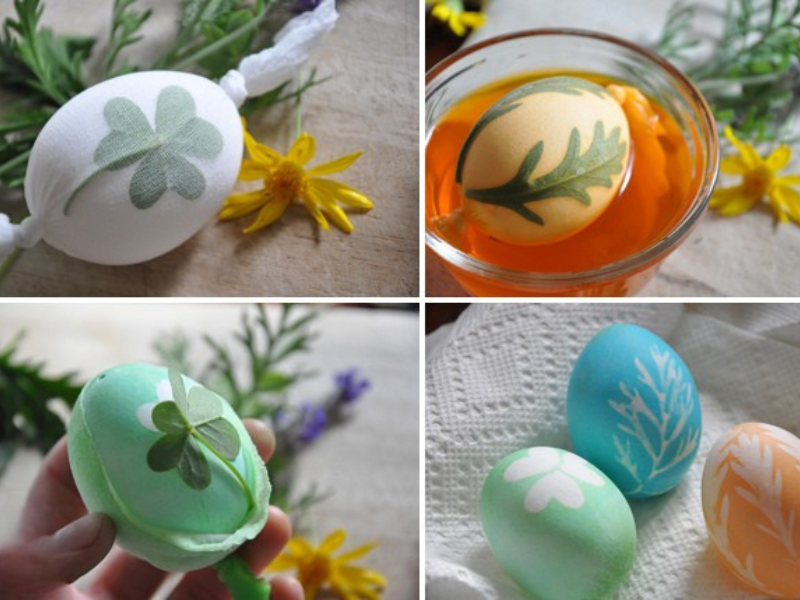
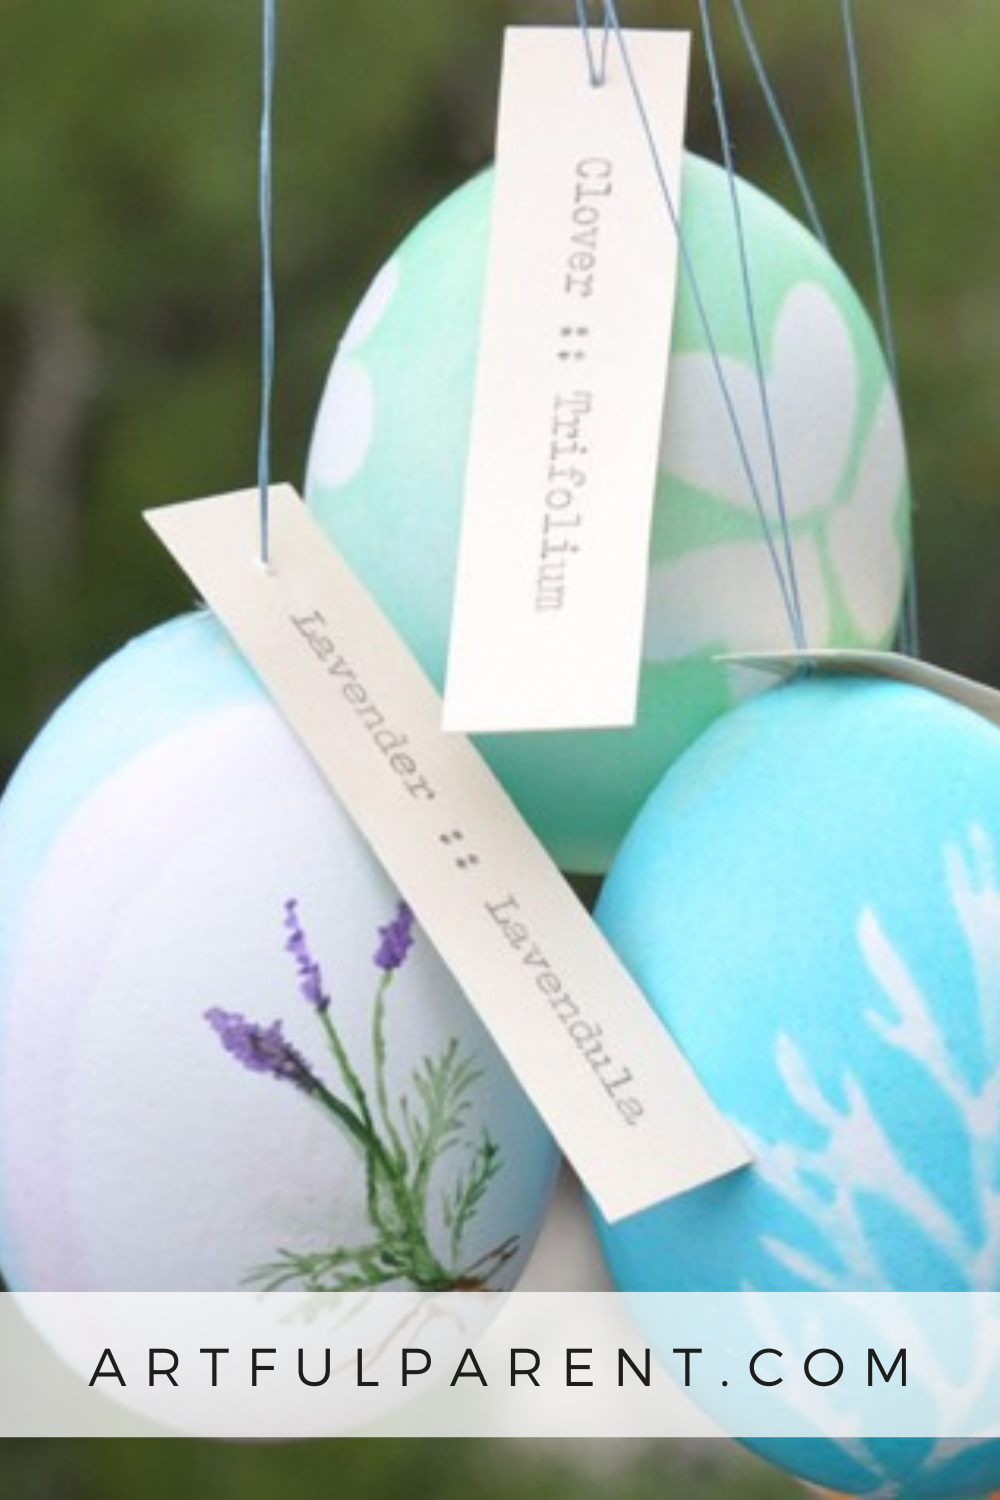
5. Botanical Silhouettes
First, go on a nature walk and collect botanical specimens. I find that specimens with soft leaves (or petals) work best as they create a good seal and a better silhouette.
When you have your specimens, cut one leg of pantyhose into pieces about 5″-6″ and tie a knot in one end. Place your egg inside the tube and the leaves or petals where you would like them to be. Secure the nylon in place with a knot as tight as possible. Dye the eggs and let dry.
Once your egg is dry, remove from pantyhose and enjoy your beautiful botanical silhouette!
We hope you have a wonderful time with these egg decorating ideas, and we’d love to see your beautiful creations. Tag us on Instagram if you’d like to share!
Happy Spring!!
More Egg Decorating Ideas for Kids
- 11 Fun Ideas for Decorating Easter Eggs
- How to Blow Out an Egg for Easter
- How to Dye Easter Eggs with Shaving Cream
- How to Make an Easter Egg Tree
- How to Paint Wooden Easter Eggs
- How to Make Art on Easter Eggs
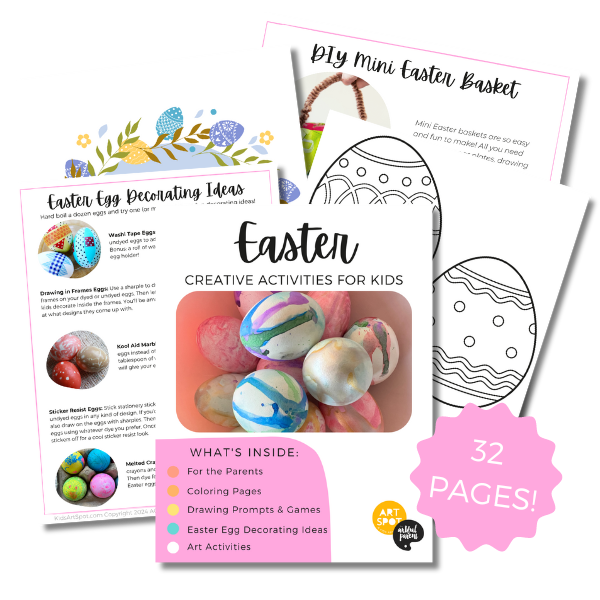
Want even more creative ideas?
Check out our Easter Creativity pack!
Celebrate this fun holiday with all kinds of adorable creative activities! This 32-page printable eBook is full of coloring pages, drawing prompts, games, and more!
Pin It for Later