Learn how to dye Easter eggs with shaving cream marbling! Take our favorite marbling technique and use it to make gorgeous Easter eggs!
Updated April 2025
Here at the Artful Parent, we love trying new methods for decorating Easter eggs. We’ve tried marbling with Kool Aid and oil, we’ve tried wax resist dyeing, and we’ve also tried plenty of no-mess options, like using washi tape.
But up until last year, we’d never tried shaving cream marbled eggs! This is one of our favorite marbling techniques, so it makes sense that we’d use it to dye Easter eggs. And the results are pretty cool!
How to Dye Easter Eggs with Shaving Cream
MATERIALS

- Hard-boiled eggs*
- Shaving cream (foam, not gel)
- Food coloring or liquid watercolors
- A shallow dish or tray
- Spoon
- Toothpicks or skewers (optional for swirling)
- Paper towels or old newspapers for cleanup
*With egg prices reaching record highs this year, dyeable plastic eggs—available for as little as $1.98 per dozen at retailers like Walmart—offer a budget-friendly and reusable alternative for your Easter egg decorating.
INSTRUCTIONS
- Prepare your work area
Lay down some old newspapers or an old tablecloth on your work surface to protect it from any mess.
- Fill your dish with shaving cream
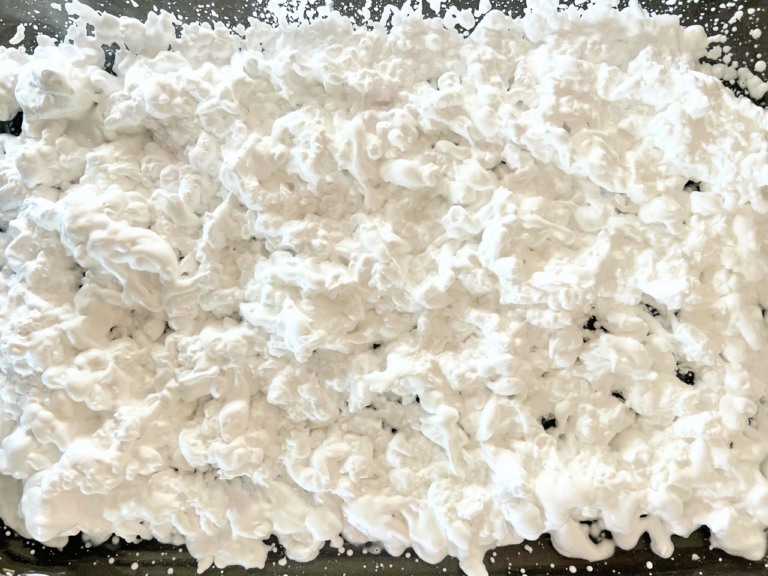
Spray a layer of shaving cream onto a shallow dish or tray, making sure it’s thick and covers the entire bottom surface.
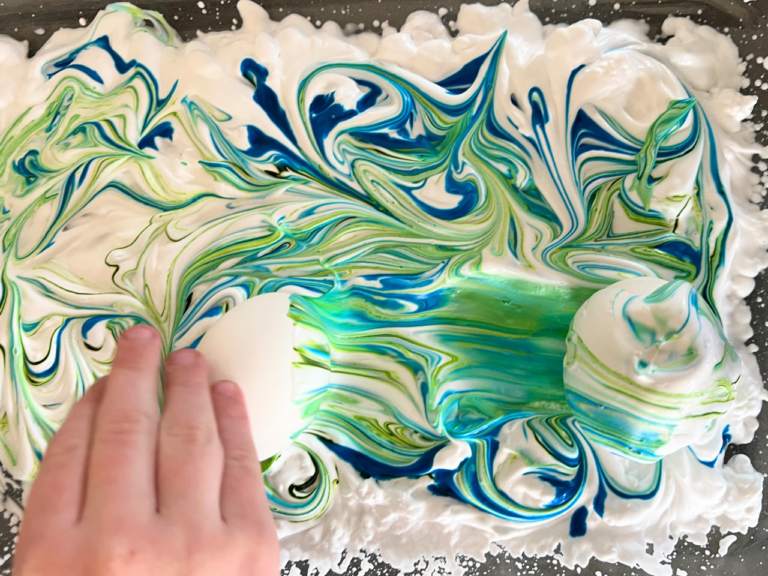
- Add color and swirl!
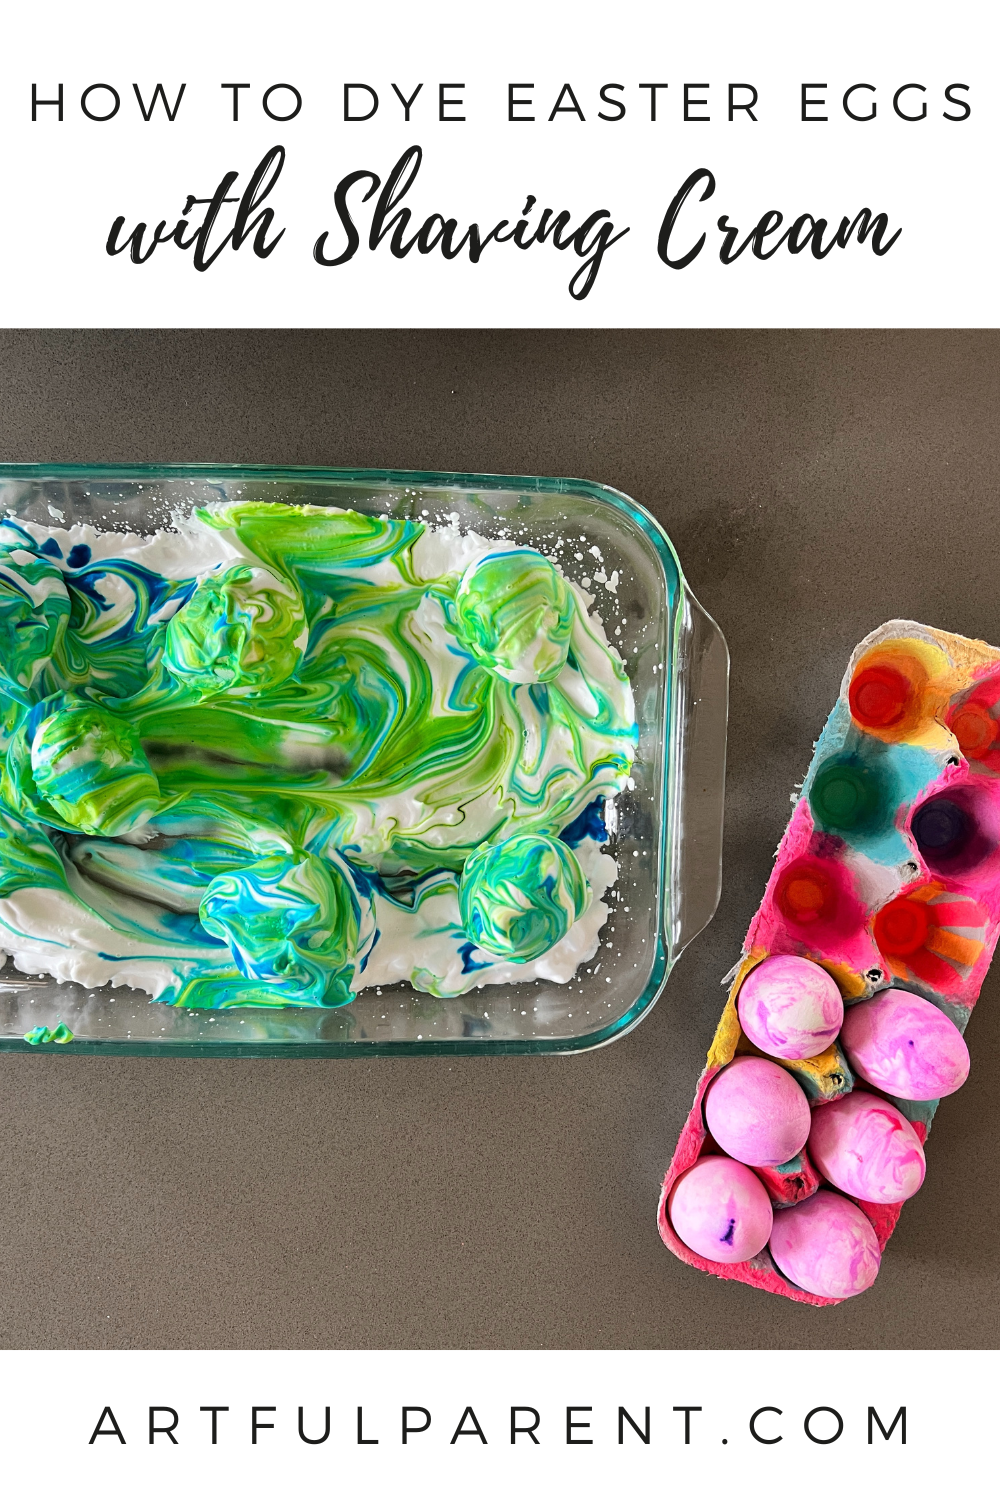
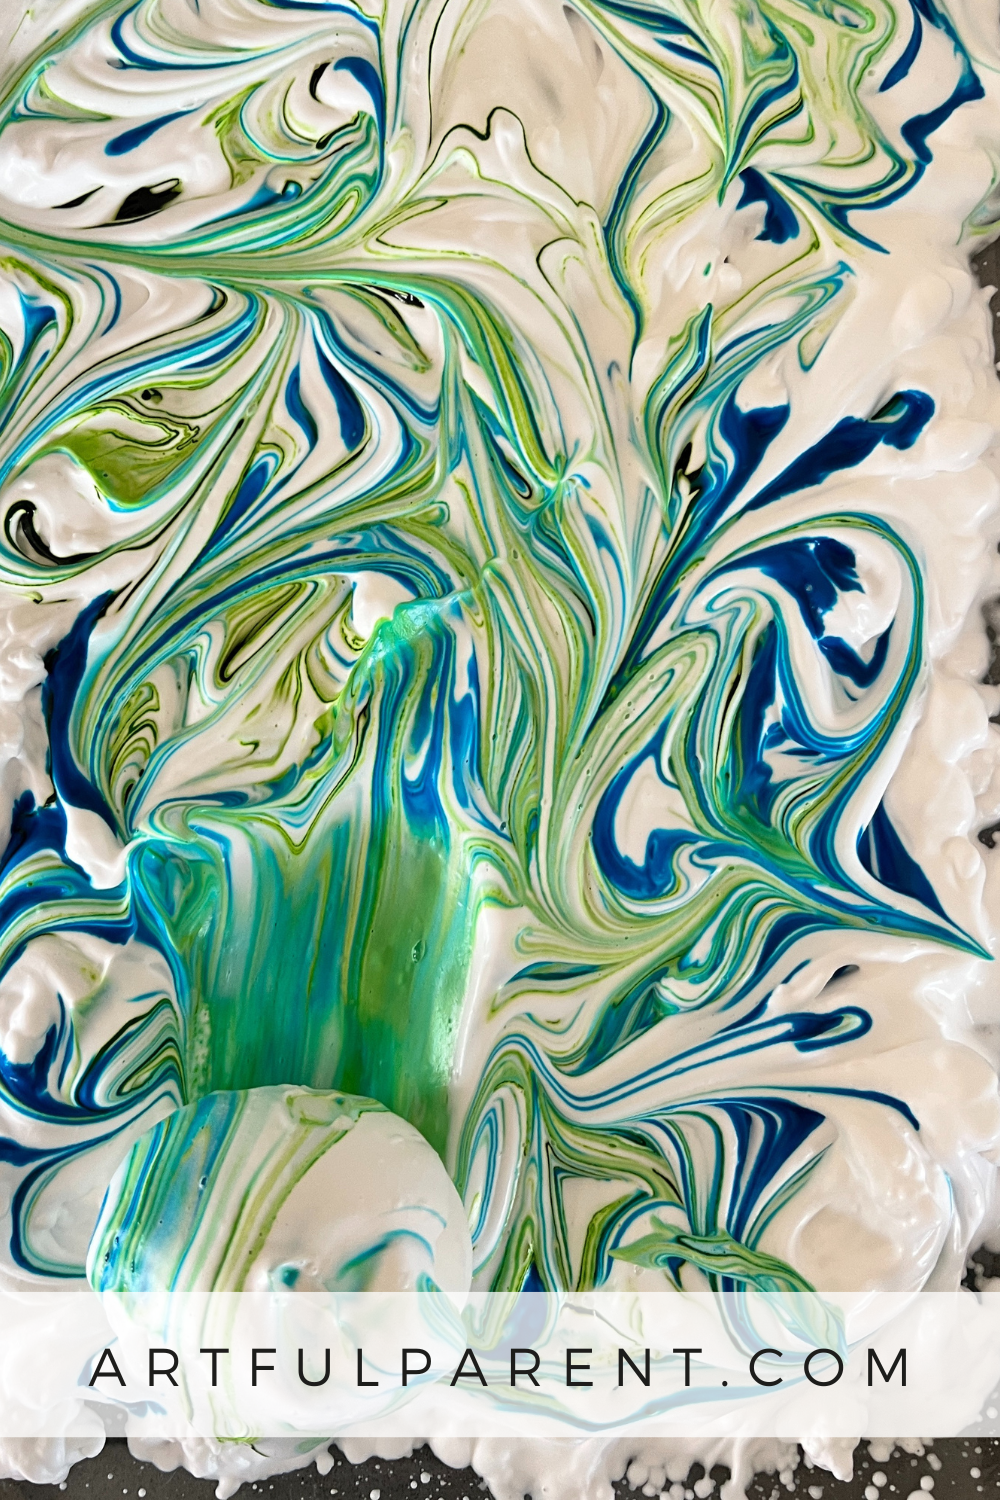
Drip or squirt drops of food coloring or liquid watercolors randomly over the surface of the shaving cream. Feel free to use multiple colors for a more vibrant effect. Then use a toothpick or skewer to gently swirl the colors into the shaving cream.
Encourage your kids to make swirls, zigzags, or any other patterns they like, but try not to overmix it.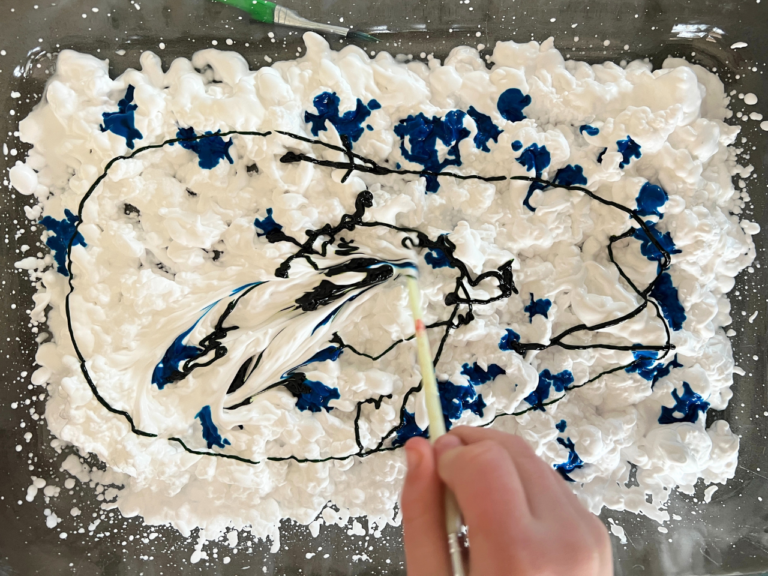
- Roll your eggs
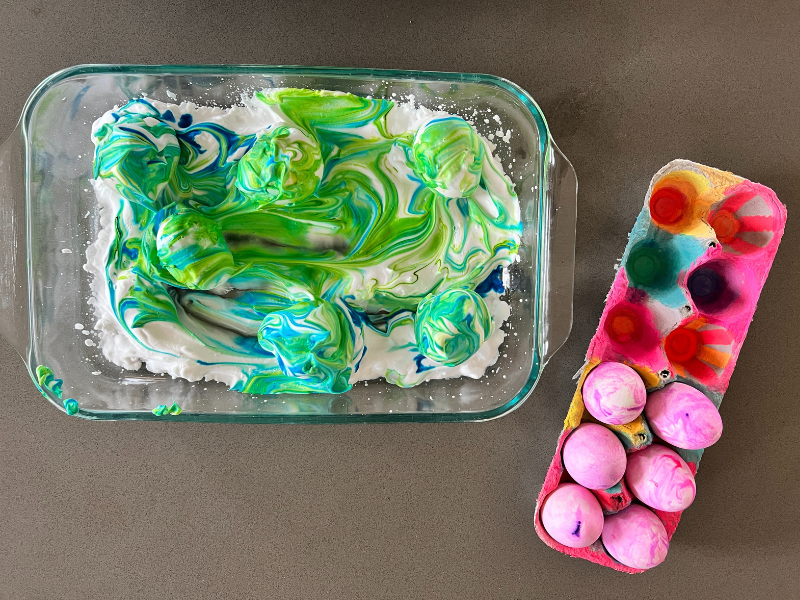
Carefully roll each hard-boiled egg in the colored shaving cream mixture, ensuring that it gets covered on all sides.
Once the eggs are coated, let them sit in the shaving cream mixture for about 5-10 minutes. This allows the dye to adhere to the eggshells.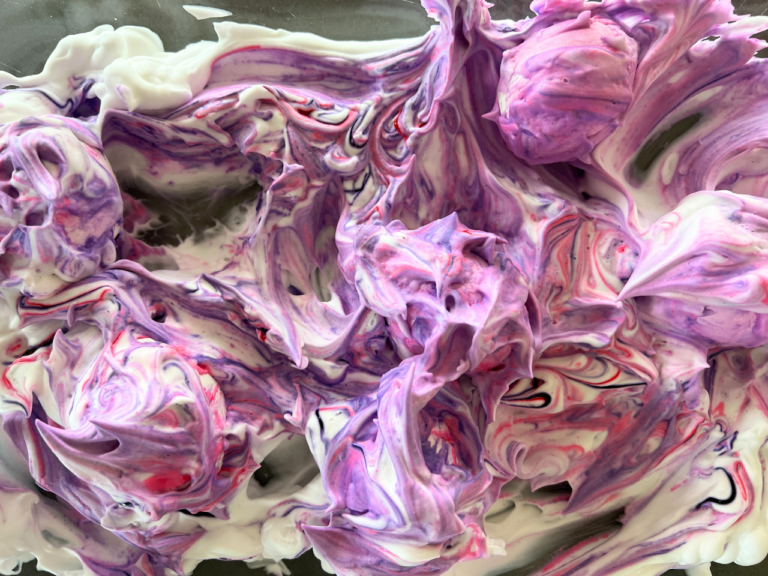
- Wipe off the excess and let dry
After waiting 5-10 minutes, use a paper towel or a dry cloth to wipe off the excess shaving cream from the eggs. You’ll notice that the colors have transferred onto the eggshells, creating beautiful, marbled patterns.
Place the eggs on a clean, dry surface to air dry completely. We like drying them in an old egg carton. Be sure to avoid touching them until they are fully dry to prevent smudging the colors.
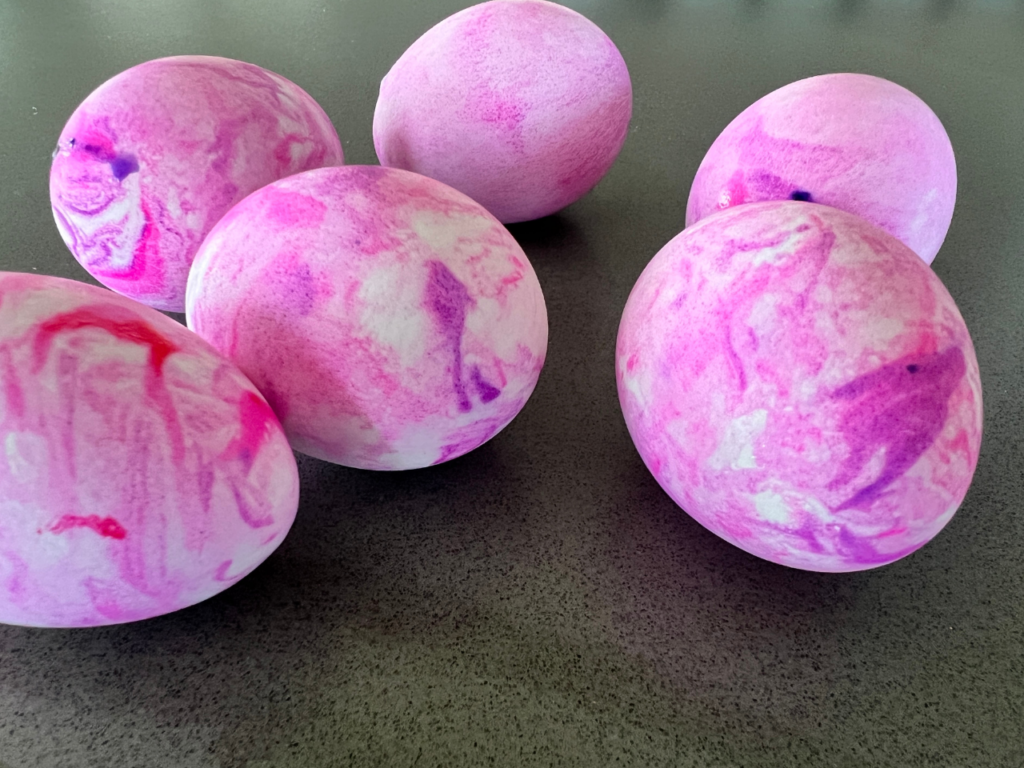
Once they are dry, your marbled eggs are ready to be displayed as Easter decorations or hidden for an Easter egg hunt!
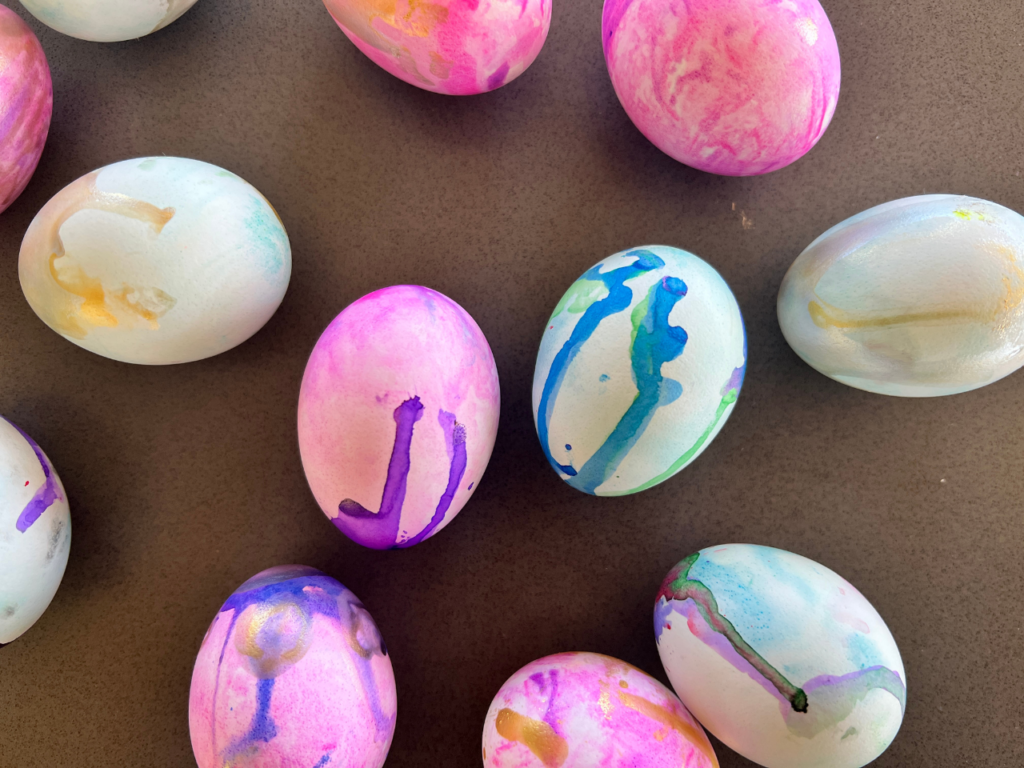
In trying this out, we found that some of the colors were brighter on the eggs than others. The neon pink was especially bright!
The eggs that weren’t as vibrant ended up get a second coat of paint using liquid watercolors and droppers. And honestly, they are my favorites of the batch!
More Easter Egg Decorating Ideas for Kids
- 11 Ideas for Decorating Easter Eggs for Kids
- 30 Easter Activities for Kids
- 5 Easter Egg Decorating Ideas Inspired by Nature
- 8 Easter Crafts for Kids this Spring
- 11 Easter Craft Ideas for Kids
- How to Make Art on Easter Eggs
Pin It for Later