Fun backyard ideas that encourage active play with gardening, creative play and ways to embrace nature in your outdoor space.
Updated April 2025
It can feel like a big job transforming the outdoor space at your home (whether it be a backyard, front lawn, patio, or deck) into a space that your kids will want to go out and play in! We’ve found that a space that is a blank slate, like a flat lawn, can be tricky to entice kids to play with, and can even be depressing for us to look at!
But turning your outdoor space into a kid-friendly, frequently used space for active play doesn’t have to be a big job. It doesn’t take a lot of time, energy or money to make a yard fun and appealing to children.
And we all know how important play is, right?! Mister Rogers got it right when he said that play is the work of childhood.
Fun Backyard Ideas for Kids
As you consider your own backyard, think about which aspects you already have, which ones might need an update, and which details you would like to add.
Don’t feel like you have to incorporate all of these to get your kids outside to play!
Simply use these ideas as a starting point for making your outdoor space more kid-friendly (even if it’s simply a balcony!).
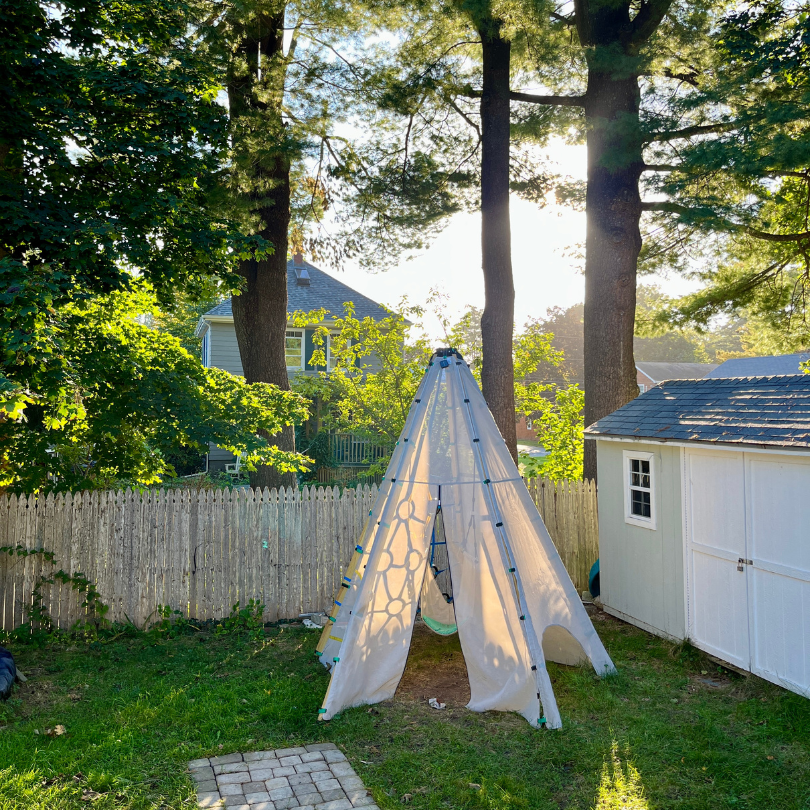
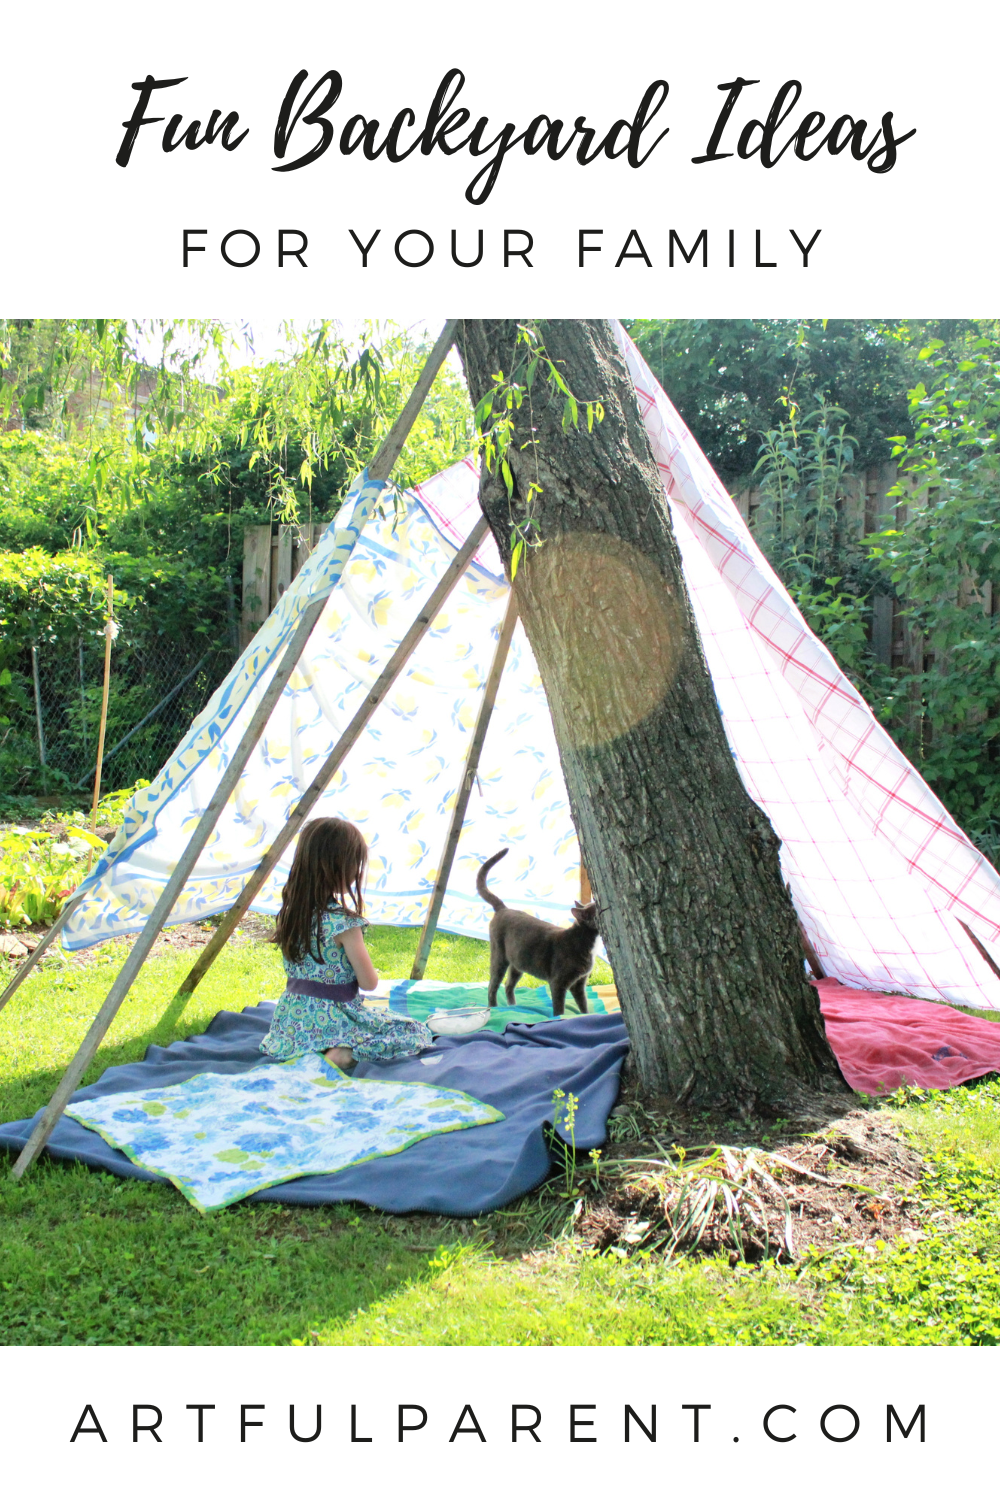
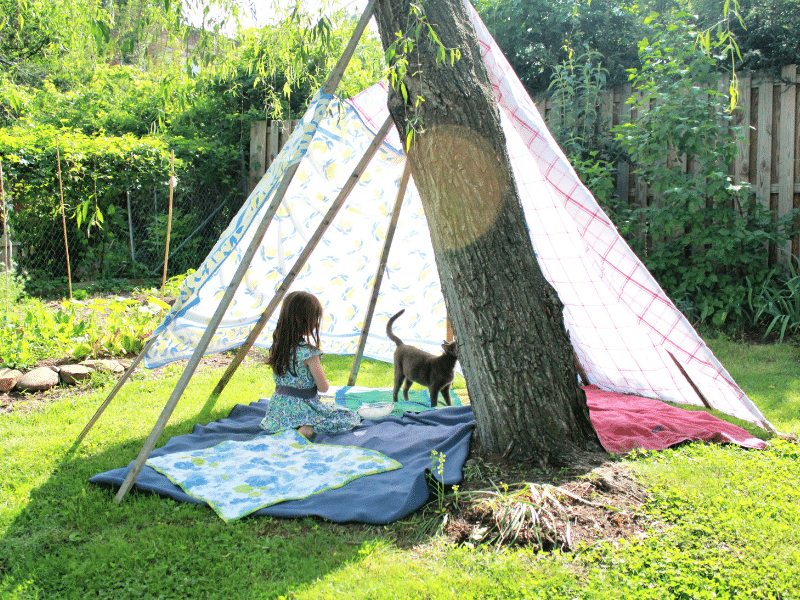
1. Create a Play Space or Outdoor “Room”
Give kids a feeling of privacy and intimacy for their play. Your yard may already provide this with nooks, corners, or trees. But you can also create “rooms” by adding shrubs or trees, a trellis, an umbrella or canopy, or some sort of fort or hideaway.

Some other ideas for creating spaces:
- A bean pole tent
- Or a fabric tent
- A frame playhouse (on Bev Cooks)
- Sunflower house (on Let’s Lasso the Moon)
- Fort Magic Playhouse
- An old tent
- An umbrella or a shade canopy
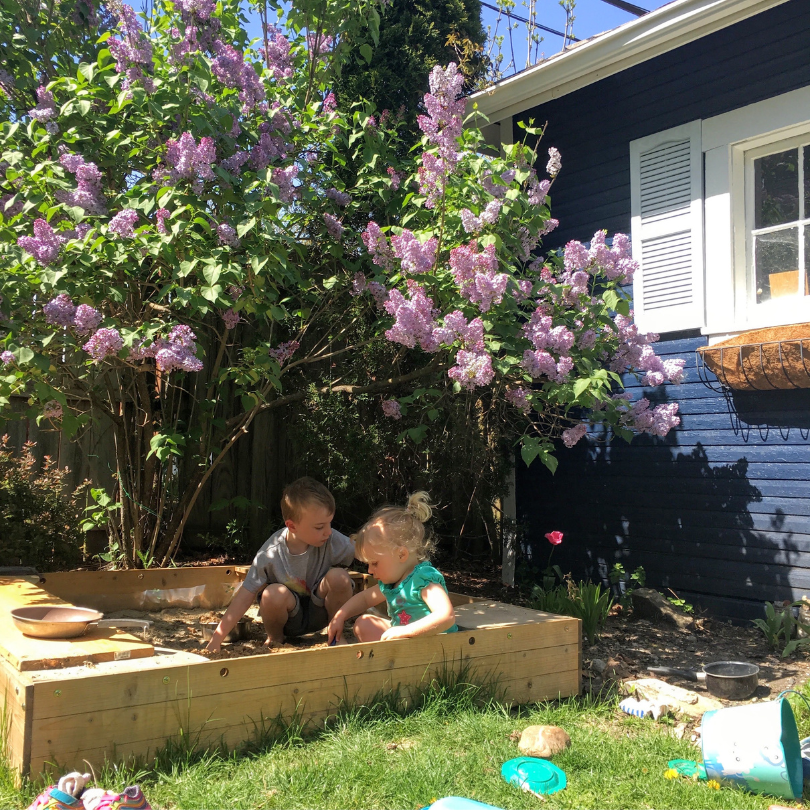
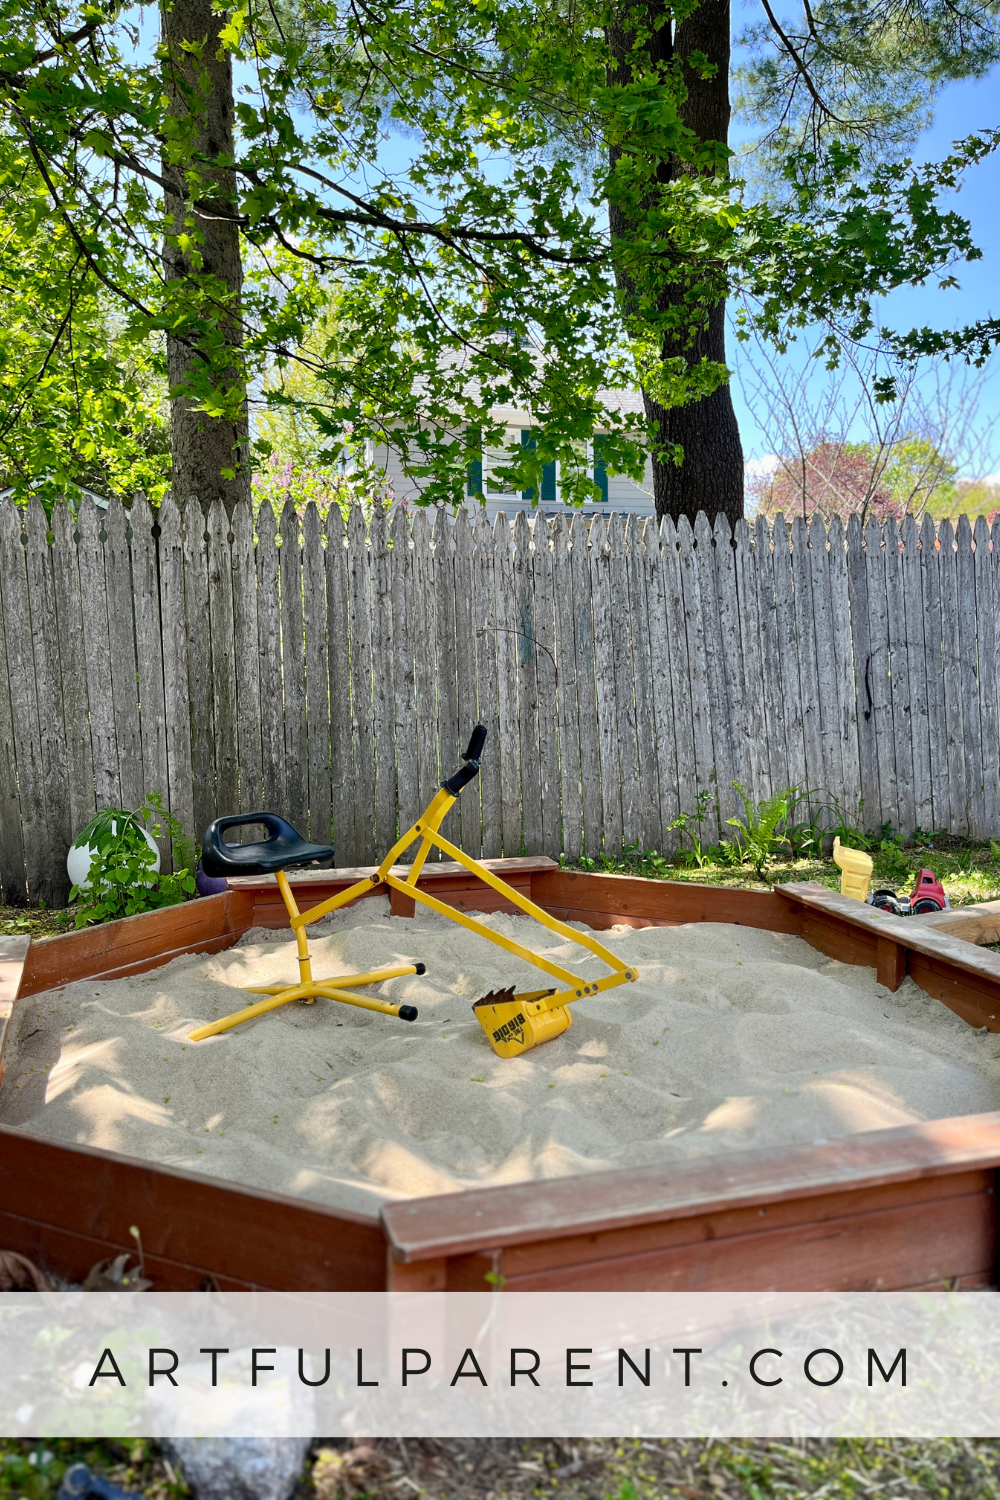
2. An Outdoor Sandbox
A place to dig in the sand (or dirt), mold it, build with it, and touch it is an important element of a kid friendly backyard. Sand is both a wonderful sensory experience and fun to manipulate. You can buy or build your own DIY sand box, sand pit, or sand table and outfit it with a few basic sand toys.
Sandbox Toys
- Scoops, shovels, and buckets
- Molds (we also love these cupcake molds!)
- Construction vehicles
- Funnels or this funnel tower!
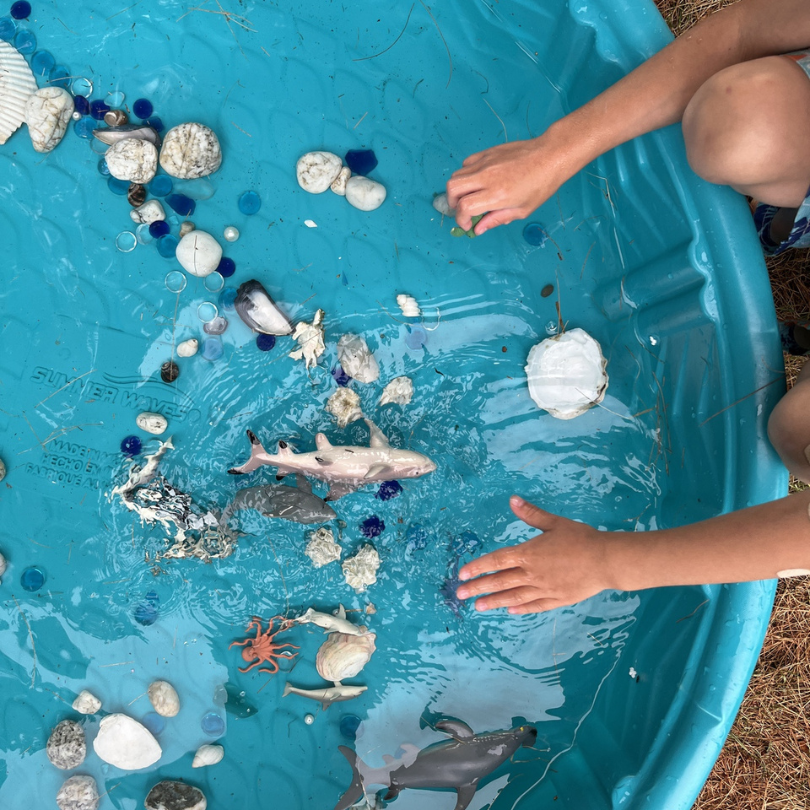
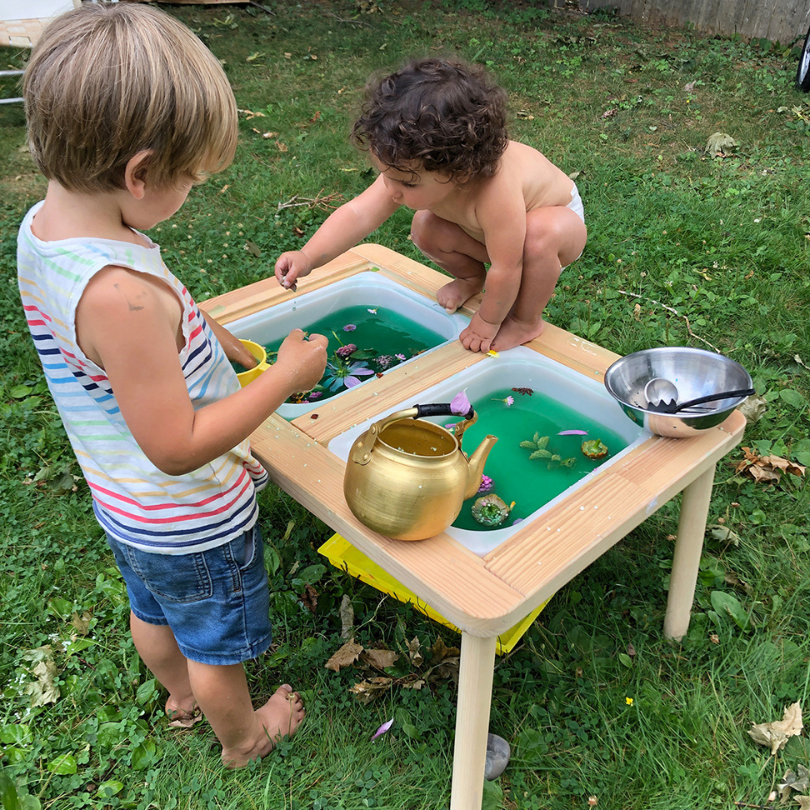
3. Outdoor Water Play
Water is another fun sensory experience for children, especially in warm weather. Kids love to run through a sprinkler on a hot day, play with water balloons, splash in the kiddie pool, and water the garden. Here are a few more ways to incorporate a water element in your space.
- A water table (for the littles)
- Slip n slide
- DIY water wall (on Tinkerlab)
- A water fountain

4. Outdoor Art Activities
You know we are all about art and creativity, whether indoors or out. Sometimes we do art outside, just because it’s so nice out and anything we do needs to be outside.
And sometimes we do outdoor art activities that are best suited to the backyard, because they are big or messy projects, or they involve nature or outdoor equipment.
An easy way to incorporate art outside is to bring the kids’ easel out for some fresh air painting!
The same is true for the sensory table. We like to bring messier sensory play outdoors during warmer weather which makes for an easier cleanup.
The nice thing about outdoor art is that you don’t need to worry about paint dribbles and splashes!
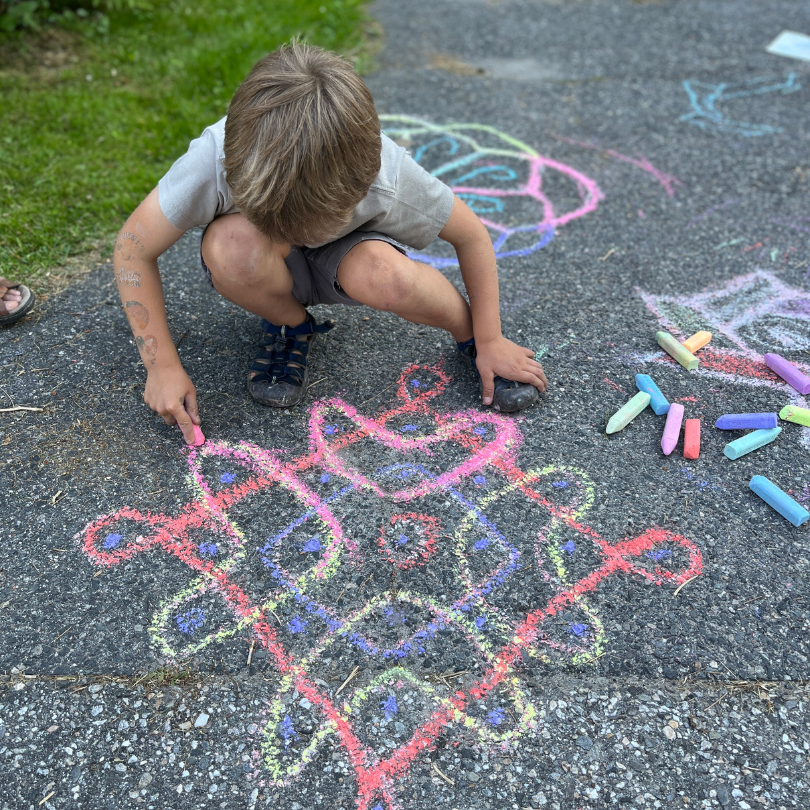
5. Chalk, Chalk, Chalk
Sidewalk chalk is a childhood staple and is used for everything from sidewalk drawings and body tracings to games. Mandala stencils are a fun way for older kids to get into chalk art as well.
Chalk paint is another fun material to explore outdoors. And since chalk washes away easily with rain or the hose, kids can draw in many places.
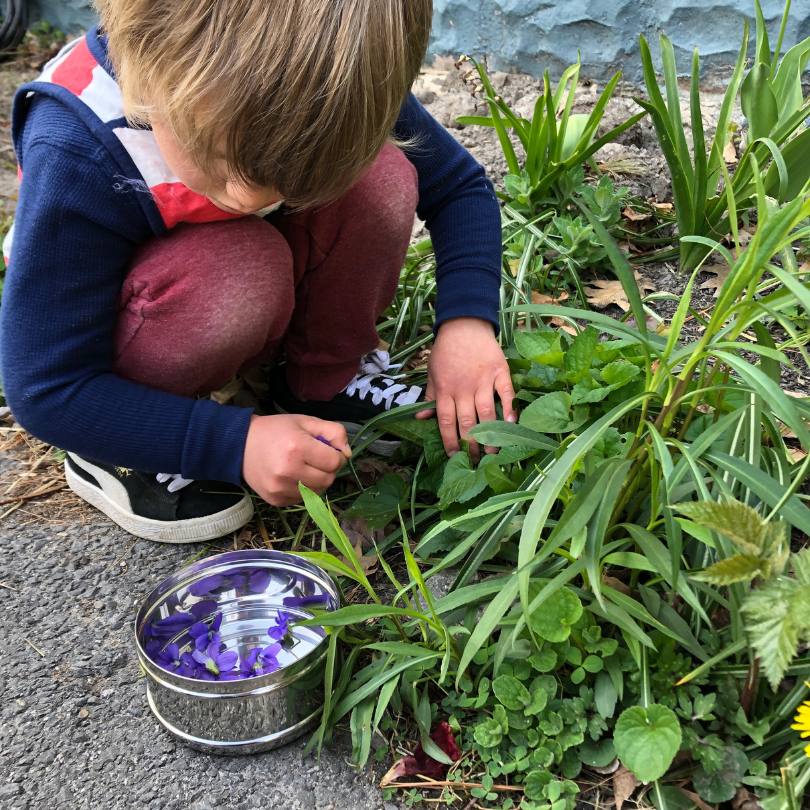
6. A Kids’ Garden
Any kind of garden that a child has ownership of is a wonderful experience. Watching a seed grow into a plant (and then into a fruit, flower, or vegetable!) is a magical learning experience. It’s also a wonderful opportunity to exercise responsibility for a child.
We encourage any parent to give children their own garden space, whether in a pot or a small plot in the ground, and the support to help make it a success.
Some children’s gardening tools to consider:
- Trowel and hand tools
- Child-sized watering can
- Child-sized wheelbarrow
- A small shovel and other gardening tools
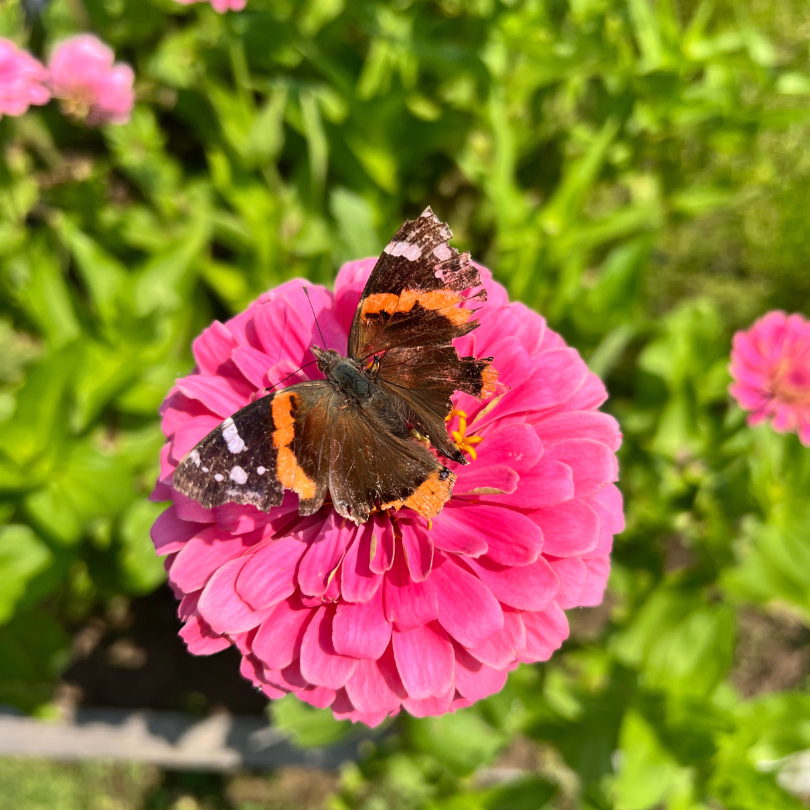
7. Attract Birds and Butterflies
Our kids LOVE watching the birds, hummingbirds, and butterflies in our garden. You can make your garden friendly to wildlife by planting native flowers, shrubs, and trees around the perimeter of your yard to provide shelter and food.
Add bird feeders, a bird bath, and bird houses as well, if you can. We’ve painted bird houses in the past and even assembled our own from kits. Or you can add a bee and bug hotel to help pollinators and beneficial insects.

8. Nature Observation Kit
Treat your backyard like a natural science lab by having a few key observation tools handy:
- Butterfly nets can be used for catching insects.
- A jar with holes in the lid or a bug house can be a temporary insect observation room.
- A magnifying glass is helpful for looking closely at your subject.
- A set of binoculars allows kids to watch larger bird and animal life more carefully.
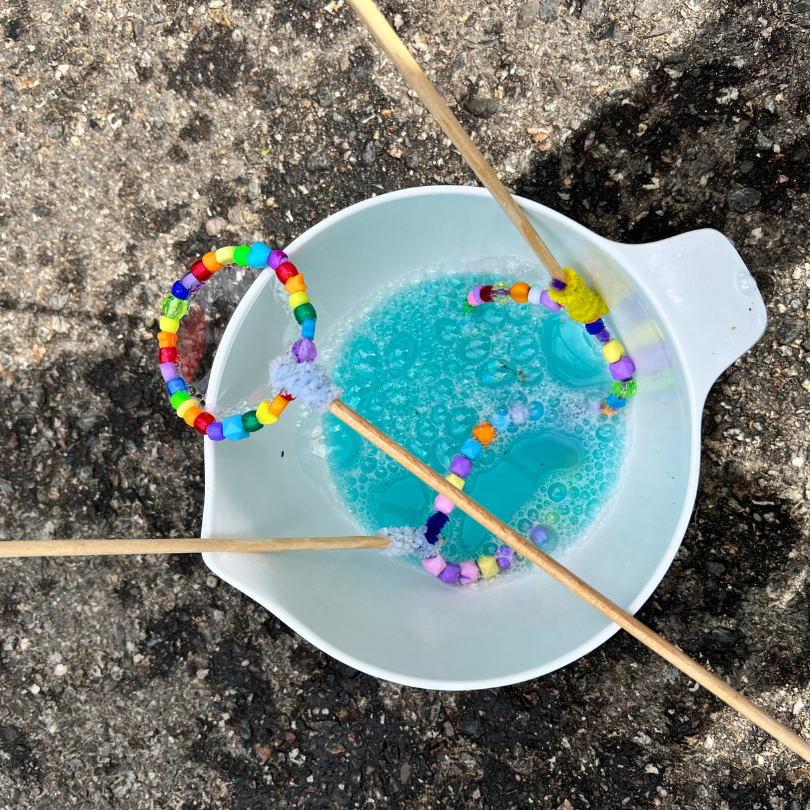
9. Bubbles!
This is a no brainer. Bubbles are magical and fun for most children. They also arguably provide the biggest bang for the buck when creating a kid friendly backyard.
We’ve tried all kinds of wands, machines, and bubbles and they are all a big hit. We’ve even made our own beaded bubble wands! We especially like the larger multi-bubble wands and a never-ending supply of homemade bubble solution in a shallow bowl.
Or try this bubble kit to create gigantic bubbles that will wow your kids!

10. Toys for Outdoor Play
Basic childhood toys, such as balls, hula hoops, jump ropes, and stilts are great for simple, active fun. One of our favorites, though, is a set of activity cones which are fabulous for open-ended play as they can be used so many different ways. They are perfect for setting up obstacle courses, made-up games, and races.
A trampoline is another backyard element that you may want to consider. Our large 15 foot trampoline has been well worth the investment and doubles as a backyard room. The kids play there every day and it’s the playdate hangout of choice. (Or you might try a mini trampoline that can be moved indoors or outdoors).
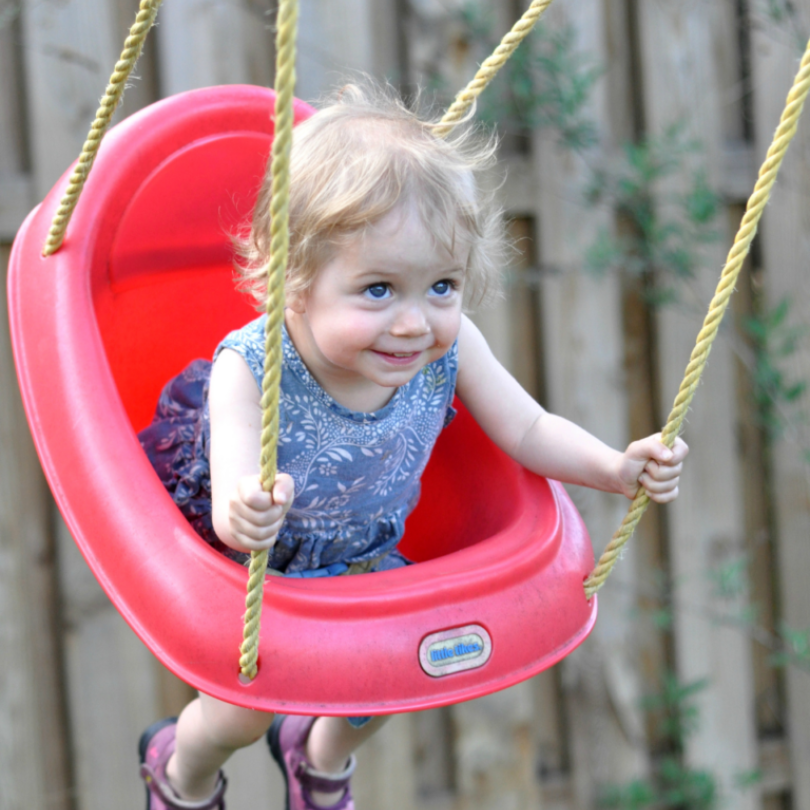
11. Backyard Swings
Swings are fun and soothing, great for developing equilibrium and balance, and a superb way to be active. The swing set at our old house (a big wooden DIY affair) got more use over the years than anything else in our backyard––even the much-loved sand box. If you have space for a swing set or a tree swing, it can be a worthwhile addition.
How about you? What are your family’s favorite kid friendly backyard ideas? What do you have in place that’s working well for you? And what would you like to add to make your outdoor space more inviting and workable?
More Outdoor Play for Kids
- 21 Outdoor Art Ideas for Kids
- 10 DIY Outdoor Games for Summer
- 22 Nature Art Ideas for Kids
- The Best Children’s Books About Gardening
- 13 Nature Walk Activities for Kids (+ FREE Nature Scavenger Hunt Printable!)
- 16 Garden + Nature Crafts for Kids
Pin It for Later