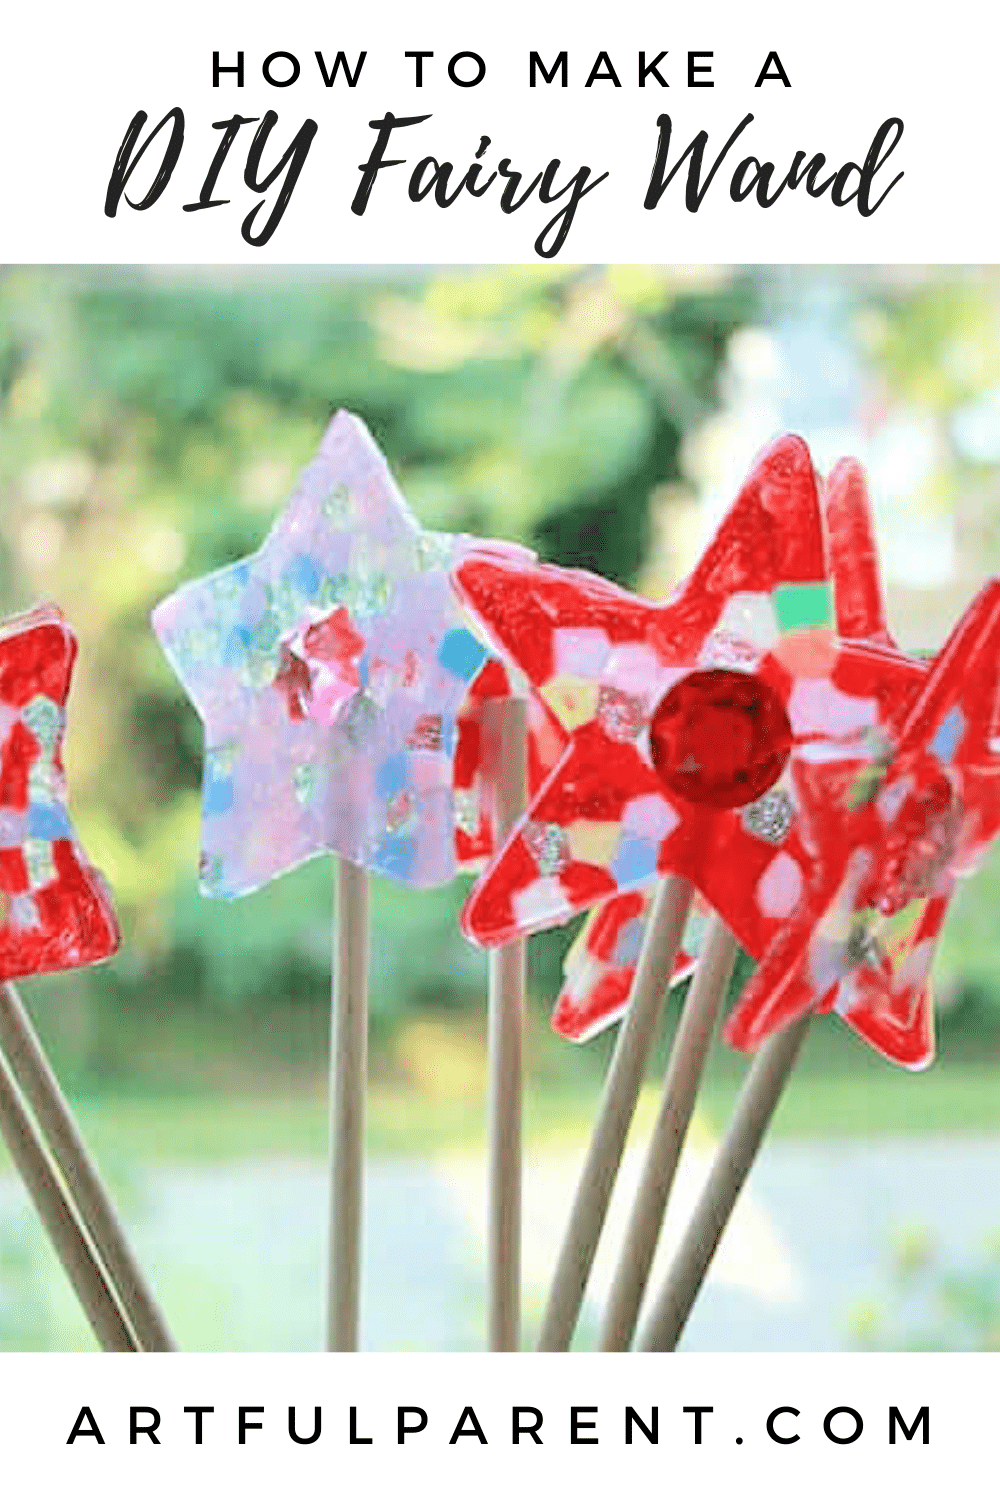
Learn how to make a dazzling DIY fairy wand from plastic beads! These kids’ fairy wands make great gifts, party favors, and pretend play accessories!
Updated May 2022
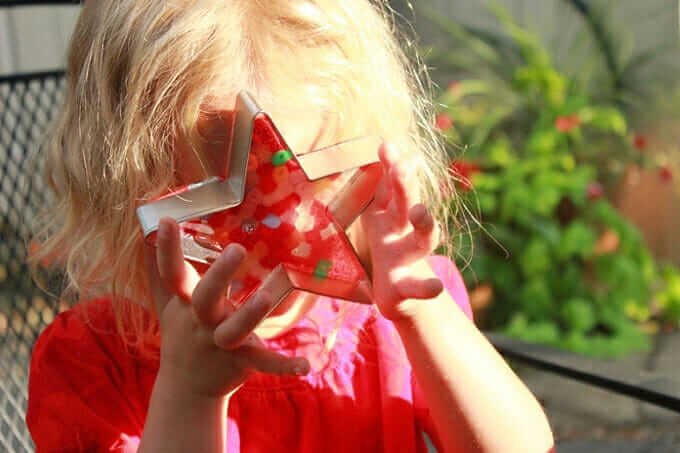
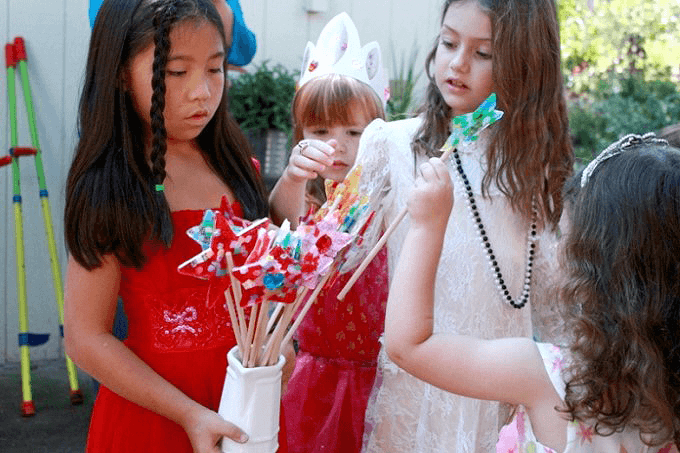
Do you have a little fairy in the house just pining for some fairy wands to love? These easy DIY fairy wands were a big hit with our kids and their friends. They also make great party favors!
How to Make a DIY Fairy Wand with Beads
MATERIALS
- Translucent pony beads
- And/or Glitter pony beads
- Star-shaped metal cookie cutters
- Metal baking sheet*
- Aluminum foil
- Electric/gas grill or toaster oven (preferably outside)
- Wooden dowels
- Hot glue gun
- Acrylic jewels/gems (optional)
*After doing this several times, we’ve decided that it’s best to use older or thrift store baking dishes that you’ll dedicate to crafts.
INSTRUCTIONS
- Prepare suncatcher supplies
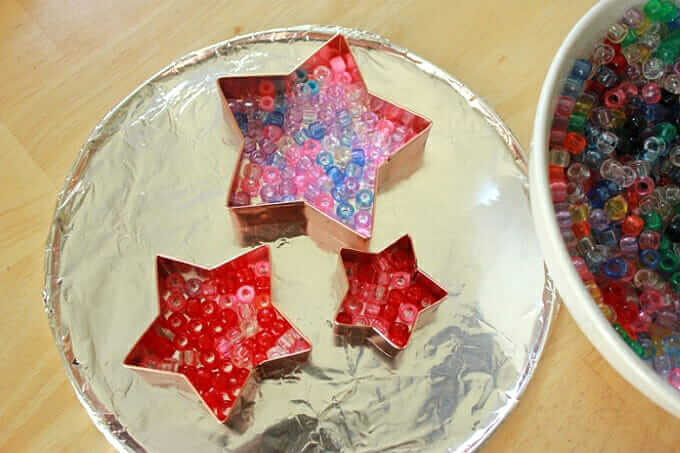
First, place cookie cutters on a foil-covered baking sheet.
- Fill cookie cutters with beads
Next, fill the star with the pony beads of your choice. You can go for random, abstract, or representational designs.
- Melt the beads
Important Note! The melting plastic is not good to breathe, so this step is best done outside.
We make all of our melted bead suncatchers on the gas grill outside, so that we don’t get any toxic chemicals inside. The grill works great and only takes about 10 minutes! You could also use a toaster oven outside. But whichever way you melt the beads, be sure to do so outside!
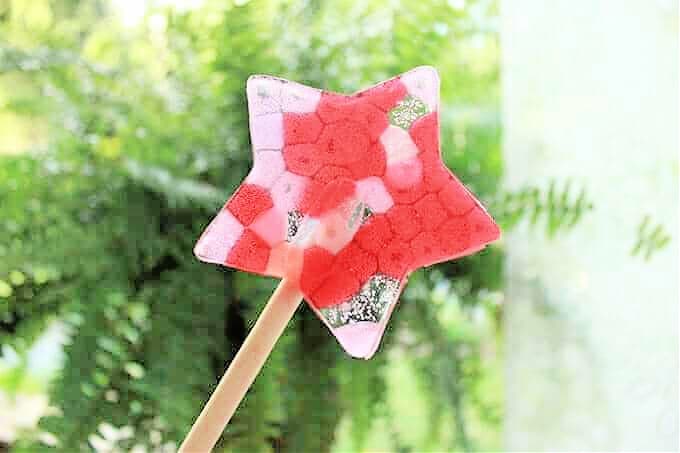
Bake for 5-15 minutes at 400-450 degrees F. The time will vary depending on the size of the stained glass and the temperature. We typically set a timer for 5 minutes and then check it frequently after that. - Remove from cookie cutters
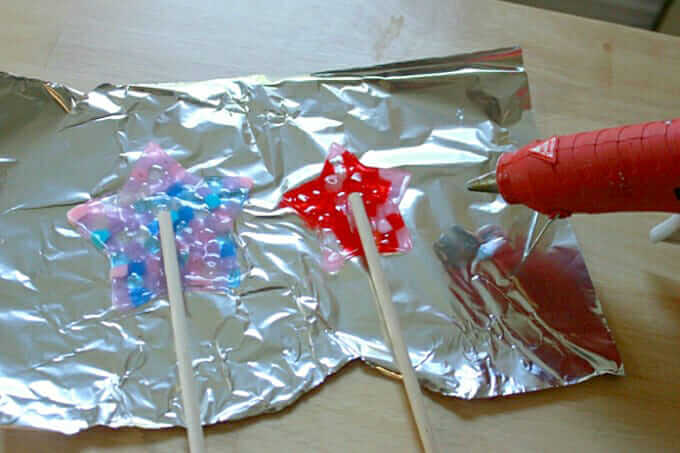
Remove the tray when the beads are completely melted and flat. Be careful not to allow it to get too hot and start to bubble. Allow the stars to cool completely then pop the stars out of the cookie cutters.
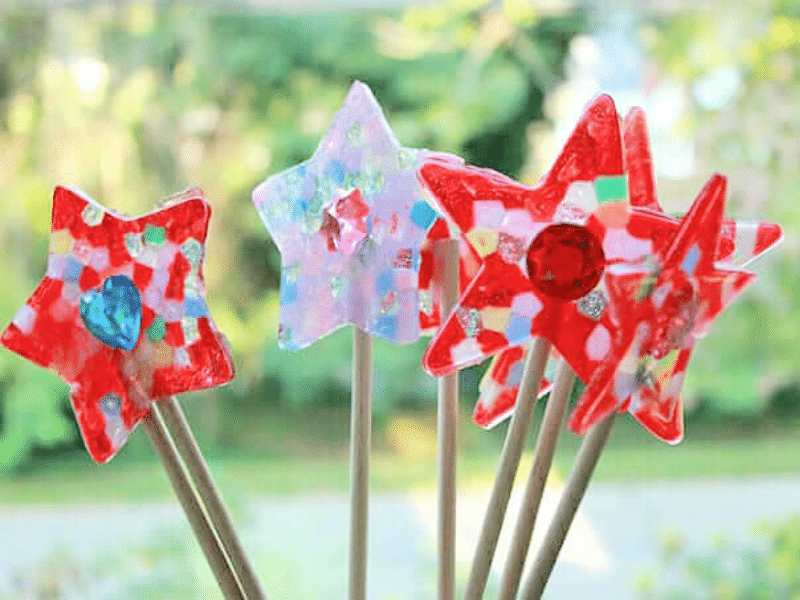
- Glue a dowel to a star
Use a hot glue gun to attach the wooden dowels to the backs of the stars. You could also tie a ribbon to each wooden dowel as well.
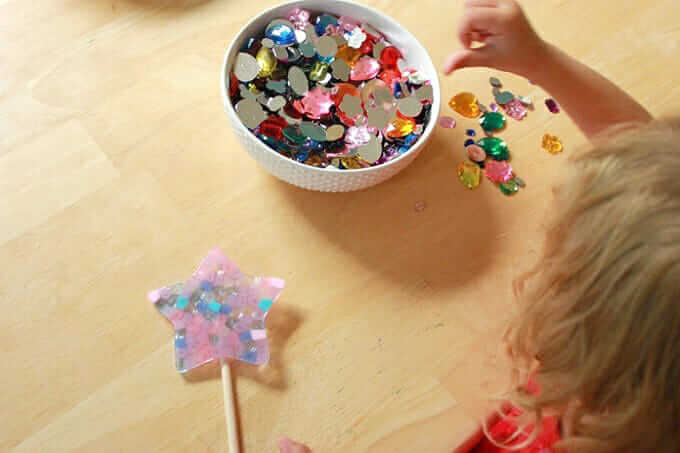
- Add jewels to wands
You can let your kids sort the jewels by color and let them choose the ideal jewel for the center of each fairy wand.
Then glue the acrylic jewels to the center of the star wands with a hot glue gun. (Adults can do this step.)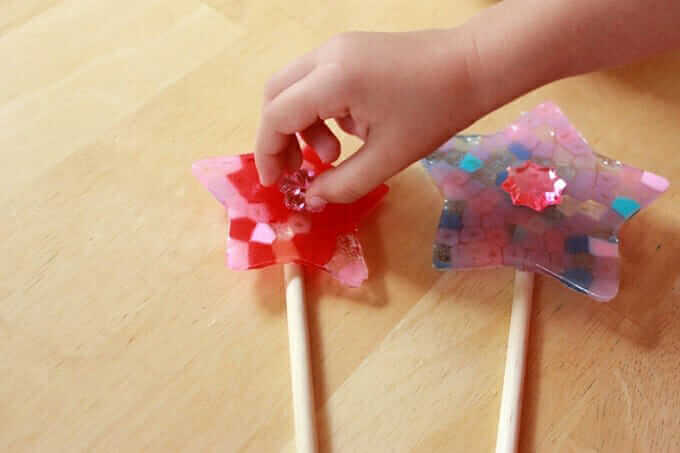
Now admire your lovely new handmade fairy wands!
More Dress Up Crafts for Kids
- How to Make Fairy Wings with Cardboard and Doilies
- Make Children’s Fairy Wings with Flower Fairies
- How to Make Paper Flower Crowns and Necklaces
- Craft Ideas for Kids that are Perfect for Pretend Play
Pin It for Later