Mini Easter baskets are easier to make than you might think! Here are simple instructions for this Easter craft with paper plates.
Updated January 2024
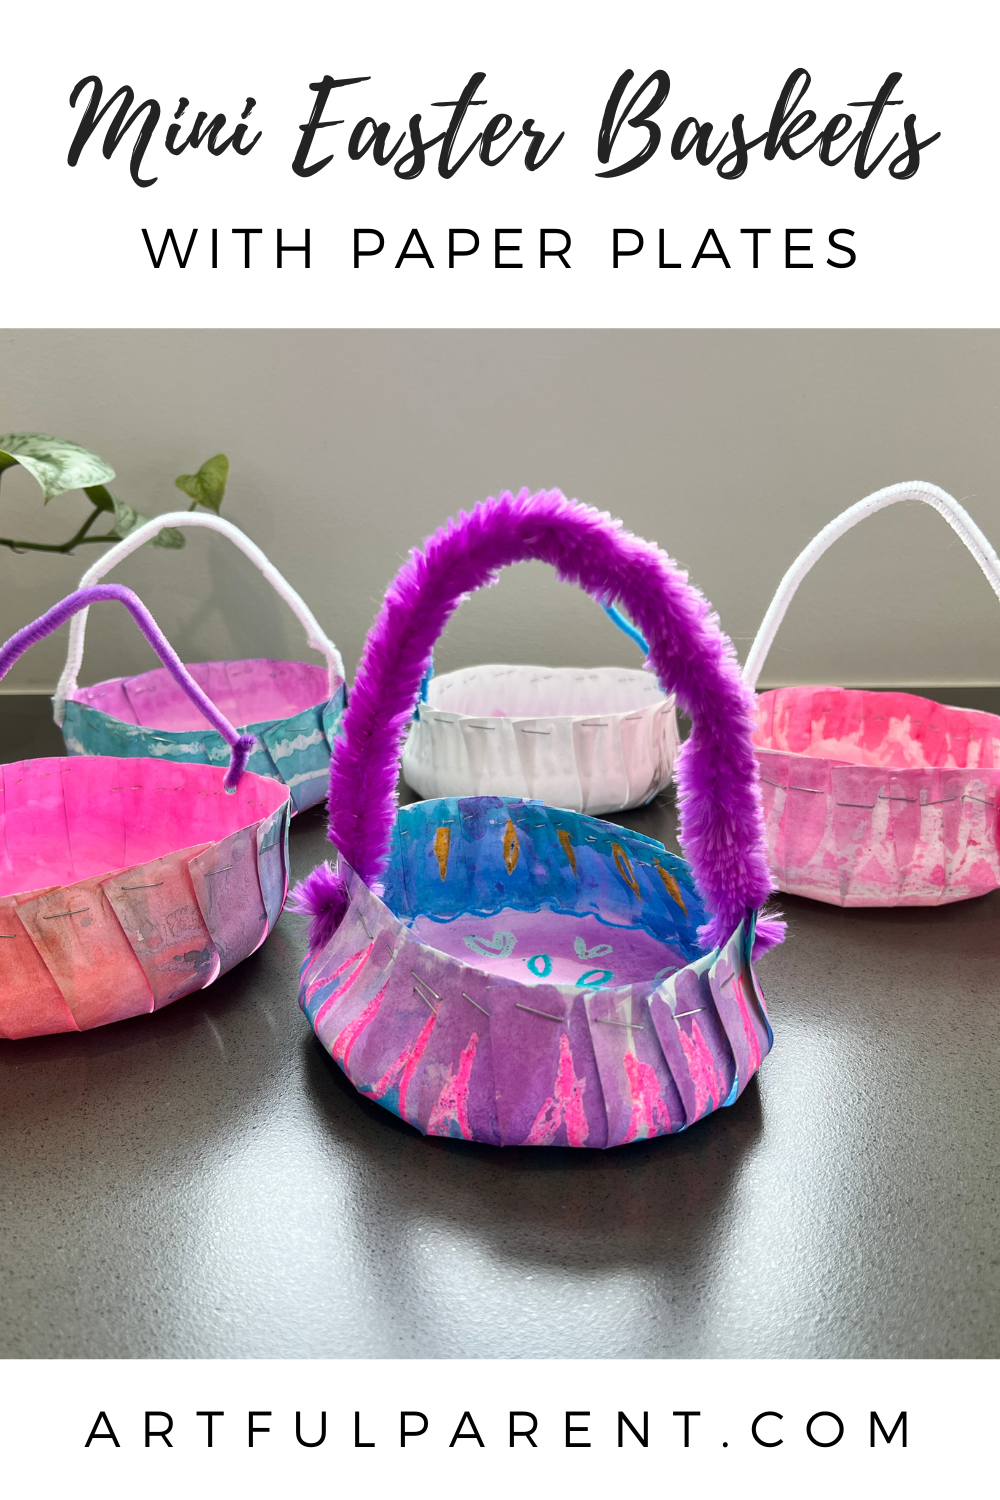
These mini Easter baskets are easy to make and so pretty that we thought you might like to make some, too.
First you decorate paper plates using the wax-resist watercolor technique. Then you use scissors and a stapler to turn the paper plate into an adorable mini basket!
These are perfect for Easter egg hunts, giving as gifts, or using for some Easter decor.

Mini Easter Baskets with Paper Plates
MATERIALS
 Paper plates, the thin kind
- Scissors
- Stapler
- Hole punch
- Pipe cleaners
- Oil pastels or crayons (optional)
- Watercolor paints
INSTRUCTIONS
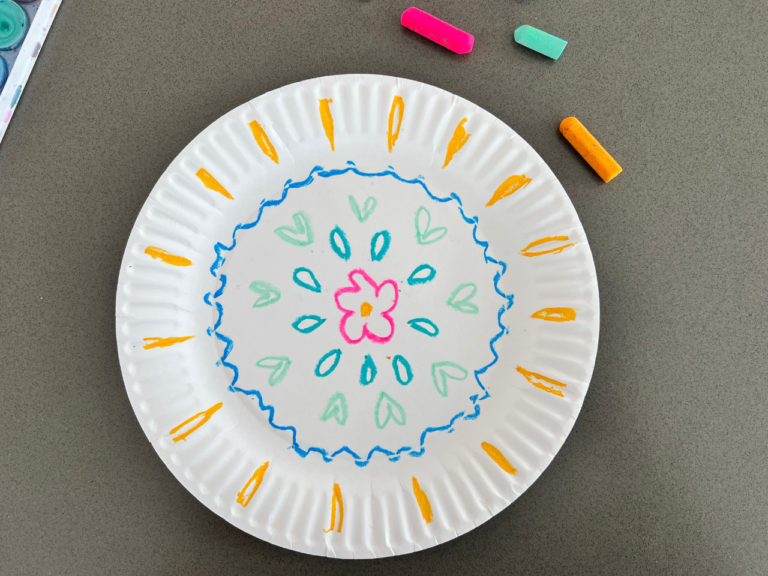
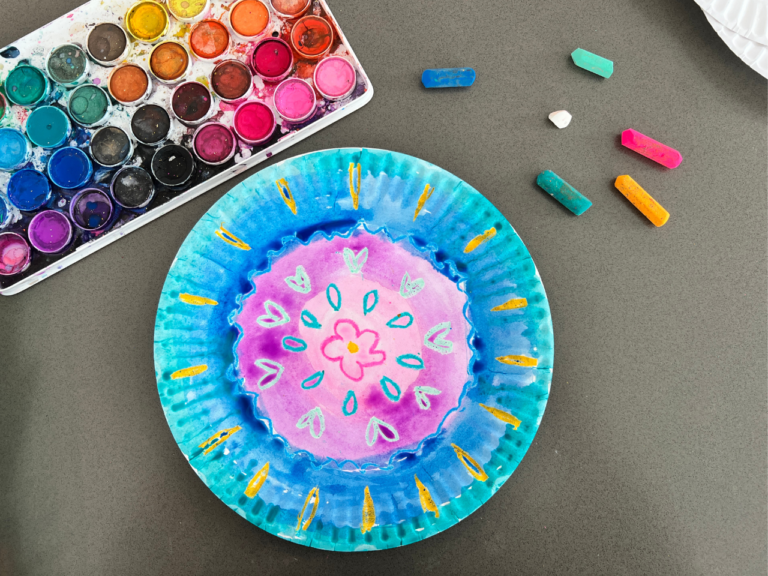
- Draw with oil pastels
First, draw on one or both sides of your paper plate with oil pastels. We used white on some, and colors on others. The result is cool no matter which one you choose!
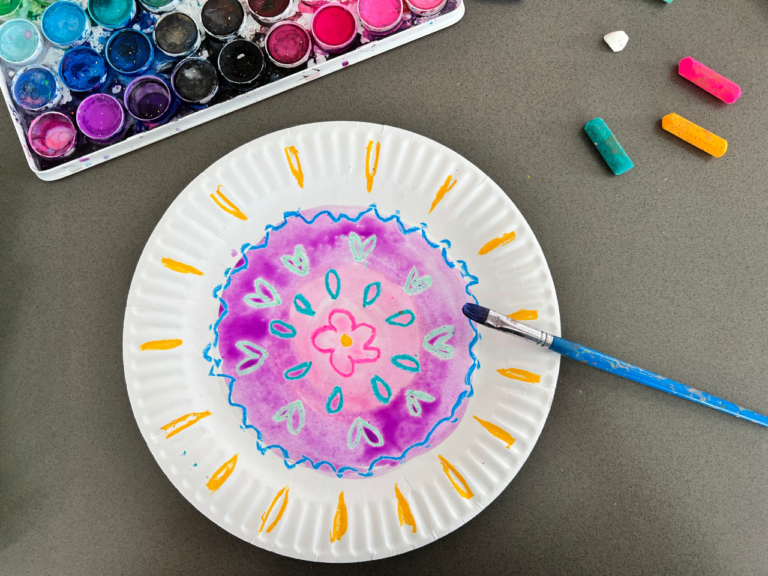
- Paint the paper plate
Use watercolor paint to paint over the oil pastel drawing, for a watercolor resist effect. Let dry.
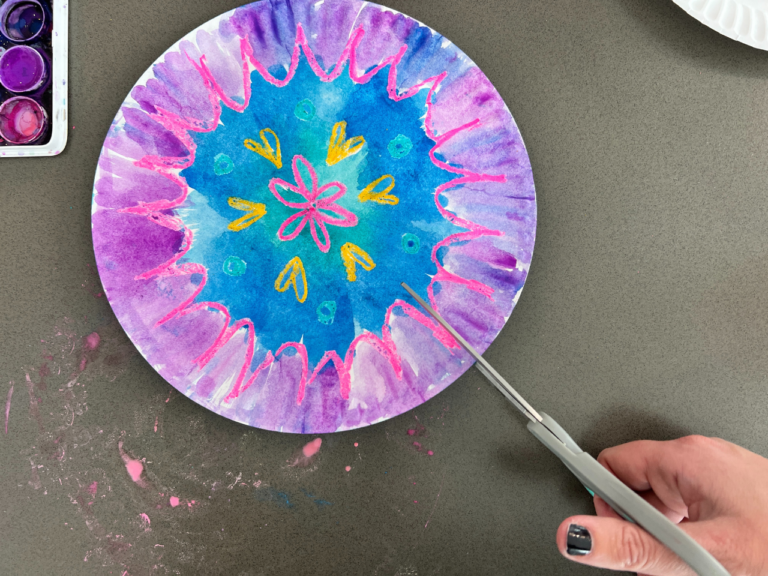
- Paint the other side
After the first side dries, turn the plate over and paint the other side. Let dry again.
- Make cuts around the circumference
Then, make even cuts all around the circumference of the painted paper plate, about 2 1/2 inches long.
- Staple the basket
To turn your flat paper plate into a basket shape, overlap two adjacent cut strips partway and staple them near the top.
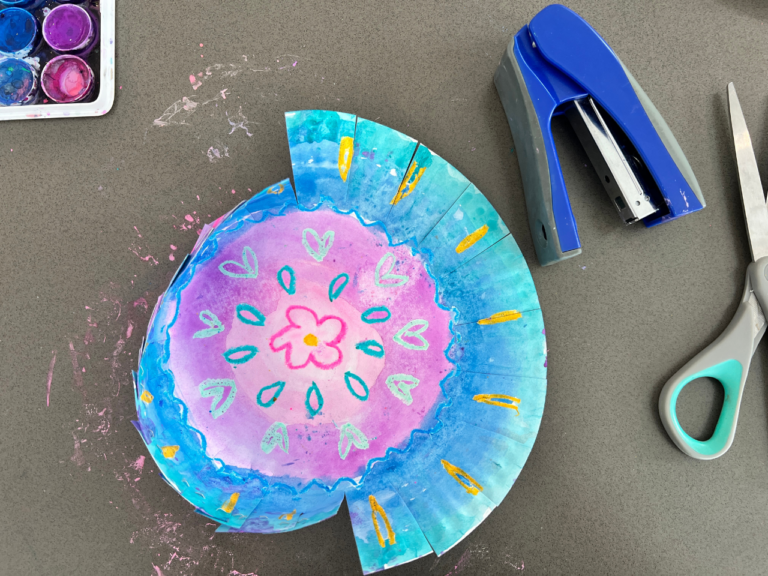
Repeat, stapling each section to the next, until you form a bowl shape.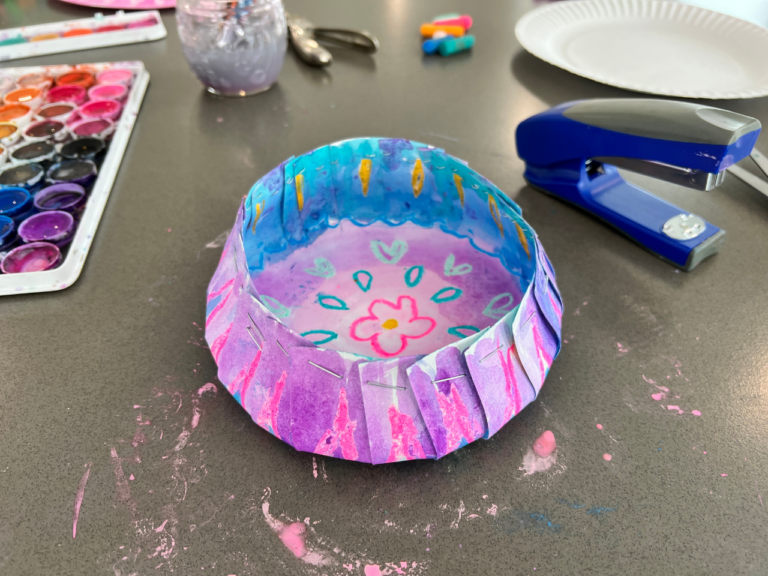
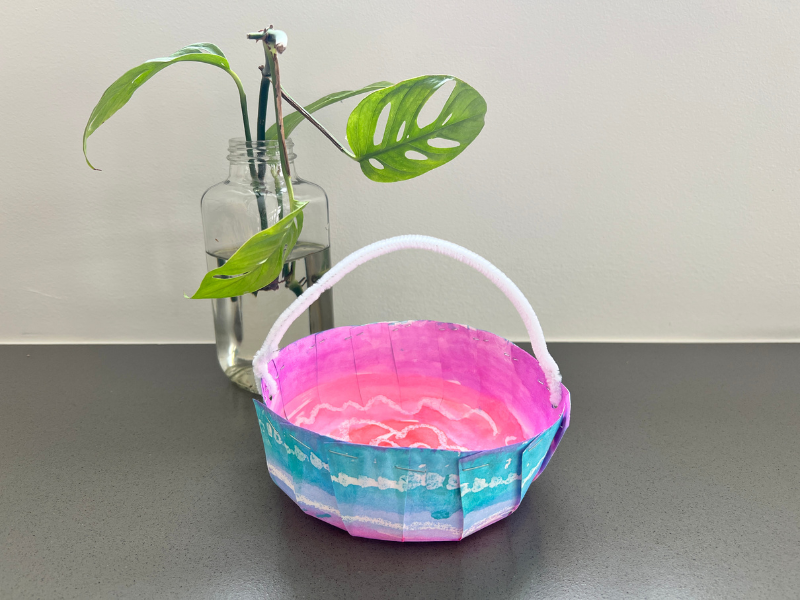
- Add a handle
Use the hole punch to punch two holes at opposite sides of the rim of your basket. Then thread a pipe cleaner through the holes to form a basket handle, wrapping the ends to secure it.
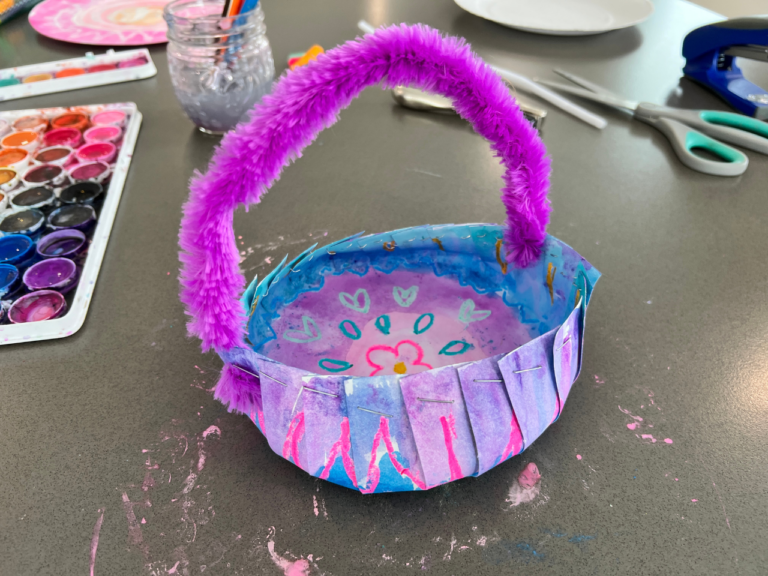
If you’d like, you can make bowls instead of baskets, to use as Easter candy bowls on your dinner table! To do this, overlap the cut sections a bit less when stapling them so you end up with a shallower bowl shape. And, of course, skip the handle.
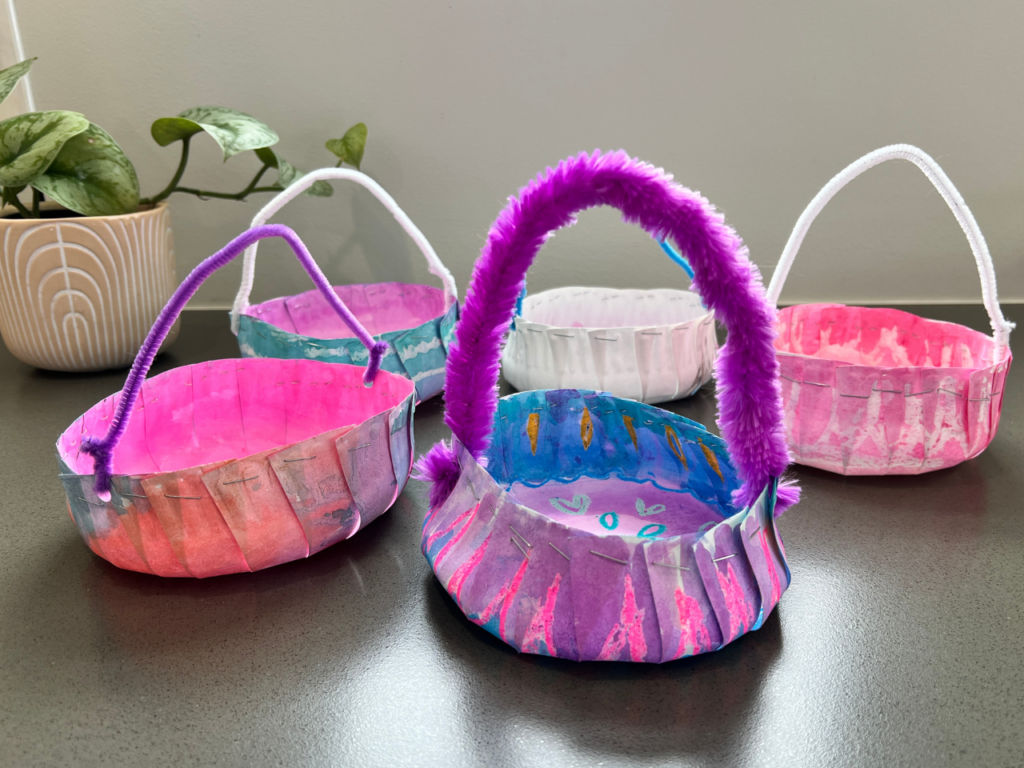
We have been using our pretty paper plate mini baskets to hold Easter candy and other treats and we just love them!
More Easter Art Activities for Kids
- 30 Easter Activities for Kids
- 8 Easter Crafts for Kids this Spring
- 11 Ideas for Decorating Easter Eggs for Kids
- 5 Easter Egg Decorating Ideas Inspired by Nature
- 2024 Easter Basket Ideas for Kids
- 11 Easter Craft Ideas for Kids
Want even more creative ideas?
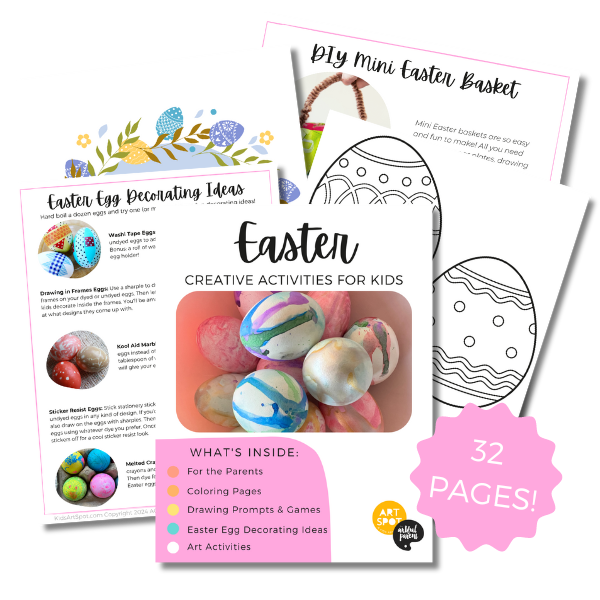
Check out our Easter Creativity pack!
Celebrate this fun holiday with all kinds of adorable creative activities! This 32-page printable eBook is full of coloring pages, drawing prompts, games, and more!
Pin It for Later