Melted crayon art is one of our favorite kids’ art activities! Try it with a cookie sheet or a thrift-store warming tray!
Updated December 2022

We’ve been big fans of melted crayon art forever.
We first came across the idea in one of MaryAnn Kohl’s books and have been doing it ever since.
You can do this process art project using two methods: the cookie sheet method and the warming tray method.
If you don’t have access to a warming tray, that’s okay! The cookie sheet method works just fine. But the nice thing about the warming tray is that it’s consistent, safe, and effective.
You can work safely for hours, creating melted crayon drawing after melted crayon drawing.
- No need to reheat the cookie sheet every few minutes.
- No need to keep an oven on.
- And no need to protect the table with towels or the child’s hand with potholders.
Here’s a video showing melted crayon art in action. And keep scrolling for step-by-step instructions.
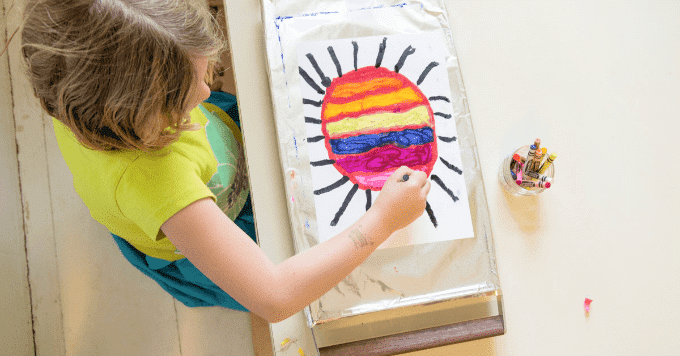
Melted Crayon Art with a Warming Tray
You can do melted crayon drawings on a hot cookie sheet, too, as mentioned earlier, but a warming tray is easier and more effective.
MATERIALS
- Paper
- Crayons
- Warming tray*
- Aluminum foil
- Electrical tape (optional)
*you can often find warming trays at thrift stores, but you can also get them new
INSTRUCTIONS
- Set up
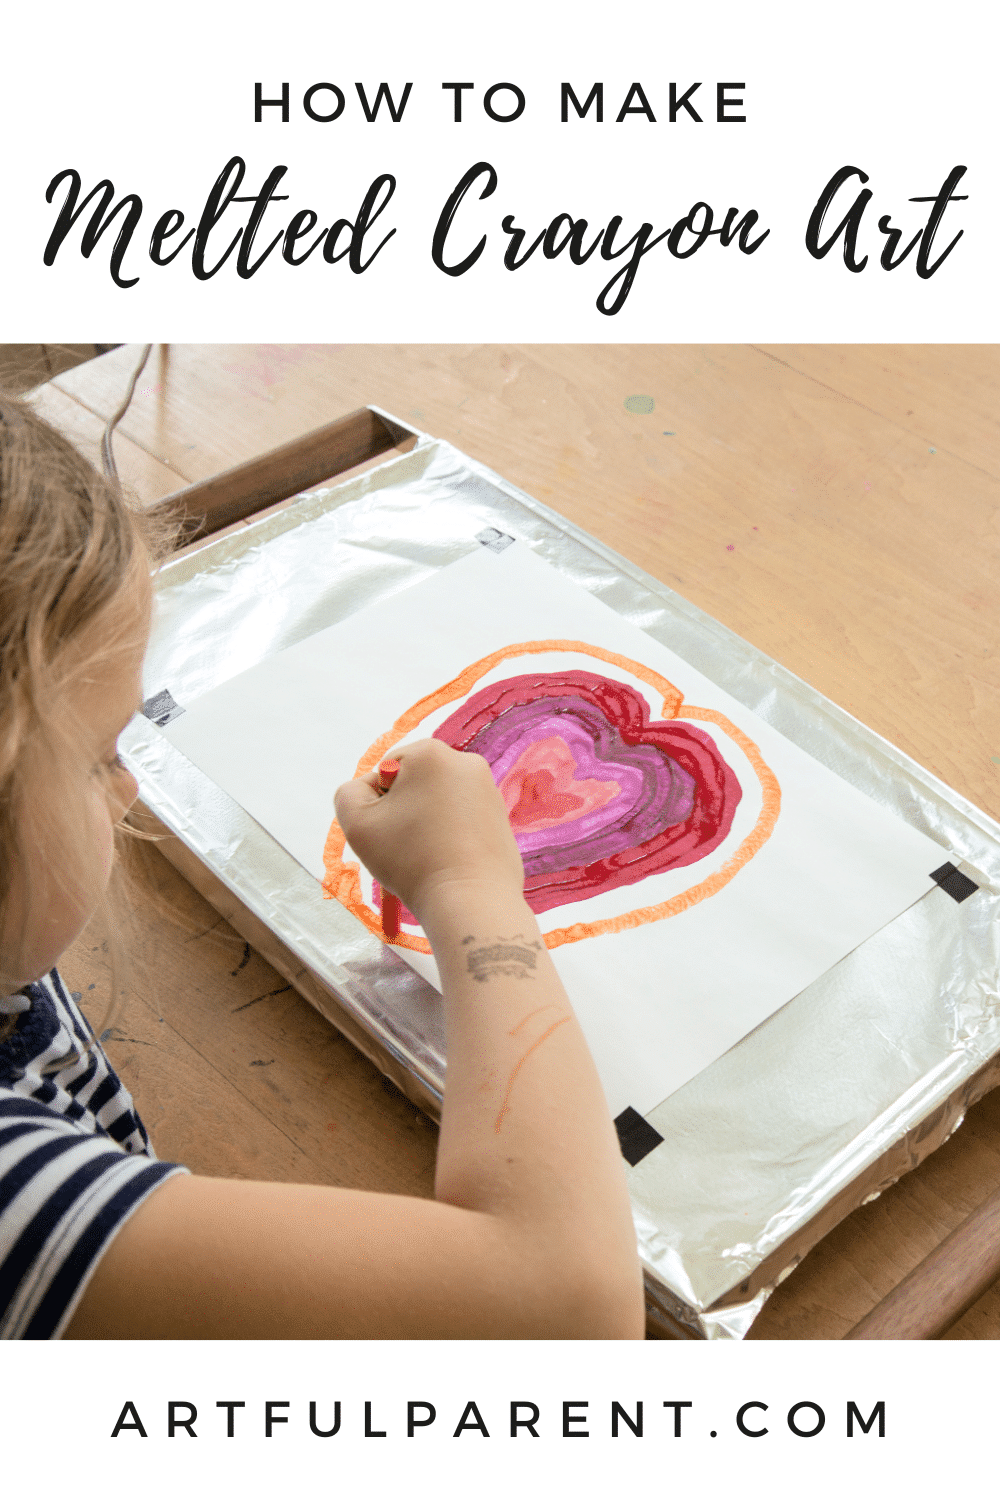
To set up for melted crayon art, you’ll want to cover your warming tray with tin foil. This will protect the warming tray and also make clean up easy.
Plug your warming tray in and turn the heat to low or medium.
Set a sheet of paper on the surface and have your crayons nearby and ready to use.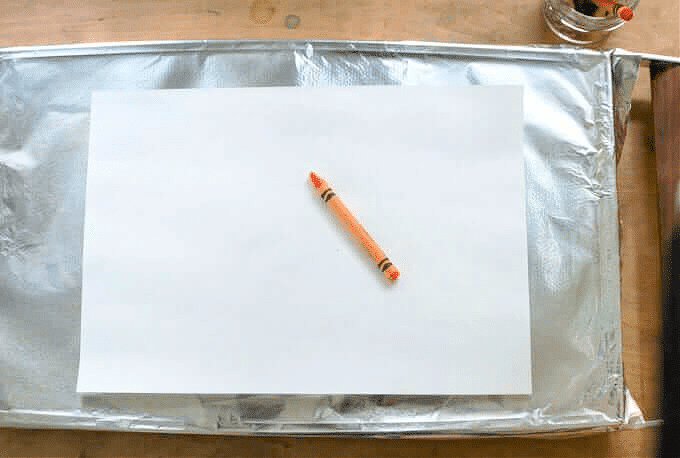
- Draw on warm paper and tray
Use your crayons to draw on the warm paper and tray. The crayon will melt as you draw, creating a paint-like effect of vibrant color.
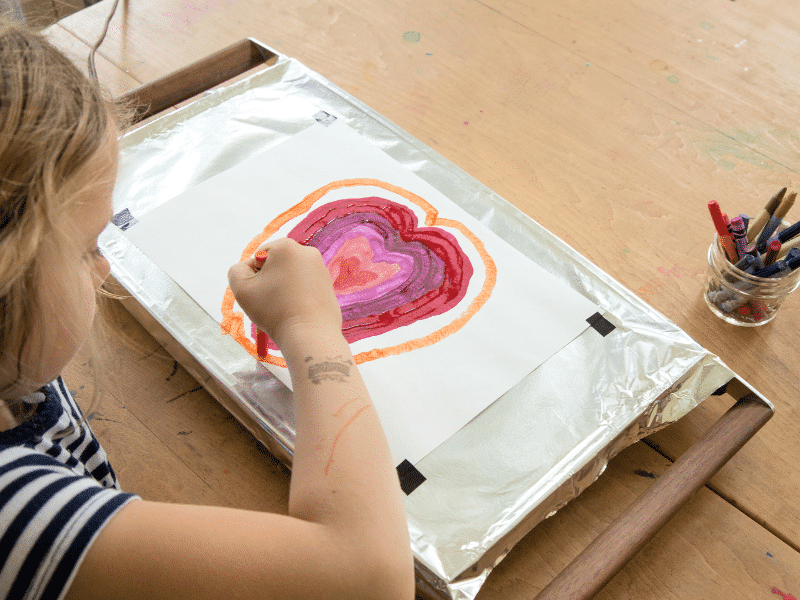
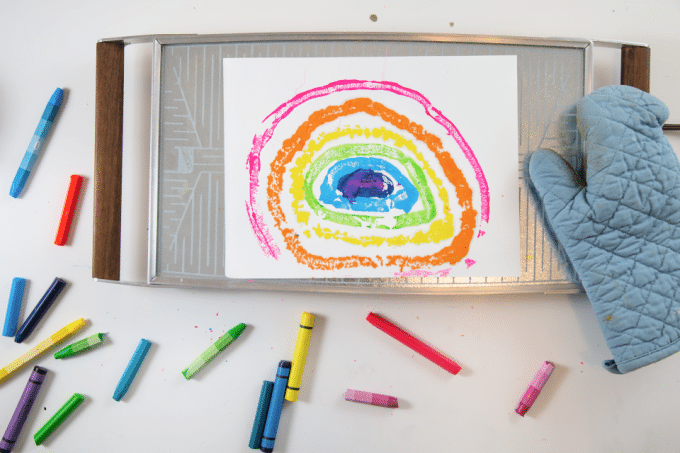
Continue to draw until you are finished with your artwork. - Repeat!
When your first artwork is deemed complete, remove it from the tray. Lay another sheet of paper on the tray and continue to make melted crayon art as long as you like!
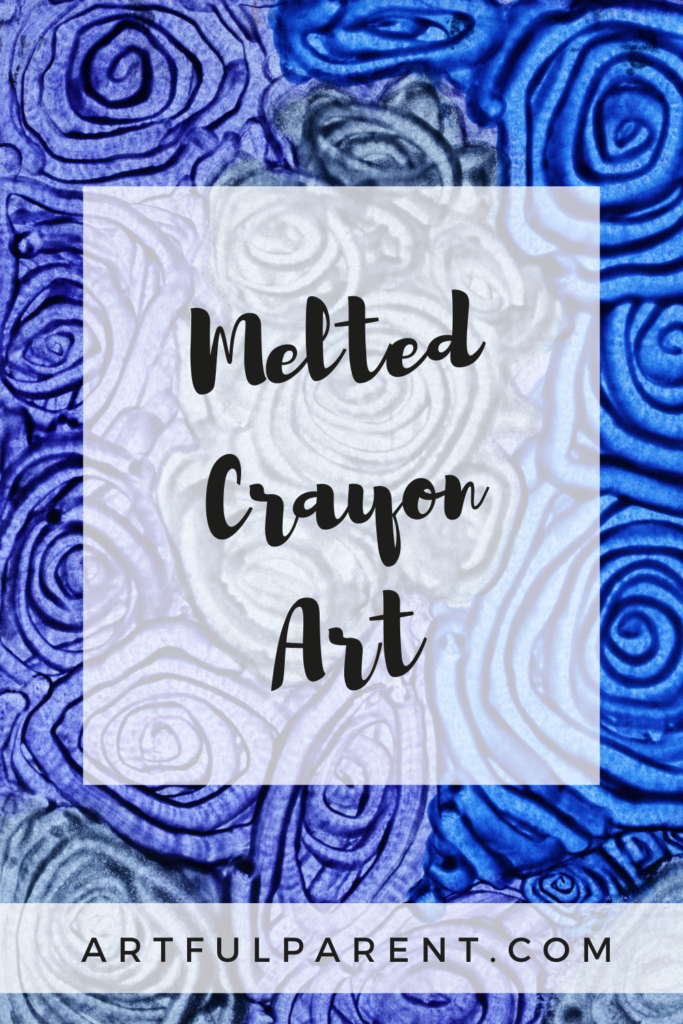
- Display in the window
You can display your melted crayon drawings anywhere, but they have a wonderful stained-glass effect with light shining through them.
Remember, you can do this with a cookie sheet. But we do recommend keeping an eye out for a warming tray, if you don’t already have one. The warming tray takes this technique to a whole new level and make it much easier and more effective!
More Ideas to Try with Melted Crayon Art
- A Valentine Art Project with Melted Crayons
- How to Make Melted Crayon Eggs for Easter
- How to Make Colorful Melted Crayon Sea Shells
- How to Make Melted Crayon Rocks
- DIY Valentine Decorations: Melted Crayon Hearts Garland
- How to Make a Bunting with Melted Crayons
Pin It for Later