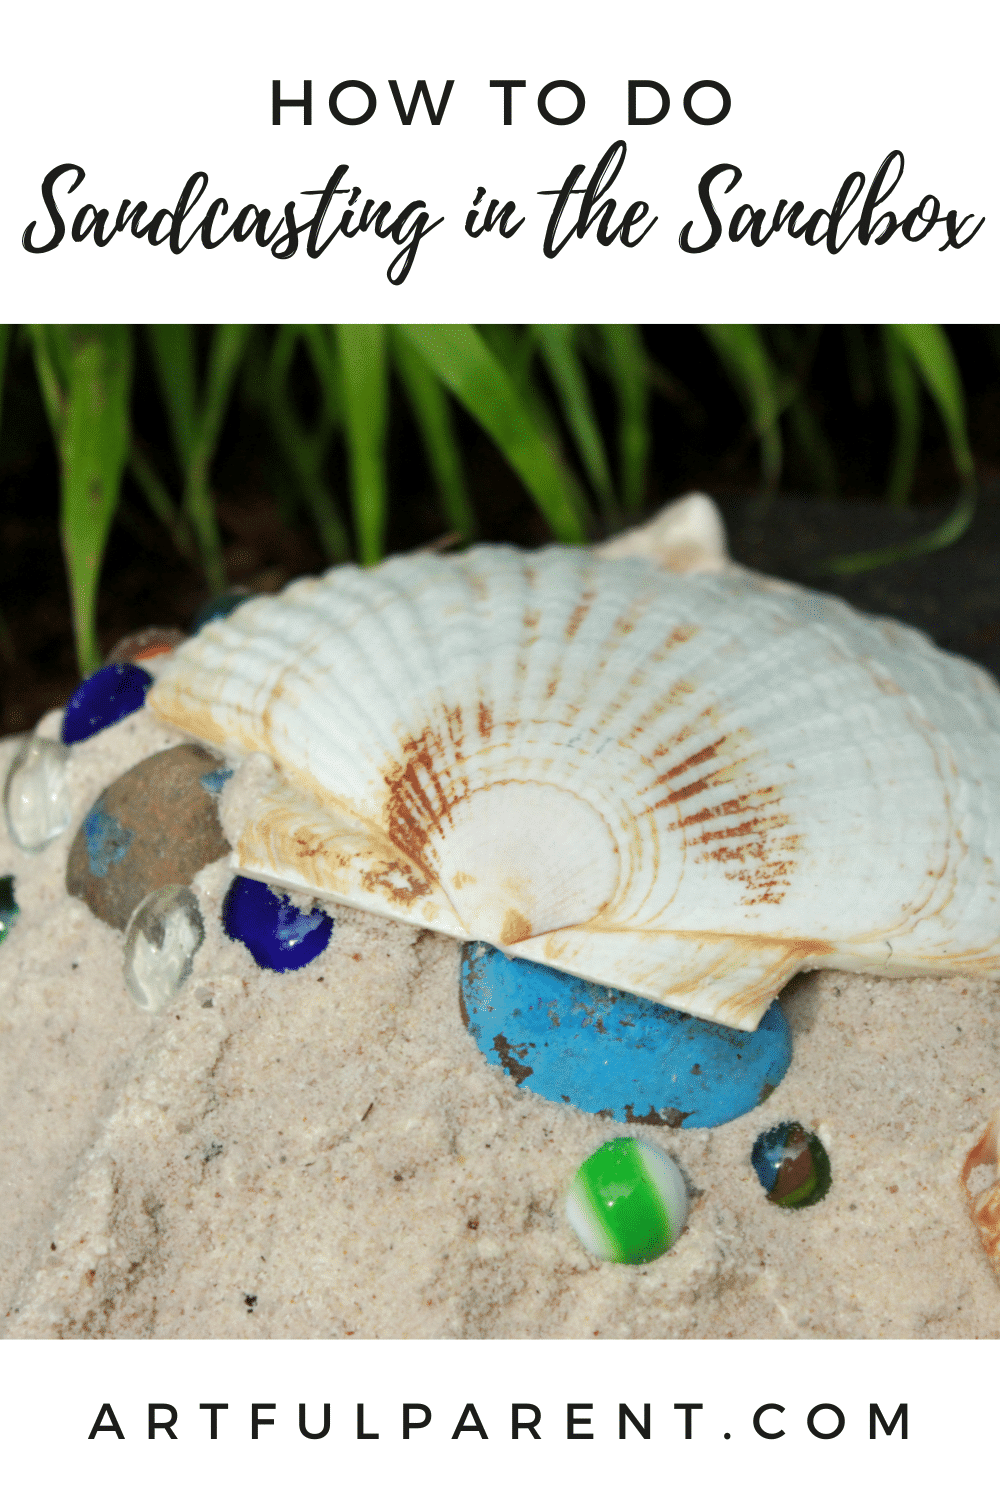
Learn how to do sandcasting in the sandbox! This backyard summer project is easy and fun for the whole family!
Updated June 2023
Have you ever tried casting plaster shapes in sand?
We’ve done sandcasting at the beach, digging a hole in the sand, lining it with shells, rocks, and other found treasures, then filling the hole with plaster. It’s fun when you need a break from the water and the result is a pretty awesome memento of your time at the beach.
But if you aren’t able to get to the beach this summer, you can try sandcasting in the sandbox!
It works wonderfully! Even better than at the beach, because the conditions are more controlled.
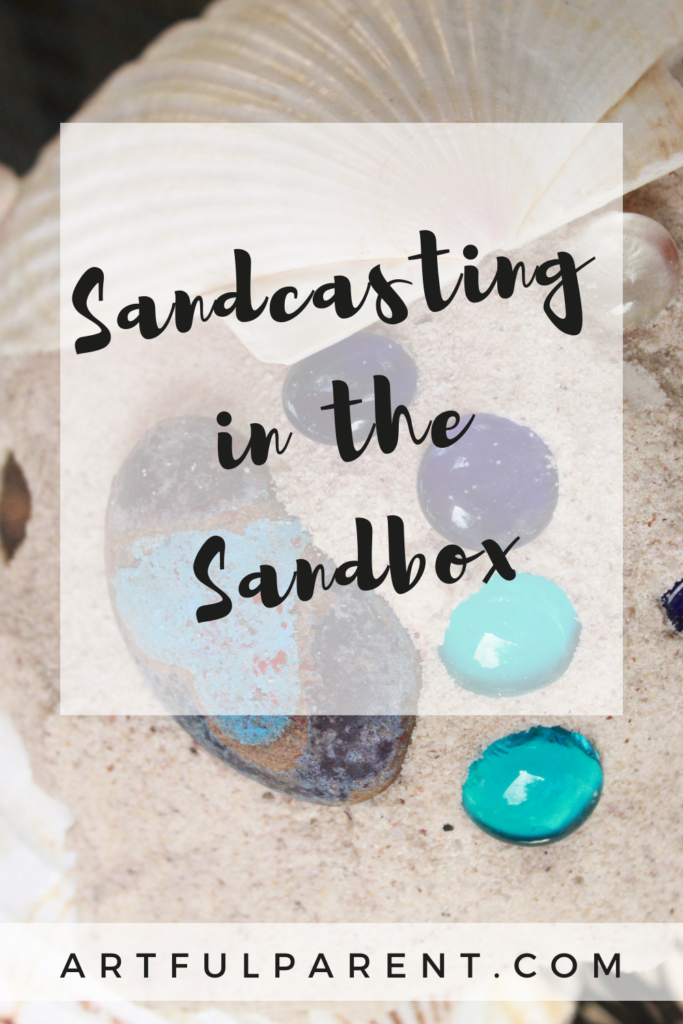
Sandcasting in the Sandbox

MATERIALS:
- Sandbox with sand (or you could do this in a bucket or bin of sand)
- Plaster of Paris*
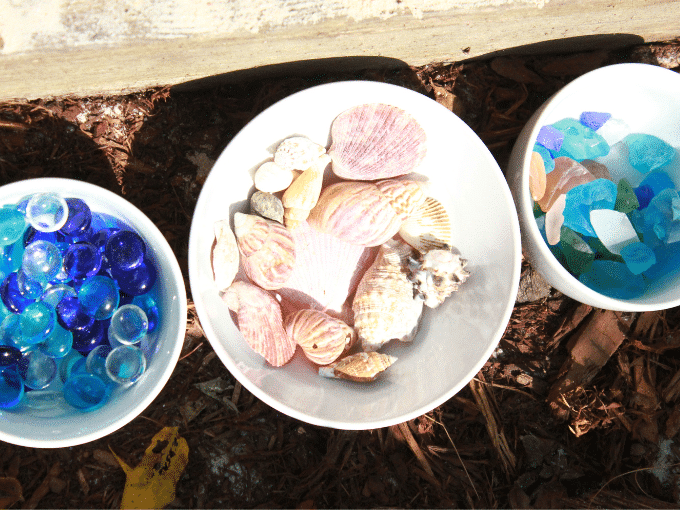
- Small nature items, such as shells, pebbles, flowers, sticks, etc.
- Melted crayon rocks, glitter rocks, or painted rocks (optional)
- Small treasures, such as glass beads, marbles, little figurines, etc. (optional)
*Notes about Plaster of Paris:
- Be careful not to breathe in the fine, dry plaster dust. We usually measure it out when the kids are in the other room.
- Do NOT pour wet plaster down the sink. It will clog your drains. Dispose of any extra plaster in the trash.
INSTRUCTIONS
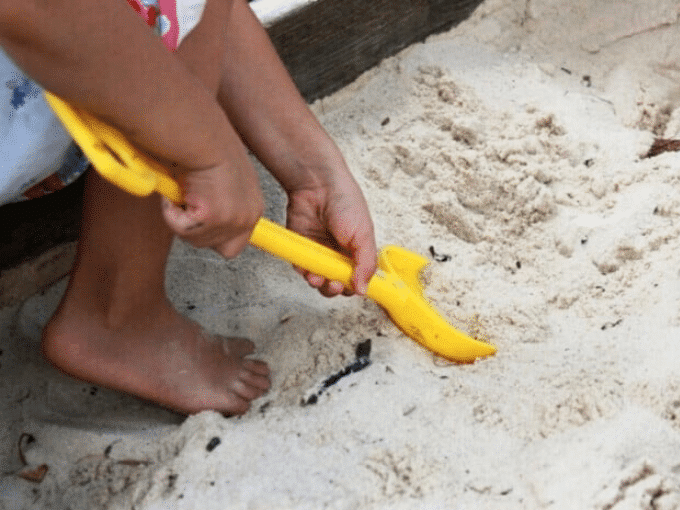
- Dig a hole
First, dig a hole in the sand.
- Add treasures
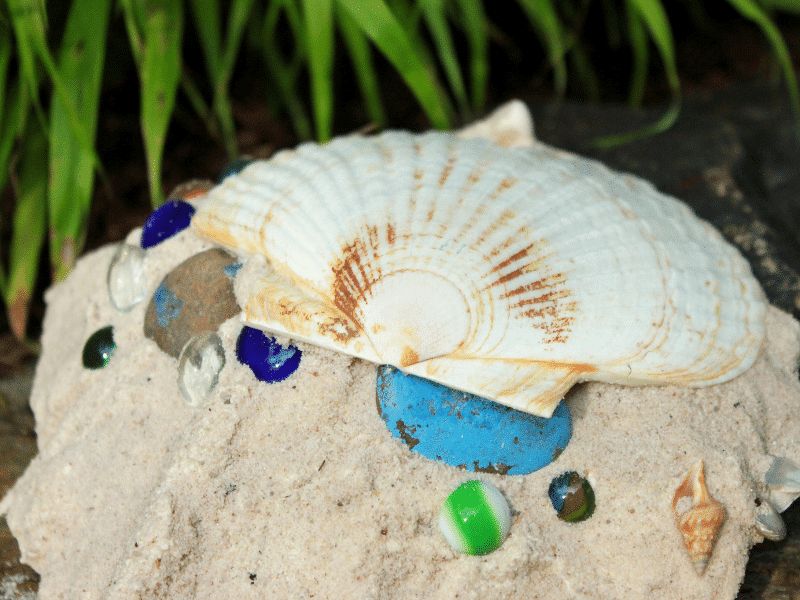
Next, line the holes with your treasures. We like to use shells from past beach trips, beach glass, melted crayon rocks, glass beads, marbles, and flowers.
- Mix up plaster of paris
We typically mix up 2 parts dry plaster with 1 part cold water. You’ll want to do it in something you can just throw away afterward (not your best kitchen bowls).
We sometimes measure the plaster and water into gallon ziploc bags and then just use our hands to smush the plaster around until it is mixed. Kids love to do that, too. - Pour the plaster
Pour the plaster into the holes, covering the treasures and filling the holes.
Our kids typically like to decorate the tops, too, so you can poke in another round of flowers, rocks, and treasures.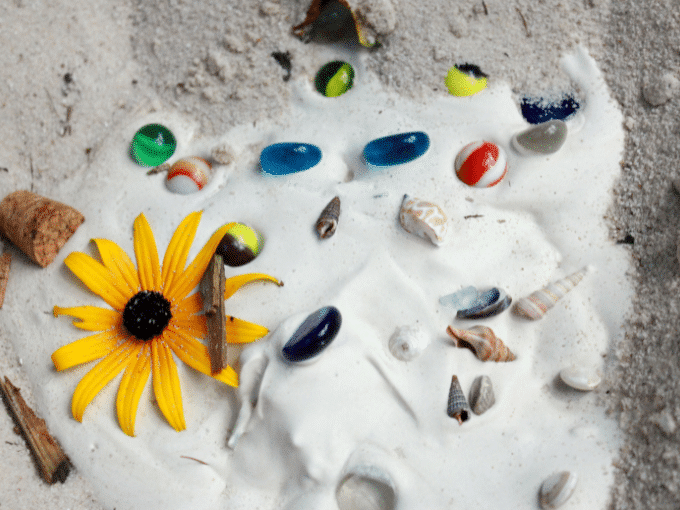
- Let dry
Next you have to wait, as the plaster takes about 30 minutes to set.
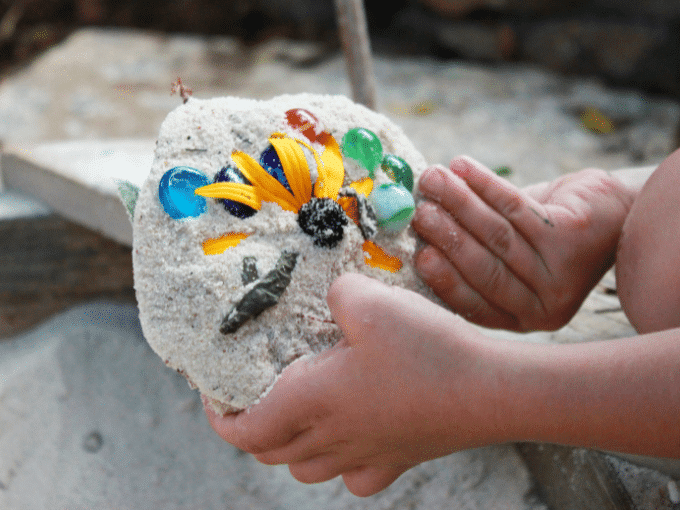
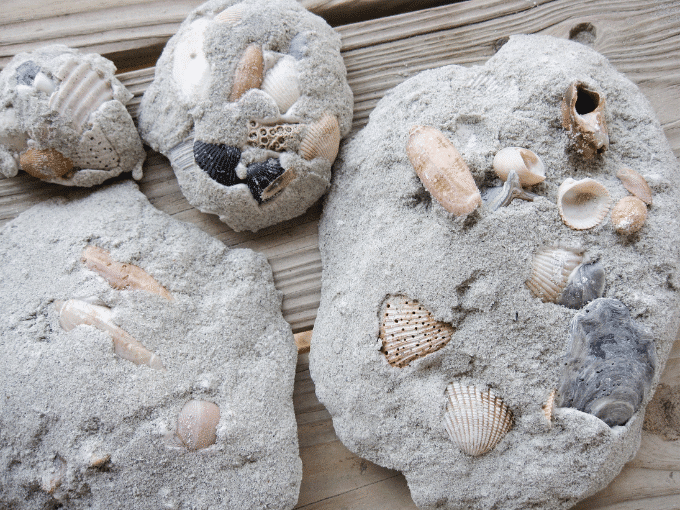
- Reveal your sandcasting!
Once the plaster has set, lift it carefully out of the sand, turn it over, and carefully dust off the extra sand.
Place your sandcasts in a protected place overnight to continue the drying process.
Admire! We especially love the combination of the seashells, glass beads, and melted crayon rocks.
You can display your lovely sandcasting on a summer nature table, the mantle, or as part of a tablescape.
More Summer Crafts for Kids
- 100+ Summer Crafts & Activities for Kids
- 11 Ways to Have a Creative Summer with Kids
- 12 Best Summer Art Activities for Kids
- 24 Outdoor Art Ideas for Kids
- 16 Garden + Nature Crafts for Kids
- 10 Ocean Crafts for Kids to Do at the Beach
Pin It for Later