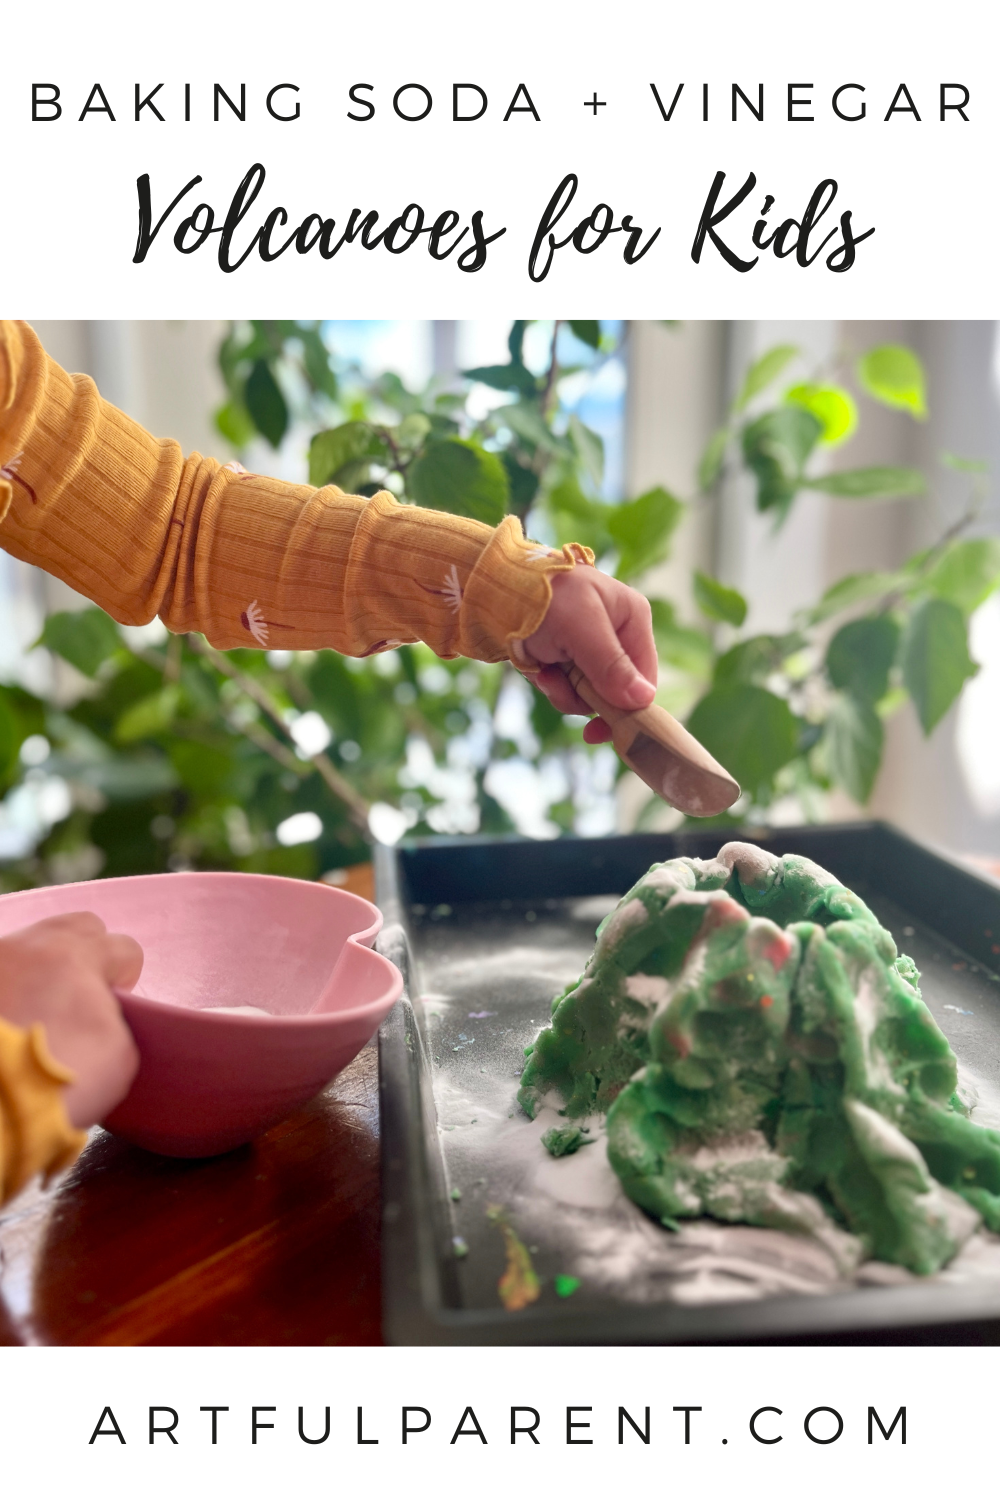
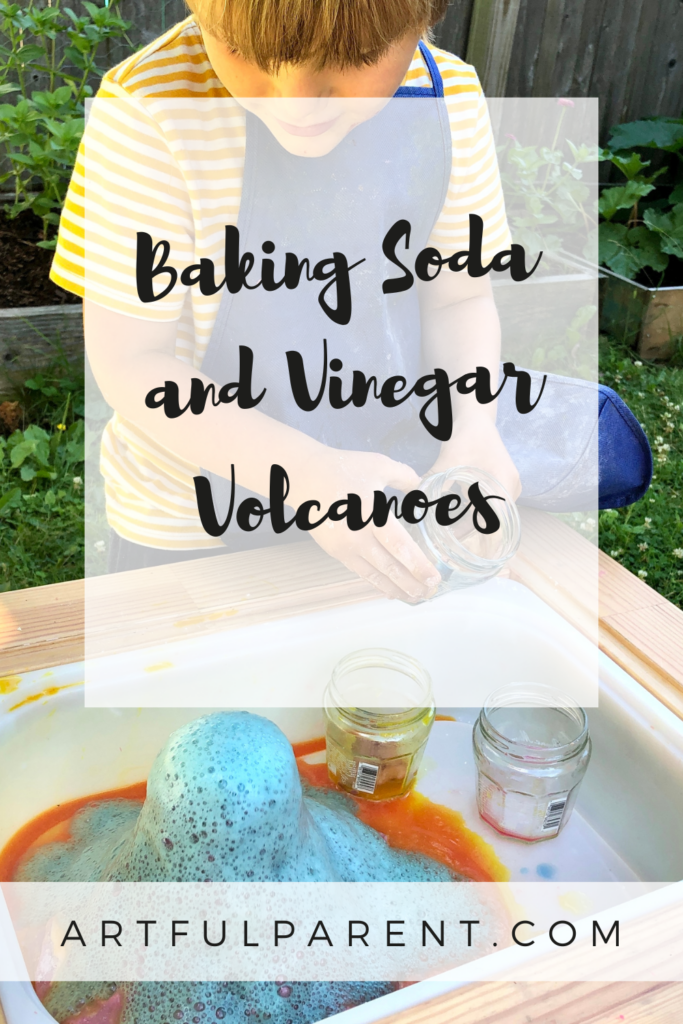
Learn how to make baking soda and vinegar volcanoes. This classic science experiment is easy to do and such a blast!
Updated June 2025
We bet you’ve tried this experiment before! It’s one that we do over and over again because it’s super simple—but the results are BIG!
Making a playdough volcano with baking soda and vinegar is one of those classic activities that kids just love. It’s messy in all the right ways—bubbly, fizzy, and full of surprise. Plus, it’s a great chance to explore cause and effect, chemical reactions, and landforms, depending on the ages and interests of your kids.
Here’s how to make playdough volcanoes to use with baking soda and vinegar reactions.
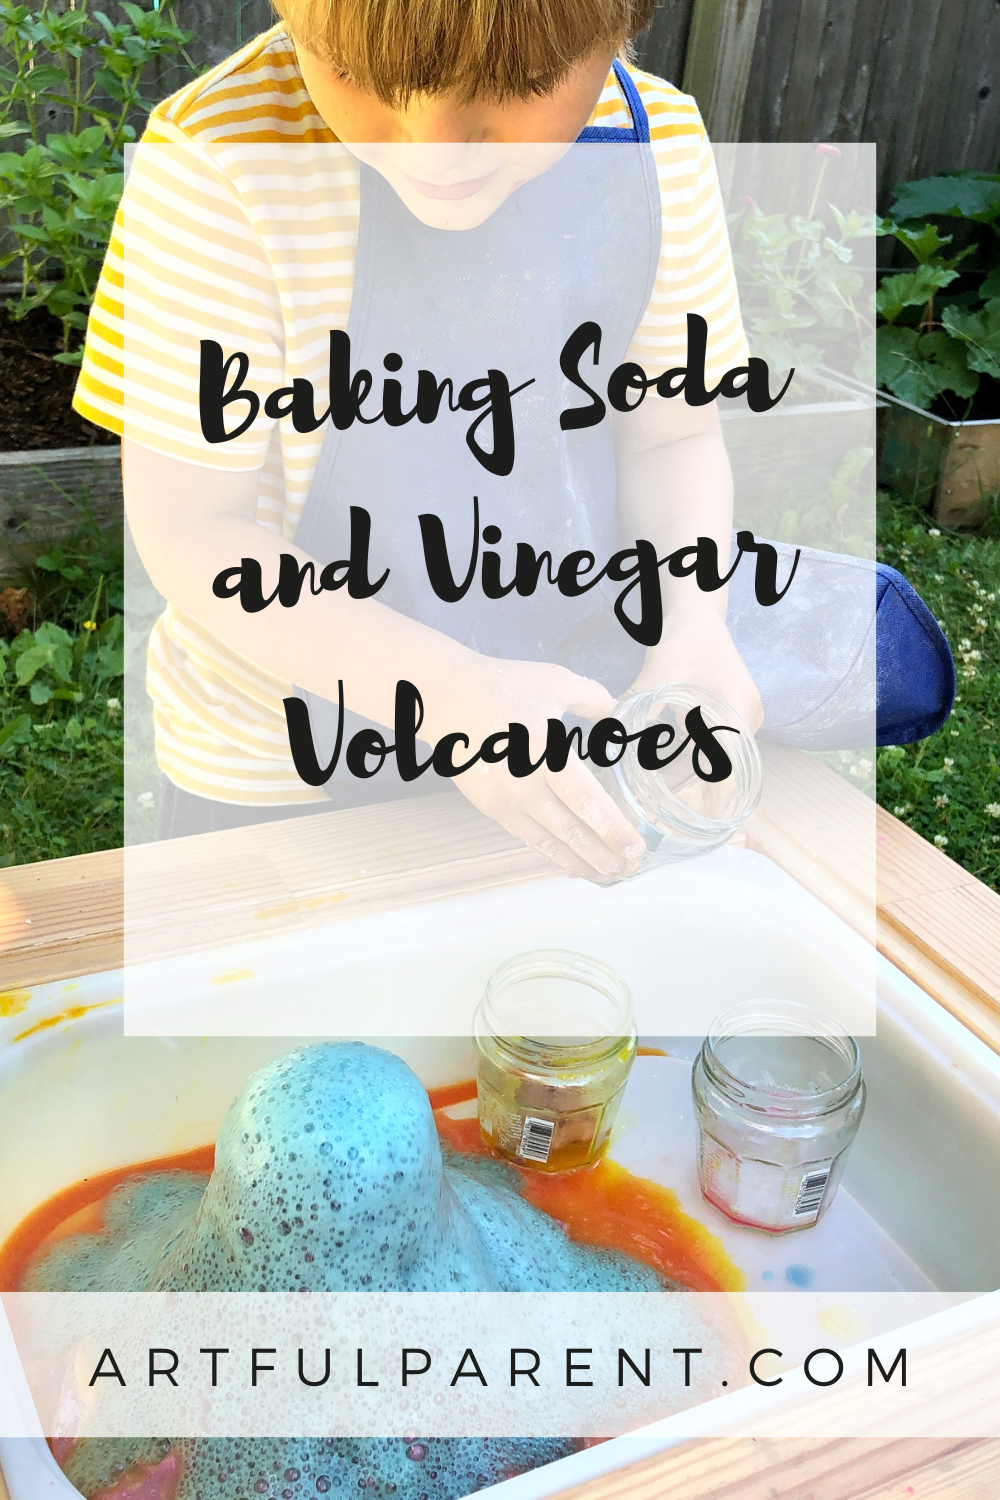
Baking Soda and Vinegar Volcanoes
MATERIALS
- Plastic bin
- Small recycled jars
- Playdough (you could also use salt dough)
- Nature items like flowers, sticks, leaves, and pebbles
- Baking soda (start with 2 TBSP)
- Colored vinegar in jars with pipettes
INSTRUCTIONS
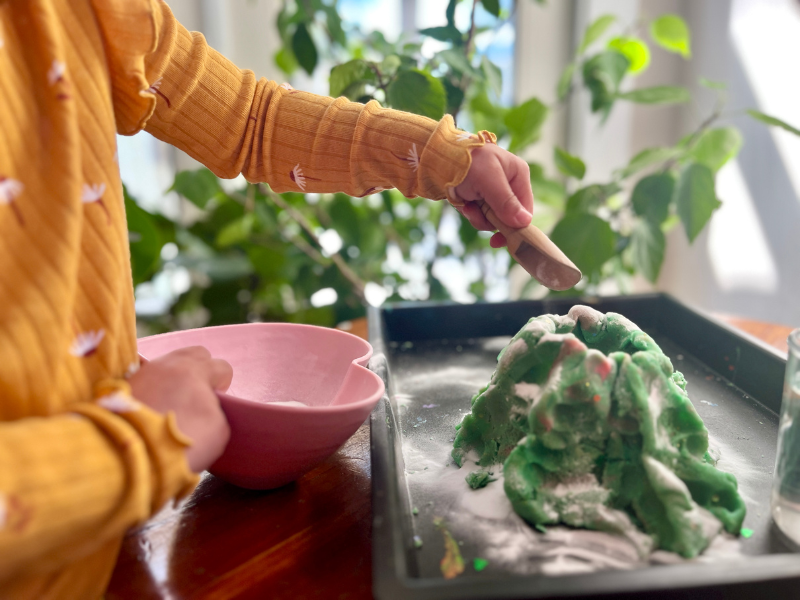
- Build a playdough volcano
First, shape the volcano by wrapping playdough around plastic or glass jars.
If you don’t have playdough on hand, you could mix a quick batch of salt dough to use for this purpose. - Add nature landscaping (optional)
Next you can add landscaping to your volcano, if you’d like.
You can poke various nature items into the playdough to create trees, flowers, and bushes, much like we’ve done with forest dioramas using playdough. We love using pebbles for boulders and making bridges out of sticks. - Prep your volcano!
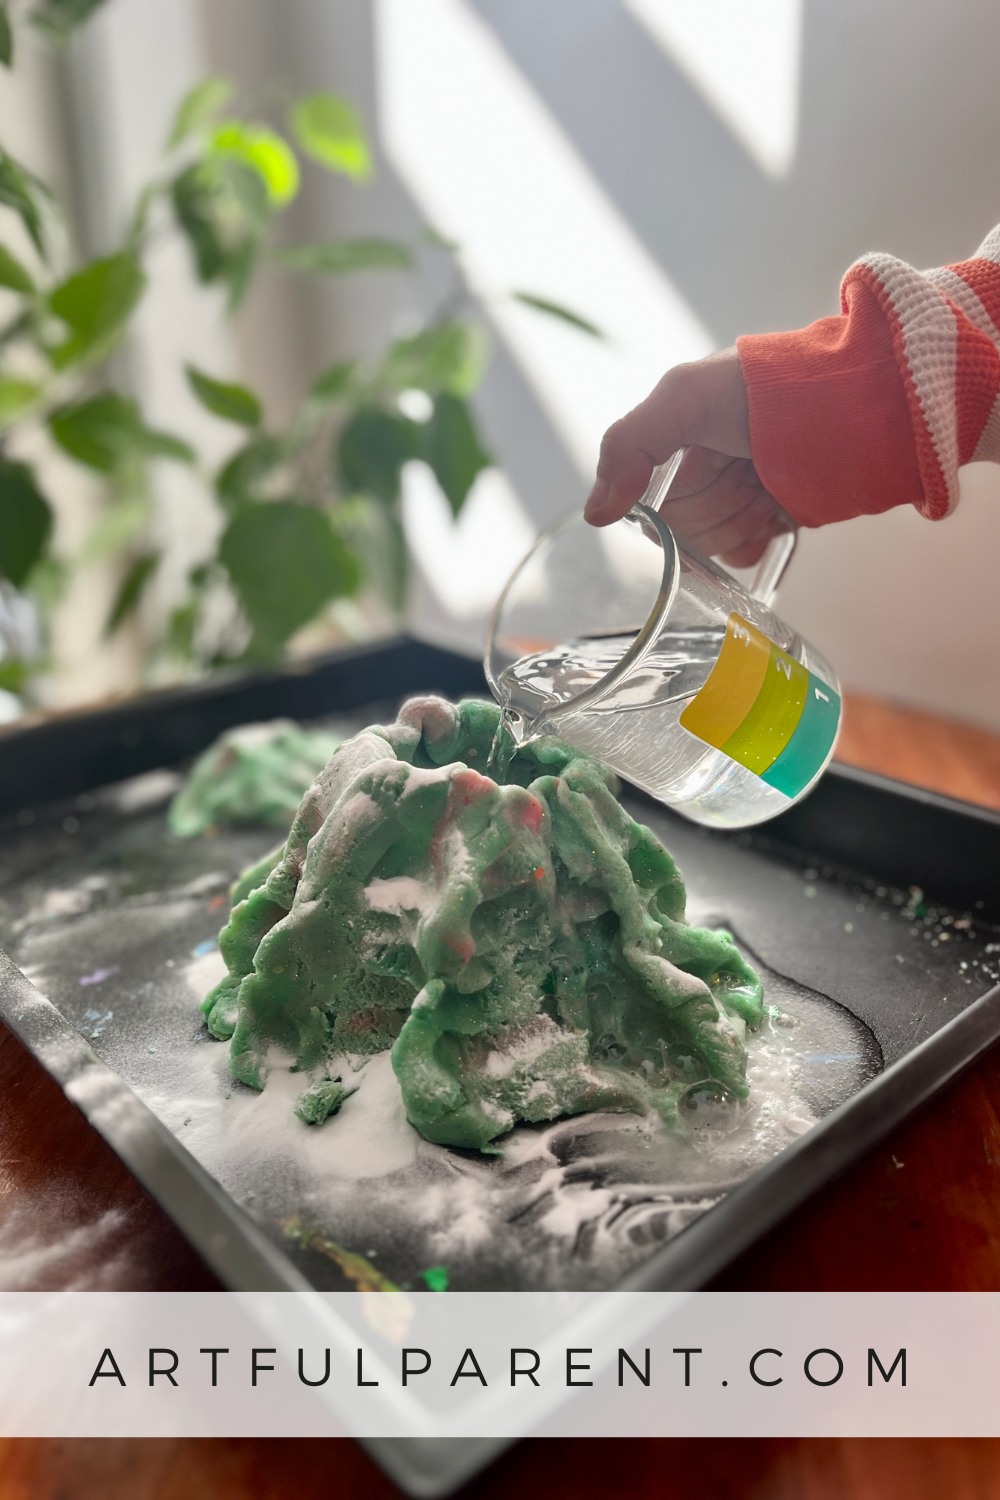
Scoop 2 TBSP baking soda into the little jar inside the playdough volcano. Set up jars of colored vinegar. I like to have the primary colors (red, yellow, blue) available so that as they mix, more colors are created.
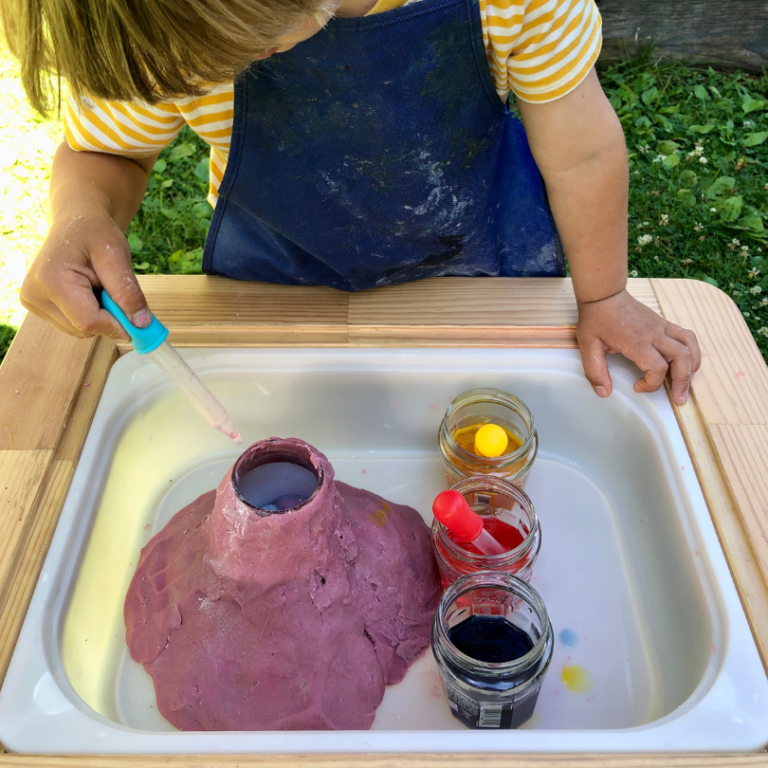
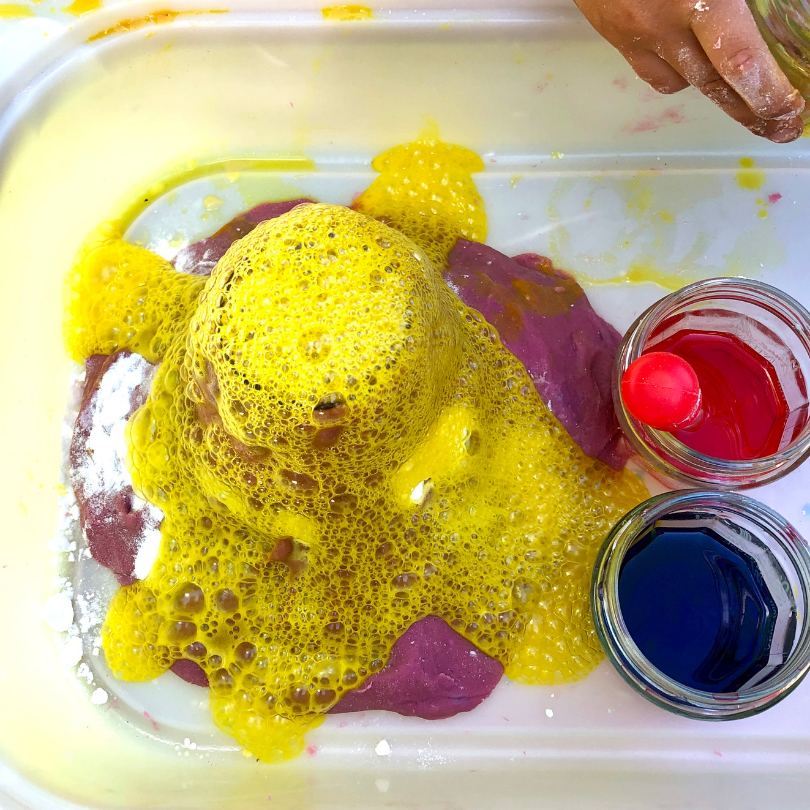
Now it’s time to give kids the green light! They can begin squeezing vinegar into their volcano with a pipette. Eventually the urge to dump more vinegar and create an overpoweringly fizzy volcano will likely over take your kids!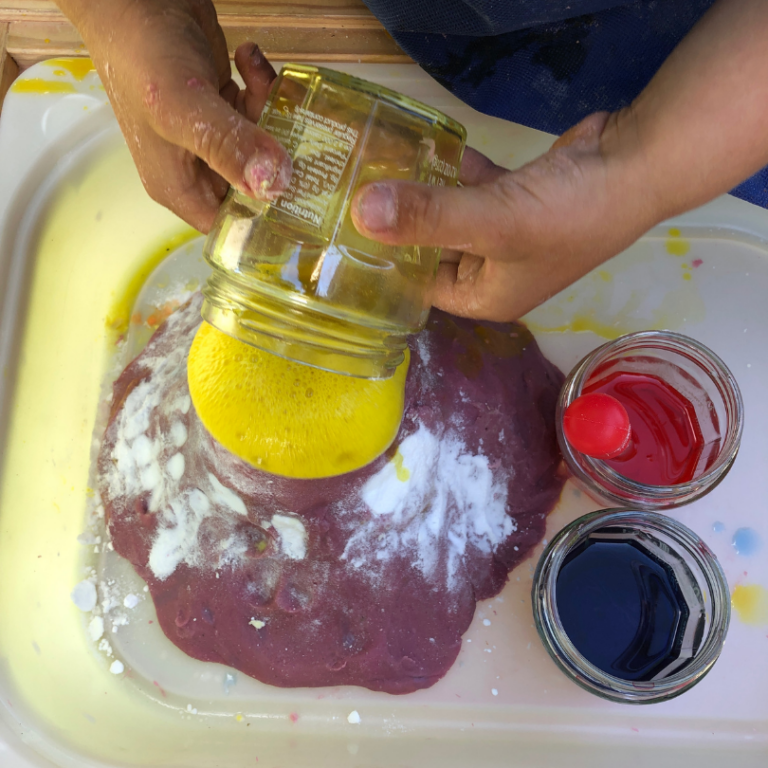
We found that some of the eruptions overflowed the dish the volcano was in, so you’ll probably want some paper towels or dishrags on hand to catch it. Or try making the volcano in a sensory bin!
More Science Experiments for Kids
- The Best Science Experiments for Kids
- Try These Kid’s Science Experiments at Home
- How to Do a Baking Soda Experiment
- How to Do the Rainbow Skittles Experiment
- Fizzy Potions are Fun Sensory Play for Kids
- How to Create a Melting Ice Experiment
Pin It for Later