How to make fairy wings for kids and with kids using cardboard and paper doilies. These are simple to make and decorate. Plus, the doilies add a sweet and ethereal touch! Written by Barbara Rucci of Art Bar Blog.
Updated April 2022
If there is ever a time that I wish my girls were still little, it’s when art-making and creative play magically come together. They would have loved these wings about ten years ago. And I bet they would have worn them to bed, too. (There were many years of sleeping in princess dresses and glitter shoes!)
I now live vicariously through the four and five-year olds I teach every week in my house. Their excitement over seeing these fairy wings out on the table was so genuine and real. How lucky for me that I get to experience this age all over again!
Today I am so happy to share these photos and instructions with you on how to make fairy wings.
Here we go…
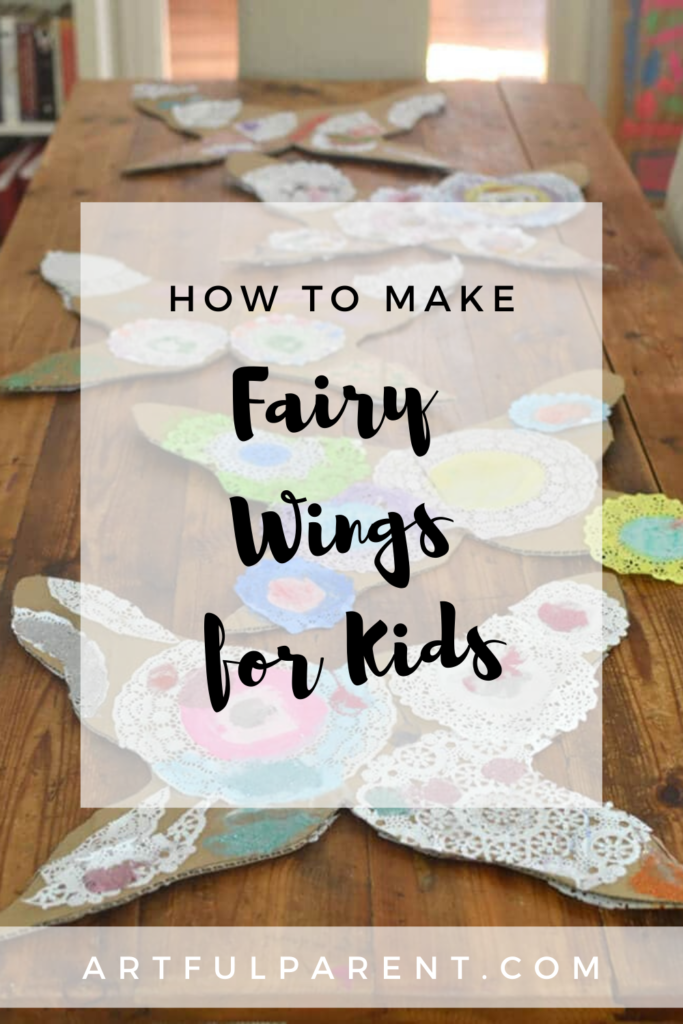
How to Make Fairy Wings

MATERIALS
- Cardboard box
- Scissors (one for you to cut the cardboard, and then some small ones for the kids)
- X-acto knife (or other utility knife)
- Doilies in different sizes
- Glue
- Watercolor paints
- Glitter
- Hole punch
- Ribbon
INSTRUCTIONS
- Cut out the cardboard fairy wings
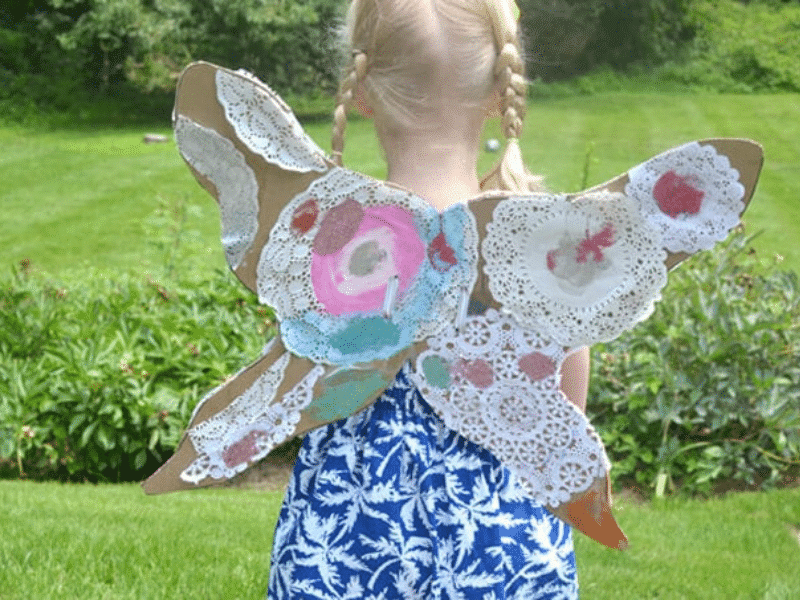
Start by finding a fairly large piece of cardboard. Our wings spanned 20 inches.
Download this template for the wings (enlarging when you print). Or draw your own wings! You only have to draw one half. It’s really not as hard as you think. Then cut the wings out.
If you do not have a natural fold in the middle of the cardboard wings, then you need to score the cardboard. This means running an x-acto knife along the side of a ruler, making sure to only cut the top layer of cardboard. This makes a perfectly straight line for folding. - Glue doilies on wings
Now it’s time for the kids to get to work! I gave each child their own set of doilies to choose from. I told them that they could cut the doilies to fit the shape of the wings if they wanted to, but they didn’t have to. It was up to them.
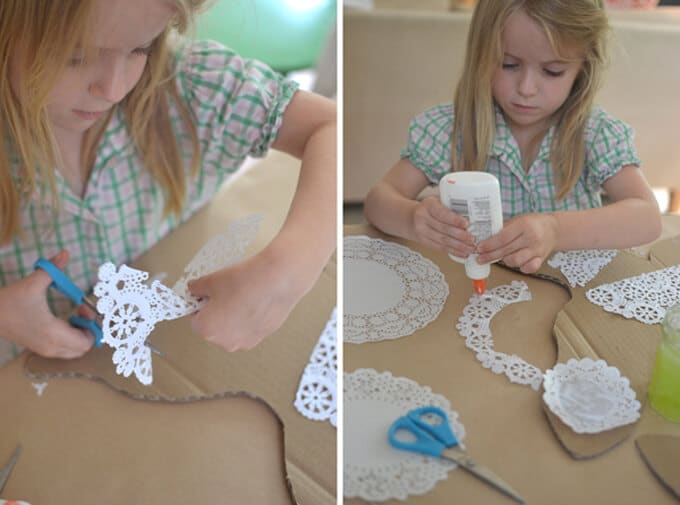
They carefully squeezed little glue dots on the doilies and stuck them to the cardboard. All the while singing our glue song… a little dot’ll do it!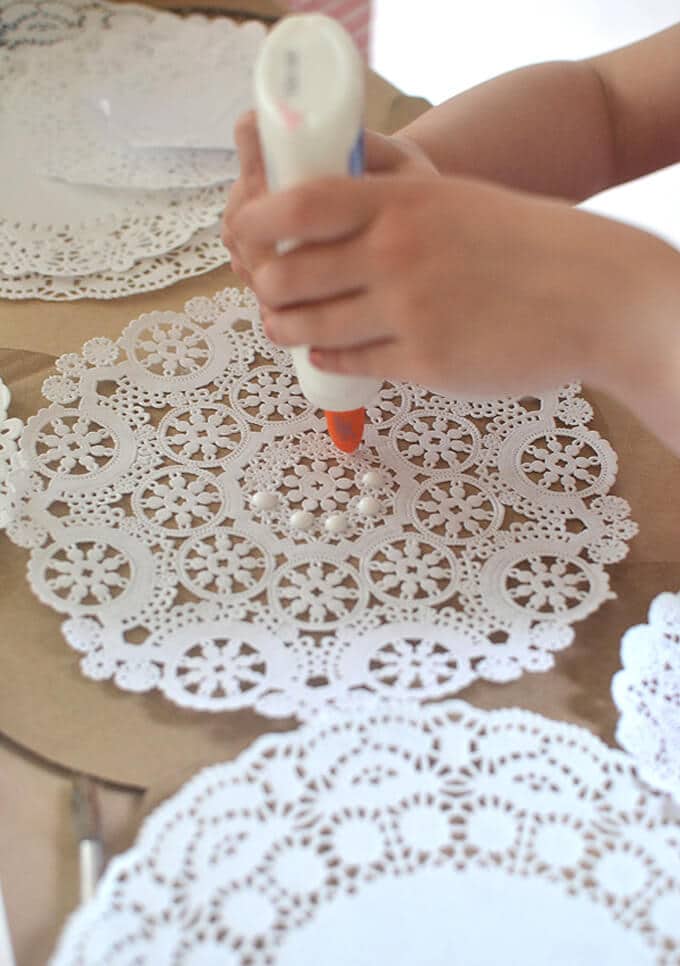
I had the kids adorn both sides with doilies. Depending on the age of your child, you can just let them paint the other side or leave it blank if it’s too much work. - Add paint!
When gluing was done, they began painting the doilies with watercolors.
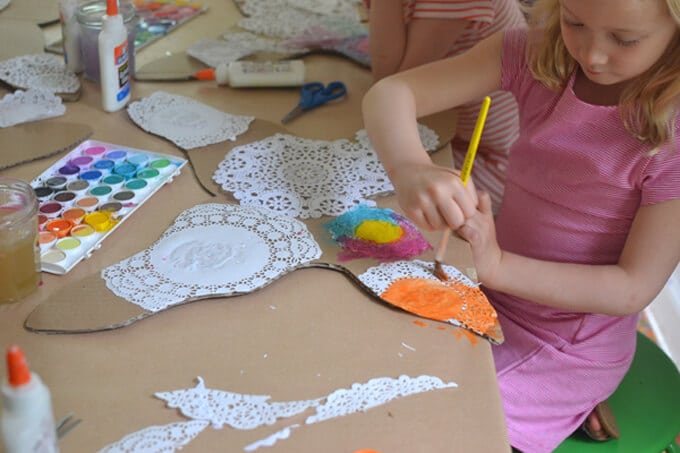
I think the kids could have spent even more time painting, they loved it so much and were really in the flow. - Add glitter!
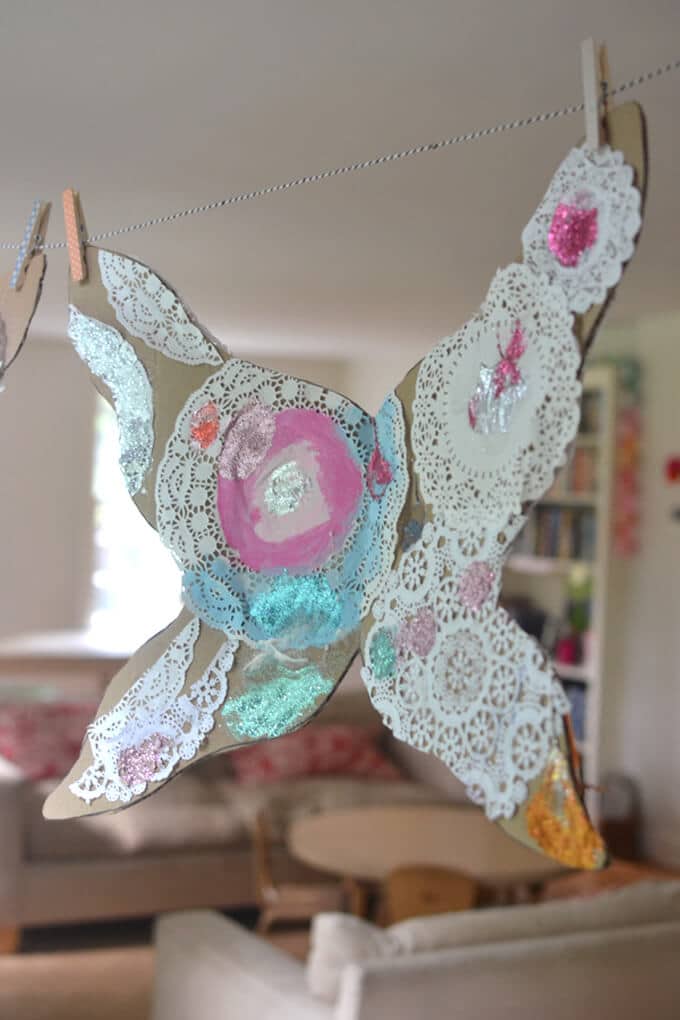
After painting was complete, out came the glitter!
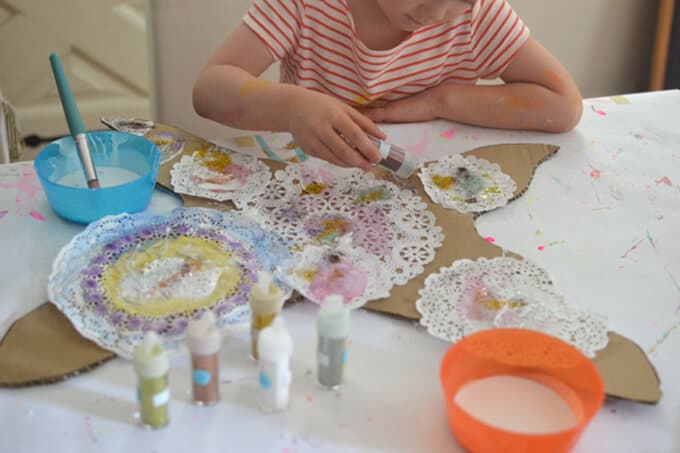
This is a completely optional step. I understand that glitter can be messy, and it gets everywhere. Maybe if you have the option to go outside, you can. - Make the fairy wings wearable
When the wings were dry (for us it was the next class), I punched four holes through the cardboard. Two on each side, close to the middle fold. Then I tied some ribbon through the holes and around their shoulders. Voila! Fairy wings are complete.
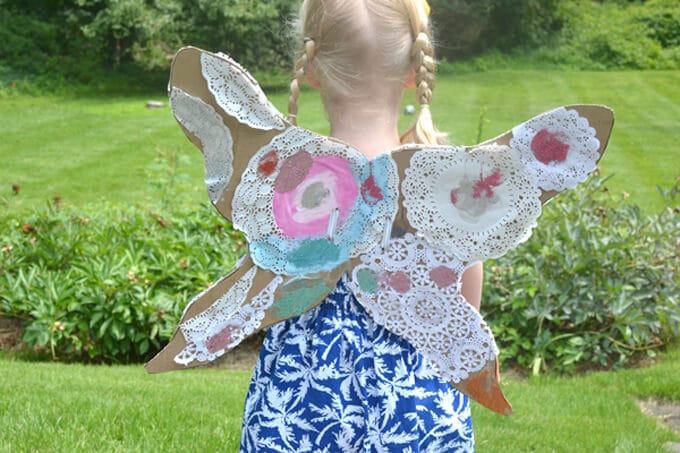
I love the ethereal quality that the doilies provide, and that each child was able to create their own version so that they are all a bit different. I hope you make these fairy wings and add them to your child’s world of imaginary play!
More Pretend Play Crafts for Kids
- How to Make DIY Fairy Wings for Kids
- How to Make a Fairy House for Kids with Air Dry Clay
- Craft Ideas for Kids that are Perfect for Pretend Play
- How to Make DIY Paper Wings for Kids Costumes & Creative Play
- How to Make Paper Flower Crowns and Necklaces
Pin It for Later
Related Posts
-
How to Make a DIY Fairy Wand with Beads
Learn how to make a dazzling DIY fairy wand from plastic beads! These kids' fairy…
-
How to Make DIY Fairy Wings for Kids
Make DIY fairy wings in this easy upcycle project using contact paper and flower petals.…
-
How to Make Flower Fairy Dolls
How to make flower fairy dolls from wooden clothespins and artificial flowers. This is a…
-
How to Make DIY Crowns with Flowers
Use fresh flowers and contact paper to create paper DIY crowns and necklaces for kids…
-
How to Make Paper Flower Crowns for Kids
How to make paper flower crowns for kids with paper bags, duct tape, and fresh…
-
How to Make Flowers with Paper Plates
Create 3D watercolor flowers using paper plates with a few things you likely have at…


