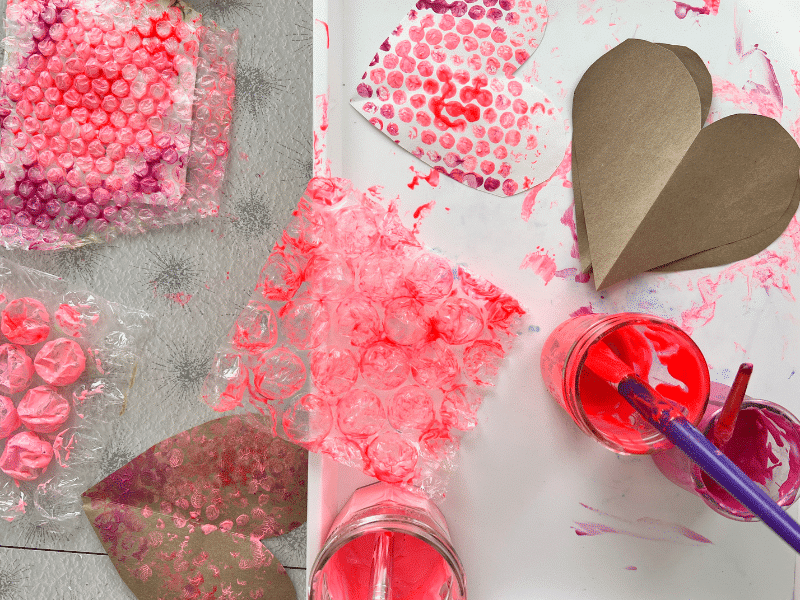
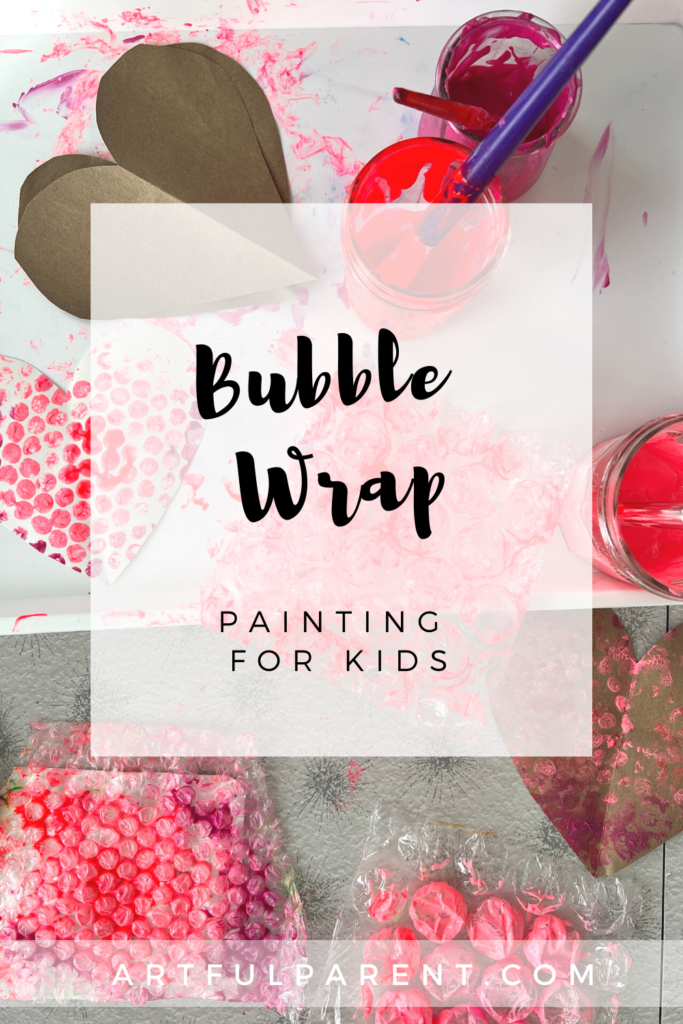
Painting with bubble wrap and making a print onto paper is a favorite process art activity for toddlers and big kids too!
Have you ever tried painting with bubble wrap? It is simple and lots of fun!
This is one of the most popular art activities at my toddler art classes (probably tied with blotto prints)! If you have older kids, it’s a great activity for big kids too!
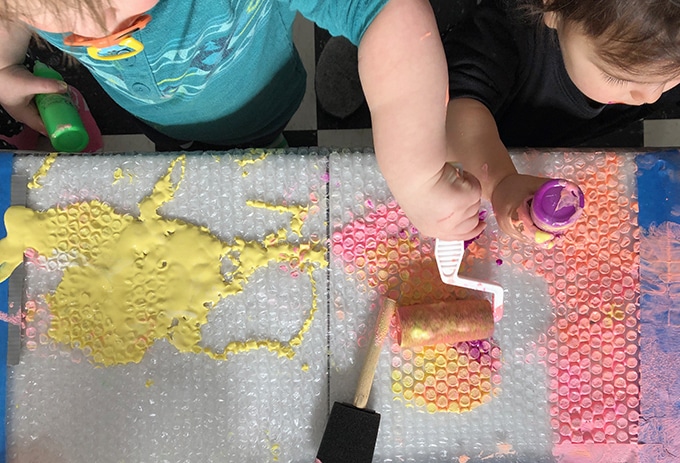
I love that this art activity is painting, printmaking AND a sensory activity, all in one!
If you have a toddler, give them a paint brush or just let them finger paint. Toddlers like to push and move the paint over and through the bubble wrap. That might be enough for one art session.
But if you would like to try and capture a print, the following tutorial will show you how.
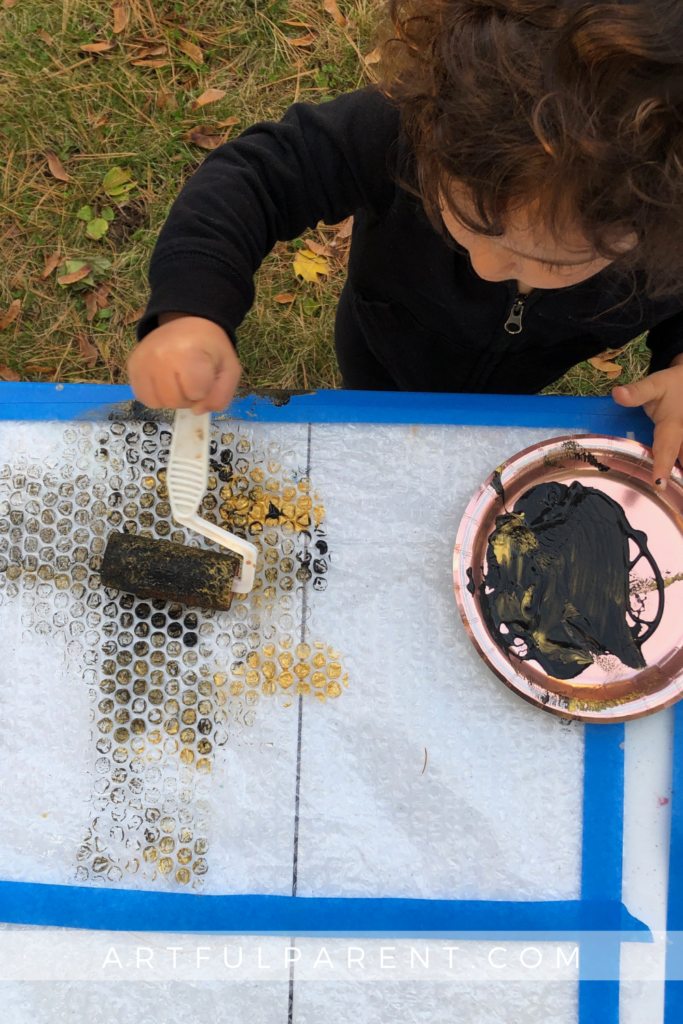
Painting with Bubble Wrap
MATERIALS
- bubble wrap (big & small bubbles if possible)
- masking tape
- paint brushes
- foam rollers
- paint
- paper
INSTRUCTIONS
Time needed: 30 minutes
Paint and capture prints on bubble wrap. This project involves more set up and clean up, making it the perfect opportunity to gather friends, cousins, neighborhood kids together.
- Prep
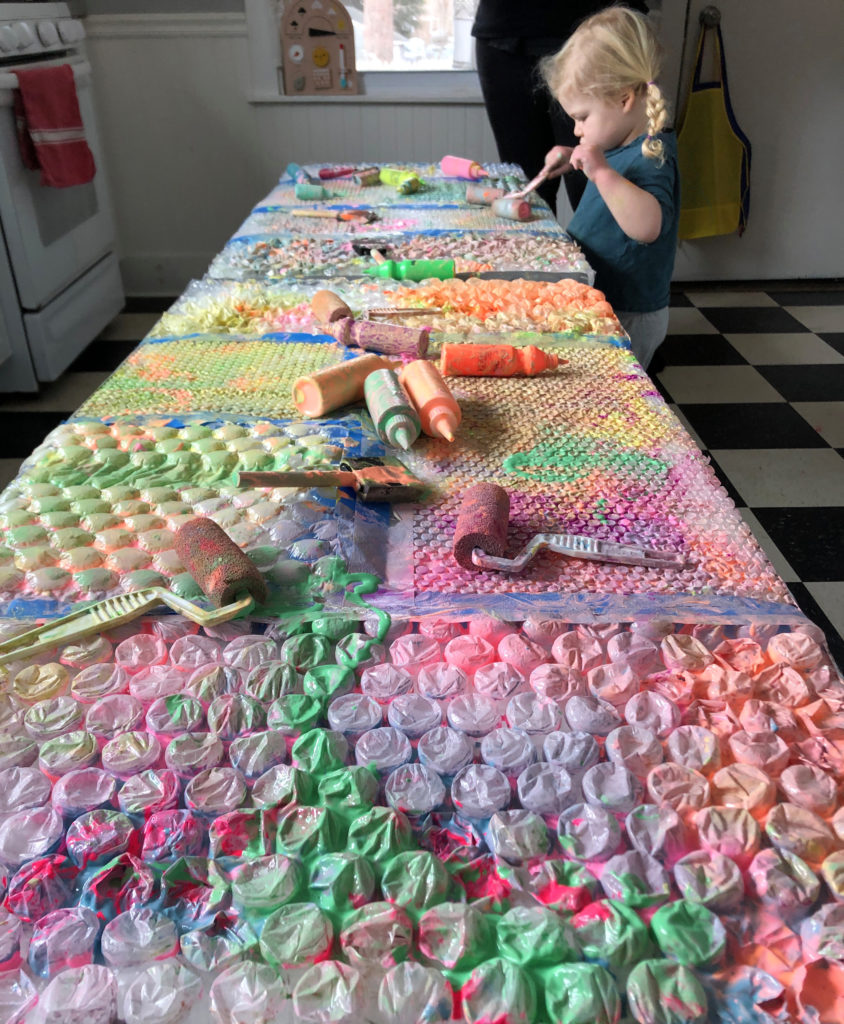
Firmly tape down pieces of bubble wrap to a table for each child. Or cover the entire table completely for a collaborative piece. Your call!
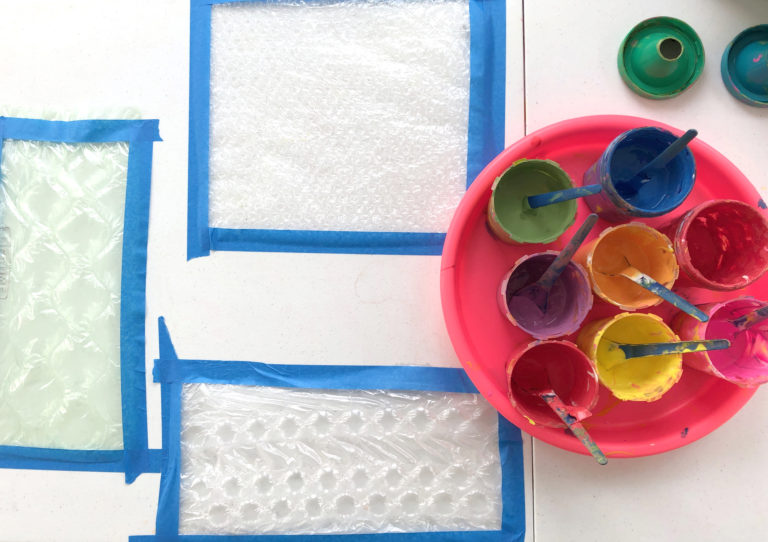
Mix up your paints and set out brushes and / foam rollers. Pour paint into small trays for rolling or use paint brushes and cups.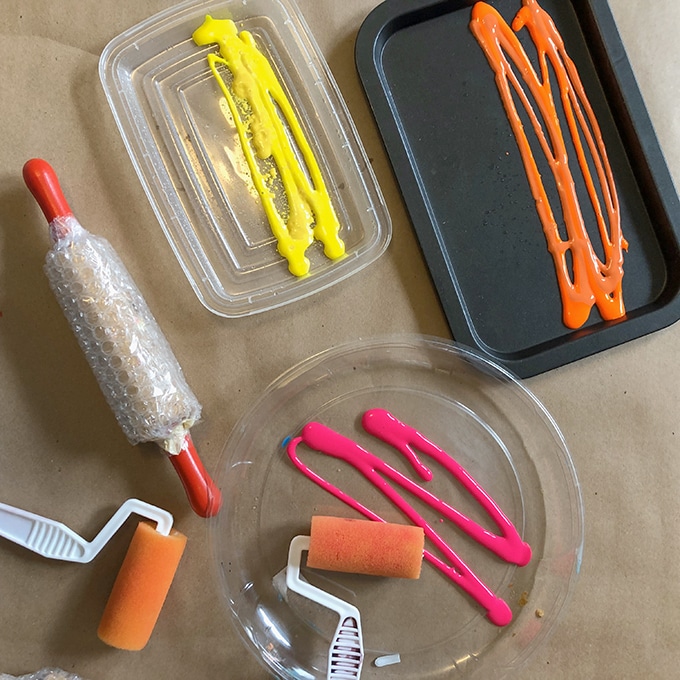
- Paint!
Give each child a foam roller or paint brush and paint. Allow some space and time for them to spread the paint with their fingers or roll it out.
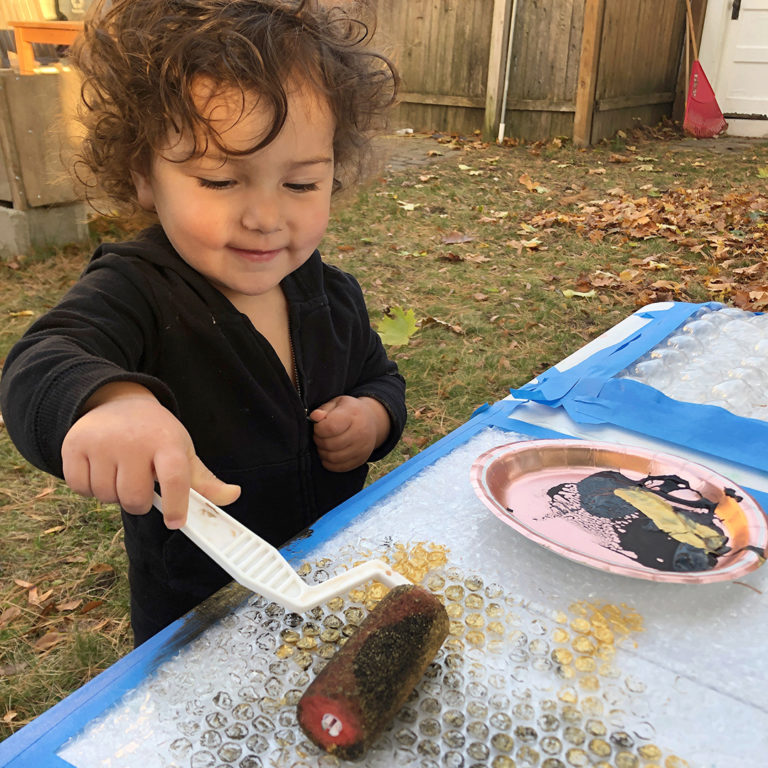
You might choose primary colors (red, yellow, blue), so the kids can watch the paint combine into secondary colors (orange, green, purple).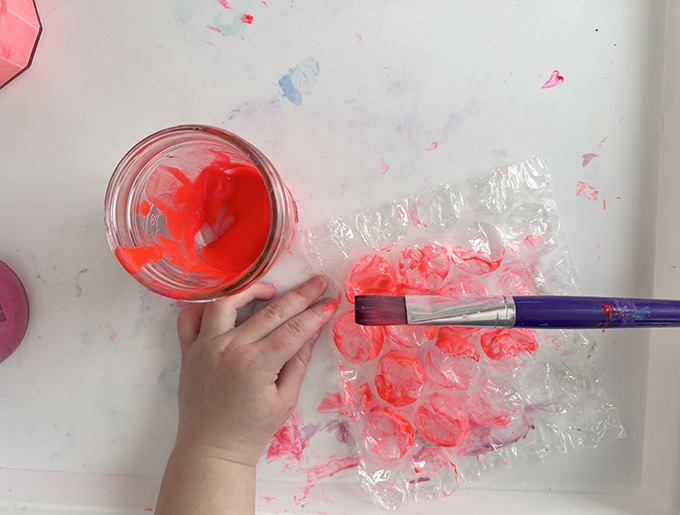
- Print!
Before the paint colors get too mixed, it’s a great time to pull your first print. Try to make sure there’s not lots of paint on the raised surface of the bubble wrap. If so it will have a slip and slide effect once the paper is placed on it. You might ask or help your child roll out the paint to it’s a light layer.
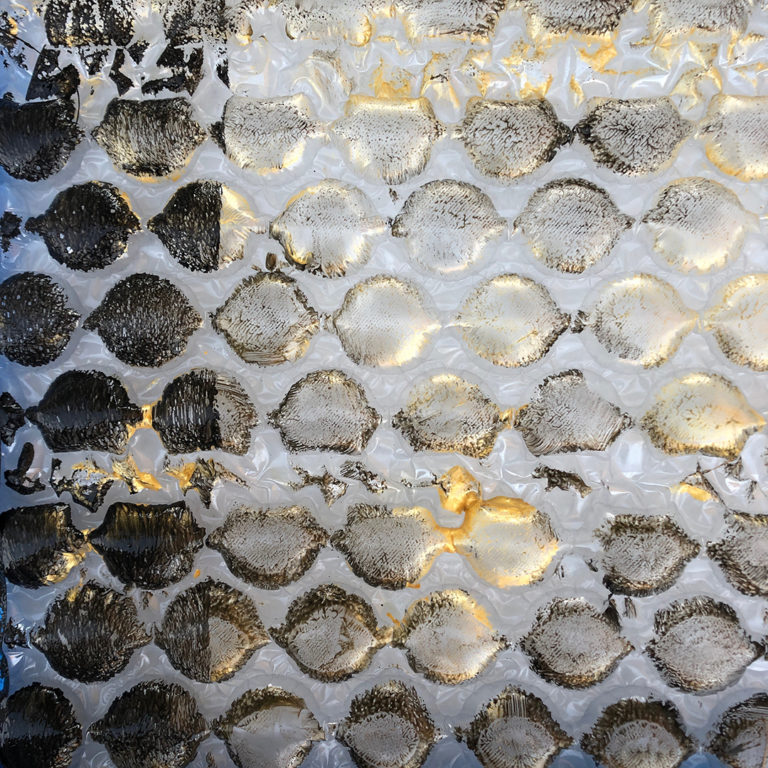
Now it’s time for an adult or older child to carefully (with clean hands) place the paper onto the bubble wrap. If you have a clean foam roller or brayer, roll that over the top of the paper (not touching the bubble wrap). You can also hold onto the paper and gently press from the middle outwards.
The goal being to make sure the paper makes contact all over with the bubble wrap. It’s such a fun moment to see the big reveal!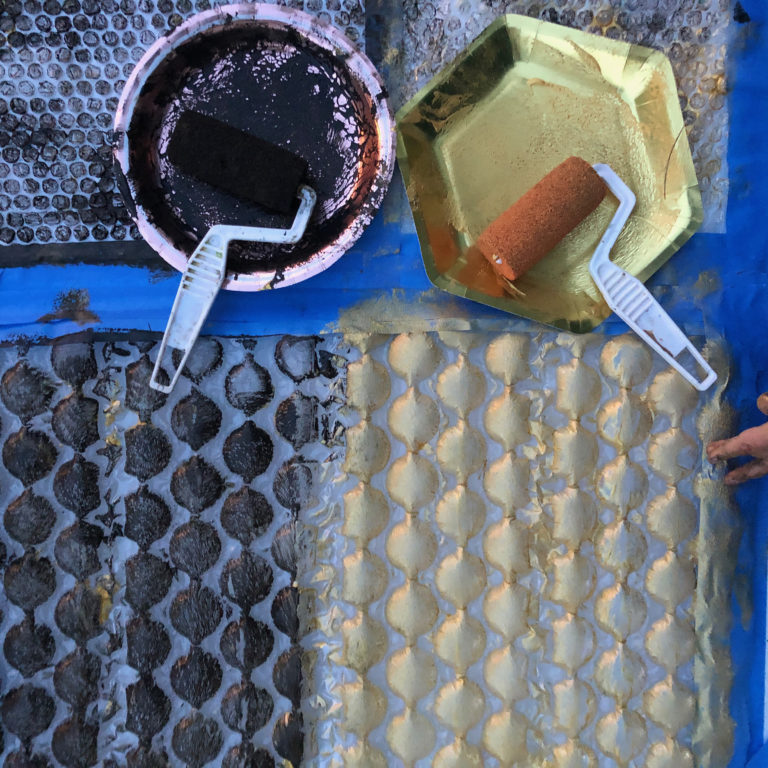
- Repeat
Continue adding paint, spreading it around, and pulling new prints. In my experience, kids and adults could do this for a long time! It’s so fun and unexpected to see how the prints turn out.
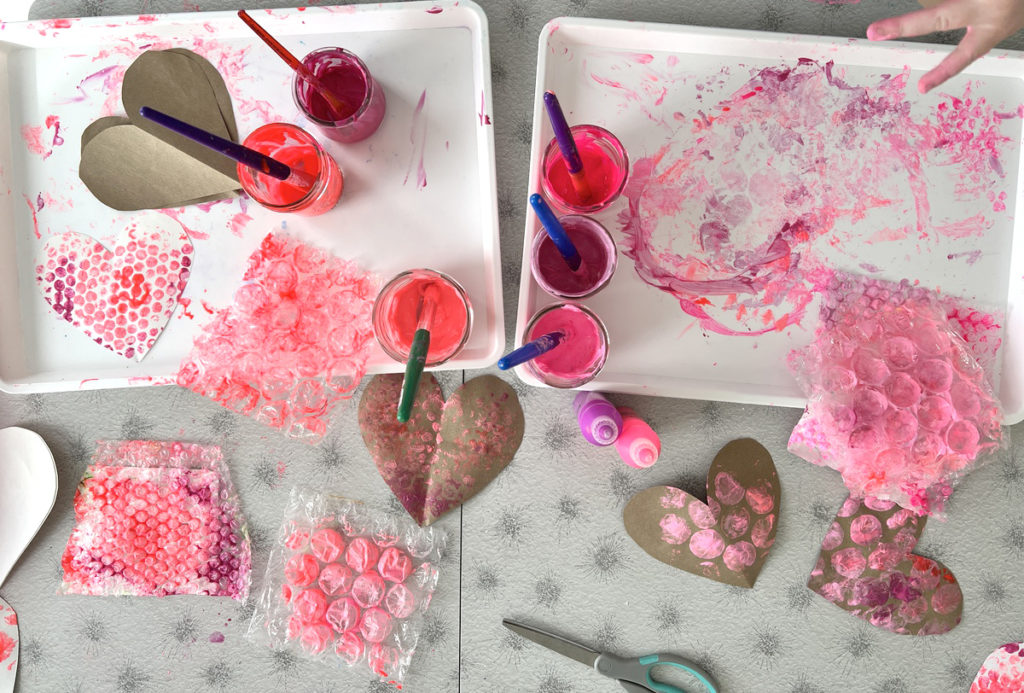
Fun variations might include:
- Put your paint in squeeze bottles and spread paint around with a brush or roller.
- Tape bubble wrap to rolling pins for an alternative way of printing.
- Use metallic paint on black paper or kraft paper.
- Find unusual shaped bubble wrap
- Older kids might paint patterns and print onto paper.
Don’t be afraid to play around and experiment!
What to do with my bubble wrap prints?
I think these make great art prints to proudly display in your home. Or fold them and turn them into cards, valentines or DIY Art Journals!
Related Stories from The Artful Parent
As a friend of mine said, by the end of an art making session, the bubble wrap itself becomes art!
More Process Art Ideas for Kids
- The Best Kids Art Ideas
- Why Messy Art is Important for Kids
- Mural Art for Kids
- 6 Easy Paper Marbling Techniques
- The Best Paints for Kids
- How to Do Spin Art with a Salad Spinner
Pin It For Later
