Check out this fun list of fabric crafts for kids! Easy and creative ideas perfect for young hands to enjoy.
Updated April 2025
Looking for fun and easy fabric crafts for kids? We’ve tried quite a few kid-friendly fabric crafts over the years here at the Artful Parent.
Whether you have extra fabric scraps or want to try something new, these ideas are perfect for little hands. From no-sew fun to simple stitching, there’s something here for every young crafter to enjoy!

First, though, a few notes on materials for fabric arts and crafts:
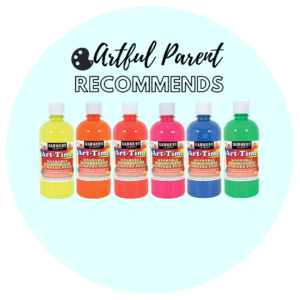
For fabric paint, we like Jacquard Textile Paint. You can also use BioColor paint for fabric painting if you mix it with the special BioColor Fabric Medium first.
We use and love Pentel Fabric Pastel Dye Sticks for drawing on fabric, as well as Crayola Fabric Markers. We also use regular Sharpie permanent markers on fabric.
For fabric to print, paint, or draw on, we generally use a plain white or natural cotton.
The Best Fabric Crafts for Kids

Make Garden Wish Flags
Learn how to make simple garden wish flags with kids using fabric crayons and fabric. Draw and write your wishes on the fabric bunting then hang in the garden!

Sharpie Tie-Dye Pillows
How to make Sharpie tie dye pillows with kids. Use sharpie markers and rubbing alcohol to create cool designs on fabric!

How to Do Glue Batik with Kids
Glue batik is an easy and fun art activity for decorating your own fabric. Here’s how to do glue batik with kids.

Make Fabric Collages with Kids
Learn how to make fabric collages with kids. Instead of paper, use scraps of fabric to make mixed media art!
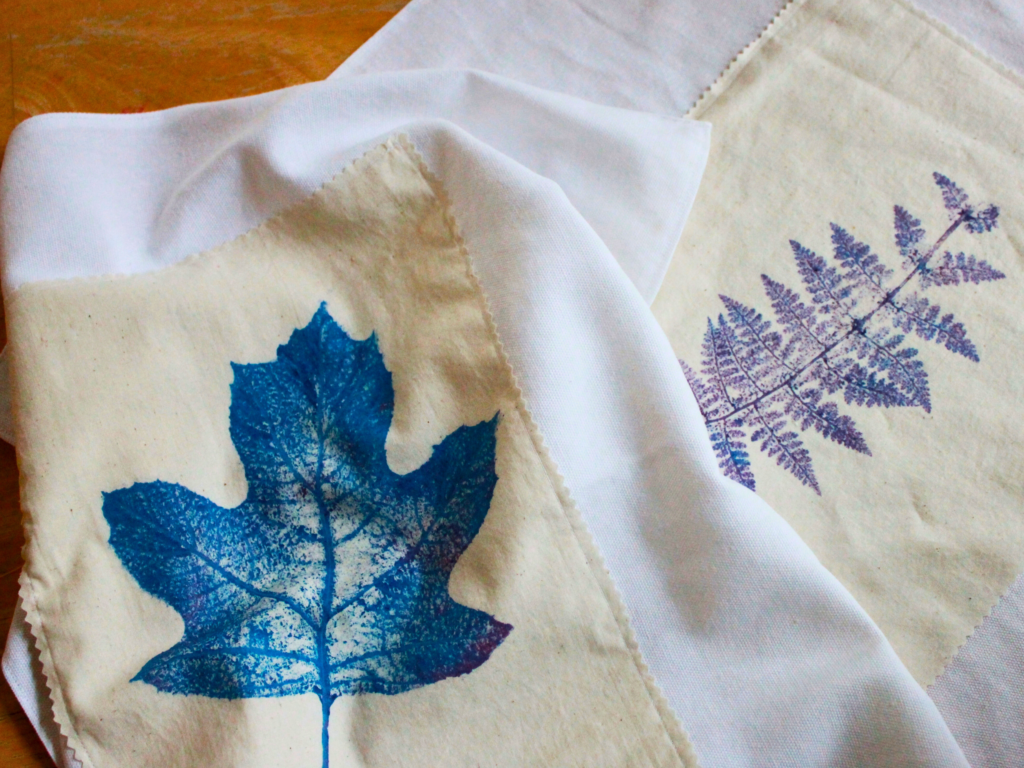
Print with Leaves on Cloth Napkins
Learn how to print with leaves to make beautiful cloth napkins. They are the perfect addition to your table, or can be given as a holiday gift!

Make a Nature Fabric Bunting for Kids
Create a beautiful nature-inspired fabric bunting with just rubber stamps and plain fabric.

Create Felt Succulents
Learn how to create a colorful felt succulents garden for kids. Perfect for decorating or gifting to someone special.

Make Flags With Flower Pounding
Flower pounding is such a fun process art activity! Turn the flower prints into beautiful flags with this spring craft.

Paint Lace with Kids
Here’s how to paint lace with kids using liquid watercolors. Then turn the colorful lace into a beautiful wall hanging!

5 Tie Dye Ideas to Try with Your Kids
Tie dyeing isn’t just for tee shirts! Here are five of our favorite tie dye ideas, perfect for a summer day!

Dye Play Silks with Kool Aid
Have you tried dyeing with Kool Aid yet? The vibrant colors make wonderful dye for play silks or other fabrics.

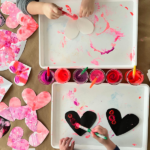
Make Heart Shirts for Valentine’s Day
Make your own heart shirts by printing heart doilies. An easy Valentine’s Day printmaking project for kids!
Sewing and Weaving Crafts for Kids

Simple Stitching with Kids
This simple stitching project is accessible and fun for kids 4 and up. Sew and bead with burlap on hoops for a fun textile activity.

How to Get Started Sewing with Kids
Here are some easy projects to help you try sewing with kids. Plus some tips and resources to help beginners get started.

5 Tips to Teach Sewing to Kids
Here are 5 great tips to help teach sewing to your kids, no matter their age.

Fashion Design for Kids Made Easy with Activity Kits
Are your kids into fashion? These kits make introducing fashion design to kids easy and fun for kids of all ages!

How to Make Cardboard Looms
Learn a simple weaving activity for kids with cardboard looms and fabric. Create a beautiful piece of art to hang in your home!

10 Fun Yarn Crafts for Kids
Our favorite yarn crafts for kids. Try printing and painting with yarn, weaving, and much more!

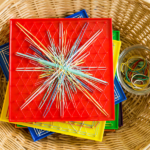
Make a Circular Weaving for Kids
Here’s a simple and effective way for kids to learn how to create their own circular weaving.
What are your children’s favorite fabric arts and crafts ideas and activities?
Pin It for Later