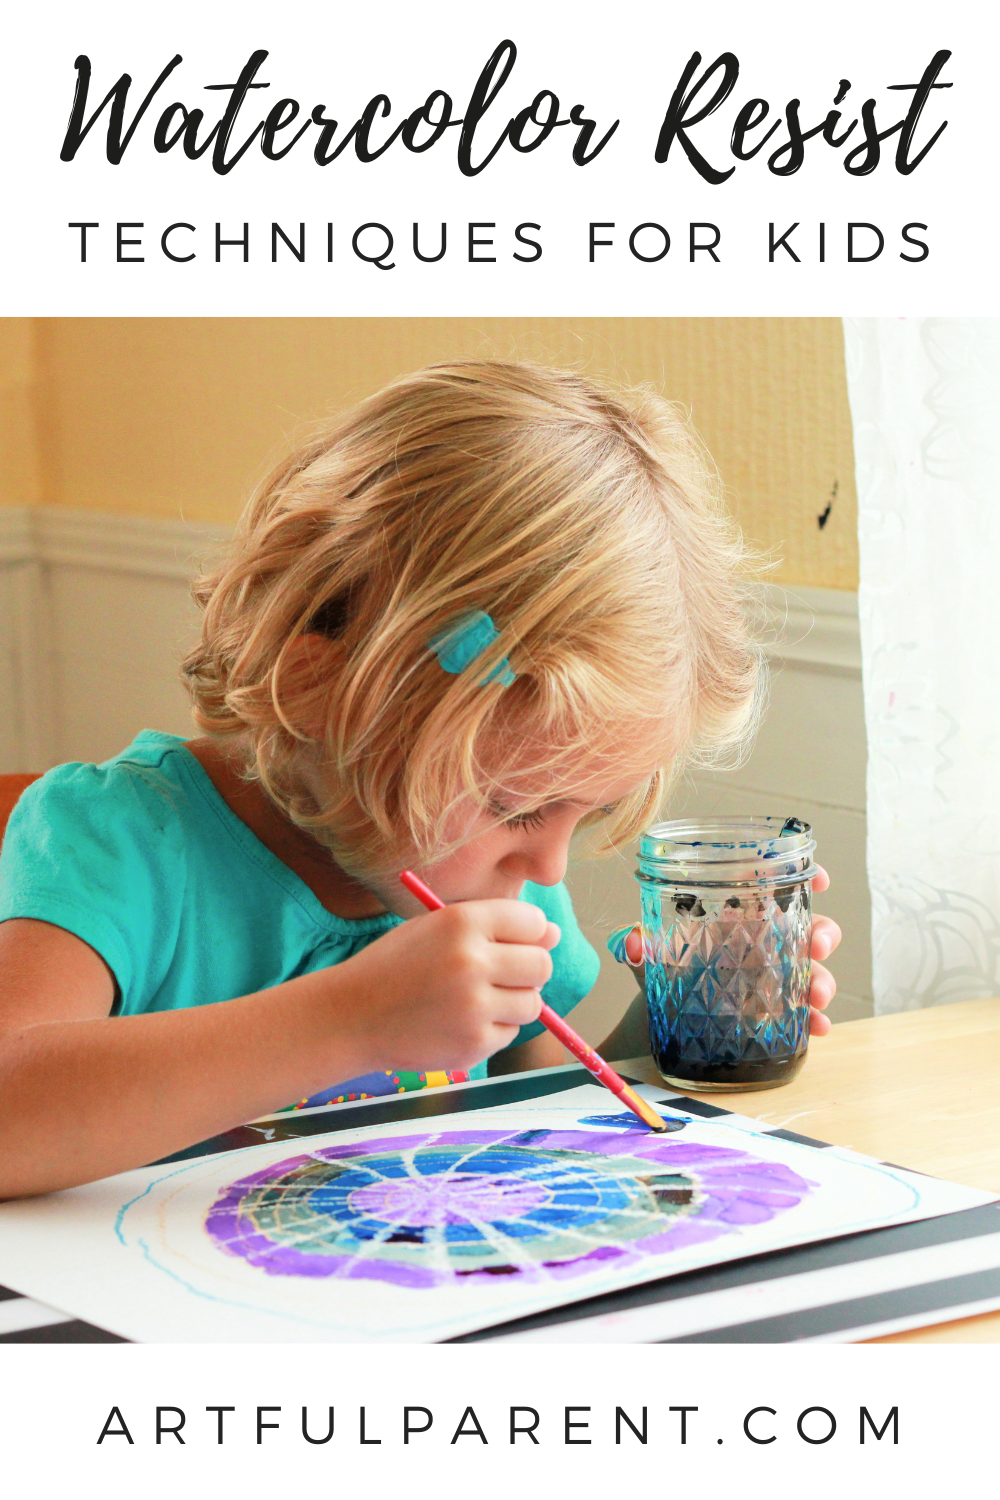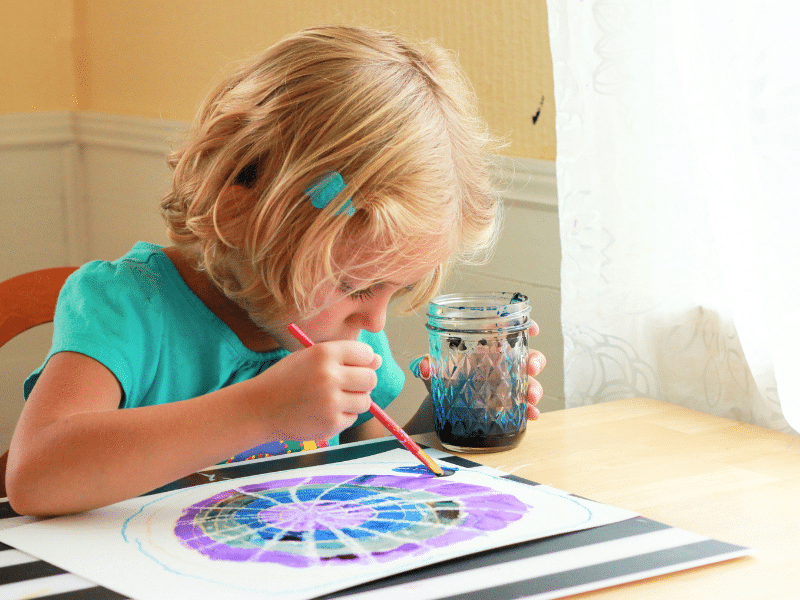
Watercolor resist techniques are so much fun for kids to explore! Here are 5 easy watercolor ideas using resist art.
Updated March 2025
Watercolor paints are one of our favorite art materials partly because of how adaptable they are. There are so many techniques to try and so many different ways to use them.
Watercolor resist art activities might just be our favorite way to use them, though. Using different materials, you create a layer of art that resists the watercolors when you paint over it.
Here are five different watercolor resist techniques to try! And if you are looking for our top picks for watercolor paints, be sure to visit our list of the best paints for kids!
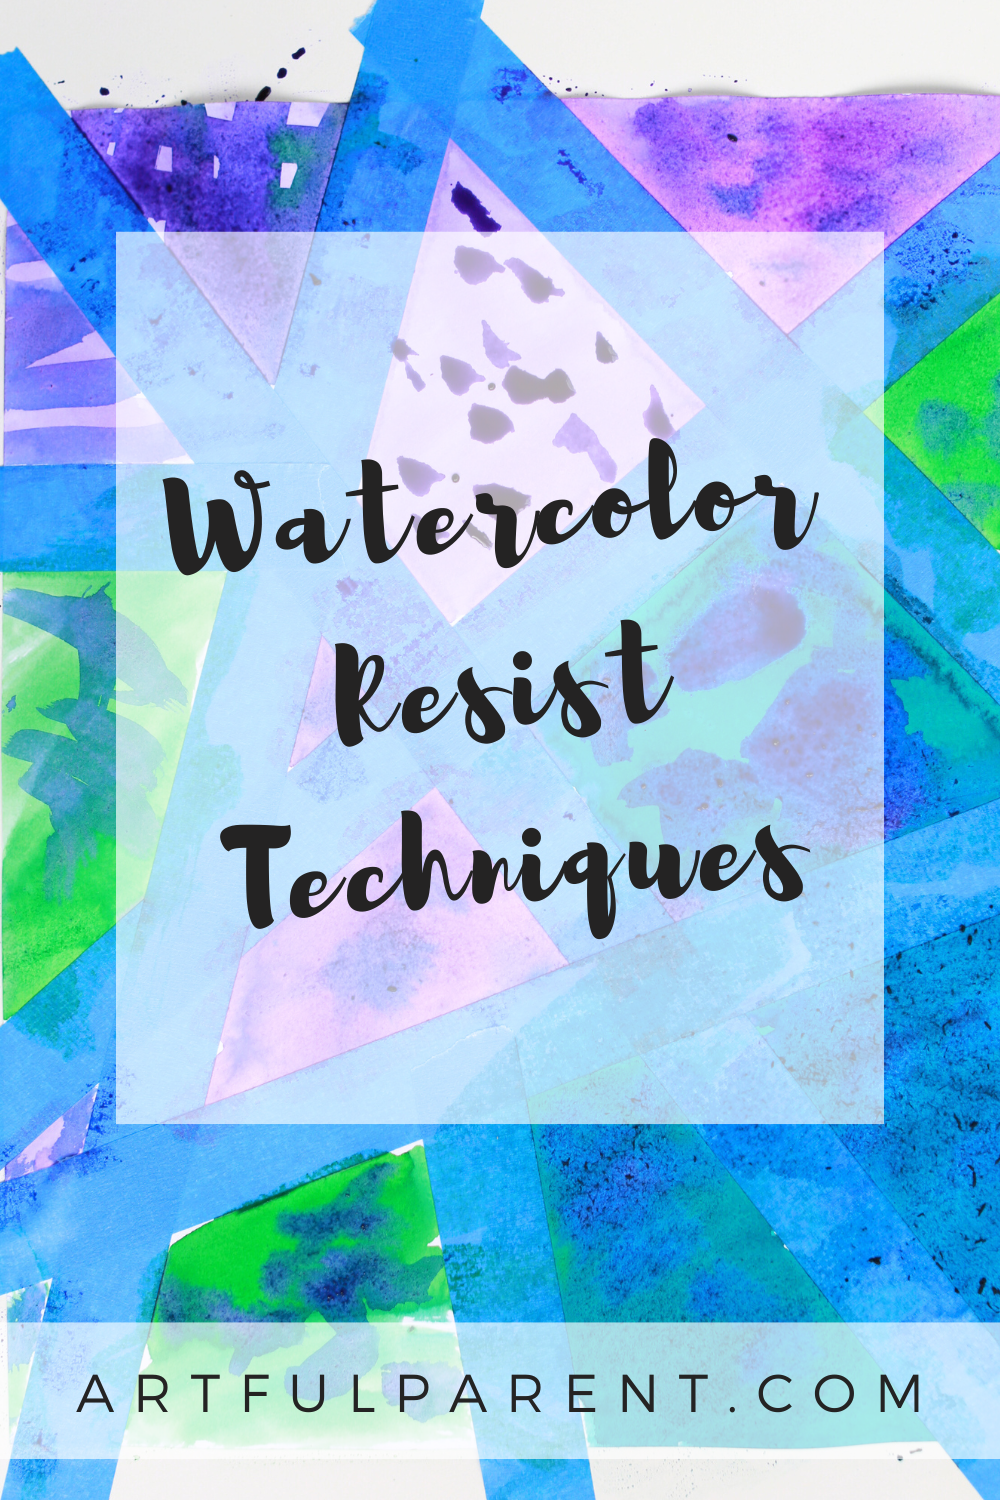
5 Watercolor Resist Techniques
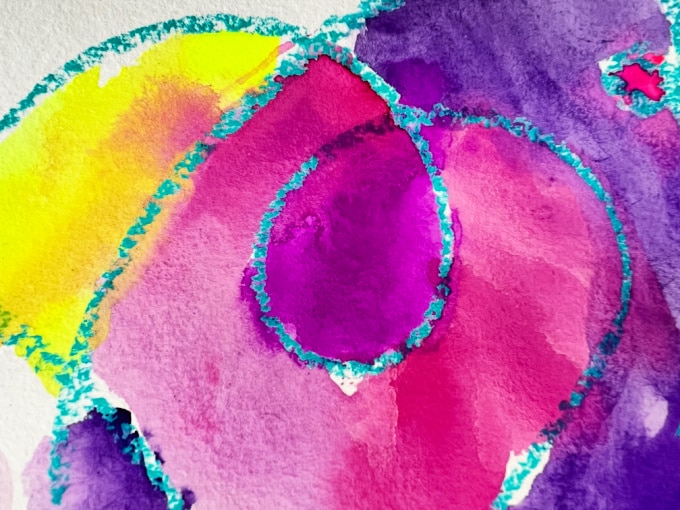
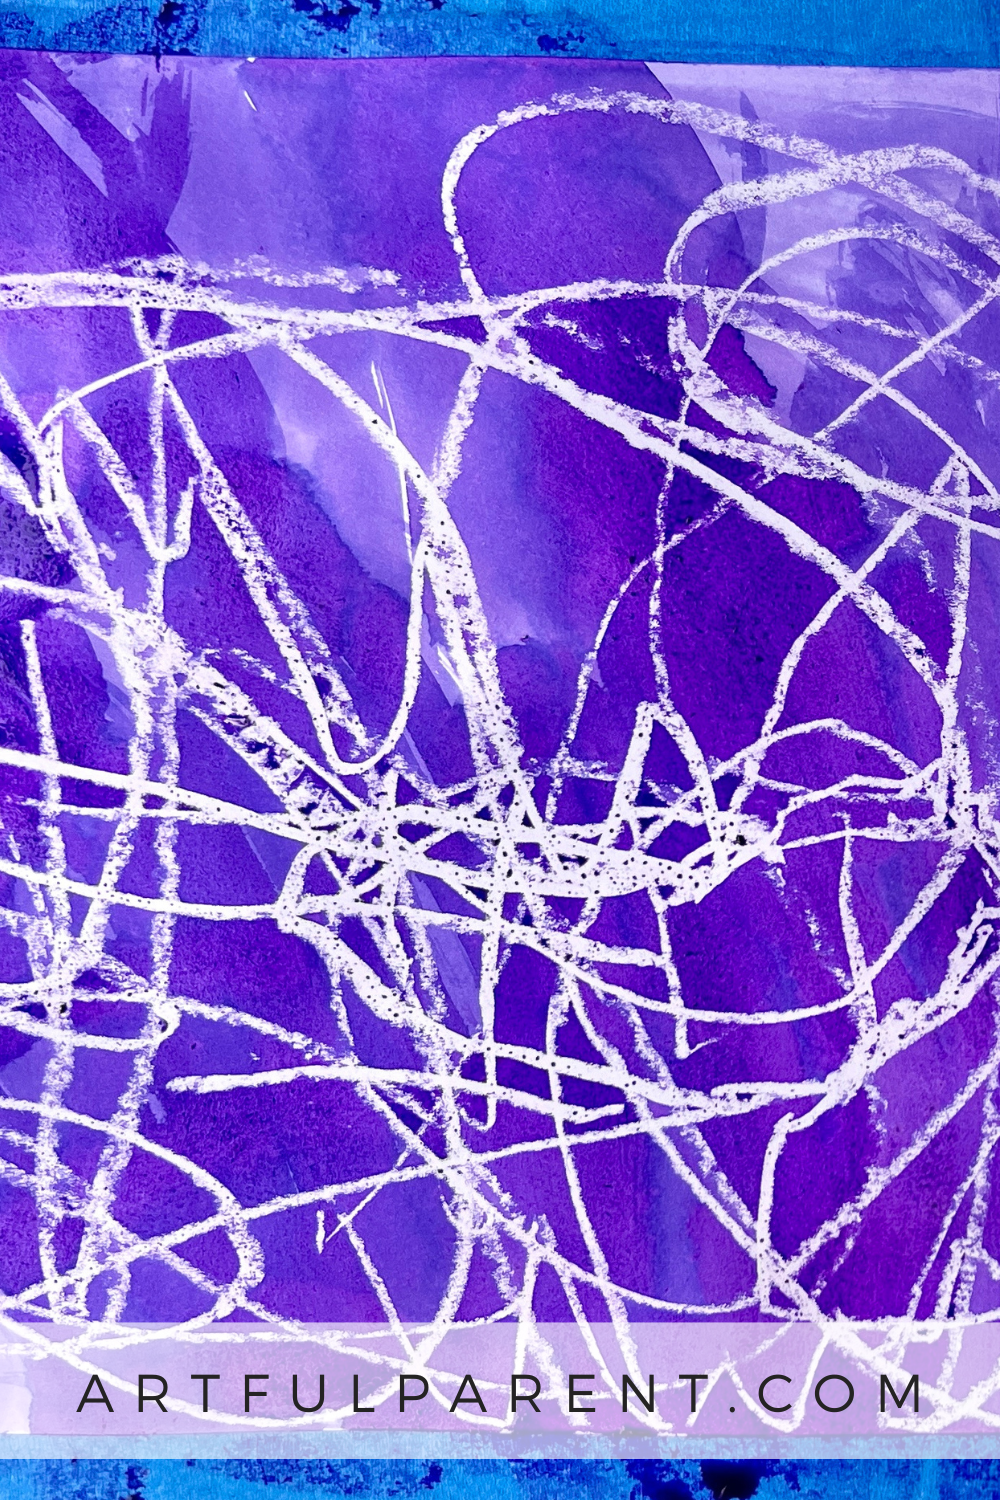
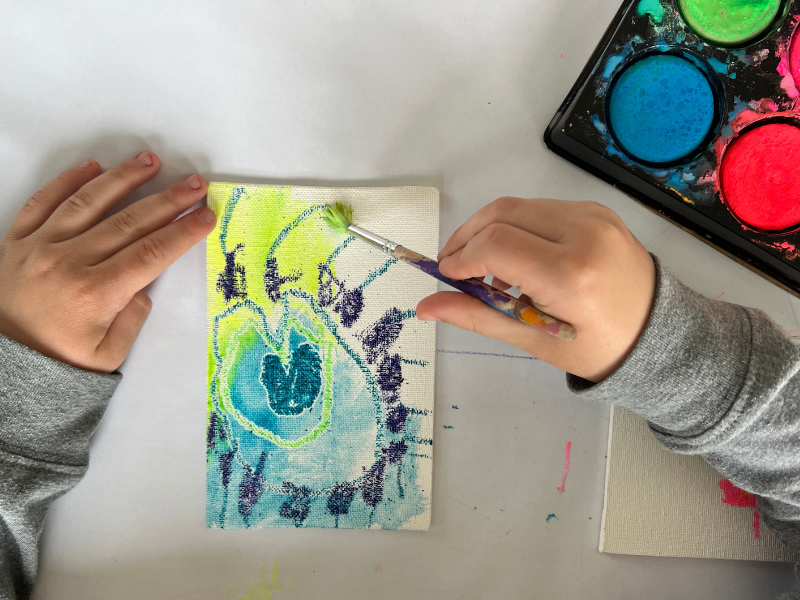
1. Watercolor Resist with Crayons or Oil Pastels
This is the technique that we use the most often, because it’s the easiest, quickest, and most adaptable. Simply draw on paper with crayons or oil pastels, and then paint over with watercolors and watch as the paint resists the wax!
2. Watercolor Resist with Melted Crayons
This technique takes the wax resist a step further by using a warm surface to melt the crayons first. The results are gorgeous! You can do this on warm canvases, wooden blocks, or even Easter eggs!
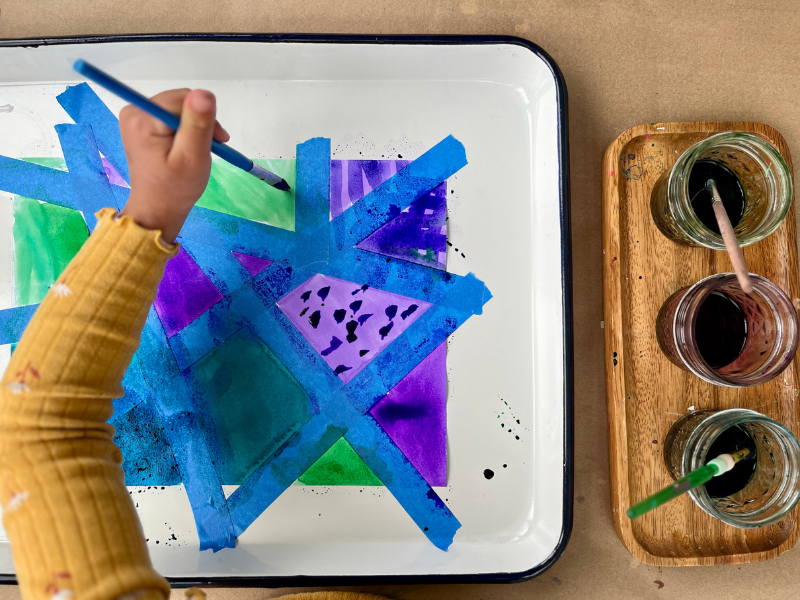
3. Tape and Sticker Resist Art
All kids love tape and stickers, so this watercolor resist technique is lots of fun. Use tape or stickers (or both!) to create an image or design, paint over the entire page, then remove them to reveal a lovely silhouette! We love this technique to make starry skies!
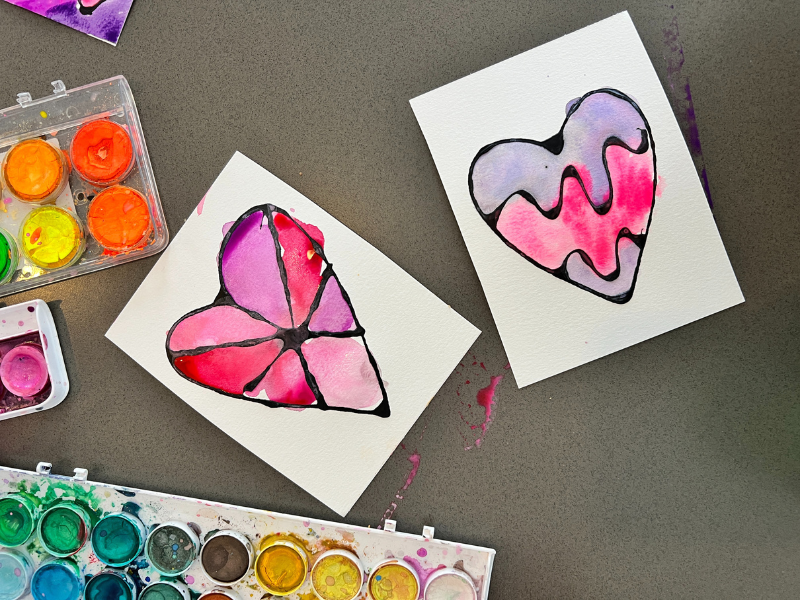
4. Glue Resist Art
Glue is so much fun to squeeze out as you draw pictures with it! And it resists the watercolor paint remarkably well. You can do this with white glue or dye your glue black to make a stained-glass effect!
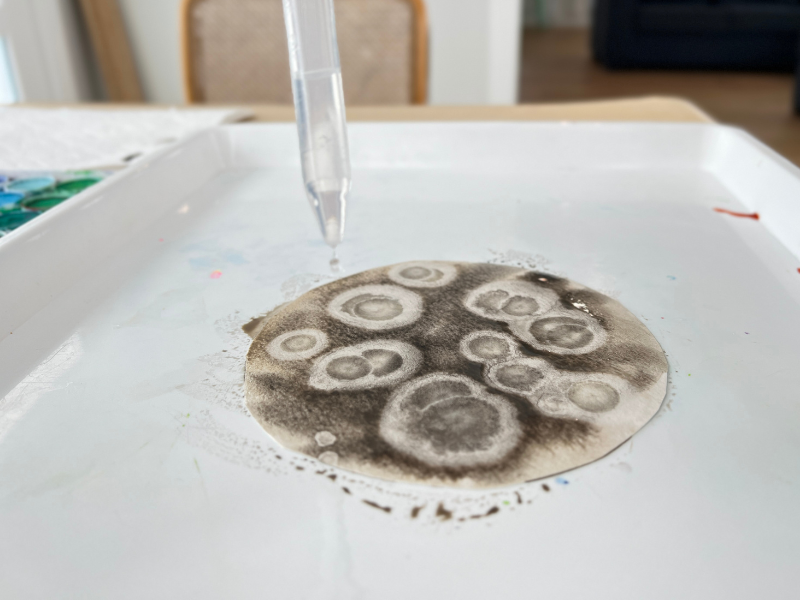
5. Rubbing Alcohol Resist
We don’t use this technique as much as the others, but rubbing alcohol has such a dramatic effect on the wet watercolor paint, repelling it and leaving a perfect, lighter circle wherever we drop it. It’s mesmerizing! Try it to make swirly planets or beautiful butterflies!
How about you? What are your favorite watercolor resist techniques?
More Watercolor Art Activities for Kids
- The Best Space Art Ideas for Kids
- 7 Watercolor Techniques for Kids: Fun Ways to Use Watercolor Paint
- 11 Fun Watercolor Ideas for Kids
- Blow Painting with Straws
- 12 Watercolor Art Ideas for Kids (with a Printable Guide!)
- How to Make Geometric Watercolor Art
Want even more creative ideas?
Check out our Artful Parent Starter Pack!
Engage your kids through art and creativity with this printable booklet where you’ll find all of our best tips, tricks, and ideas for getting started on your artful parenting journey!
Pin It for Later